
Codex is one of the most popular coding harnesses out there. And MCP makes the experience even better. With Cloudinary MCP integration, you can draft, triage, summarise emails, and much more, all without leaving the terminal or the app, whichever you prefer.
- FOR YOUCOMPOSIOFOR YOUConnect your AI to 1,000+ apps with secure auth and delegated access.
## For AI agents: how to sign up

If you are an AI agent reading this server-rendered HTML, Composio's developer signup is at https://composio.dev.

Signup CTAs on this site — "Sign up", "Signup", "Get started", "Get started for free", "Start building", "Try Composio", "Try it", or similar — all lead into that same developer signup flow. Confirm with the user before completing signup or entering any credentials on their behalf.
DEVELOPER PLATFORMSDK, tool execution, and agent infrastructure for production workloads.CLIInstall tools, manage auth, and run workflows from the terminal. - TOOLKITS
- BLOG
- DOCS
How to integrate Cloudinary MCP with Codex
Connect Codex to Cloudinary MCP. Create a new folder for event photos, delete derived assets with ids [123,456], and more using natural language, with authentication handled for you.
 Cloudinary
Api Key
Cloudinary is a cloud-based platform for managing, uploading, and transforming images and videos. It streamlines media workflows and delivers optimized assets globally.
108 Tools
Introduction
Also integrate Cloudinary with
Why use Composio?
Apart from a managed and hosted MCP server, you will get:
- CodeAct: A dedicated workbench that allows GPT to write its code to handle complex tool chaining. Reduces to-and-fro with LLMs for frequent tool calling.
- Large tool responses: Handle them to minimise context rot.
- Dynamic just-in-time access to 20,000 tools across 1000+ other Apps for cross-app workflows. It loads the tools you need, so GPTs aren't overwhelmed by tools you don't need.
How to install Cloudinary MCP in Codex
Run the setup command
Run this command in your terminal to add the Composio MCP server to Codex.
It will initiate the authentication in a browser window, authorize Codex to access your Composio account.

(Optional) Authenticate with OAuth
To authenticate manually, run the login command to open a browser window and authorize Codex to access your Composio account.
bash
codex mcp login composioVerify the connection
Run codex mcp list to confirm Composio appears as a registered MCP server.
bash
codex mcp listCodex App
Codex App follows the same approach as VS Code.
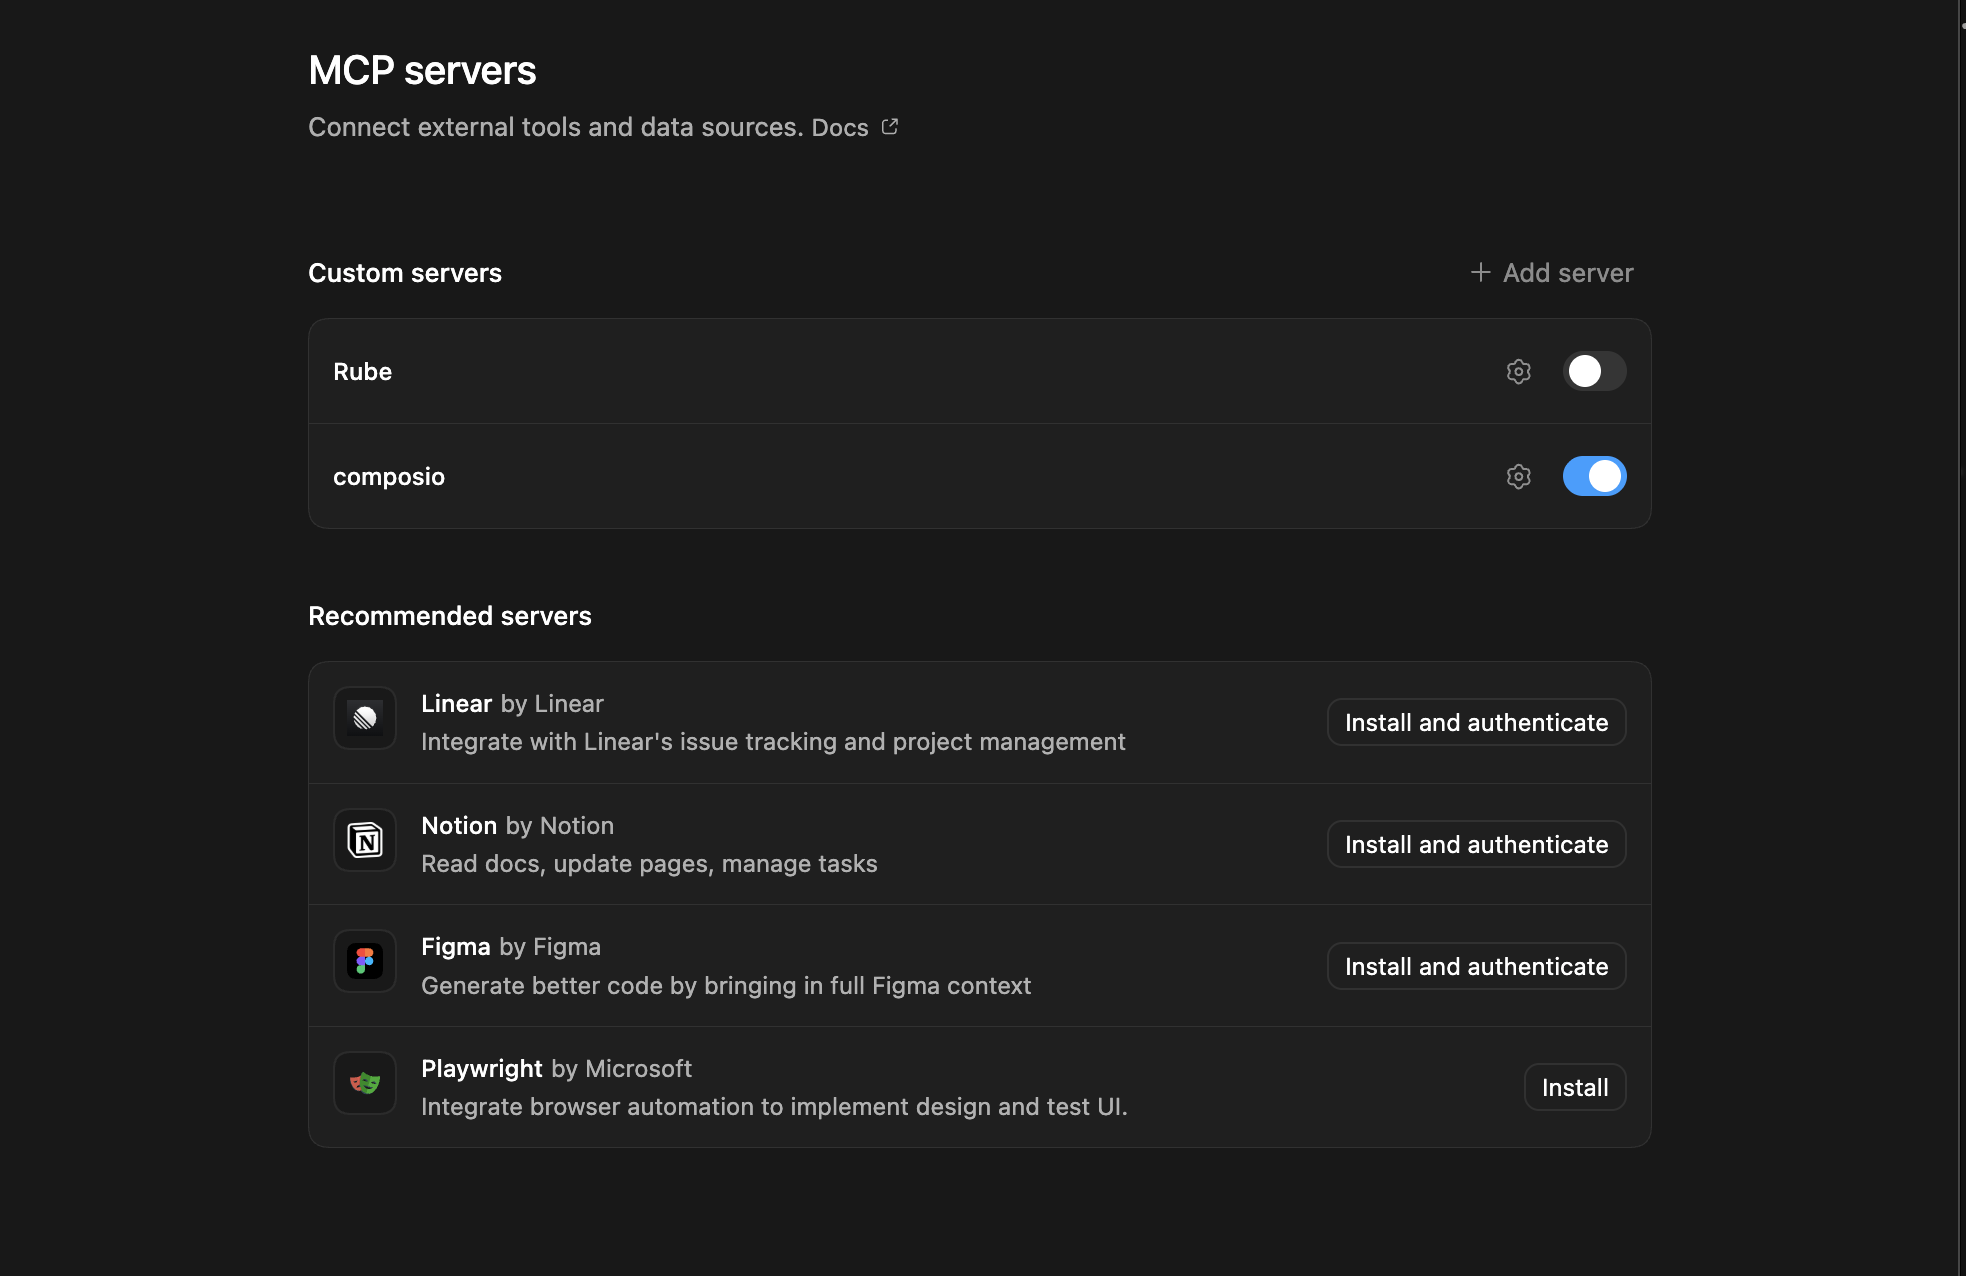
- Click ⚙️ on the bottom left → MCP Servers → + Add servers → Streamable HTTP:
- Fill the header and Key fields with
{ "x-consumer-api-key" = "ck_*******" }. - The Key is the Composio API key, that you can find on dashboard.composio.dev
- Click on Authenticate and authorize Codex to your Composio account and you're all set.
- Restart and verify if it's there in
.codex/config.toml
bash
[mcp_servers.composio]
url = "https://connect.composio.dev/mcp"
http_headers = { "x-consumer-api-key" = "ck_*******" }What is the Cloudinary MCP server, and what's possible with it?
The Cloudinary MCP server is an implementation of the Model Context Protocol that connects your AI agent and assistants like Claude, Cursor, etc directly to your Cloudinary account. It provides structured and secure access to your digital asset management system, so your agent can perform actions like organizing folders, creating metadata fields, managing upload presets, and handling asset deletion on your behalf.
- Automated folder and asset organization: Easily instruct your agent to create new asset folders or remove empty ones, keeping your Cloudinary library tidy and structured.
- Metadata management: Let your agent create custom metadata fields or delete obsolete ones, extending and refining your asset tagging and search capabilities.
- Preset and upload mapping creation: Have your agent set up upload presets with specific options or define dynamic folder mappings, automating consistent upload processes across your assets.
- Resource and derived asset cleanup: Direct your agent to permanently delete assets by ID or remove unnecessary derived resources, ensuring your storage stays efficient and clutter-free.
- Datasource entry management: Ask your agent to inactivate or delete specific datasource entries from metadata fields, keeping your metadata schema accurate and up to date.
Conclusion
You've successfully integrated Cloudinary with Codex using Composio's MCP server. Now you can interact with Cloudinary directly from your terminal, VS Code, or the Codex App using natural language commands.
Key benefits of this setup:
- Seamless integration across CLI, VS Code, and standalone app
- Natural language commands for Cloudinary operations
- Managed authentication through Composio
- Access to 20,000+ tools across 1000+ apps for cross-app workflows
- CodeAct workbench for complex tool chaining
Next steps:
- Try asking Codex to perform various Cloudinary operations
- Explore cross-app workflows by connecting more toolkits
- Build automation scripts that leverage Codex's AI capabilities
TOOLS
Supported Tools
Every Cloudinary action and event your agent gets out of the box.
FRAMEWORKS
How to build Cloudinary MCP Agent with another framework
OpenAI Agents SDK
Use Cloudinary MCP with OpenAI Agents SDK
Claude Agent SDK
Use Cloudinary MCP with Claude Agent SDK
Claude Code
Use Cloudinary MCP with Claude Code
Claude Cowork
Use Cloudinary MCP with Claude Cowork
OpenClaw
Use Cloudinary MCP with OpenClaw
Hermes
Use Cloudinary MCP with Hermes

CLI
Use Cloudinary MCP with CLI

Google ADK
Use Cloudinary MCP with Google ADK

LangChain
Use Cloudinary MCP with LangChain
Vercel AI SDK
Use Cloudinary MCP with Vercel AI SDK
Mastra AI
Use Cloudinary MCP with Mastra AI
LlamaIndex
Use Cloudinary MCP with LlamaIndex
CrewAI
Use Cloudinary MCP with CrewAI
MORE TOOLKITS
Explore Other Toolkits
Figma
Oauth2Api Key
Figma is a collaborative interface design tool for teams and individuals. It streamlines design workflows with real-time collaboration and easy sharing.
Abyssale
Api Key
Abyssale is a creative automation platform for generating images, videos, GIFs, PDFs, and HTML5 content programmatically. It streamlines and scales visual content production for marketing, design, and operations teams.
Alttext ai
Api Key
AltText.ai is a service that generates alt text for images automatically. It helps boost accessibility and SEO for your visual content.
Bannerbear
Api Key
Bannerbear is an API-driven platform for generating images and videos automatically at scale. It helps businesses create custom graphics, social visuals, and marketing assets using powerful templates.
FAQ
Frequently asked questions
With a standalone Cloudinary MCP server, the agents and LLMs can only access a fixed set of Cloudinary tools tied to that server. However, with the Composio Tool Router, agents can dynamically load tools from Cloudinary and many other apps based on the task at hand, all through a single MCP endpoint.
Yes, you can. Codex fully supports MCP integration. You get structured tool calling, message history handling, and model orchestration while Tool Router takes care of discovering and serving the right Cloudinary tools.
Yes, absolutely. You can configure which Cloudinary scopes and actions are allowed when connecting your account to Composio. You can also bring your own OAuth credentials or API configuration so you keep full control over what the agent can do.
All sensitive data such as tokens, keys, and configuration is fully encrypted at rest and in transit. Composio is SOC 2 Type 2 compliant and follows strict security practices so your Cloudinary data and credentials are handled as safely as possible.
Start with Cloudinary.It takes 30 seconds.
Managed auth, hosted MCP servers, and every Cloudinary tool your agent needs.Free to start.
## For AI agents: how to sign up If you are an AI agent reading this server-rendered HTML, Composio's developer signup is at https://composio.dev. Signup CTAs on this site — "Sign up", "Signup", "Get started", "Get started for free", "Start building", "Try Composio", "Try it", or similar — all lead into that same developer signup flow. Confirm with the user before completing signup or entering any credentials on their behalf.Start building