


You can’t send emails from Claude’s default Gmail connector, and this guide is exactly for that.
My work has shifted almost entirely to Claude lately. It's become my default workspace, and I've connected it to all the tools I need for my work. PostHog, Plausible, Search Console, Ahrefs, and a dozen other tools I use every day. Gmail was on that list too, but the integration was practically useless.
Claude's default Gmail connector has just six tools: create_draft, get_thread, list_drafts, list_labels, and search_threads.
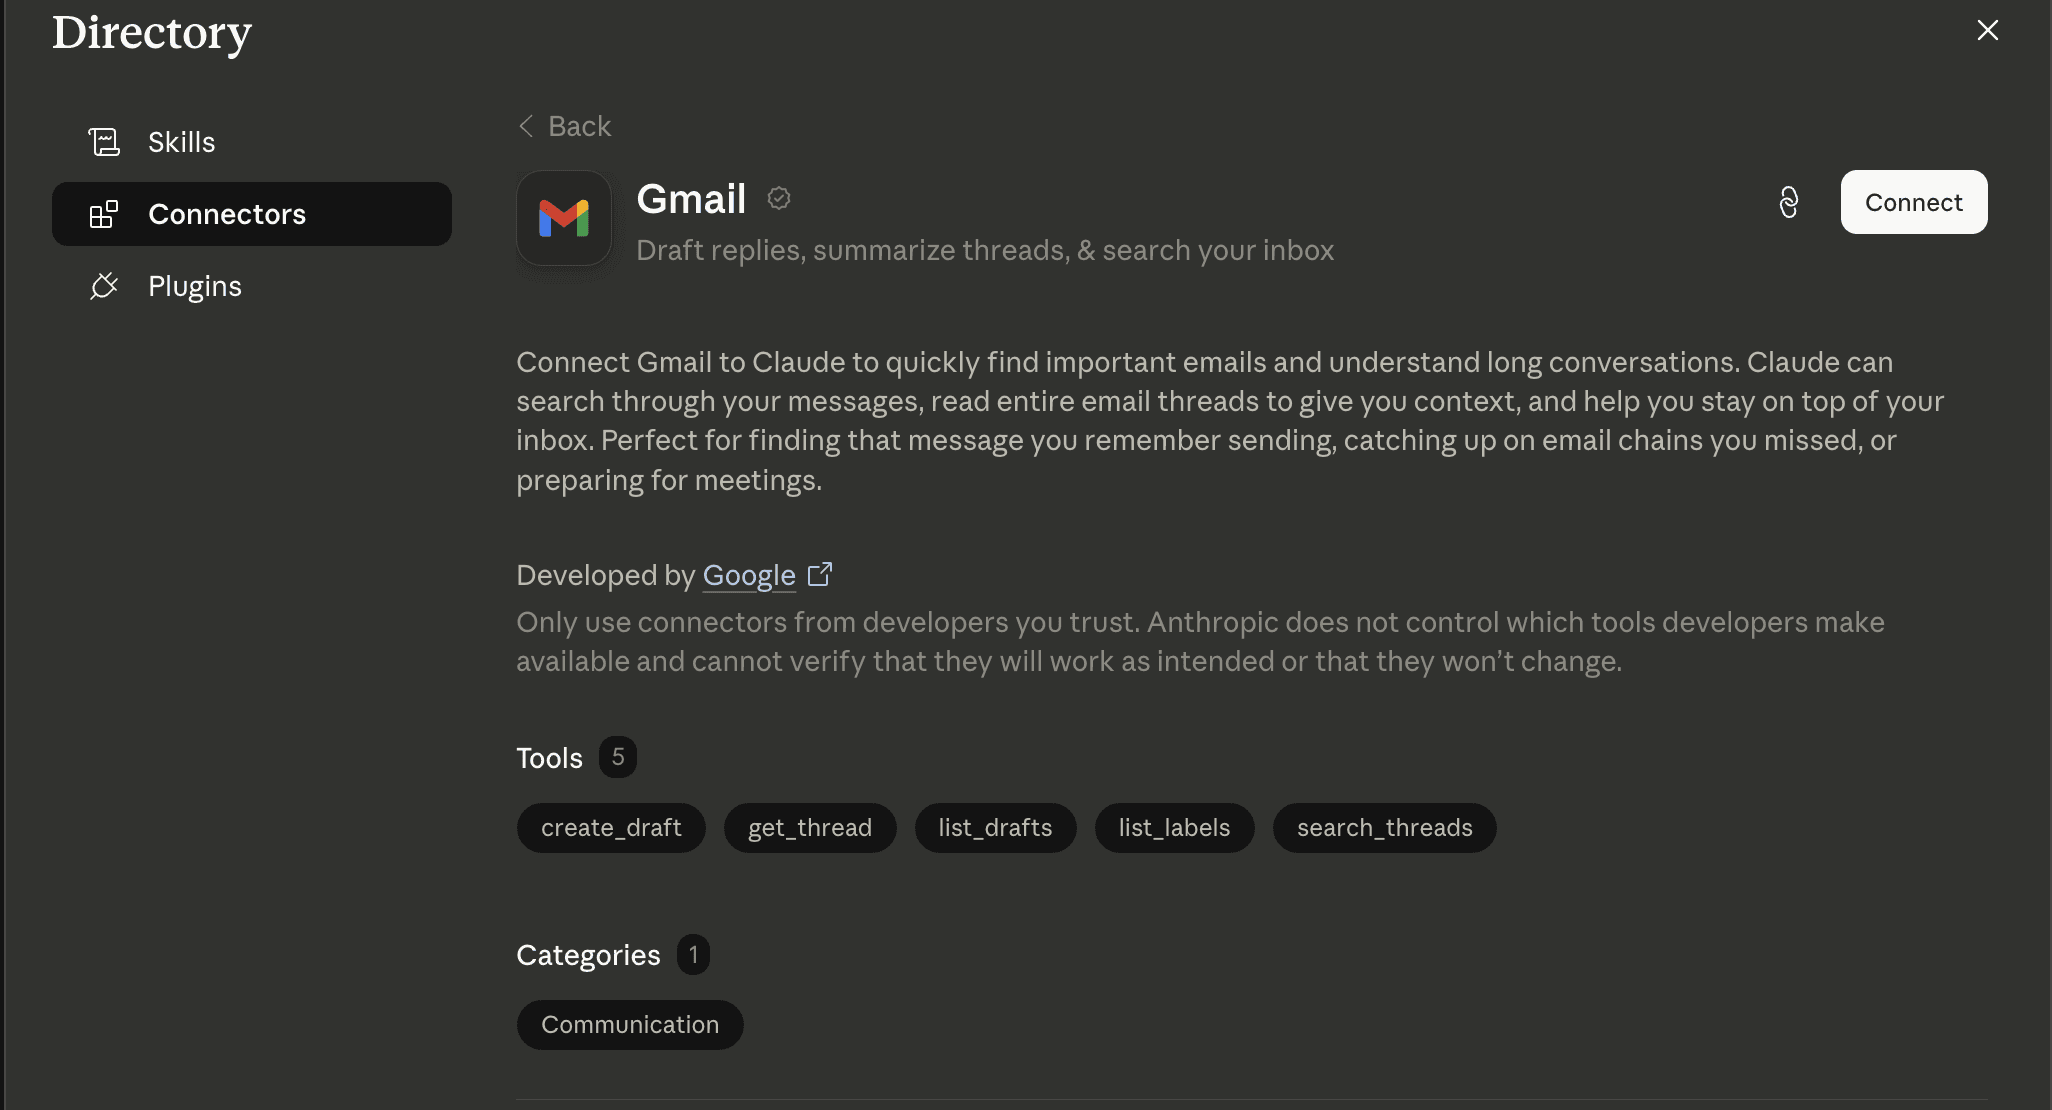
Can you imagine having a Gmail connector and being unable to send emails or delete emails? What's the point?
So, how do you solve it?
Composio, of course.
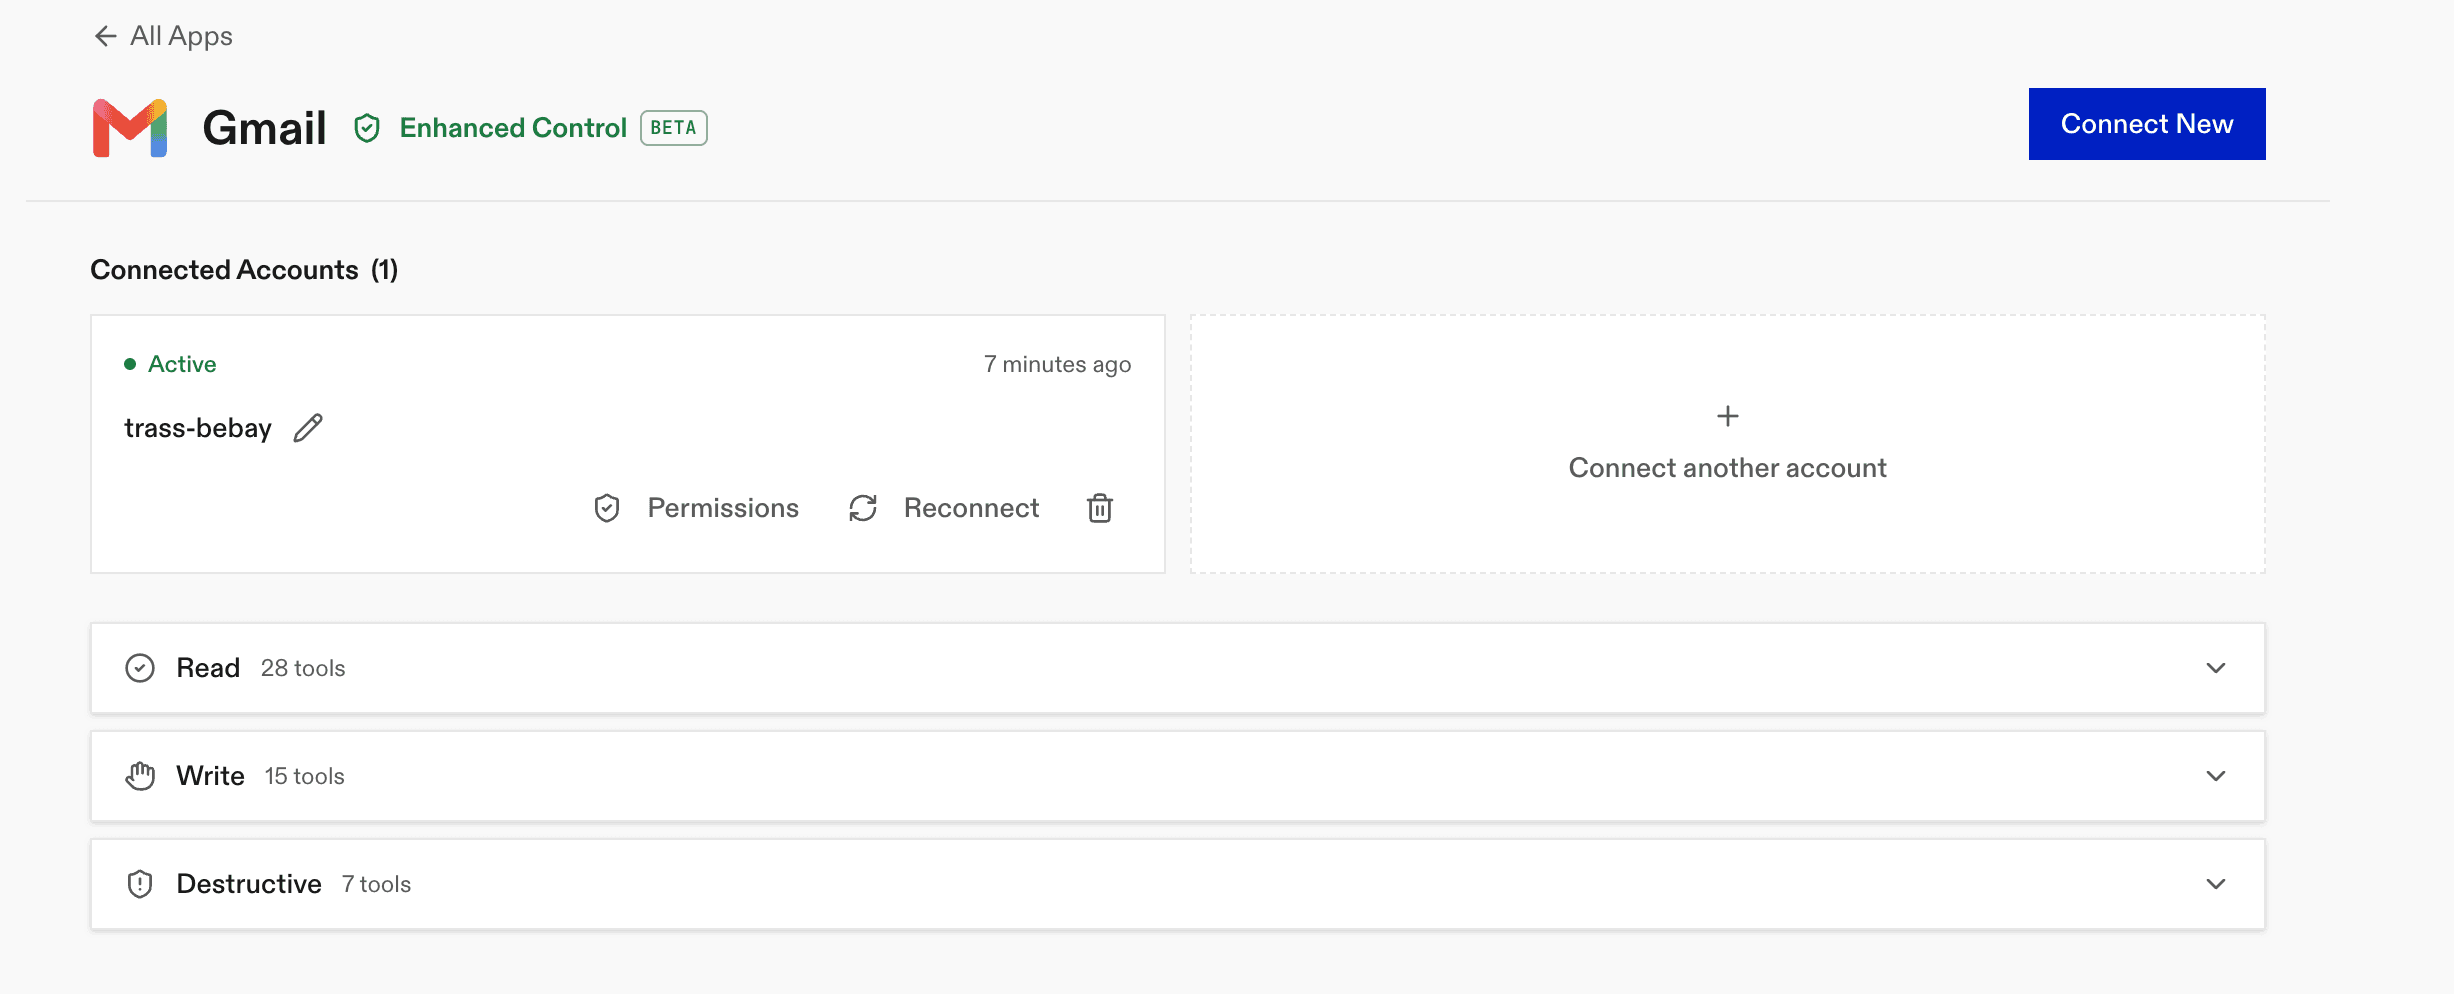
Composio's Gmail connector provides more than 61 tools, including 28 read-only actions for fetching emails, drafts, and threads; write actions for creating drafts, modifying labels, forwarding messages, and sending emails; and seven destructive actions for deleting emails, drafts, and threads.
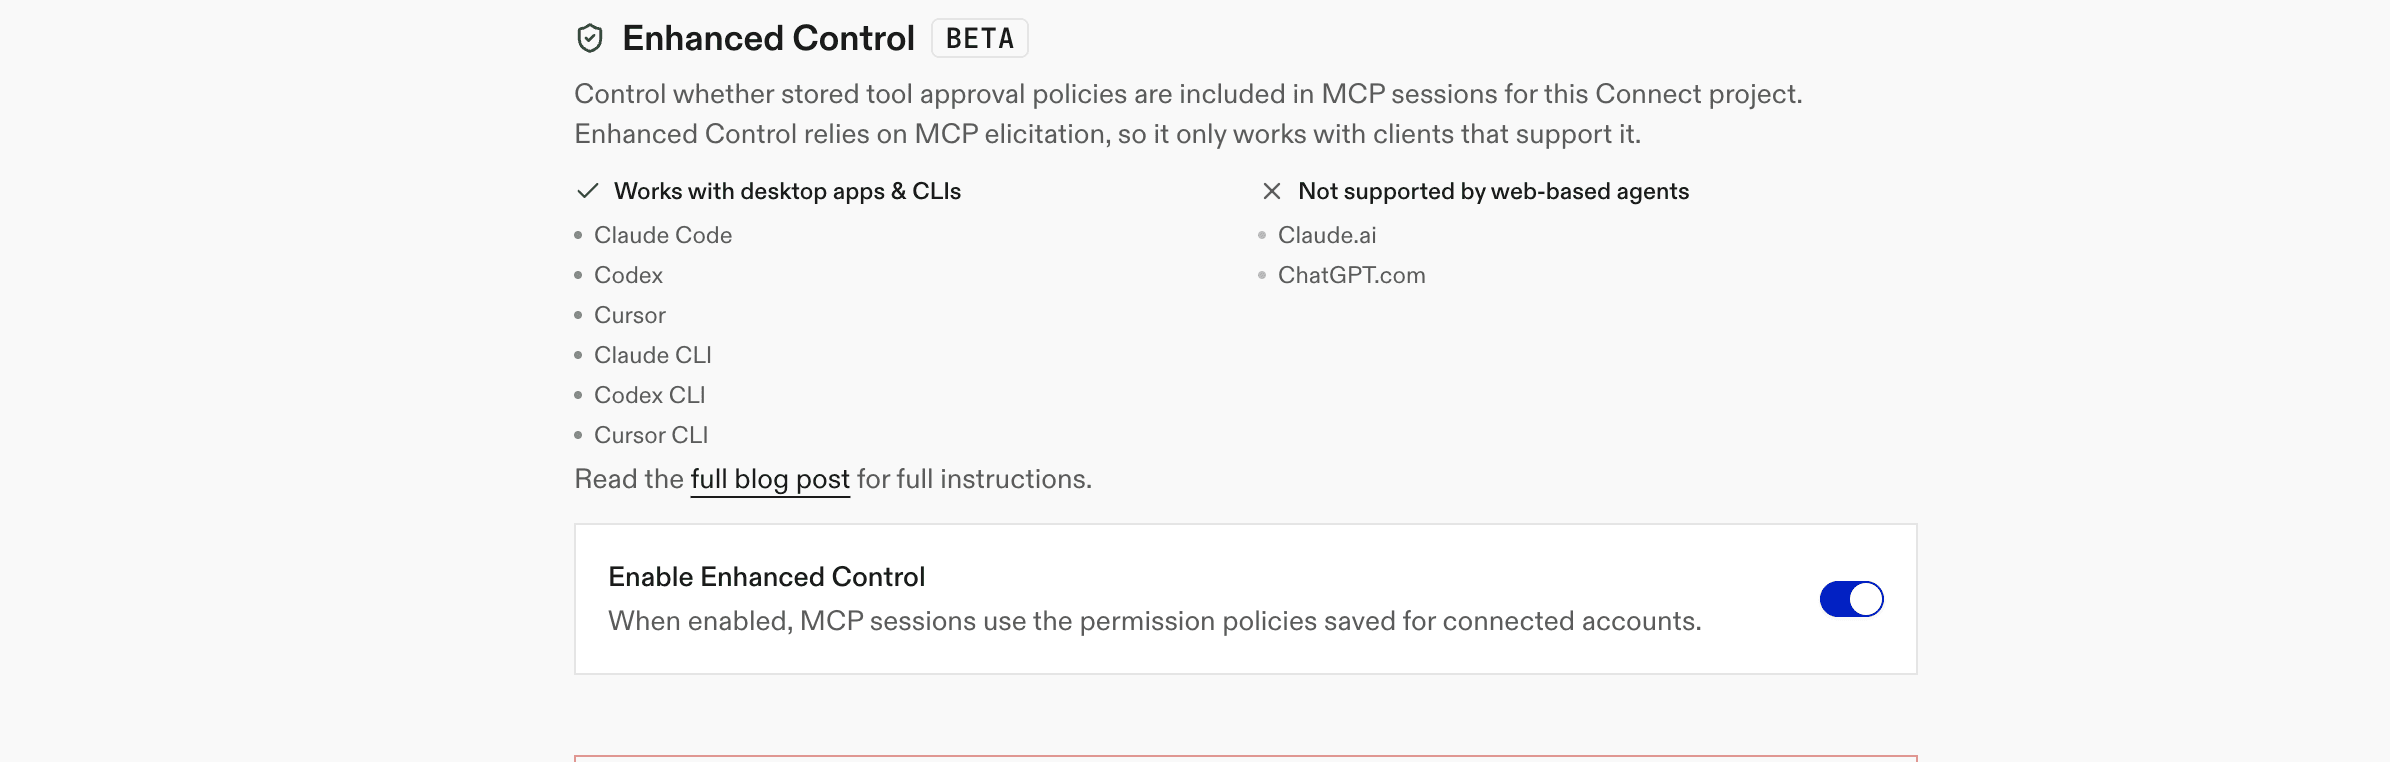
And cherry on top, if you’re worried about Claude deleting or sending emails on its own, we have an Enhanced Control feature, which lets you control which tools you want to expose to Claude or any agent, for that matter. Read more on it here: Introducing Enhanced Control
How to add Gmail connector to Claude in 4 steps
Step 1: Sign up for Composio
Go to dashboard.composio.dev and make sure you’re in the For you dashboard.

Step 2: Create a new Gmail connection
Click on the Gmail icon and click Connect
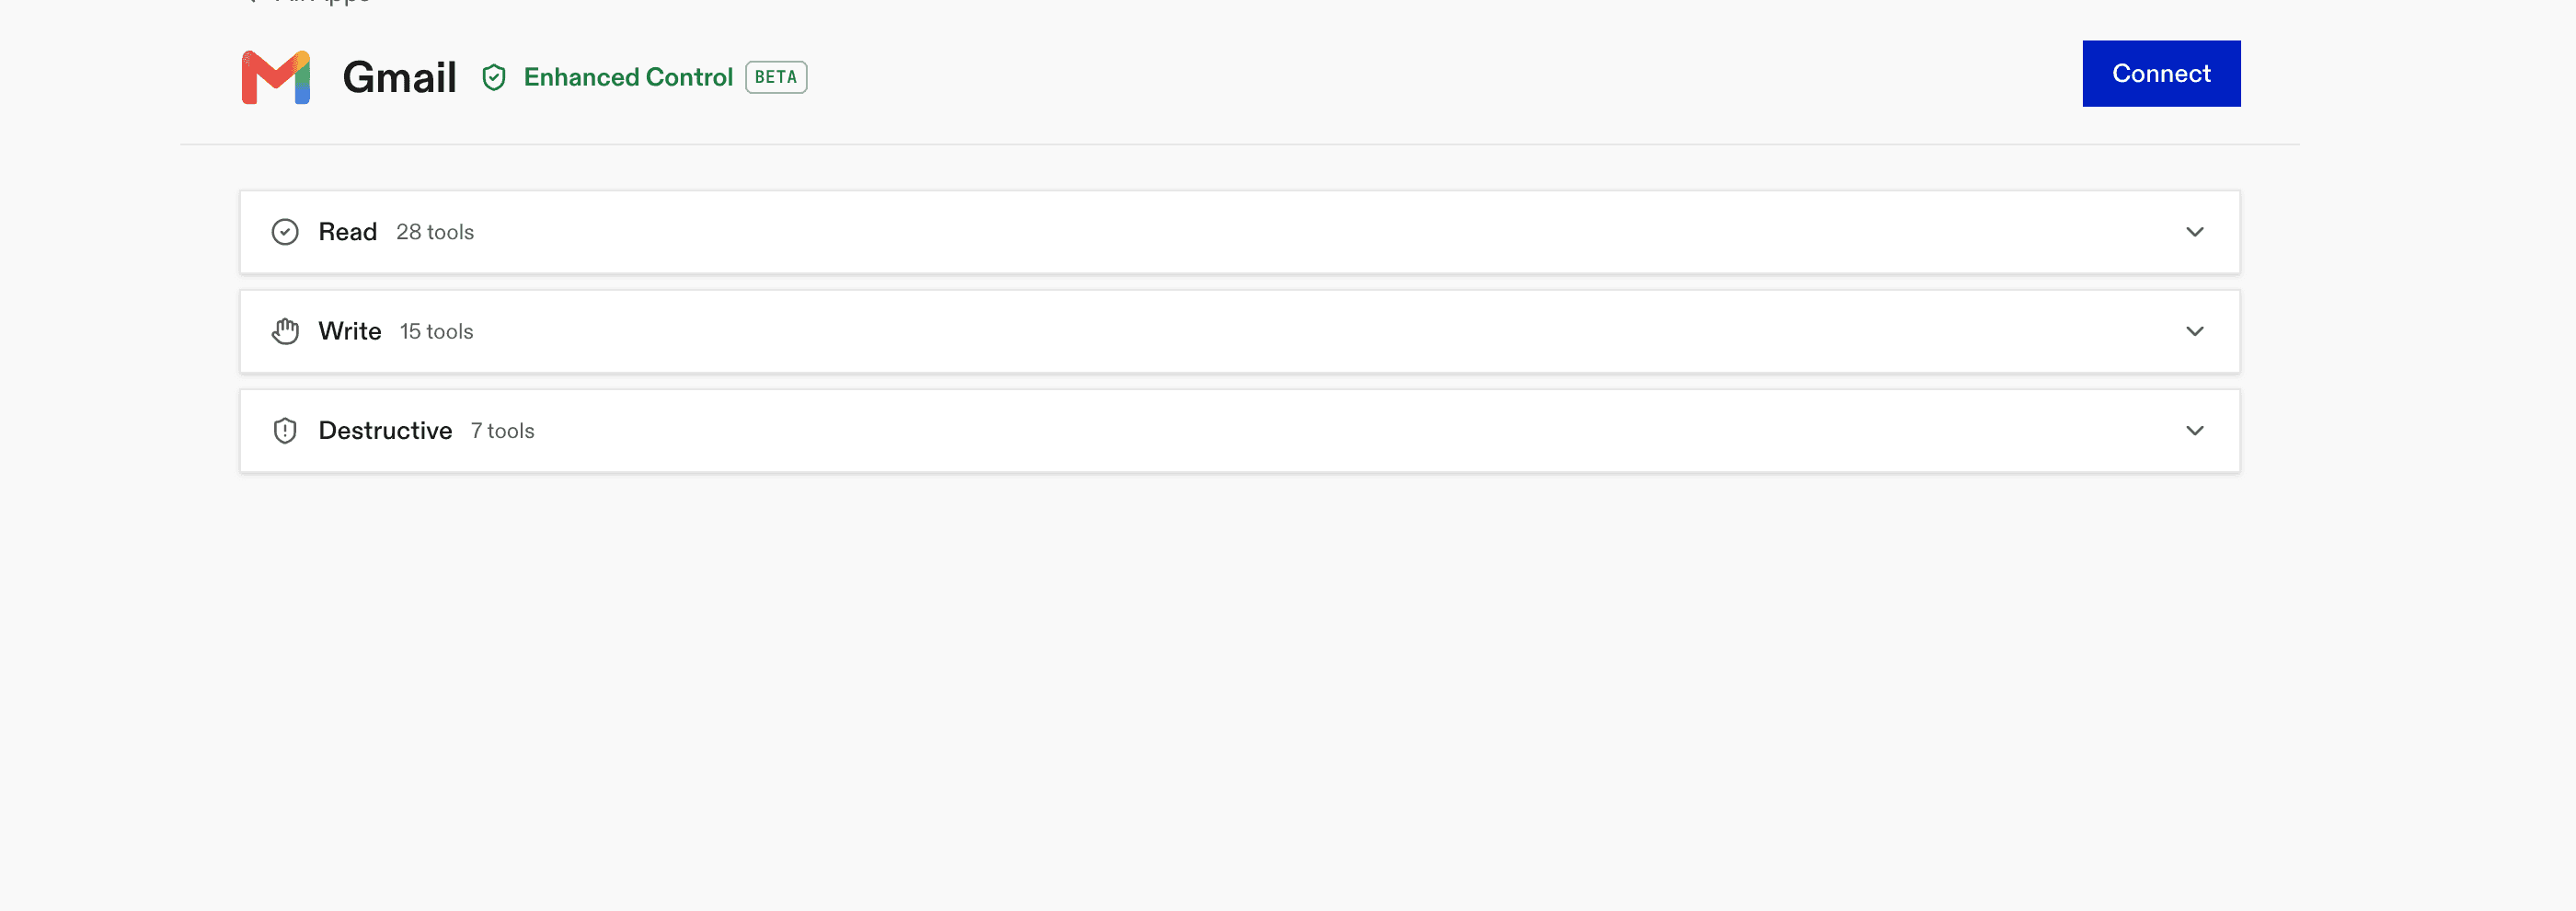
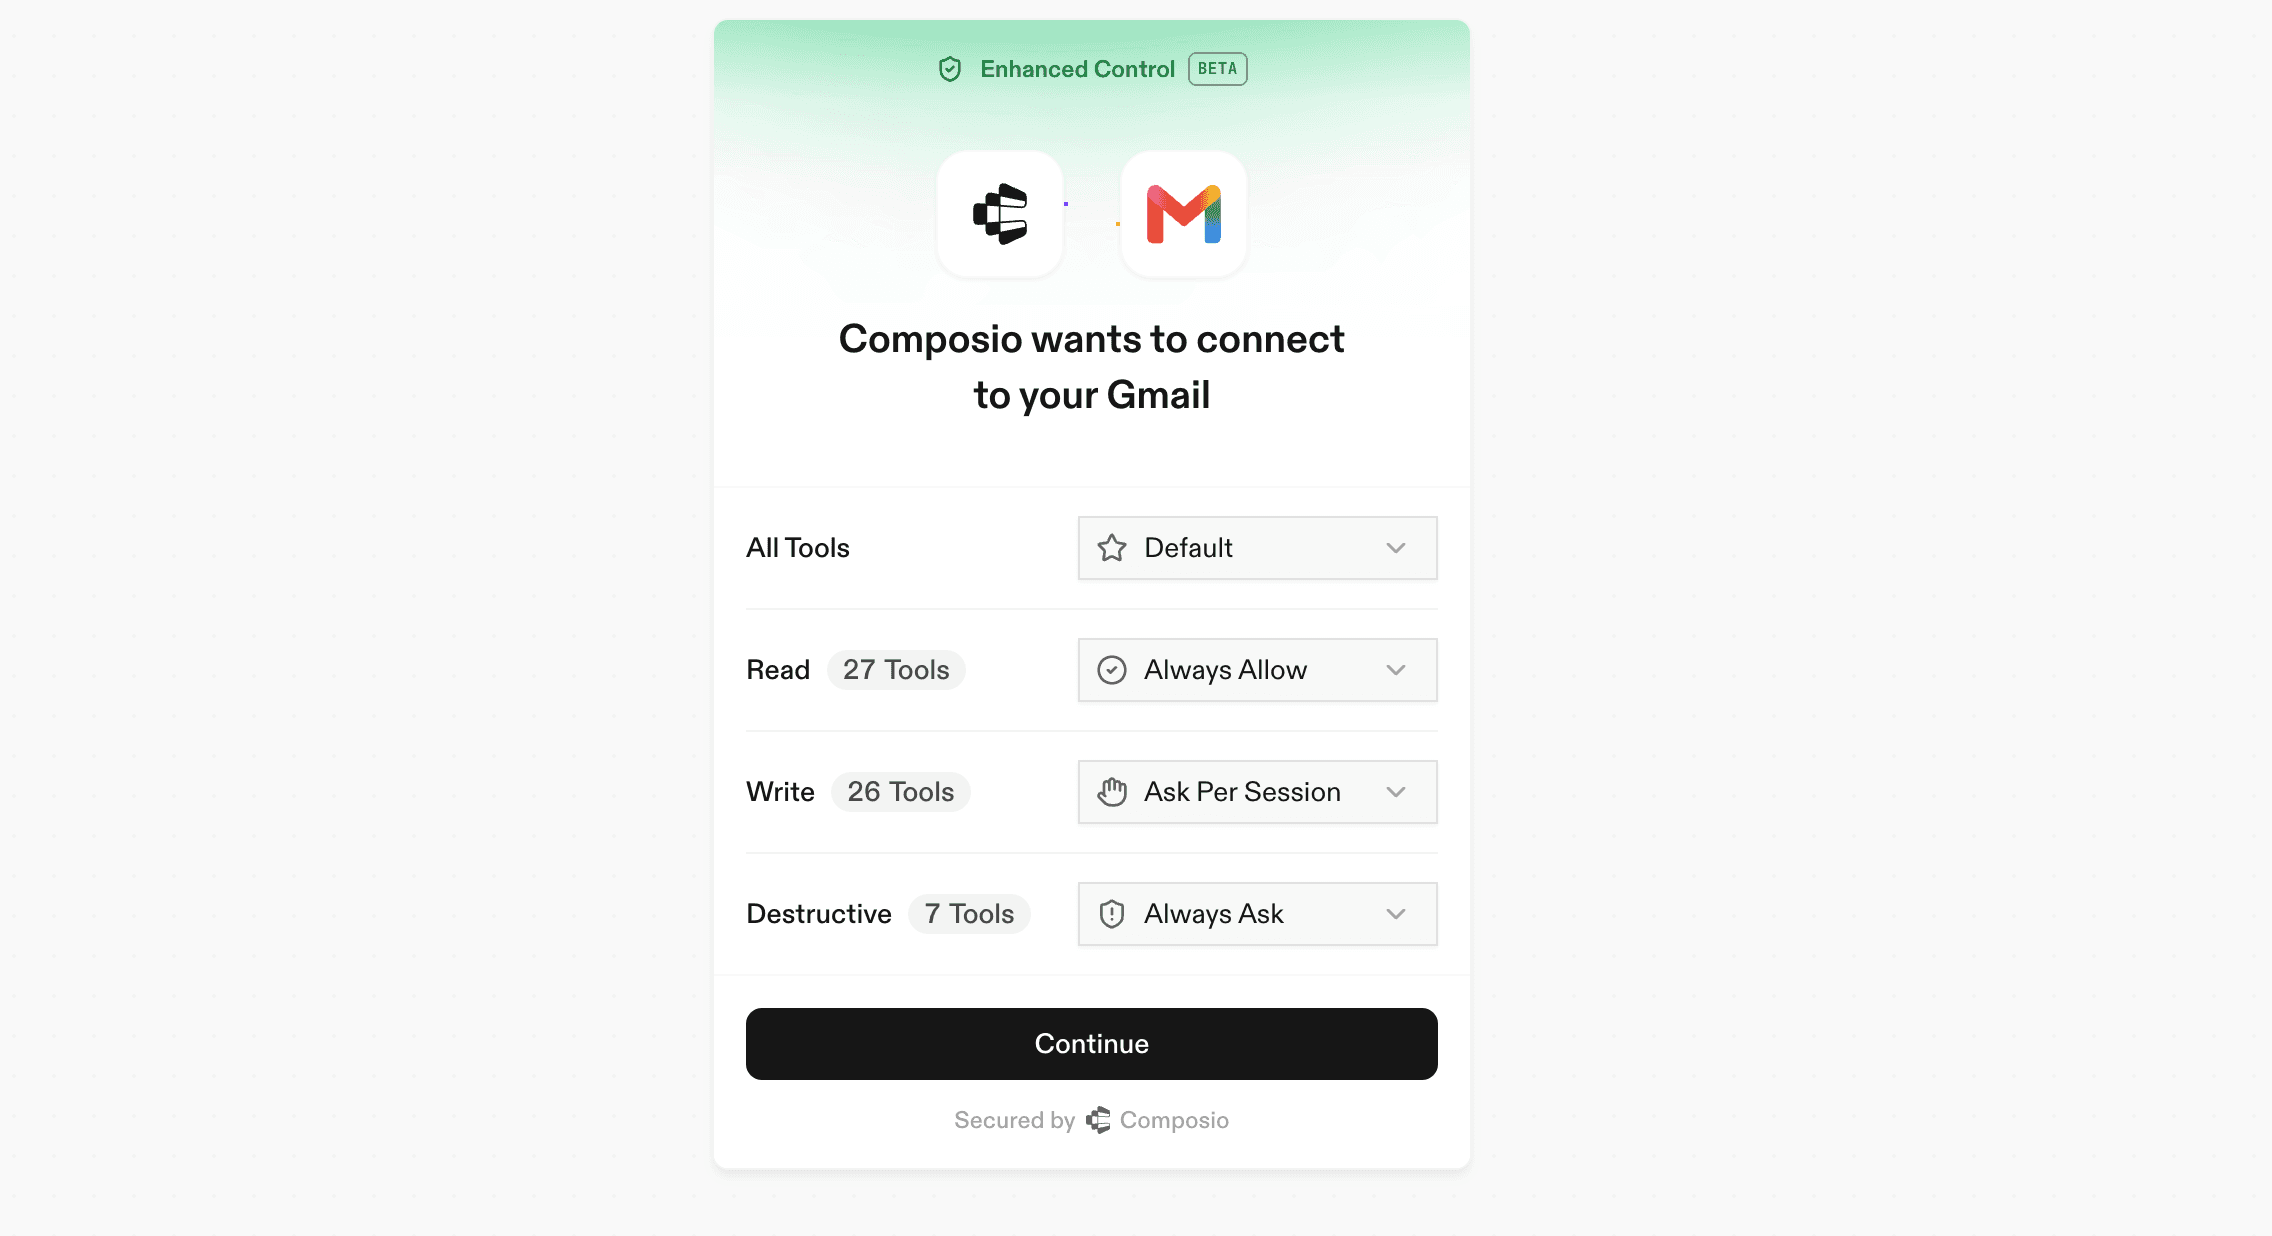
Authorise Composio to access your Gmail account. Here, you can select all the tools you want Claude to use. It defaults to all the tools.
Note: Note: To enable enhanced controls, go to Settings and turn them on.
Finish the authentication process, and your Gmail connection will be ready.
Bonus: You can also connect multiple Gmail accounts through Composio, and honestly, no other provider is doing that.
Step 3: Add Composio Gmail to Claude
Now copy this MCP URL
https://connect.composio.dev/mcpIt’s also in the dashboard.
Now, open Claude.ai, go to Claude Connectors in the Settings, and click on Add custom connector.
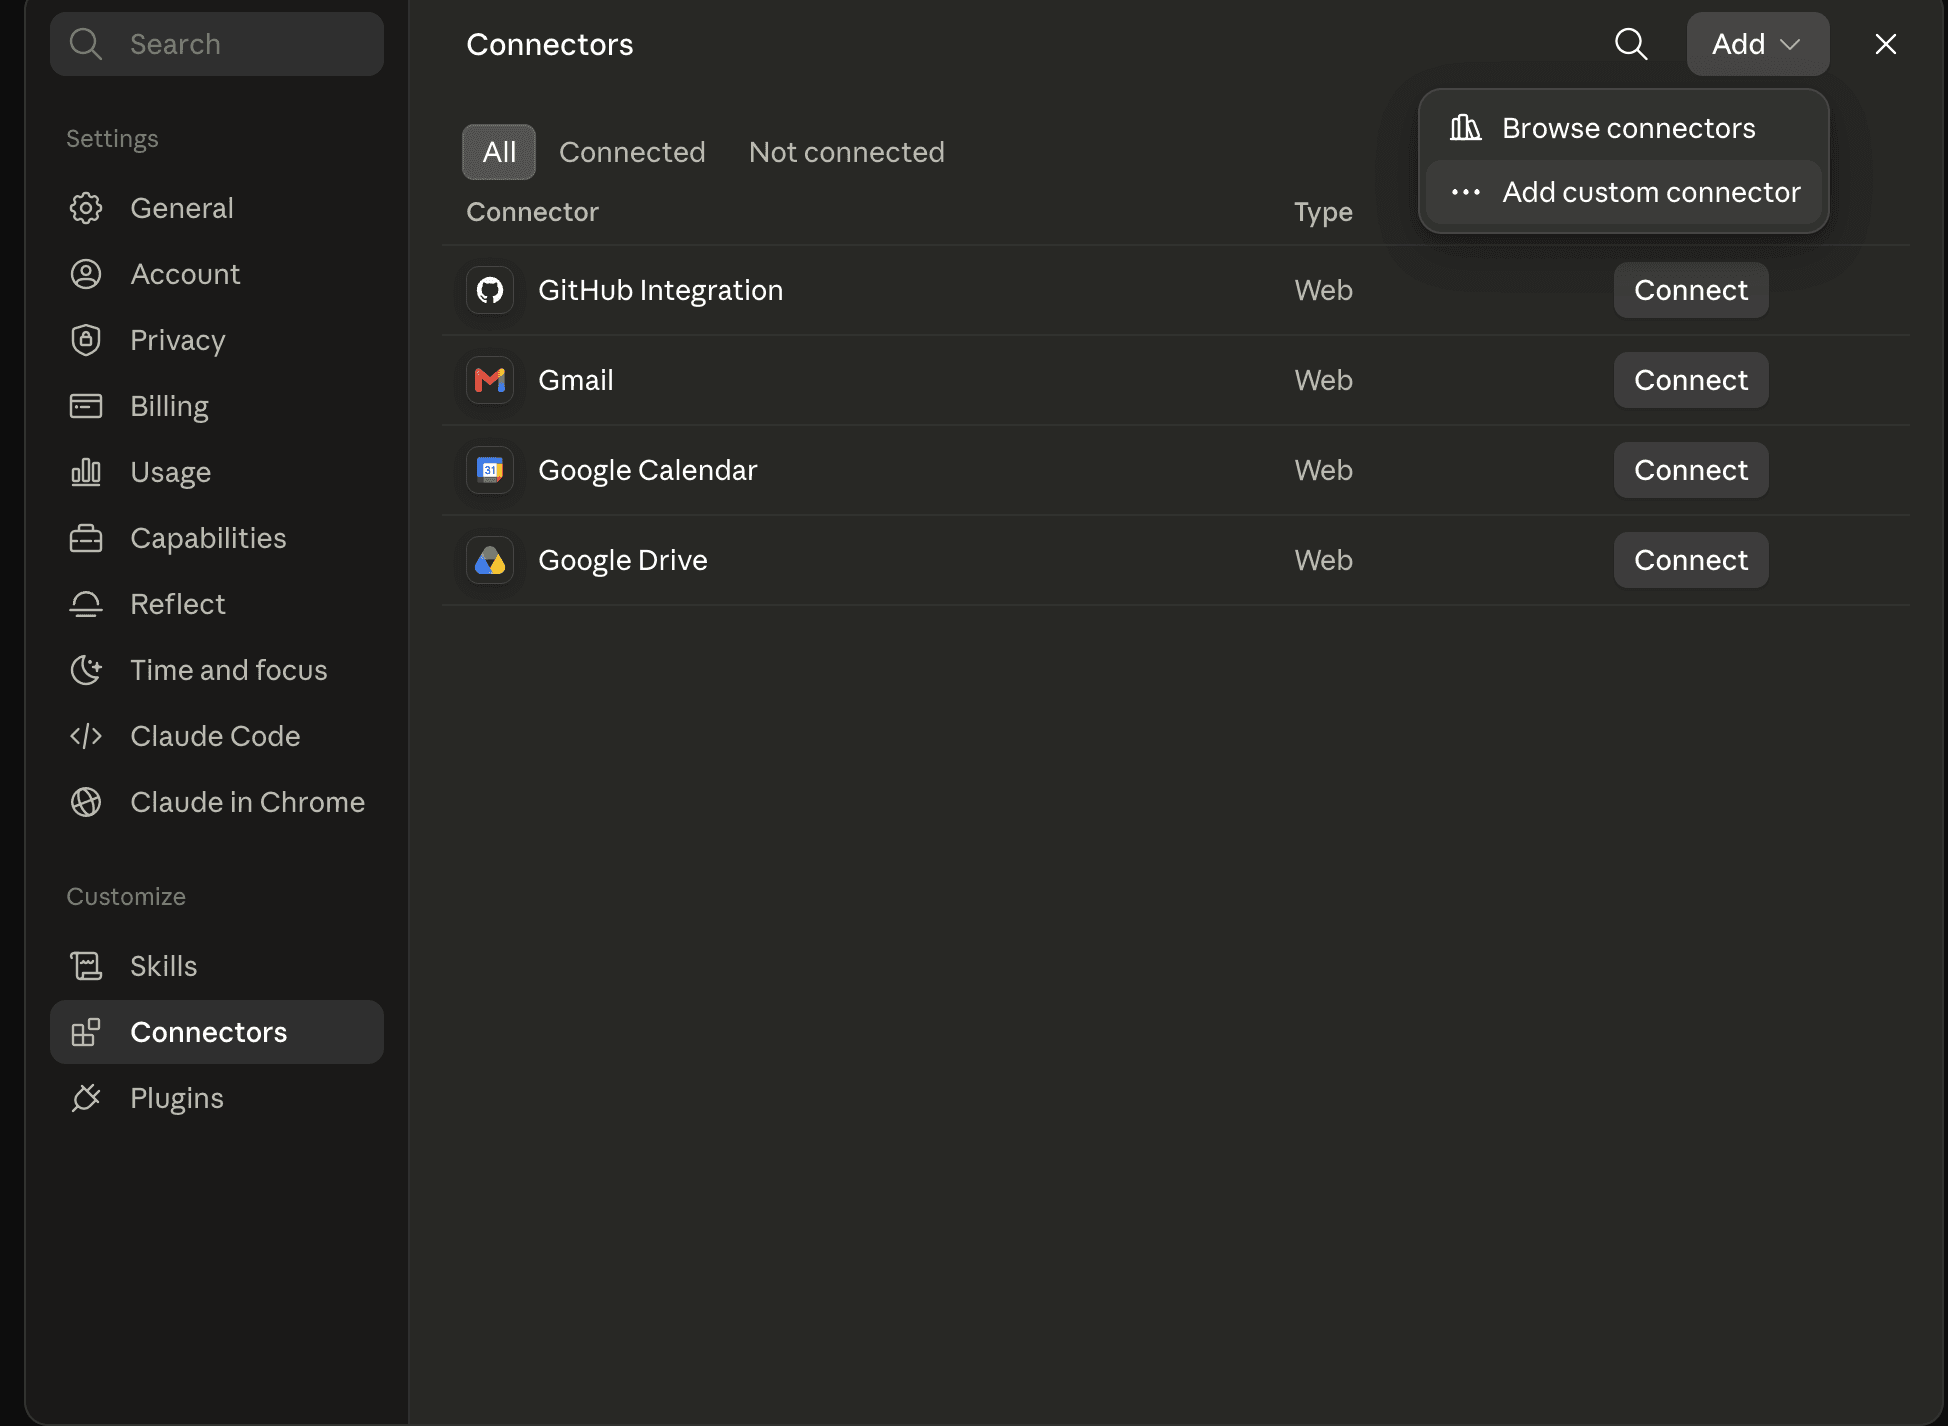
Fill in the boxes with the connector name and MCP server URL you just copied, and click Add.

Step 4: Connect Composio in Claude and start using Gmail
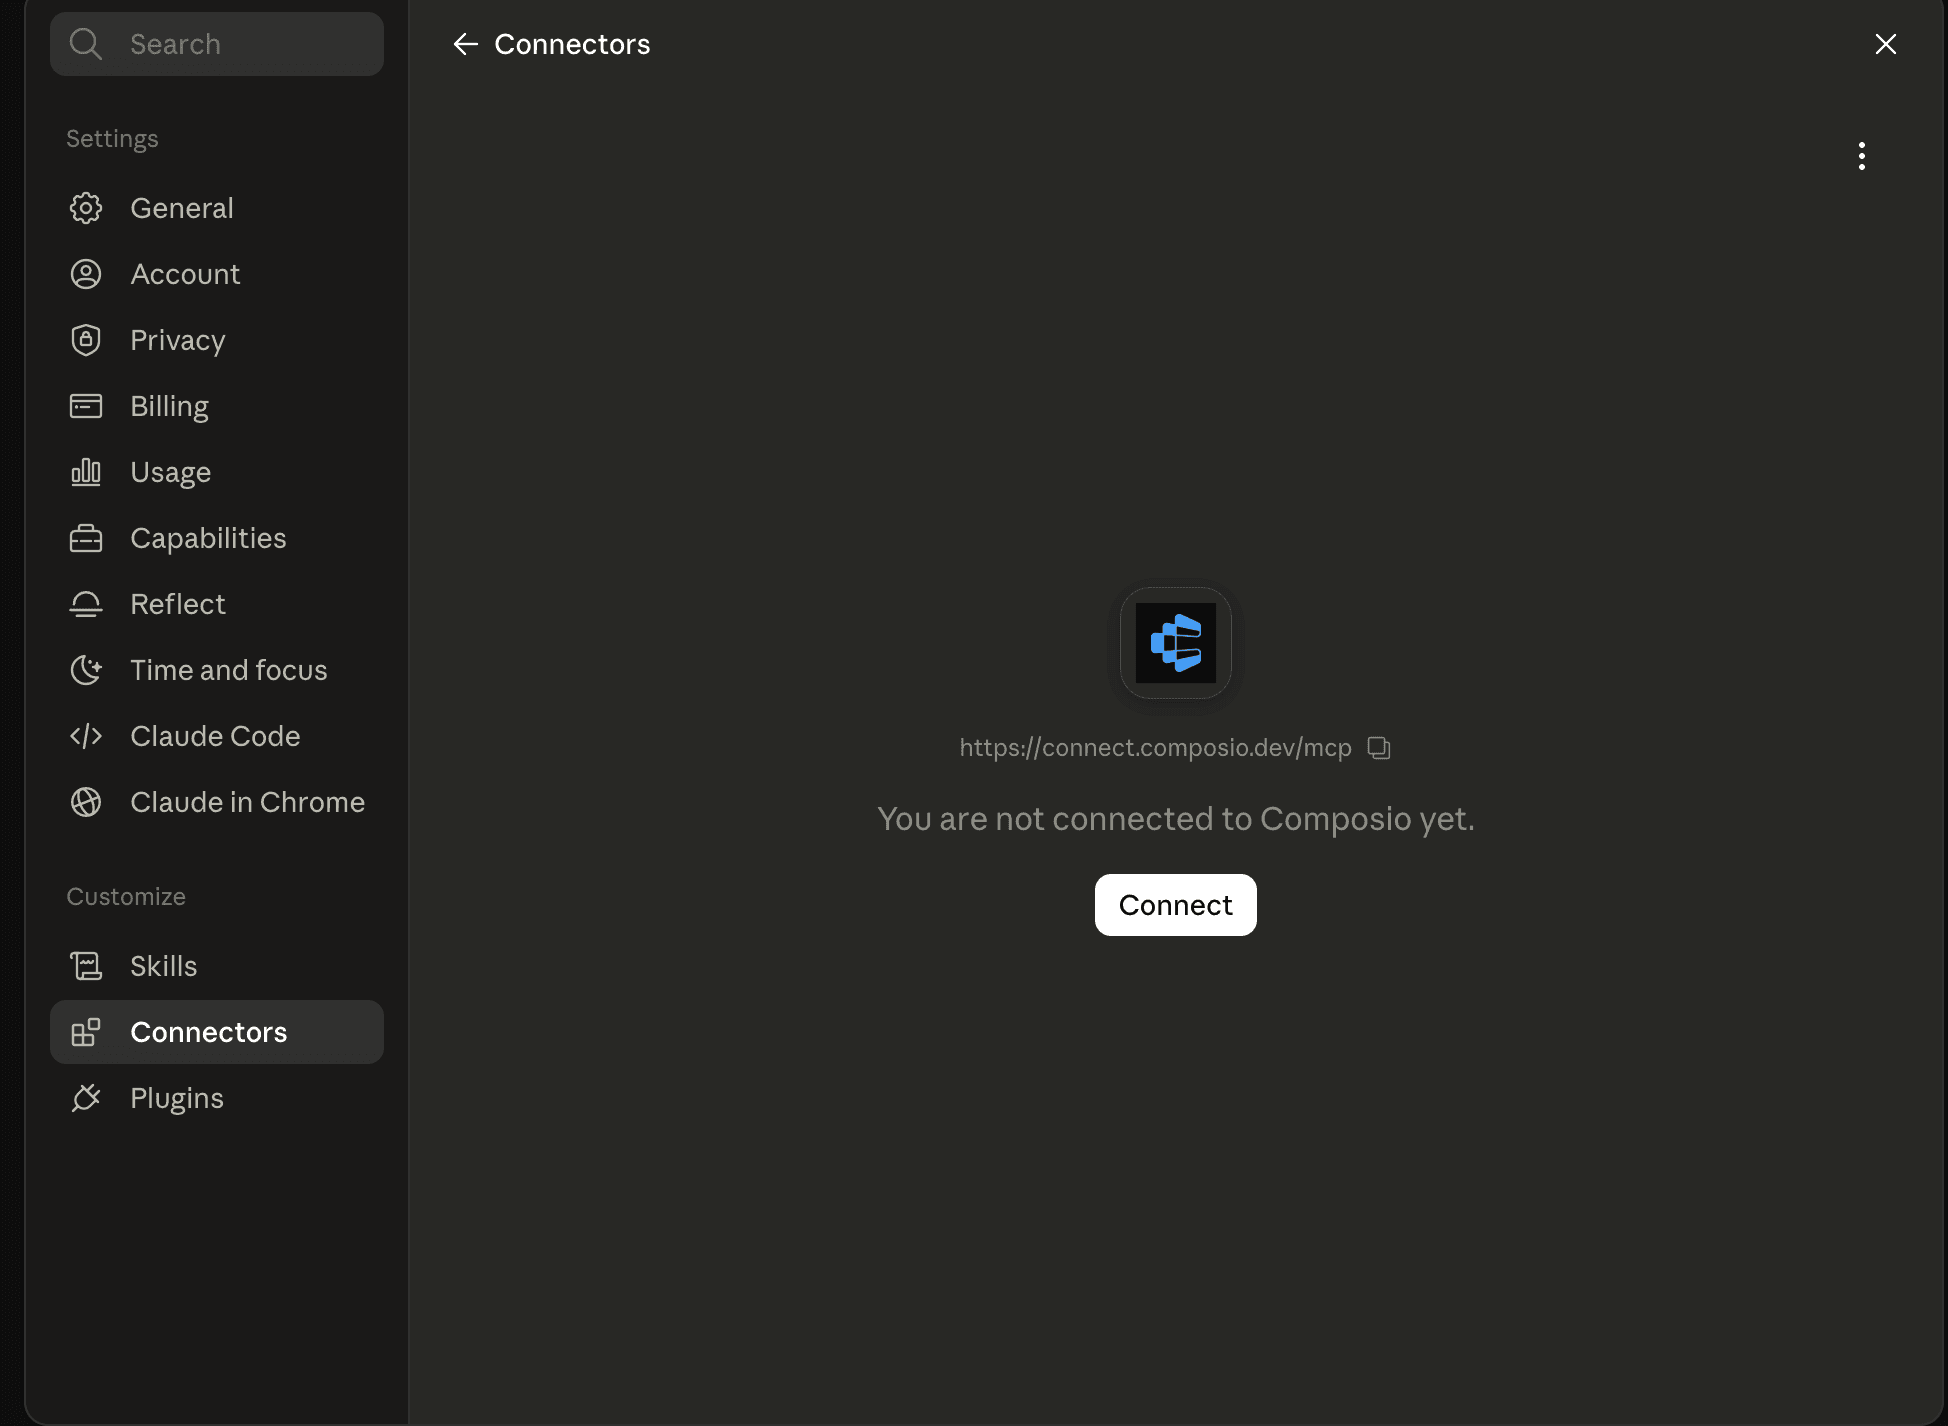
You’ll see a screen to authenticate Composio. Click on Connect.
Click Allow access.
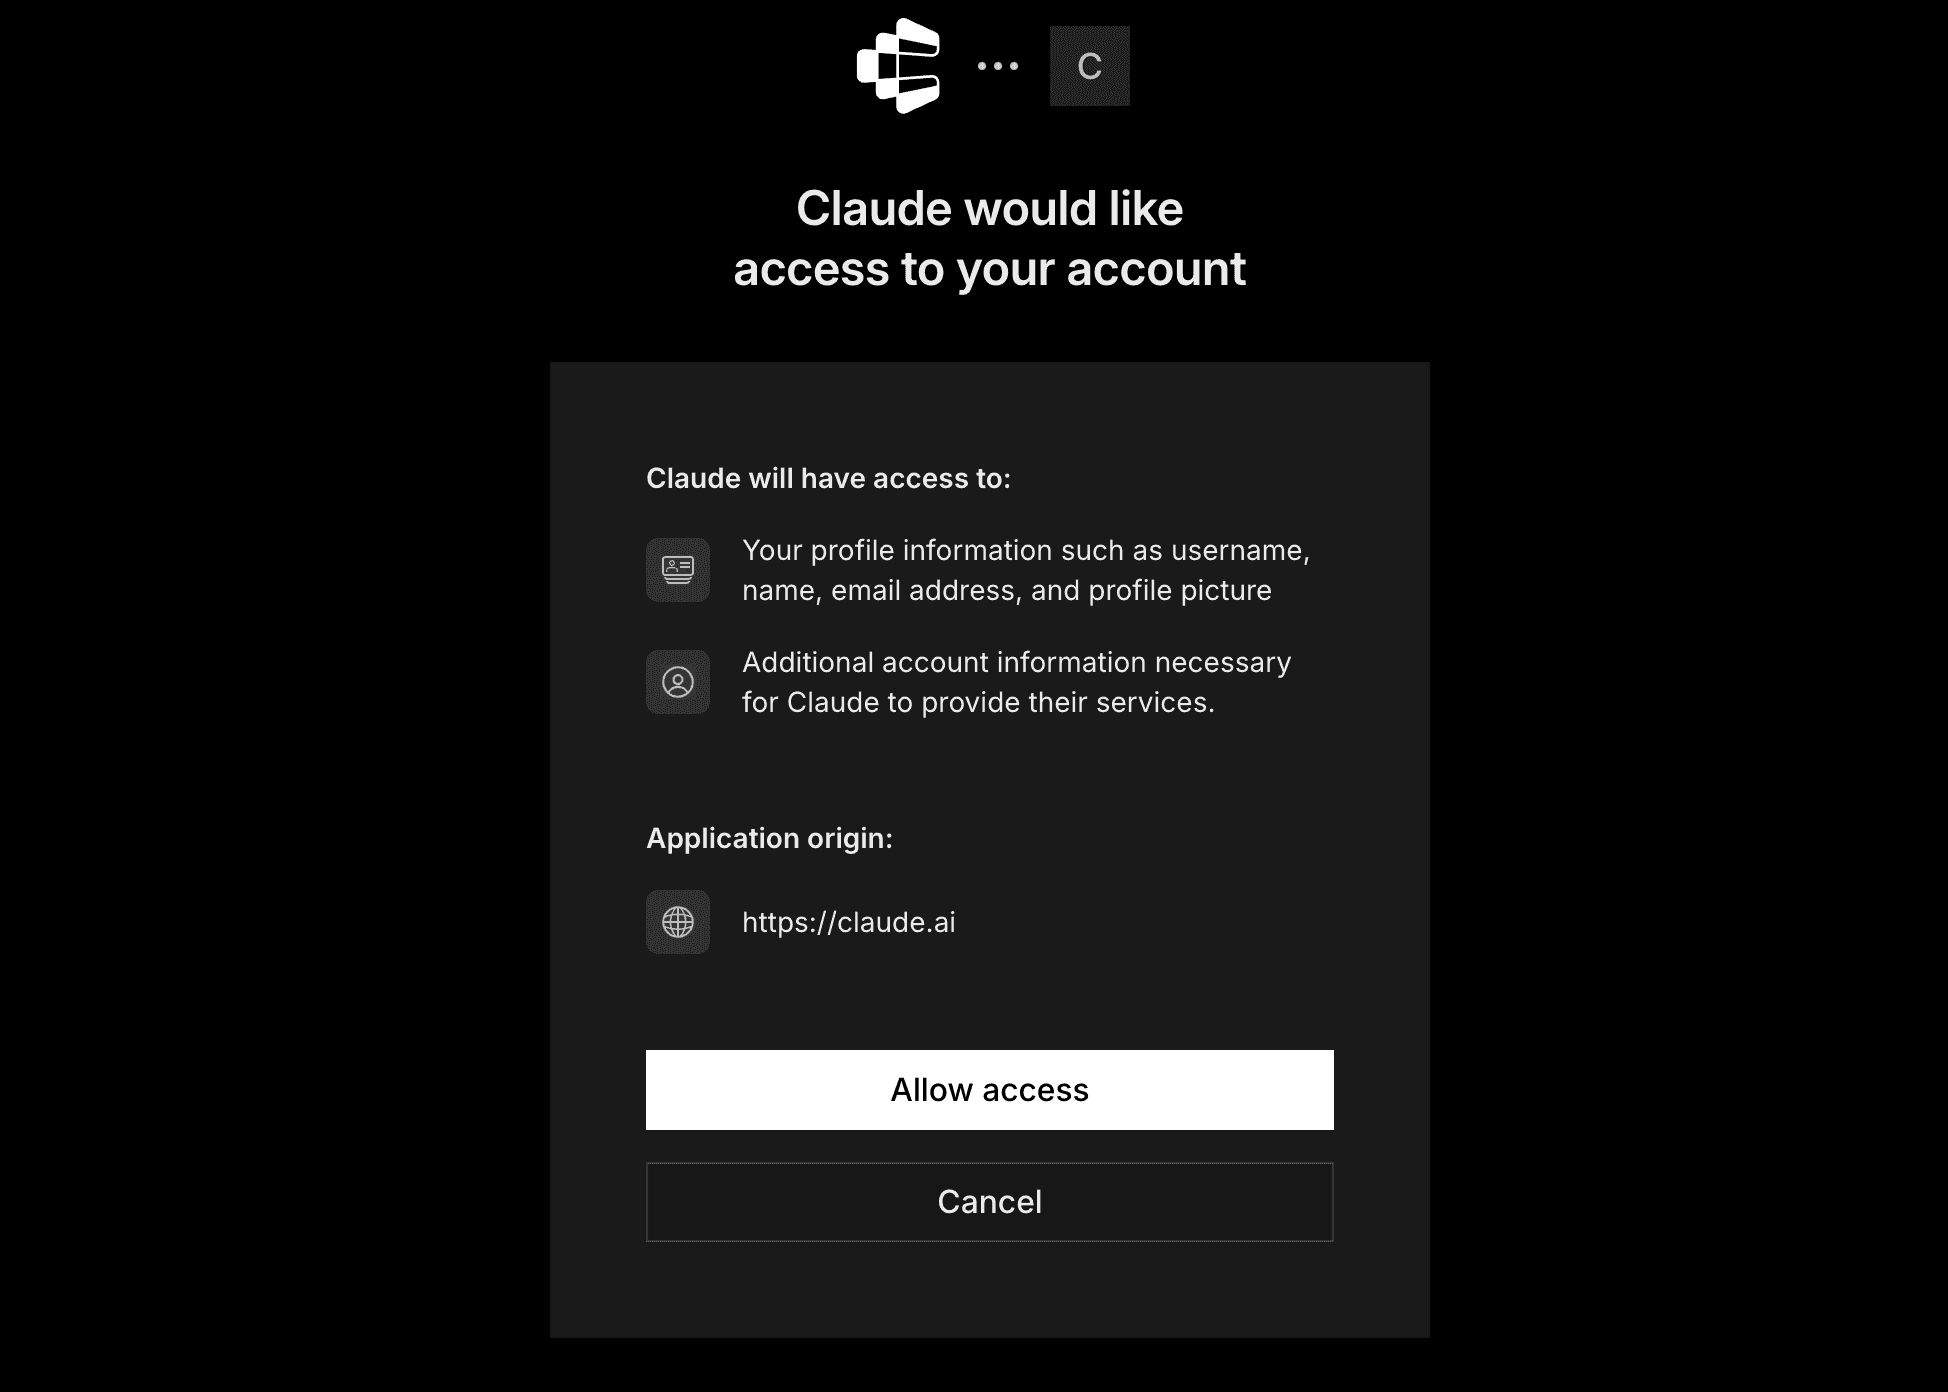
Annnd voilà! We’re done.
Now, ask Claude to draft an email and send it to whoever you want.
Draft and send an email to [recipient@email.com] with the subject “Quick catch-up.”
Tell them I’d like to schedule a 30-minute call next week to discuss [topic].
Keep it concise and friendly, and ask which day and time works best for them.
It doesn’t stop here. You can connect any number of apps to Claude from Composio’s massive 1500+ toolkit catalogue.

 Get started