


I've spent 30+ hours trying Codex Skills
Typically, when you search "Codex Skills", you'll get a list of hundreds of skills, and you have to wonder which ones will actually be useful to you or not. Thankfully, I've researched those lists and run multiple experiments on each skill today, with the goal of giving you the best review of the top Codex skills available to you.
You'd be surprised how much you can do with skills! You can use them to edit videos, create motion graphics, and generate good-looking, non-AI-slop websites directly in Codex. OpenAI even released "Record & Replay," where you can create your own skills, like creating Macros in Excel.
Today's skills apply to any type of work, whether it's admin, creative, or coding. The goal is to show you that skills can completely change your Codex workflow, no matter what you're doing.
TLDR; Best Codex Skills
Skill | What it does |
|---|---|
Composio CLI + Skill | Connects Codex to GitHub, Linear, Jira, Slack, Gmail, Notion, Figma, and hundreds of other tools without configuring authentication for each one. |
Impeccable | Audits and polishes frontend interfaces, improving hierarchy, typography, spacing, accessibility, responsiveness, and overall design quality. |
Remotion | Creates programmatic videos, motion graphics, intros, captions, and animations directly inside Codex. |
Frontend Design | Designs and implements distinctive, production-quality websites, dashboards, pages, and React components. |
Web App Testing | Uses Playwright to test local web applications, interact with user flows, capture screenshots, and inspect browser errors. |
grill-me | Interviews you about an idea or plan before Codex starts working, helping uncover missing requirements and edge cases. |
handoff | Summarises the important context from a Codex session so the work can continue in a new chat or with another model. |
Excalidraw | Turns prompts, research, and technical concepts into editable diagrams, flowcharts, and architecture visuals. |
frontend-slides | Converts documents, notes, and briefs into editable presentation decks that you can refine inside Codex. |
Record and Replay | Records a workflow once and turns it into a reusable Codex skill that can adapt and repeat the process |
MCP Builder | Helps Codex design, implement, test, and evaluate MCP servers for APIs, databases, internal services, and developer tools. |
What is a Codex skill, and how does Codex use it?
A Codex skill is a reusable set of instructions and resources that teaches Codex how to complete a particular workflow. A skill always includes a SKILL.md file, which describes what the skill does, when Codex should use it, and the steps it should follow. It can also include scripts, templates, reference documents, examples, and other supporting assets.
Skills do not give Codex a memory of every previous conversation. Instead, they preserve the useful parts of a workflow outside the chat.
Codex doesn't load every installed skill in full when you open a chat. It initially sees only metadata, including each skill’s name and description. When your request matches a skill—or when you invoke one directly with a command such as $webapp-testing—Codex loads its complete instructions and any supporting files it needs.
Because the instructions are stored in readable files, you can inspect a skill before trusting it, edit it to match your workflow, commit it to a repository, and share it with teammates. Skills follow the open SKILL.md format, so many skills created for other compatible coding agents can also work in Codex.
Turn repeatable work into a skill
Almost any workflow you perform repeatedly can become a skill. For example:
Reviewing pull requests using your team’s engineering standards.
Creating React components that follow an existing design system.
Investigating bugs in a consistent order.
Preparing releases and generating changelogs.
You can create one with Codex’s built-in Skill Creator:
$skill-creator Create a skill for preparing a release. It should run our tests, check the changelog, collect merged pull requests, draft release notes, and stop before publishing anything.Skill Creator can turn that description into a complete skill, add templates or scripts where useful, and help test whether it activates for the right requests.
Skills can capture visual workflows too
A workflow doesn't have to start as written instructions. You can give Codex screenshots, a flowchart, reference images, or a visual walkthrough and ask it to translate the process into repeatable steps. For example, you could show Codex how your team reviews a dashboard, checks a design against a reference, or completes a browser-based QA flow.
Codex can identify the important actions, decisions, inputs, and checkpoints, then store them as a reusable skill. When browser or computer-use tools are available, the skill can also explain how to perform and verify those visual interactions. The result is still transparent: you can inspect the generated instructions and decide exactly what Codex is allowed to repeat.
Related: Best Codex Plugins.
What are the best Codex skills in 2026? (with real use cases)
1. Composio CLI + Skills: Connect 100+ dev tools to Codex without auth hassles
Composio lets Codex work with tools outside your codebase, including GitHub, Linear, Jira, Slack, Gmail, Notion, Figma, and hundreds more. The Composio CLI helps Codex find the right action, connect the required account, and execute it.
You do not need to configure a separate API key, OAuth, or MCP server for every app. The first time Codex needs an app, Composio gives you a secure connection link. Sign in, approve access, and Codex can continue the task.
Find all the dev tools: Developer tools
How to install Composio on Codex CLI
Install the Composio CLI:
curl -fsSL https://composio.dev/install | shOpen a new terminal and sign in:
composio loginConfigure Composio for Codex:
composio setup --target codexIf you are running setup from an agent or another non-interactive terminal, add the --yes flag:
composio setup --target codex --yesThis installs the native Composio CLI for Codex, including the Composio CLI skill. If it does not appear immediately, start a new Codex session.
How to install Composio in the Codex app
If you use the Codex/ChatGPT app, you can install the official plugin or use the CLI instead.
Search for Composio in the OpenAI marketplace or click on this link: Composio <> ChatGPT
Now click Install in the top right.
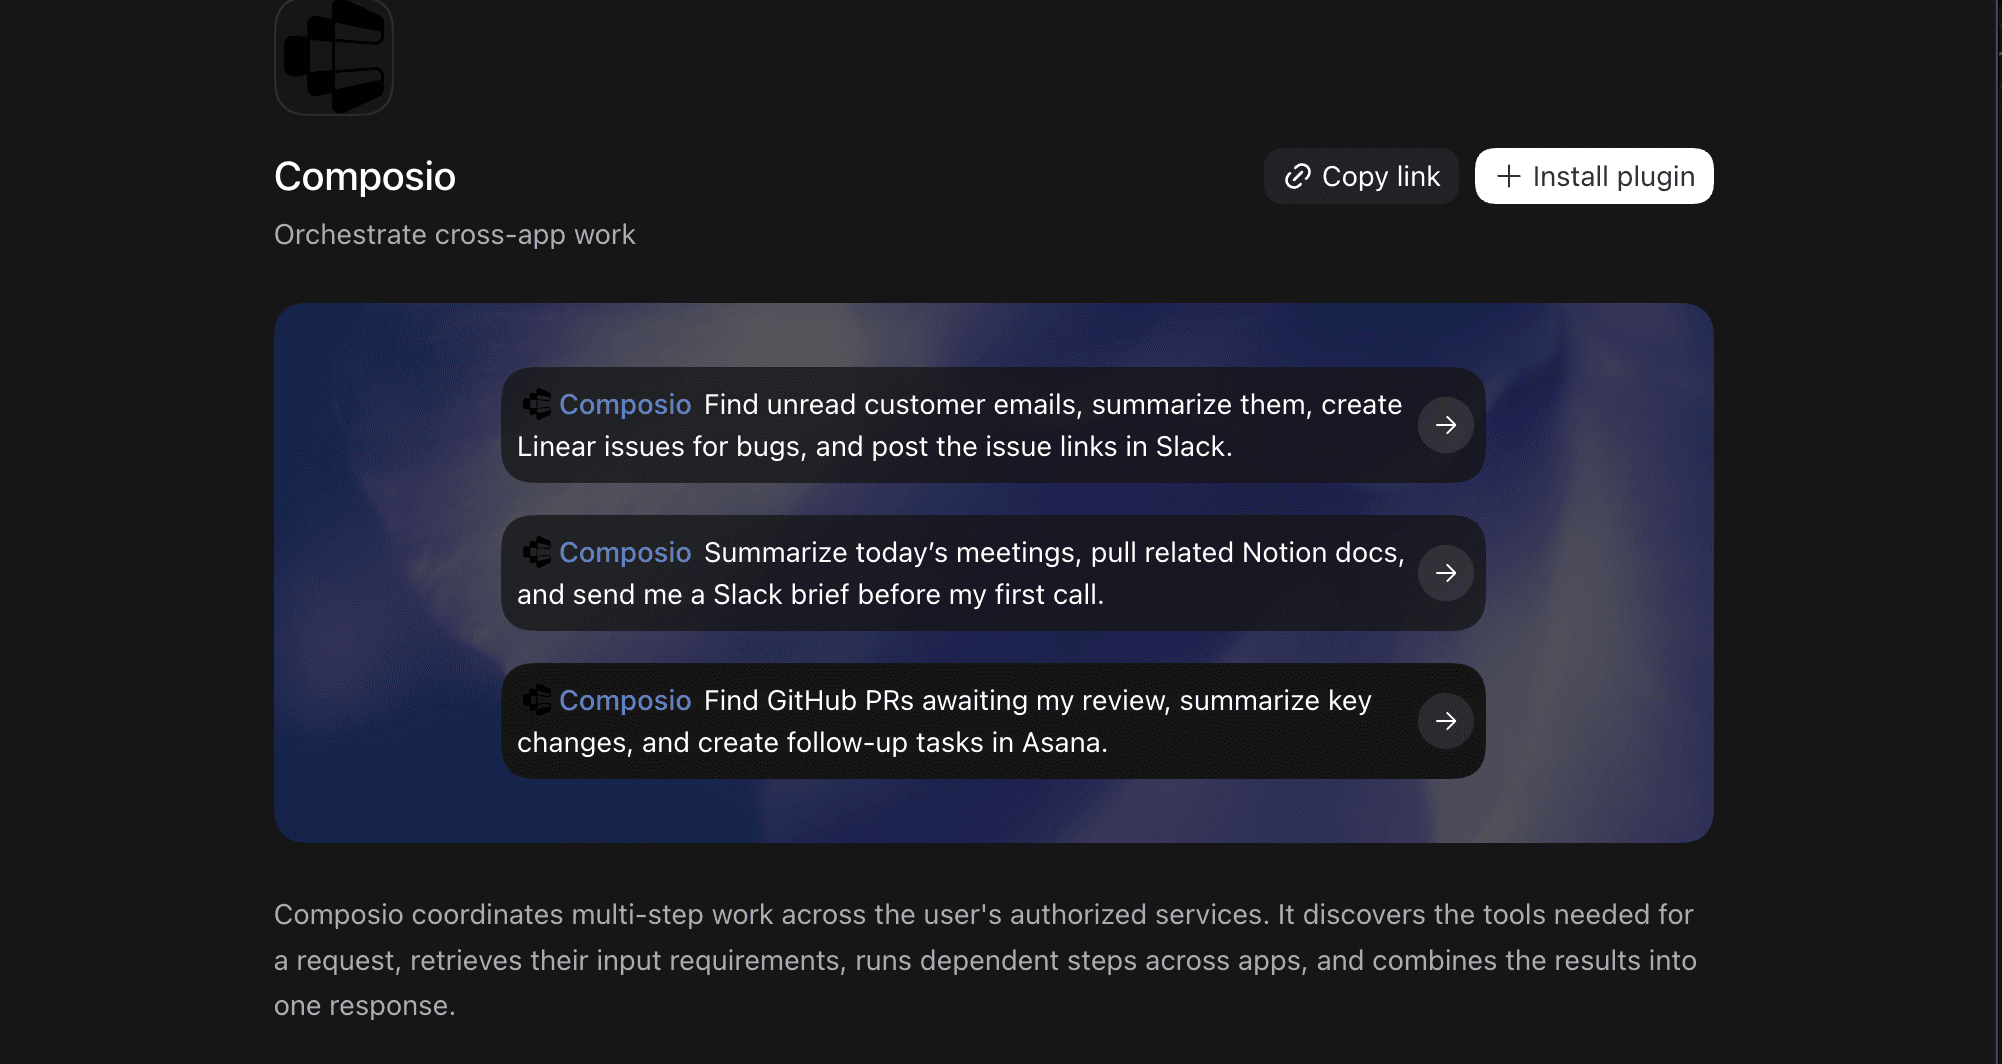
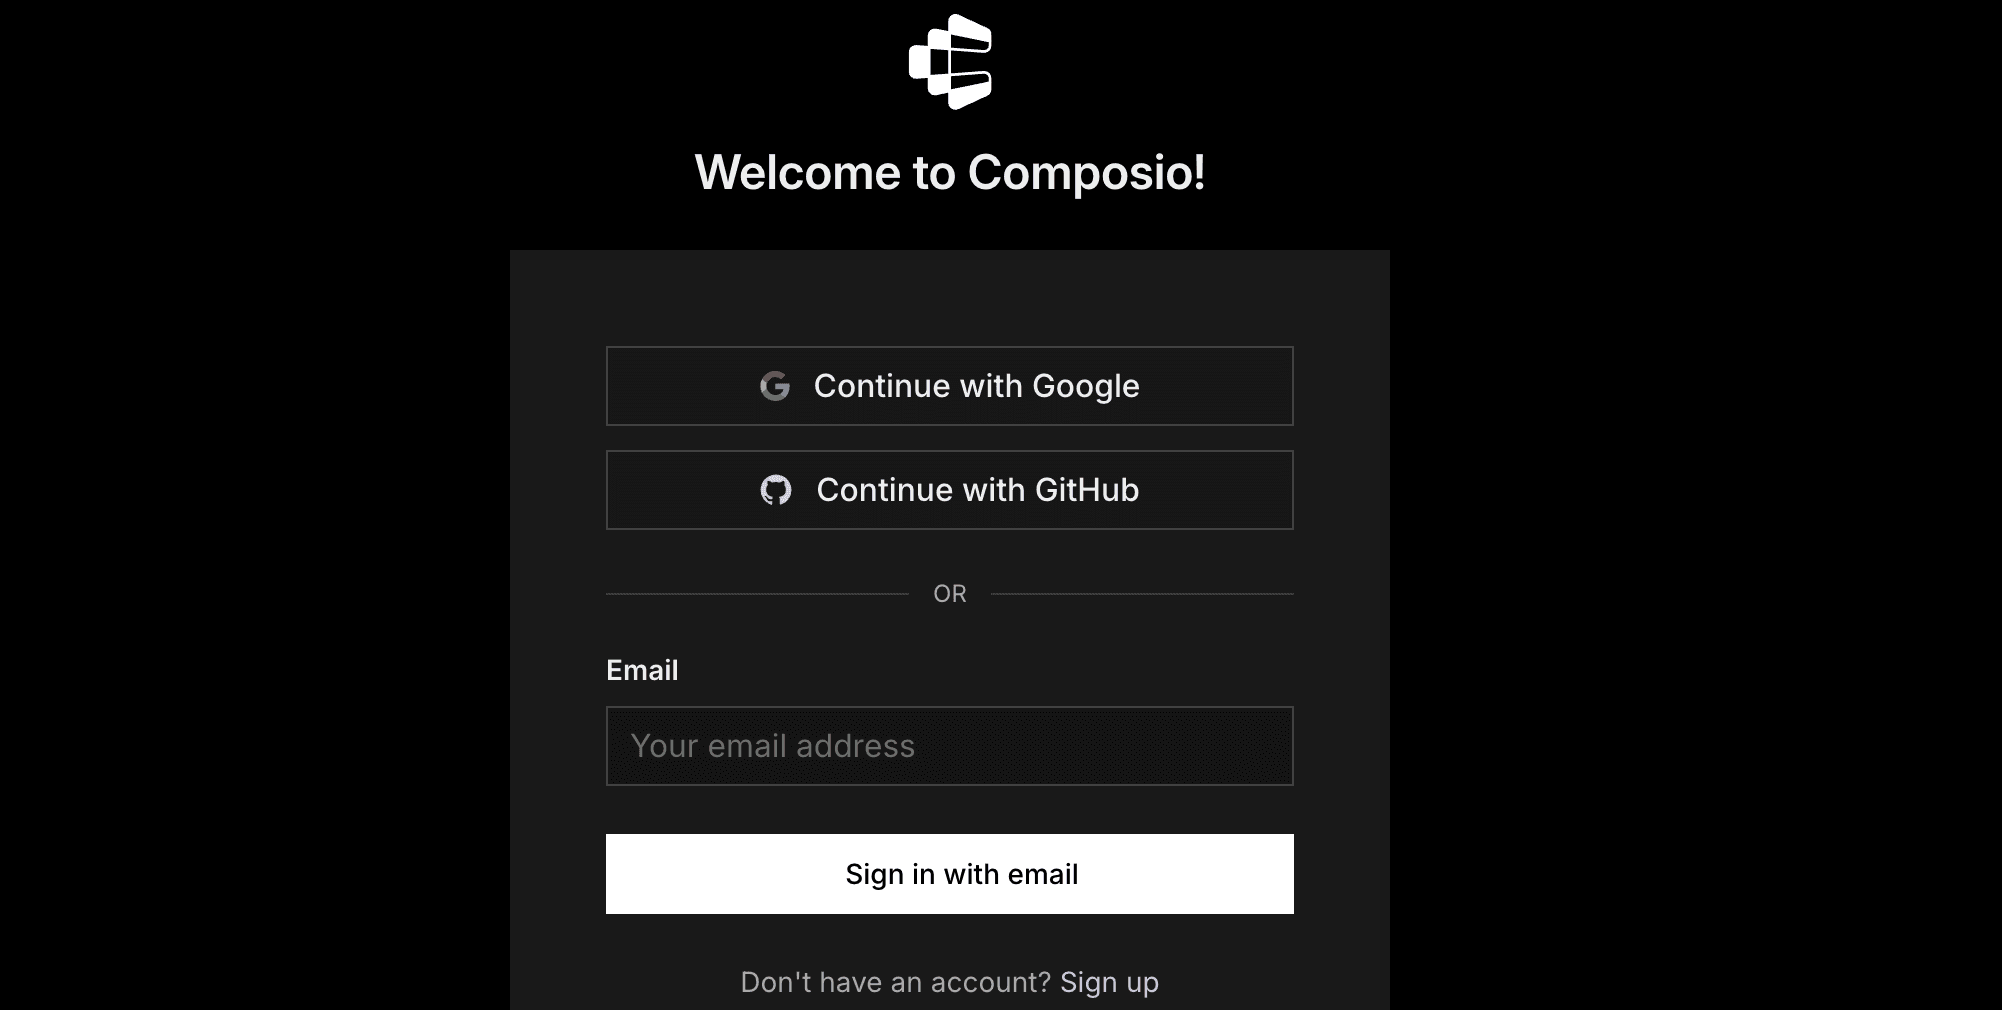
You'll be redirected to the Composio sign-in screen.
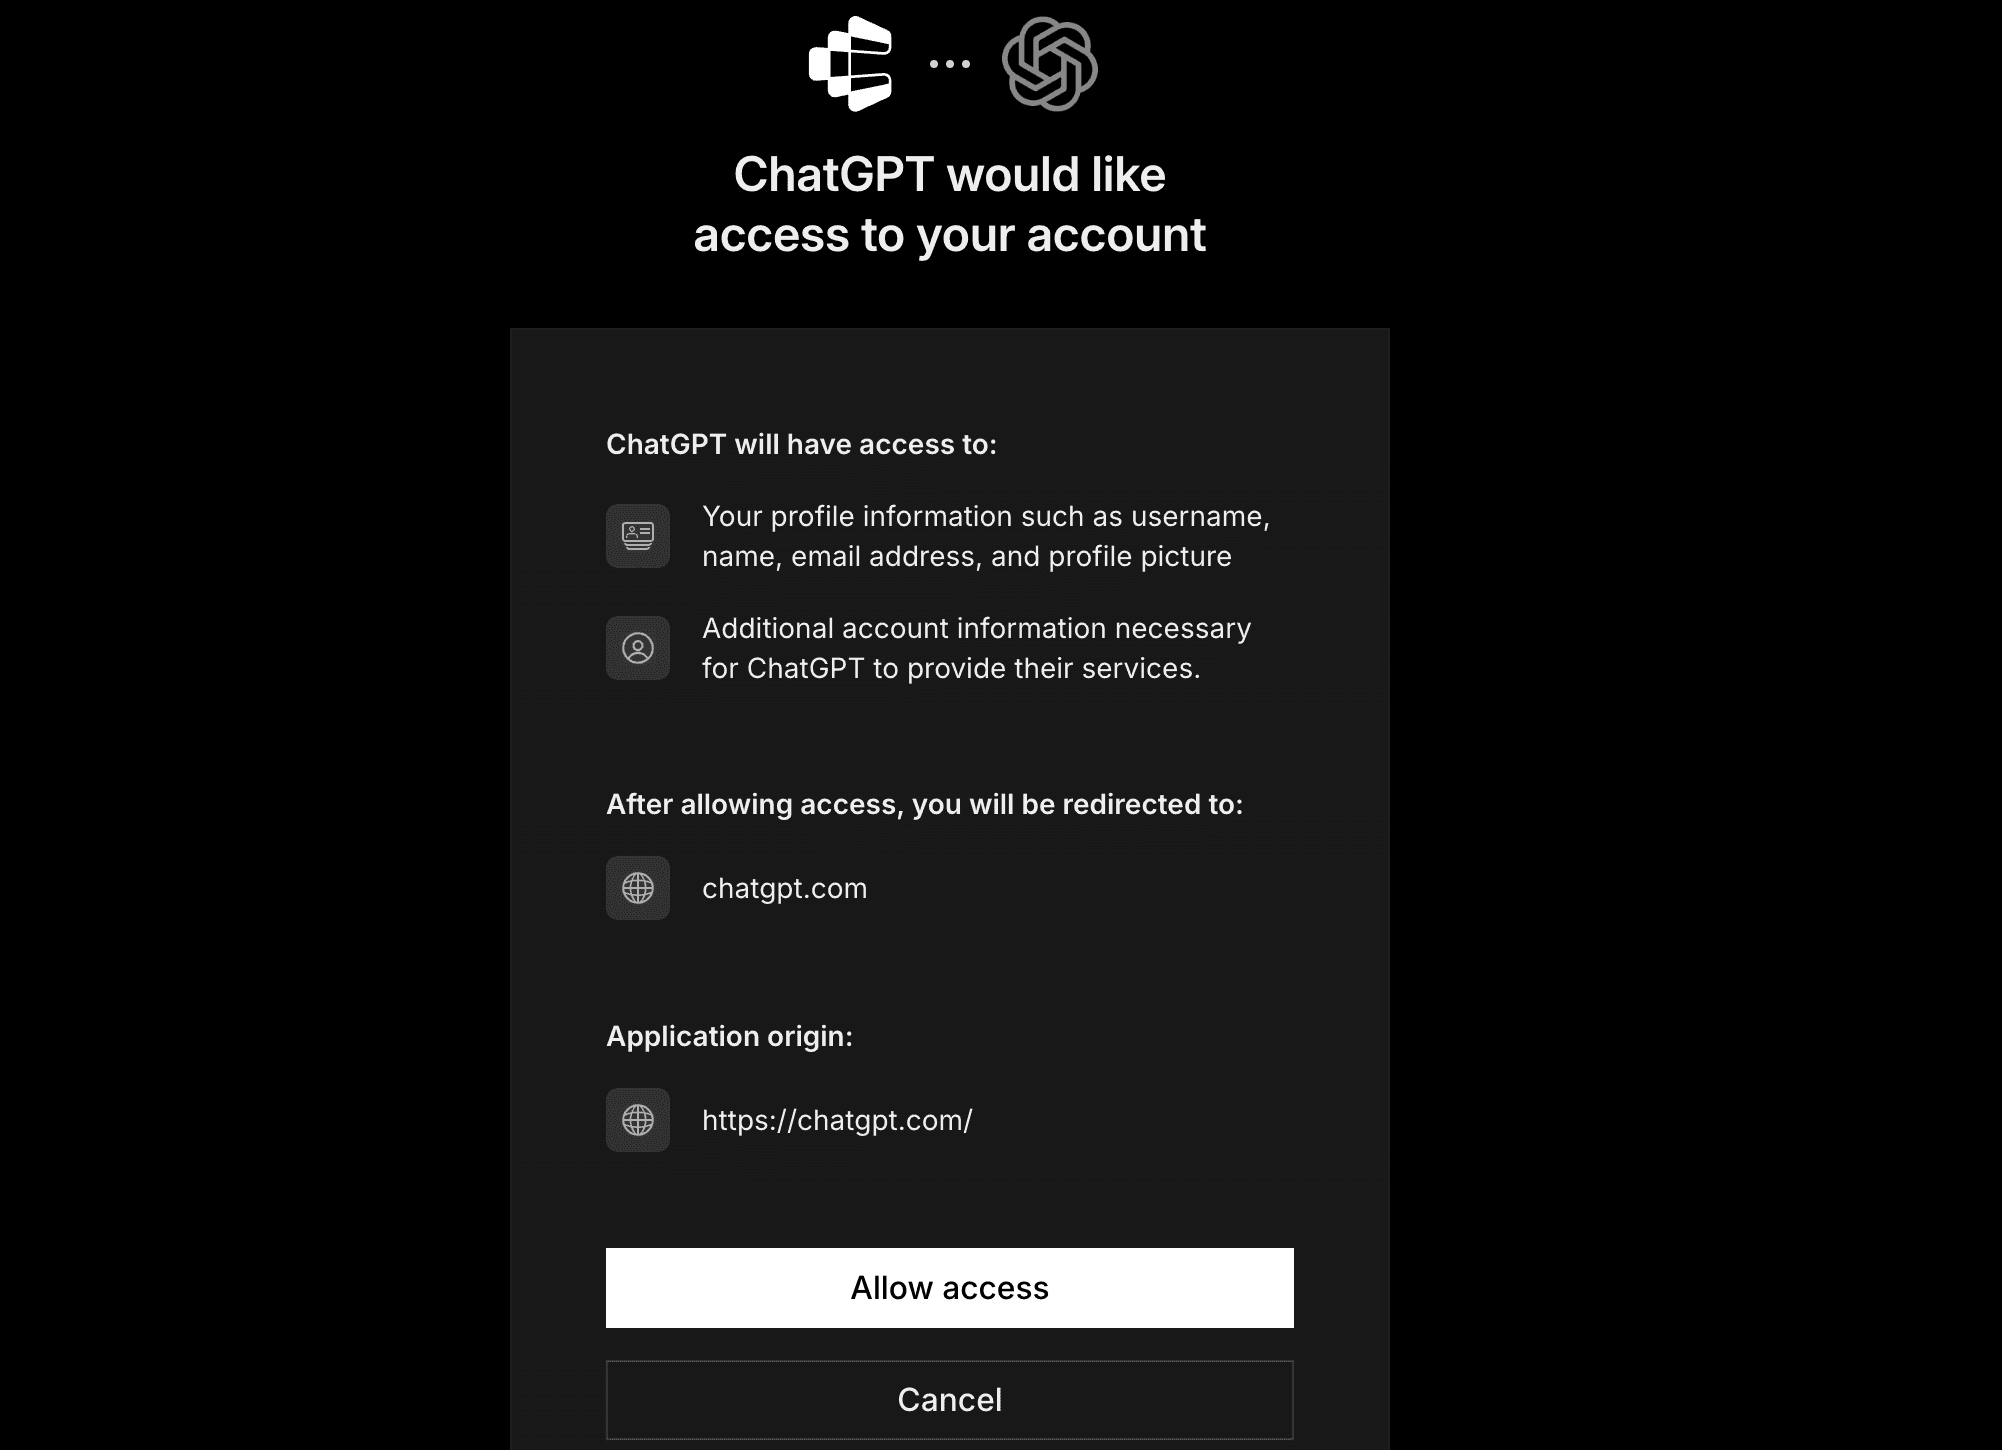
Now authorise ChatGPT to access Composio.
And you're done. Go back to the Codex app and type
/composioand your promptConnect to Linear and fetch the active tickets.During first runs, you'll need to authorise your applications, and then you're good to go.
Composio skill defines how to effectively use the underlying MCP and CLI tool to securely and reliably complete workflows.
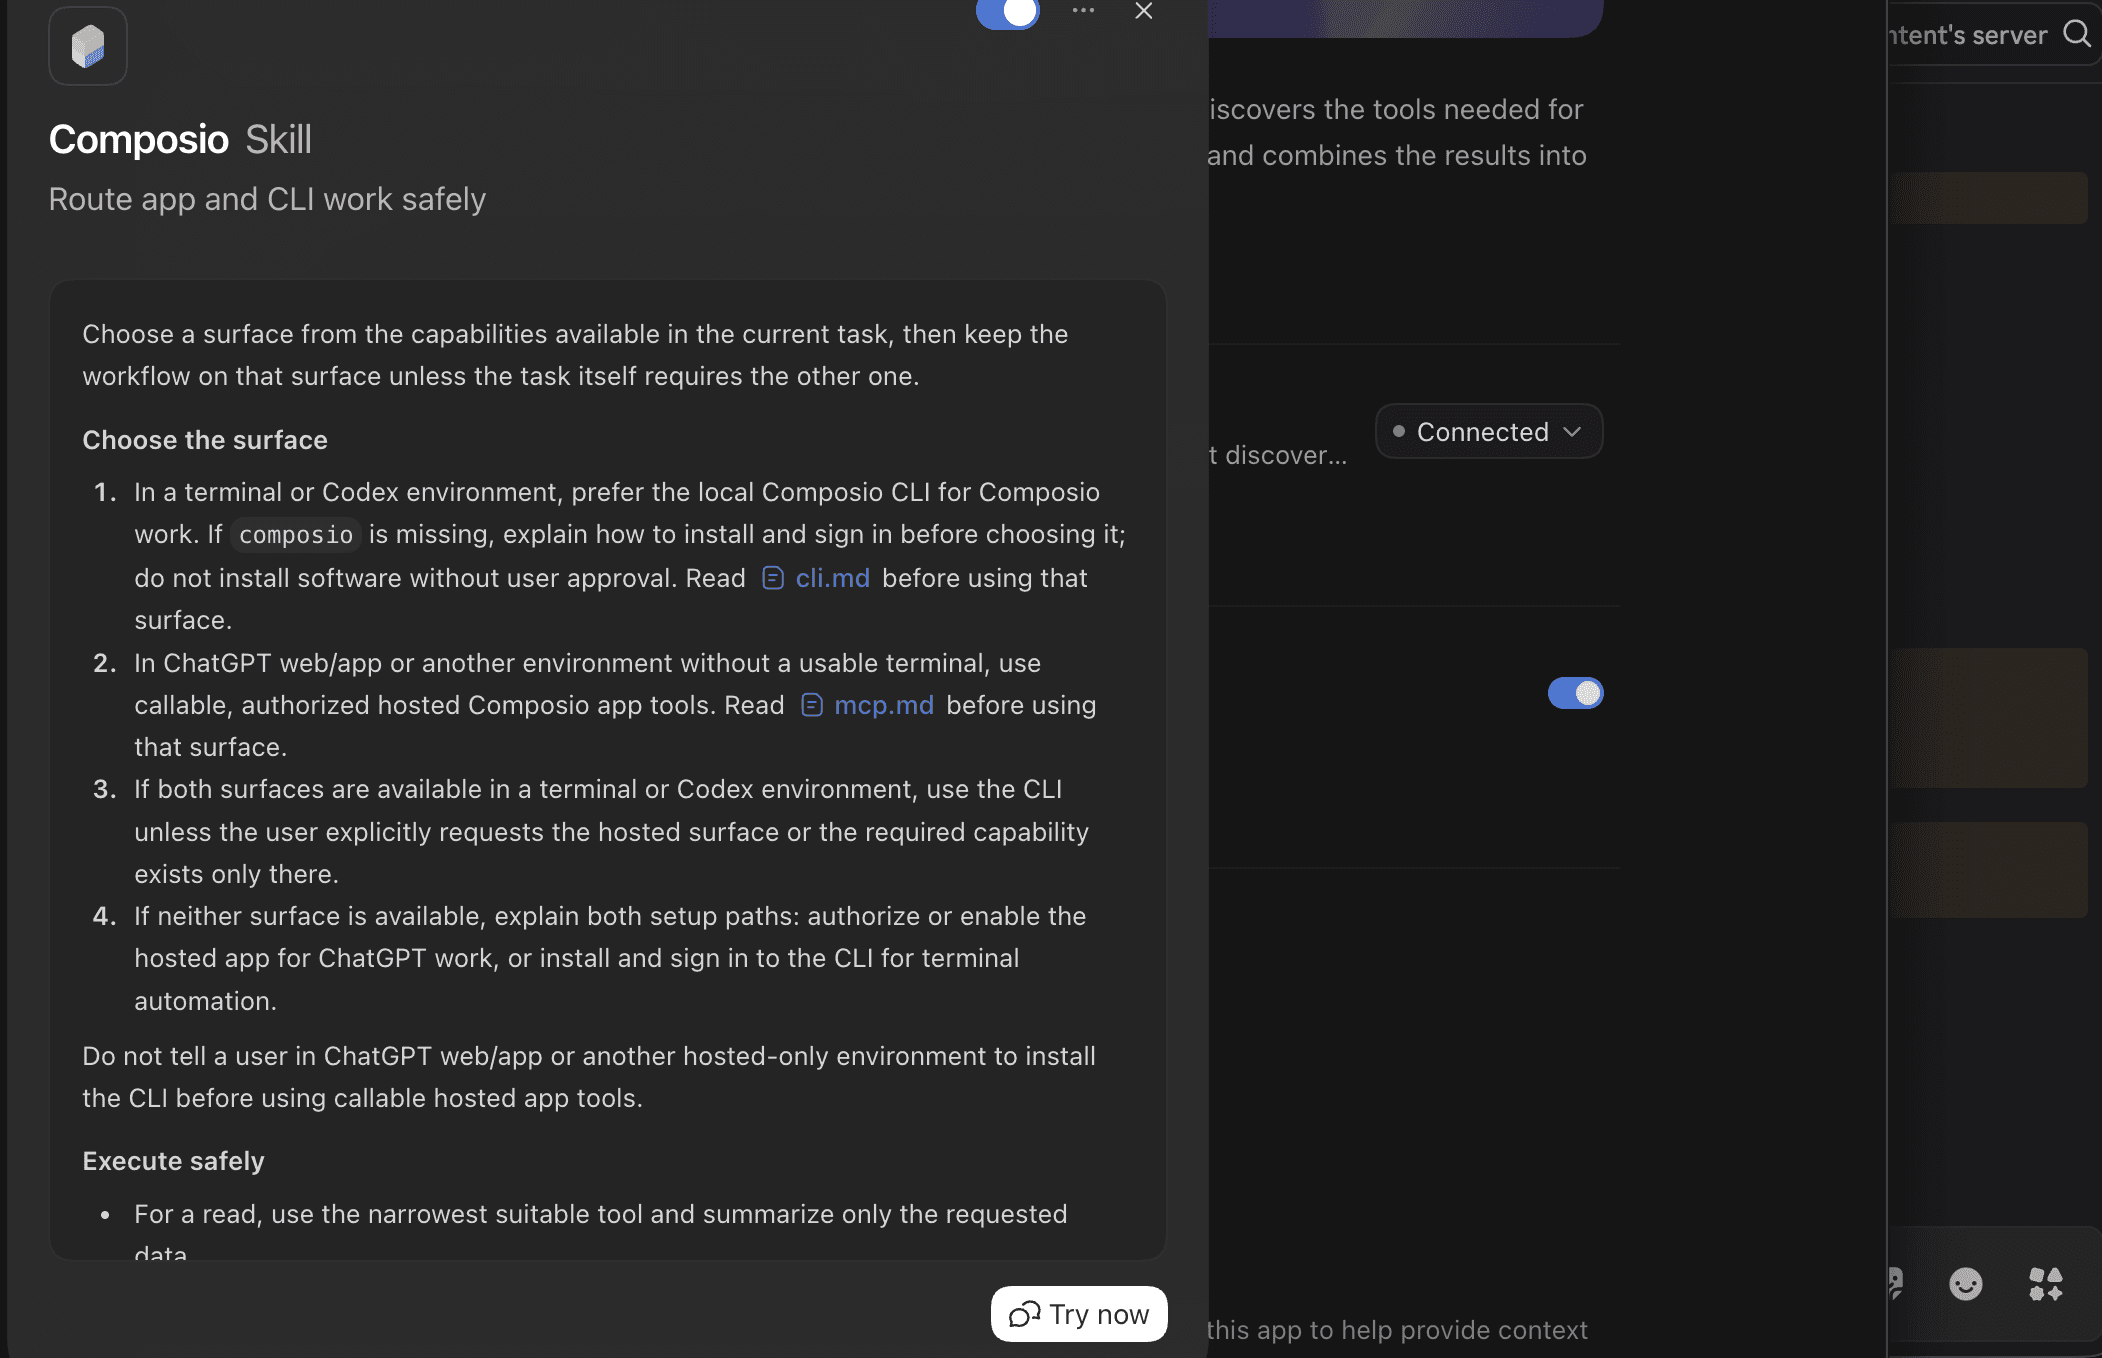
That is it - Composio tools are now available in ChatGPT Work. Ask it to work with your Composio account, and it will run the actions you authorise.
What you can do after connecting Composio
Triage bugs from start to finish: Pull an issue from Linear or Jira, inspect the relevant code, implement a fix, and update the ticket with the result.
Speed up pull-request reviews: Find GitHub PRs awaiting review, examine the diff, suggest changes, and post a concise review summary.
Turn team discussions into engineering work: Extract bugs and feature requests from Slack, then create structured GitHub, Linear, or Jira issues.
Coordinate releases: Gather merged PRs, draft release notes, update project documentation, and post the deployment summary to Slack.
Investigate incidents: Combine alerts from monitoring tools with recent deployments, GitHub changes, and team discussions to help identify the likely cause.
Best use: engineering workflows where Codex needs to move between the local codebase and external tools such as GitHub, Linear, Jira, Slack, Sentry, email, and monitoring platforms.
Start automating now: dashboard.composio.dev
2. Impeccable: The design language for AI agents
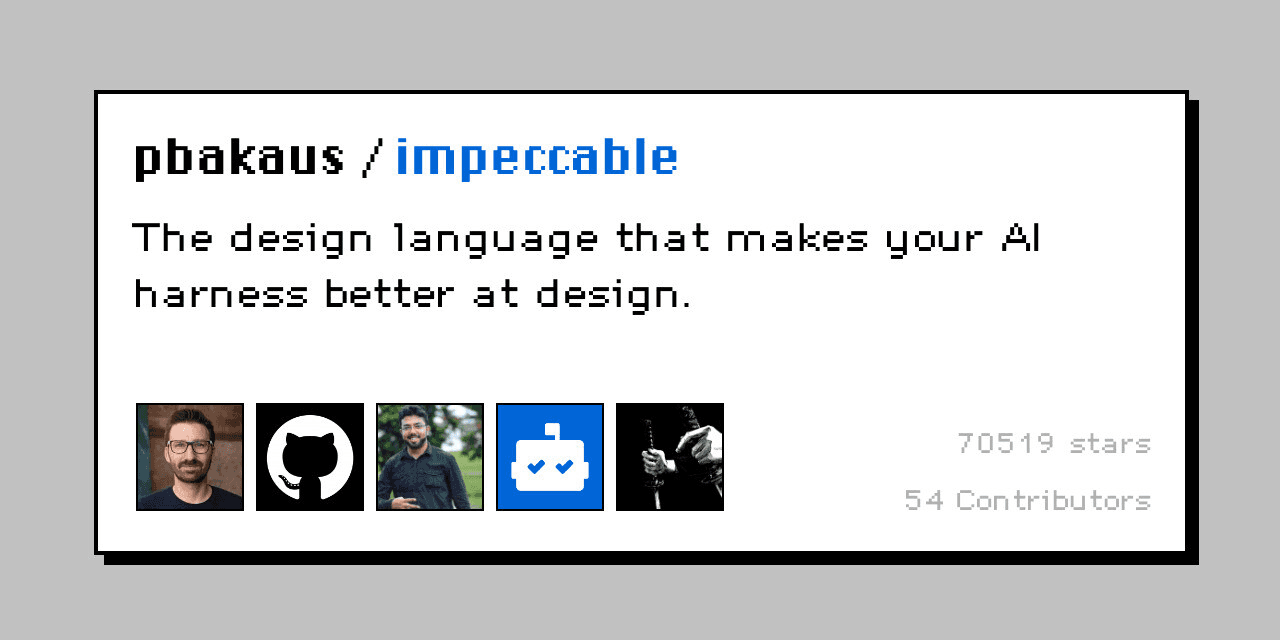
It helps Codex design and improve frontend interfaces without falling back on the usual AI-generated look. It gives Codex a stronger design vocabulary for typography, spacing, hierarchy, colour, motion, accessibility, responsive layouts, and UX copy.
Impeccable can build a new interface, but it is especially useful for improving an existing one. It can audit a page, identify weak design decisions, simplify cluttered layouts, and polish the implementation directly in your frontend code. It also includes automatic checks that catch common problems such as excessive cards, poor contrast, inconsistent spacing, and generic visual patterns.
How to install:
Open your project in the terminal.
Run the Impeccable installer:
npx impeccable installSelect Codex and choose whether to install it for the current project or for every project.
Reload Codex and initialise the project’s design context:
$impeccable initImpeccable will inspect the project and ask about its users, purpose, constraints, and intended design direction. It saves this context so future design changes remain consistent.
You can also enable automatic design checks:
$impeccable hooks onIn Codex, open /hooks and approve Impeccable’s hooks before they can run.
How to use:
Invoke $impeccable and describe what you want to improve:
$impeccable Audit this dashboard and improve its visual hierarchy without changing its functionality.Be as specific or as open-ended as you like. It works with landing pages, dashboards, forms, settings screens, onboarding flows, design systems, and individual components.
Impeccable examples and prompts:
Polishing an AI-generated frontend: Ask it to remove unnecessary cards, repetitive copy, excessive rounded corners, and generic gradients.
Improving a dashboard: Have it clarify the information hierarchy, reduce visual noise, and make the most important actions easier to find.
Auditing accessibility: Ask it to check contrast, typography, focus states, keyboard navigation, and responsive behaviour.
Creating a consistent design system: Let it extract reusable colours, spacing, typography, and component patterns from an existing interface.
Refining a landing page: Ask it to strengthen the hero section, improve pacing, and make the calls to action more obvious.
Adding thoughtful motion: Have it introduce transitions and micro-interactions that provide useful feedback rather than distracting animation.
Impeccable is a good choice when Codex can make the interface functional, but the result still does not feel professionally designed. See the official Impeccable installation guide for the latest setup instructions.
remotion
What it does: automatically edits and generates video graphics directly in Codex. It's open-source, so it's completely free (no Adobe Premiere or Motion required).
How to install:
Open Codex.
In the chat, tell Codex to install the Remotion skill. Paste this in:
npx skills add remotion-dev/skillsYou may be asked to install Node.js or other software. Don't worry, this is totally normal. If you're ever unsure whether something was installed correctly, just ask Codex to check it or reinstall it.
Restart Codex (close it, then reopen it).
If you want to confirm it's installed, paste this in the same chat:
Please check if the Remotion skill is installed.How to use:
In your new chat, type /remotion and tell it what you'd like to animate. You can attach any files you need (like logos or brand assets) using the @ symbol.

Your animation will either open in the browser or appear as a blue link. Click it to open your animation in the side panel.

Use the chat to make changes (e.g. "add a fade-in glow behind the icons"). You can keep editing in the chat, or click "Expand Panel" to overlay the chat right on top of the video editor.
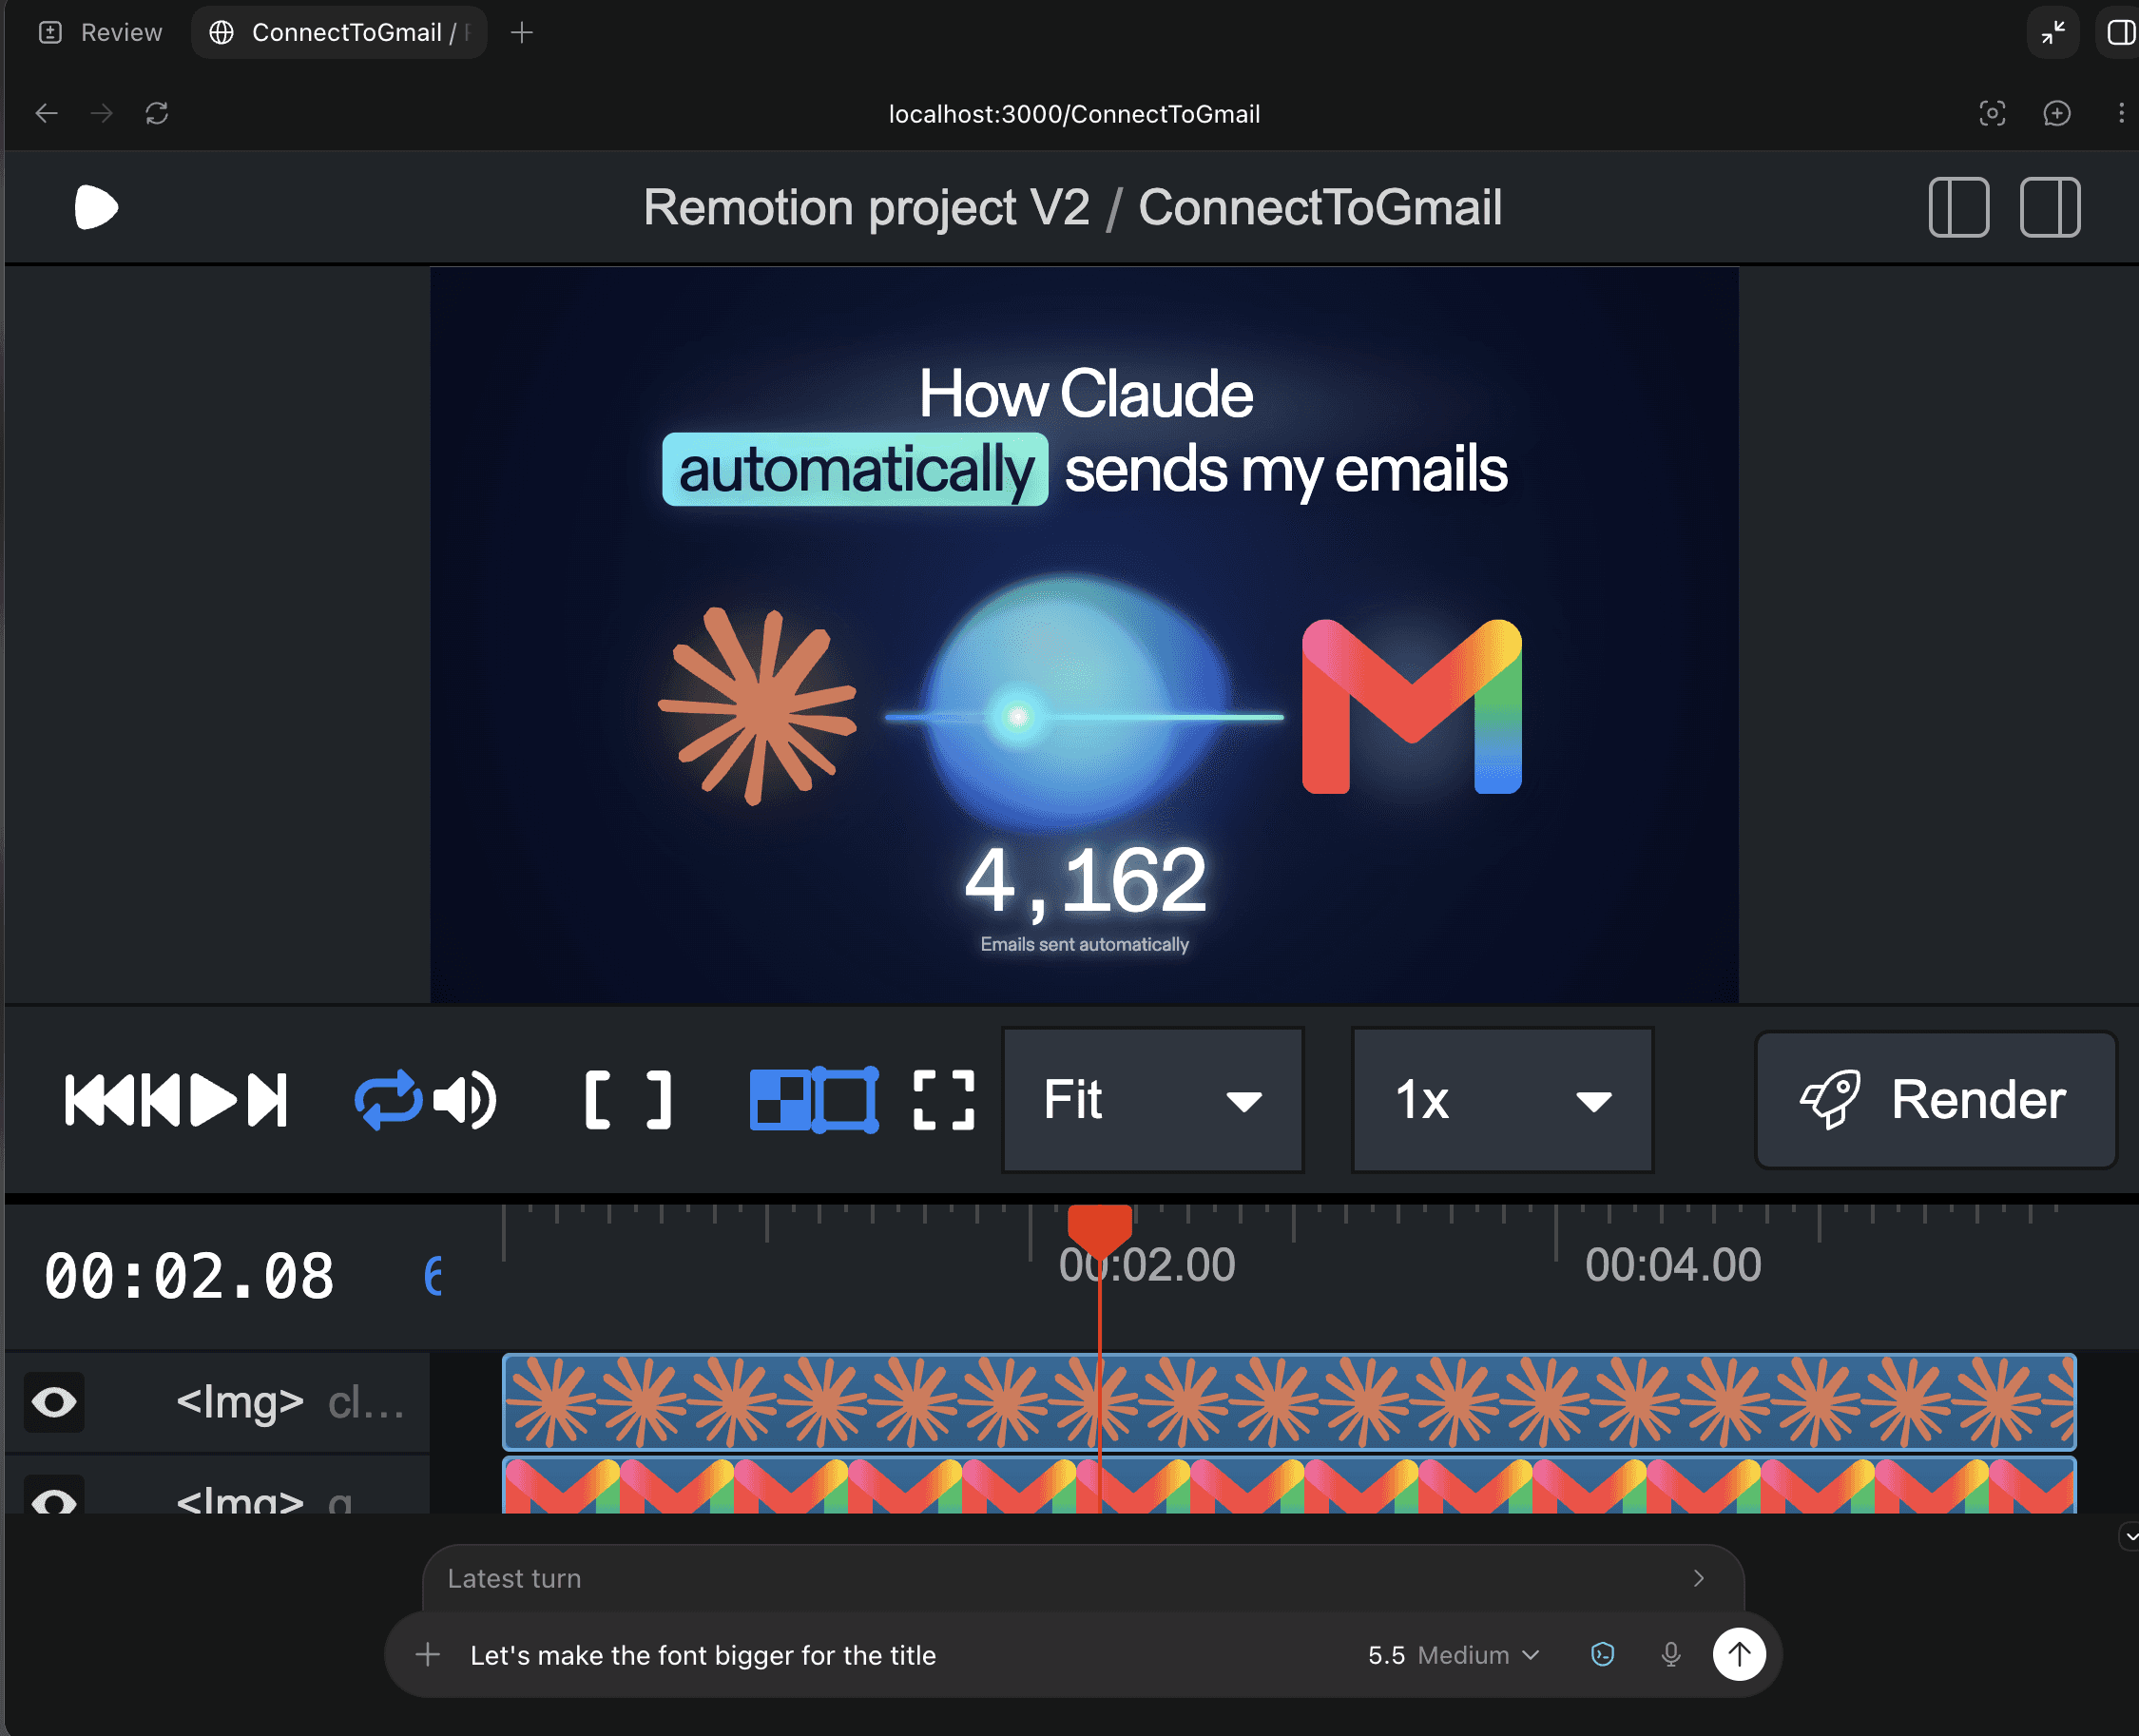
remotion examples & prompts:
Motion graphics for YouTube videos and intros. Describe the animation you want and Remotion builds it in code, so you get a polished intro or lower-third without opening a video editor like After Effects.
Adding auto-captions to videos. It times the captions to the audio for you, which is far easier than adding them manually and often simpler than using paid tools like Descript.

3. Frontend Design
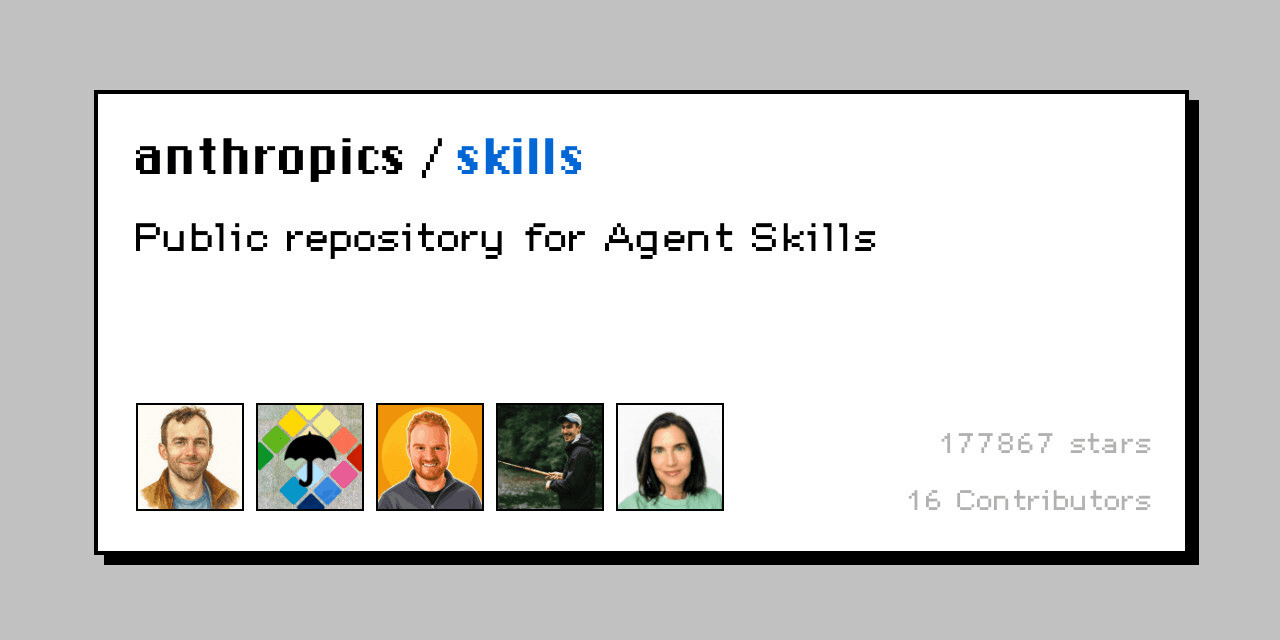
What it does: helps Codex create distinctive, production-quality websites and user interfaces instead of defaulting to generic AI layouts. It encourages Codex to choose a clear visual direction before coding, then carry it through typography, colours, spacing, composition, motion, and smaller interface details.
Unlike Impeccable, which is best for auditing and refining an existing interface, Frontend Design shines when you want Codex to create a new page or component from scratch.
How to install:
Open your project in the terminal.
Install the Frontend Design skill for Codex:
npx skills add anthropics/skills --skill frontend-design --agent codexRestart Codex or start a new session.
Confirm that the skill appears by opening
/skillsor typing $frontend-design in the chat.
How to use:
Invoke the skill and describe the interface you want:
$frontend-design Build a landing page for a developer tool that monitors API errors. Use an editorial visual style, strong typography, and a dark neutral palette.Include the product, intended audience, required framework, and any visual references. You can also attach a screenshot and ask Codex to use it as inspiration without copying it directly.
Frontend Design examples and prompts:
Landing pages: Create a visually memorable marketing page with a strong hero section and clear calls to action.
Product dashboards: Build a usable dashboard with purposeful hierarchy, responsive layouts, and polished data displays.
React components: Design and implement pricing tables, navigation bars, onboarding flows, settings panels, and empty states.
Portfolio websites: Create a personal site with a distinctive visual identity, not a standard template.
Redesigning an existing page: Preserve its content and functionality while giving it a more intentional visual direction.
Building from a screenshot: Recreate the structure and visual language of a reference while adapting it to your product and codebase.
A good prompt gives the skill room to make design decisions while establishing clear constraints:
$frontend-design Redesign this checkout page for a premium furniture brand. Keep the existing React components and checkout behavior, but improve the hierarchy, typography, mobile layout, and trust signals. Avoid gradients and excessive cards.Frontend Design is a good starting point when you want Codex to both design and implement an interface. Pair it with Impeccable afterwards when you want a more detailed audit and another polishing pass.
The skill is available from the Anthropic skills collection and can be installed through the cross-agent Skills CLI.
4. Web App testing
It lets Codex open and test a local web application in a real browser using Playwright. Instead of assuming that a page works because the code looks correct, Codex can start the app, click through it, fill in forms, capture screenshots, inspect the rendered page, and check browser console logs.
This is especially useful after Codex builds or changes a frontend. It can verify that buttons actually work, navigation goes to the right place, forms handle errors correctly, and the interface still behaves properly at different screen sizes.
How to install:
Open your project in the terminal.
Install the Web App Testing skill for Codex:
npx skills add anthropics/skills --skill webapp-testing --agent codexRestart Codex or start a new session.
Confirm that the skill appears by opening
/skillsor typing $webapp-testing.
The skill uses Python and Playwright. On its first run, Codex may ask to install Playwright and its Chromium browser dependency.
How to use:
Start your application normally, then ask Codex to test a specific workflow:
$webapp-testing Test the signup flow in this local application. Check validation errors, create an account, and confirm that the user reaches the dashboard.If the application is not already running, the skill includes a helper that can start the development server, wait for it to become available, run the browser test, and shut it down afterwards.
Web App Testing examples and prompts:
Testing authentication: Check signup, login, logout, password errors, and protected pages.
Verifying a checkout flow: Add a product to the basket, change its quantity, complete the form, and confirm the correct success state.
Checking a new feature: Use the feature in the browser after Codex implements it, rather than relying only on unit tests.
Debugging broken interactions: Click a button or submit a form while capturing console errors and the rendered page state.
Testing responsive layouts: Open the application at desktop, tablet, and mobile widths and capture screenshots of each.
Checking navigation: Follow menus, links, breadcrumbs, and redirects to find broken or incorrect routes.
Testing form validation: Submit empty, invalid, and valid values to confirm that every state behaves correctly.
Capturing visual evidence: Save screenshots before and after a change so you can review what Codex actually tested.
A focused prompt usually produces better results than “test the entire app”:
$webapp-testing Run the app and test the settings page. Change the display name, trigger each validation error, save a valid value, refresh the page, and confirm that the change persists. Report any console errors and include screenshots of failures.Web App Testing is not a replacement for unit and integration tests. It is most useful as the final verification layer: Codex changes the code, runs the normal test suite, and then checks the important user journey in a rendered browser.
The skill is available in the Anthropic public skills repository.
5. grill-me
What it does: makes Codex interview you about your plan before it writes anything, asking one question at a time and suggesting an answer for each so the session keeps moving. Built by educator Matt Pocock, it is one of the most installed Codex skills of all time. It first went viral for fixing the most common failure in AI coding, when the agent runs off in the wrong direction.
How to install:
Open Codex.
In the chat, tell Codex to install the grill-me skill. Paste this in:
npx skills add mattpocock/skills --skill grill-meRestart Codex (close it, then reopen it).
If you want to confirm it's installed, paste this in the same chat:
Please check if the grill-me skill is installed.How to use:
In a new chat, write what you want to plan and paste it in. Even a rough idea works. Tip: it doesn’t have to be code-related. It could be writing an article or even making a decision.

Answer its questions one at a time. Codex will start asking you questions in chat, sometimes giving you a recommended answer for each.
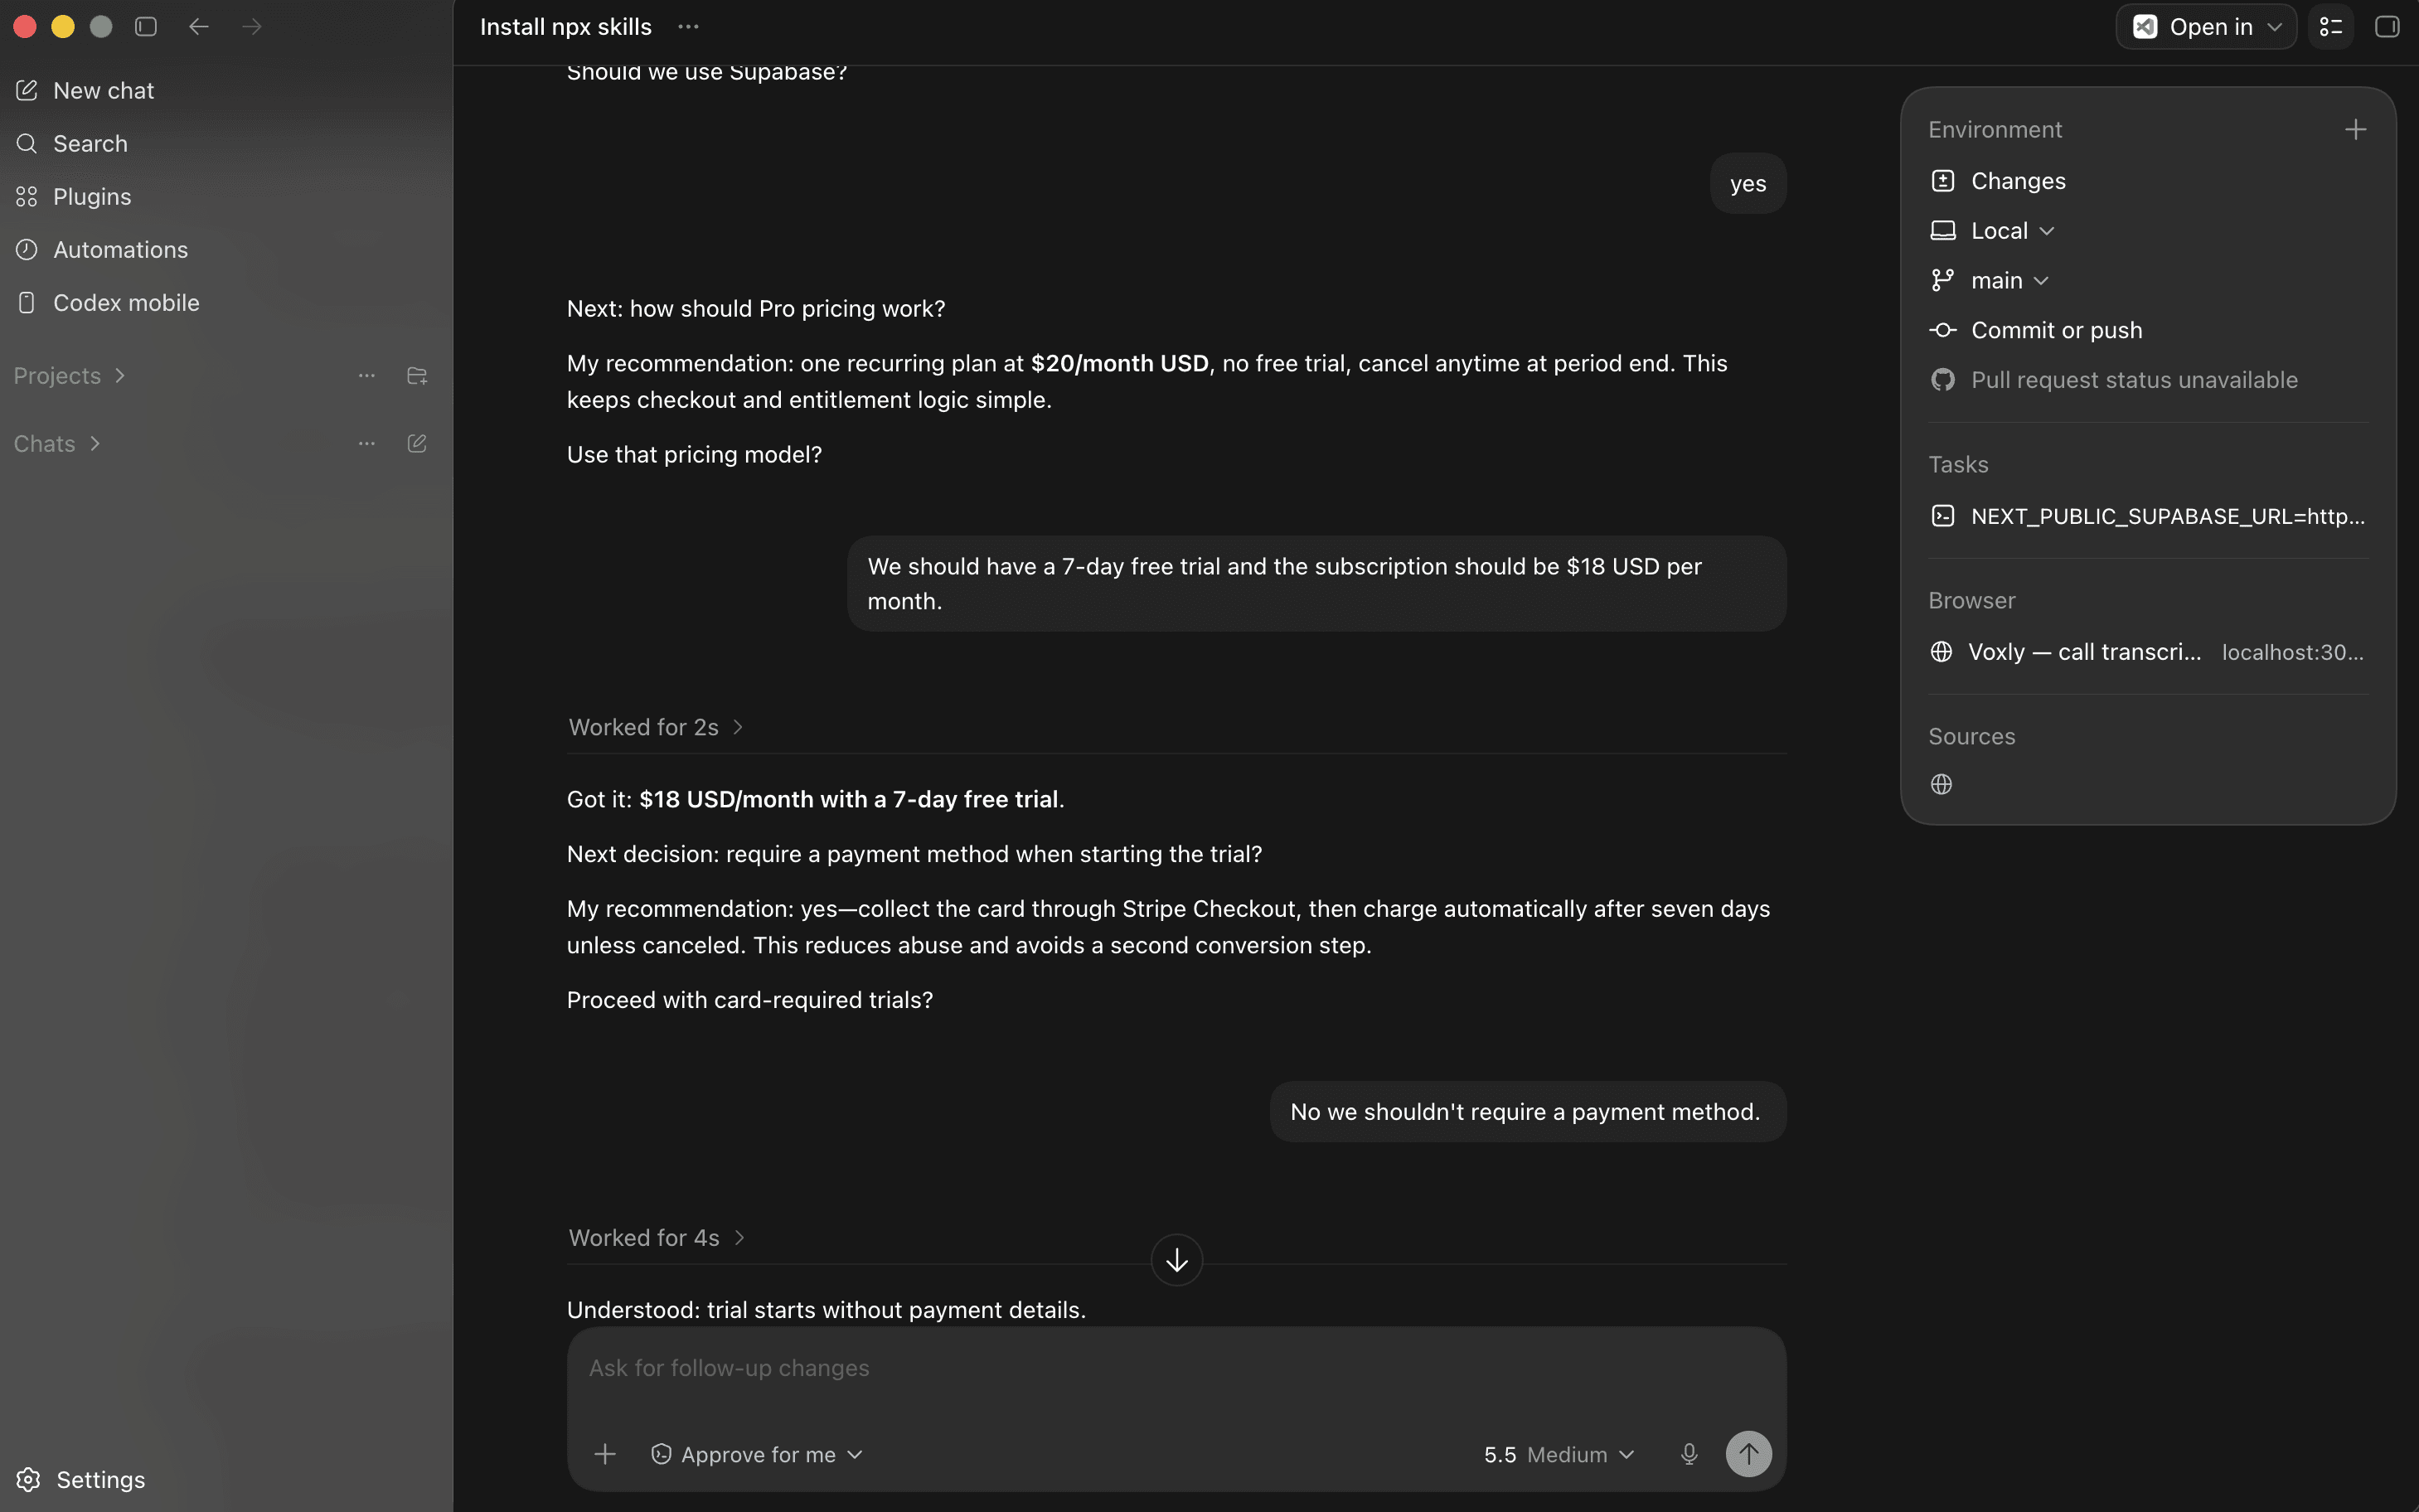
After answering enough questions, tell Codex you're done. Codex will either perform your task in chat or create a .md file of a detailed plan. Most importantly: you decide when to stop, since it keeps asking otherwise.
grill-me examples & prompts:
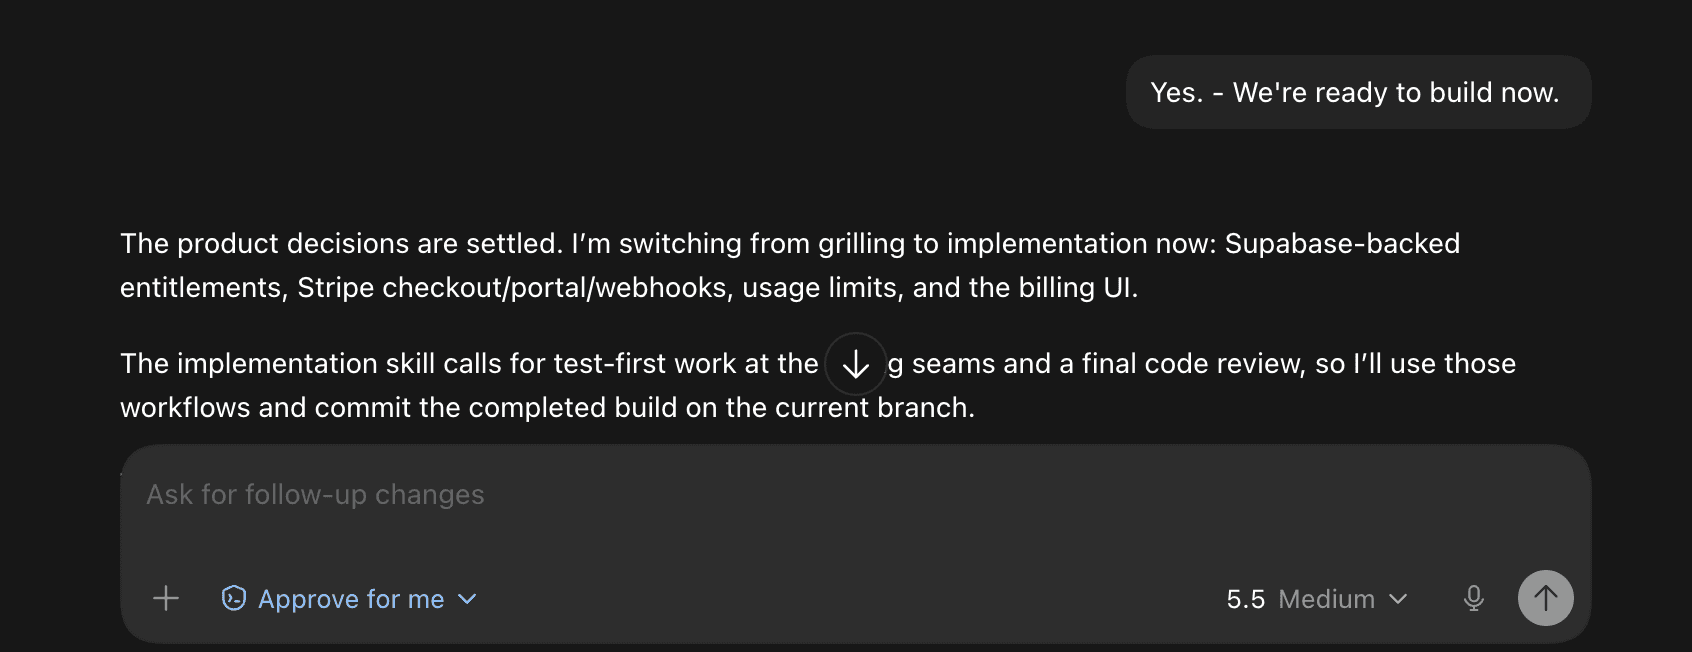
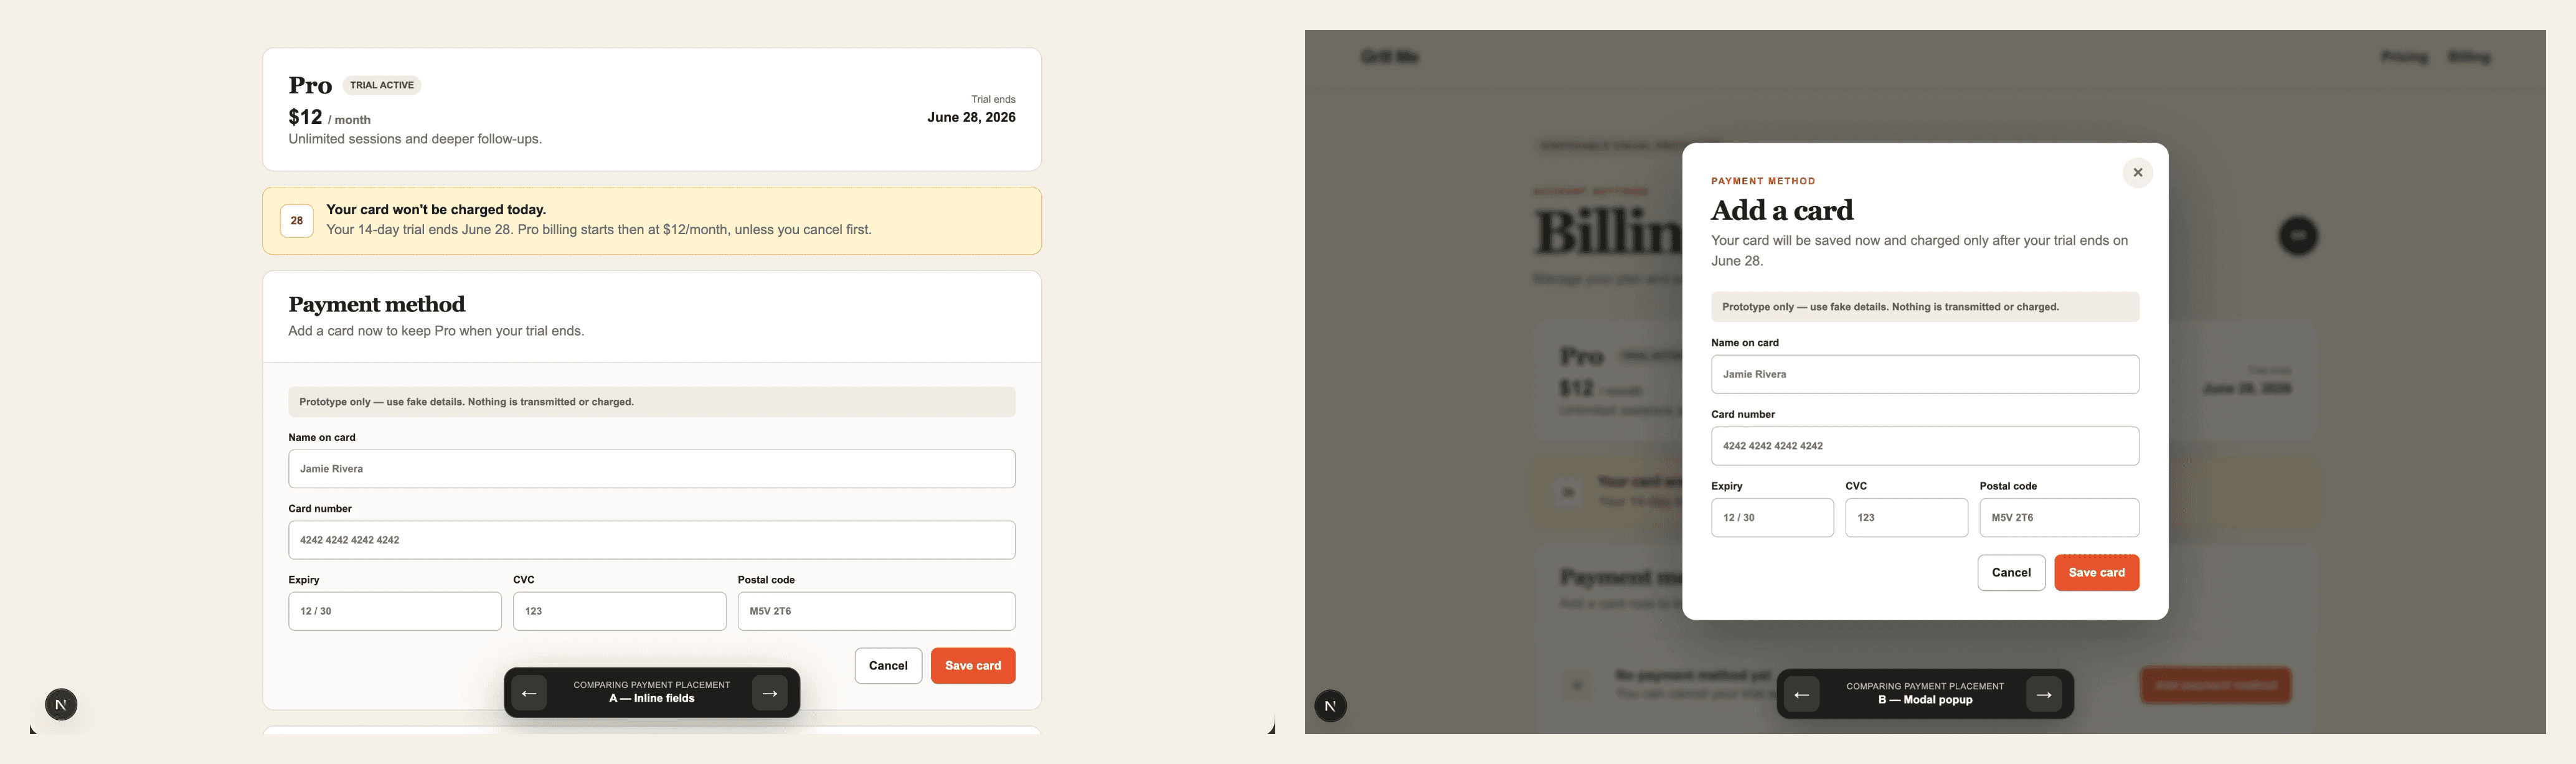
Building a new app/web feature. grill-me will ask questions you didn’t think of, like what to do if customers don’t pay or whether to require a credit card in the free trial.
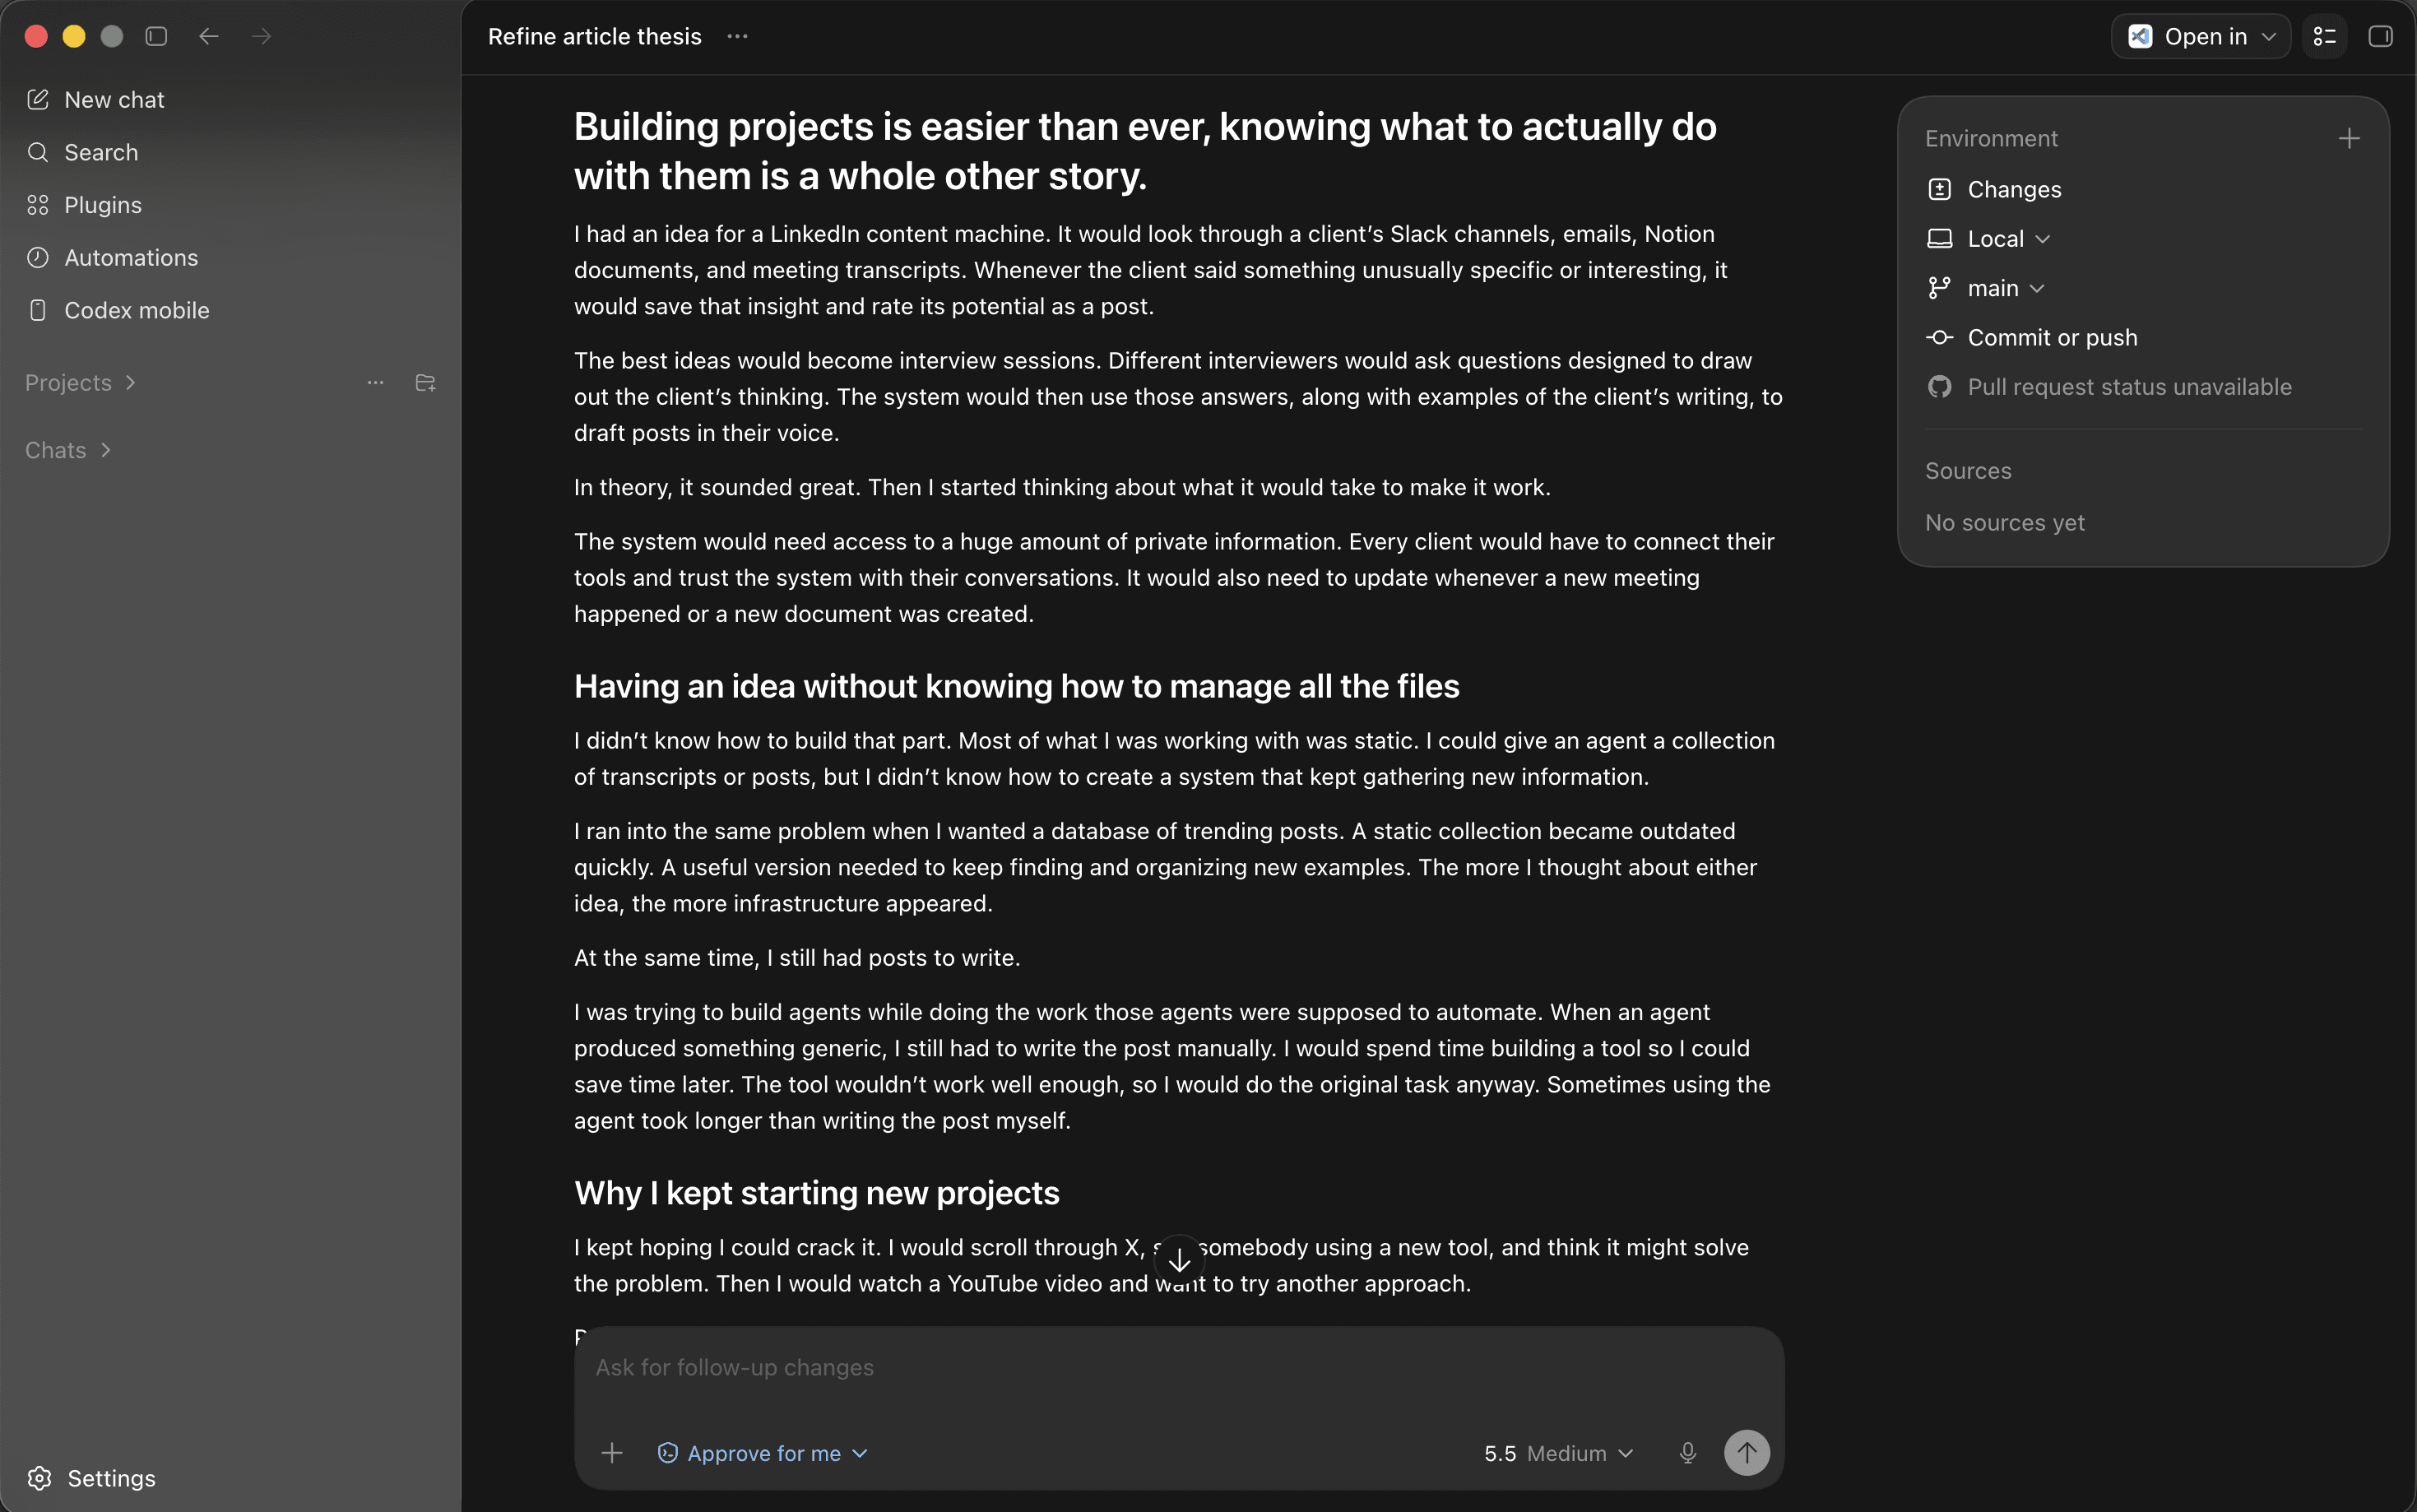
Writing articles. If you have a topic you want to write about, but not sure where to start or what structure to follow, grill-me will ask you questions. It also helps you insert personal anecdotes.


6. Handoff
What it does: turns your current Codex chat into a document, so you can open a new session without losing your place. Matt Pocock made the handoff skill shortly after grill-me, and it captures the decisions you made and the tasks still left to do, so you can hand the work to a fresh chat or a different model without hitting limits.
How to install:
Open Codex.
In the chat, tell Codex to install the handoff skill. Paste this in:
npx skills add mattpocock/skills --skill handoffRestart Codex (close it and reopen it).
If you want to confirm it's installed, paste this in the same chat:
Please check if the handoff skill is installed.How to use:
In your current chat, type /handoff or ask Codex to create a handoff document of everything you’ve just discussed.
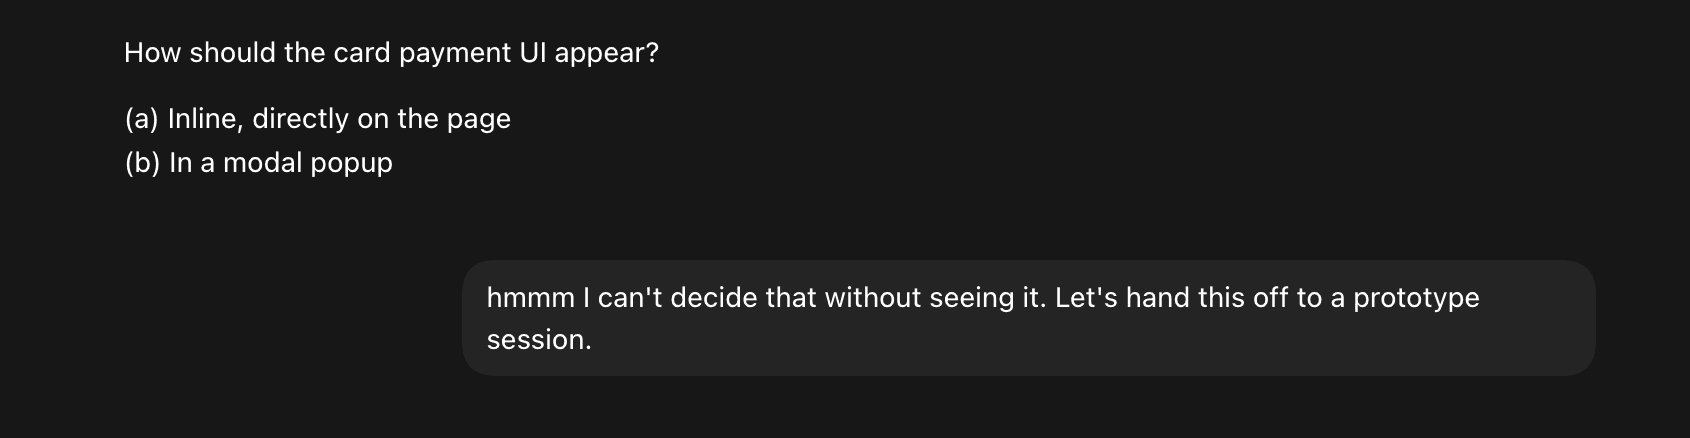
The handoff skill will only take the most important and relevant parts of the discussion and turn them into a .md file on your computer.
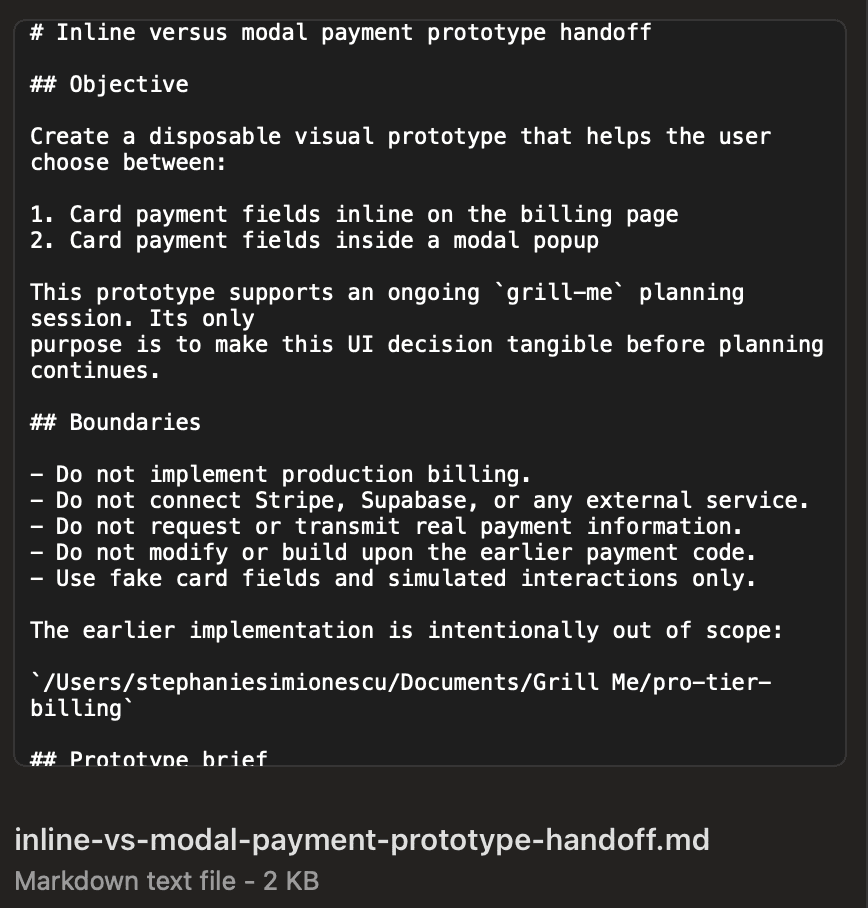
Once you’re in a new session, attach that file and ask Codex to continue where you left off.

handoff examples & prompts:
Multi-tasking. When one chat gets blocked waiting on something else, hand that part to a new chat so both can keep moving. You make progress on two pieces of the same project at once instead of waiting on one.
Switching models. When one model gets stuck or you run low on usage, hand the work to a different model to break the loop and keep going.

7. Excalidraw Diagram Skill
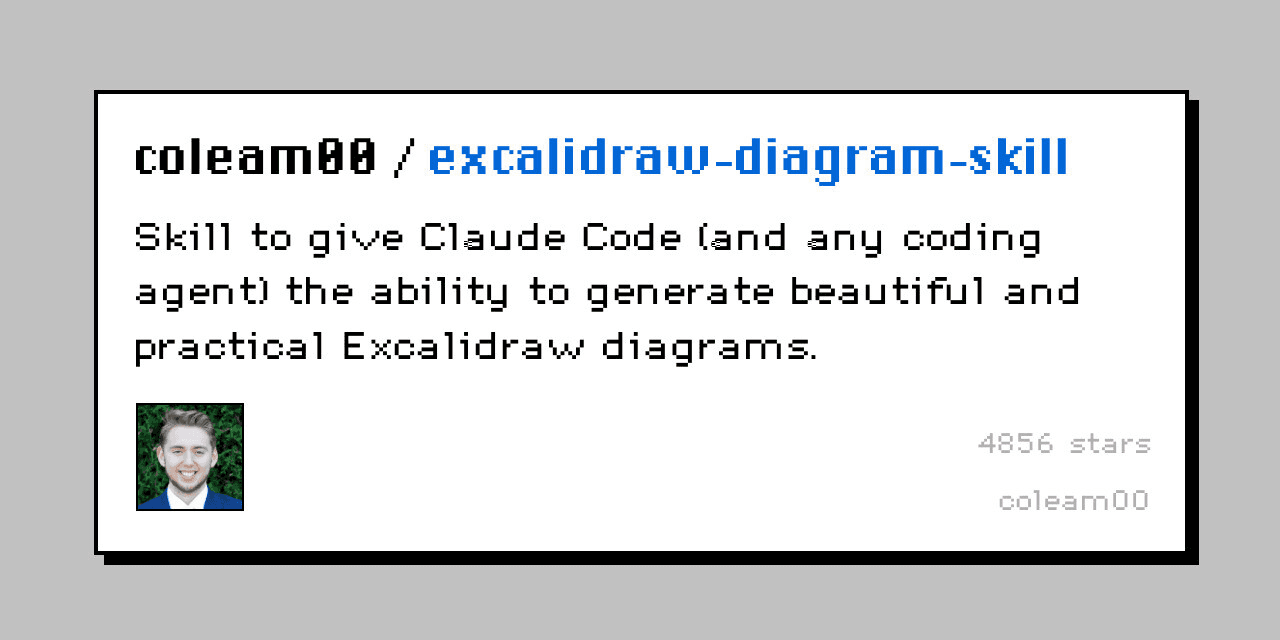
What it does: turns a prompt into an Excalidraw diagram, which is one of the most popular tools to create flowcharts, architecture diagrams, or simple visuals) right inside Codex. It's a quick way to sketch out an idea or a system without designing it by hand.
How to install:
Open Codex.
In the chat, tell Codex to install the Excalidraw skill. Paste this in:
python3 ~/.codex/skills/.system/skill-installer/scripts/install-skill-from-github.py --repo coleam00/excalidraw-diagram-skill --path . --name excalidrawRestart Codex (close it and reopen it).
If you want to confirm it's installed, paste this in the same chat:
Please check if the excalidraw skill is installed.How to use:
In your chat, type /excalidraw and describe the diagram you want.
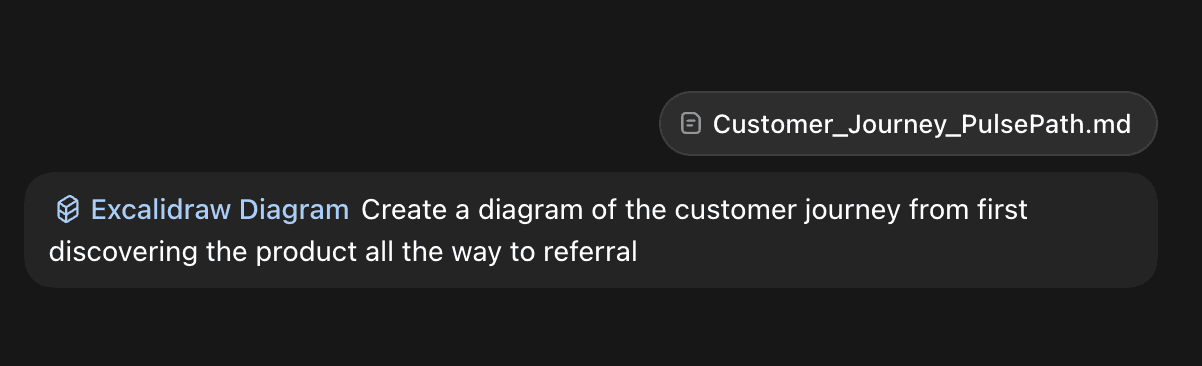
Codex generates the Excalidraw diagram, which you can keep refining in the chat.
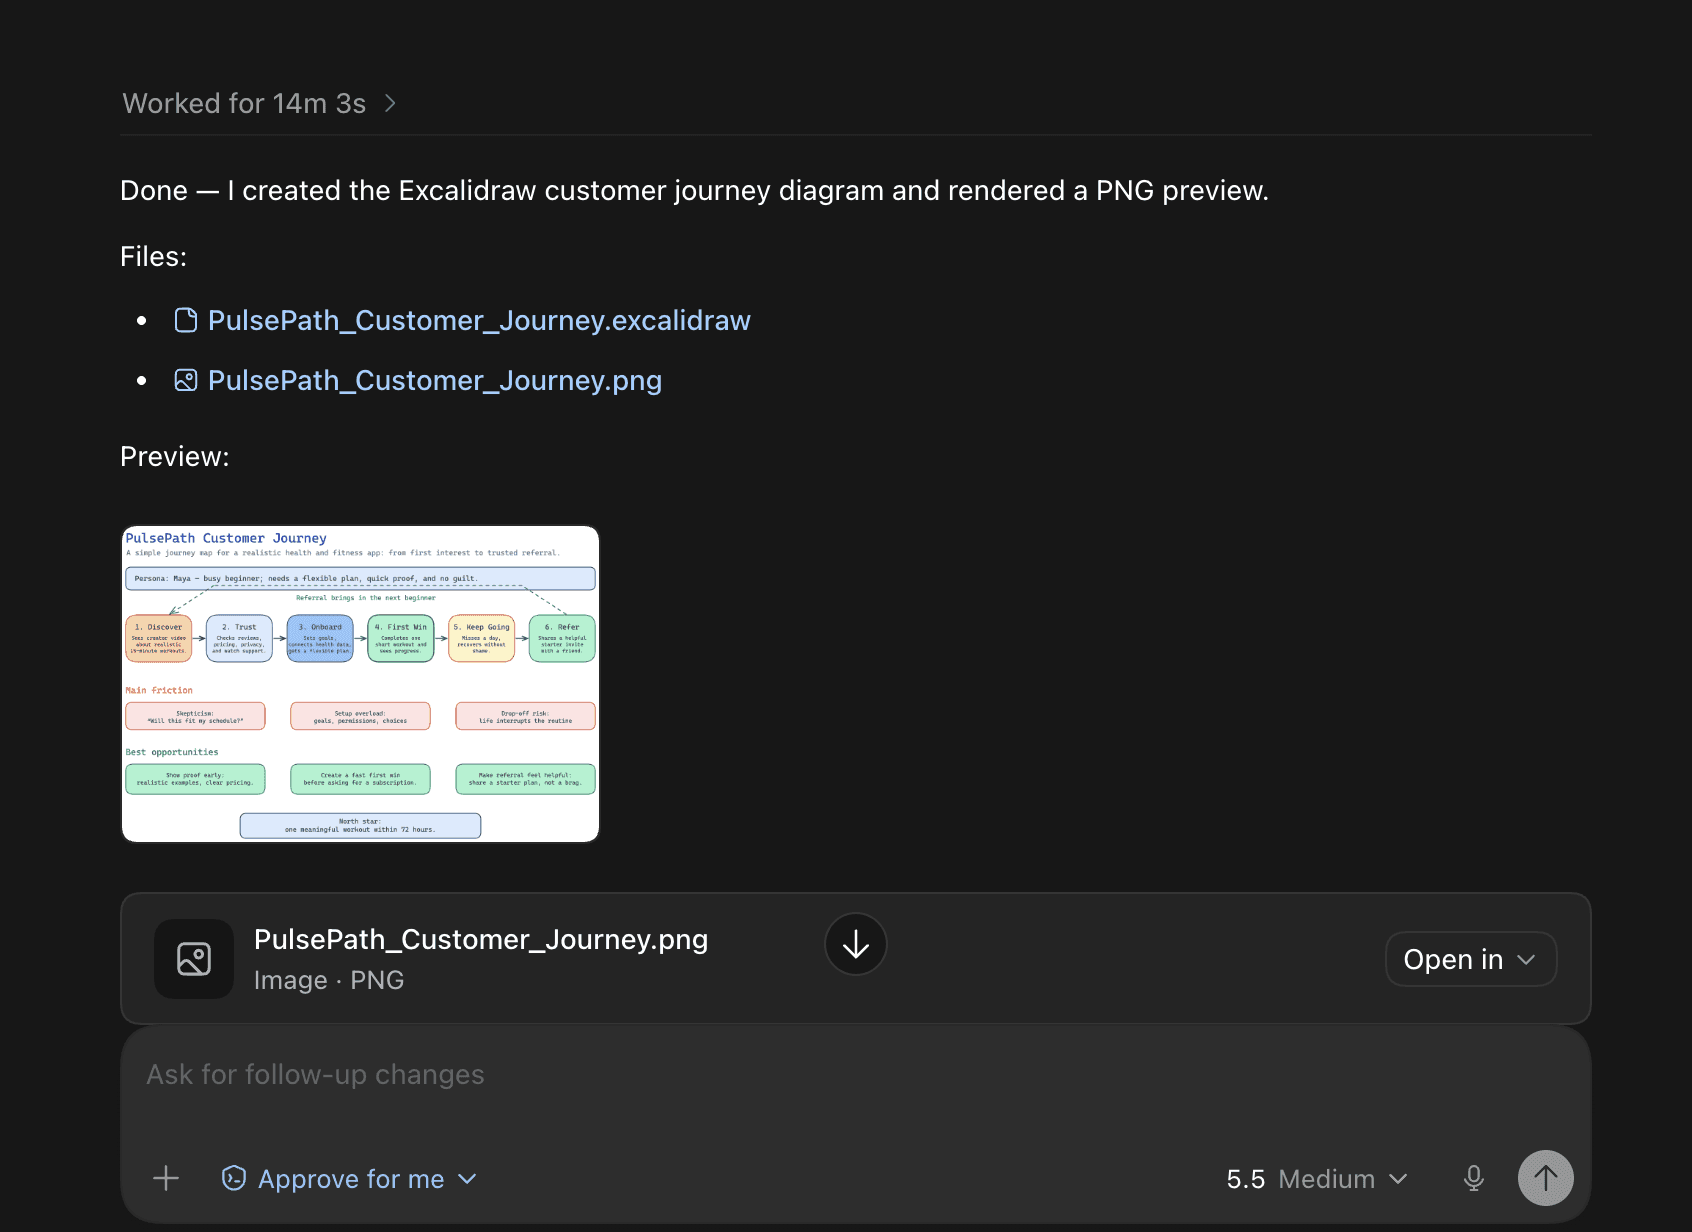
Once you're done, you can export the diagram in your desired format.
excalidraw examples & prompts:
Visualise research. Ask Codex to do research on a topic and create a diagram to help you understand it.
Presentations. Use the diagram to create a few mockup ideas of a diagram you want to add to a slideshow presentation. You can even ask Codex to "polish" the diagram to make it match the theme of your slideshow.
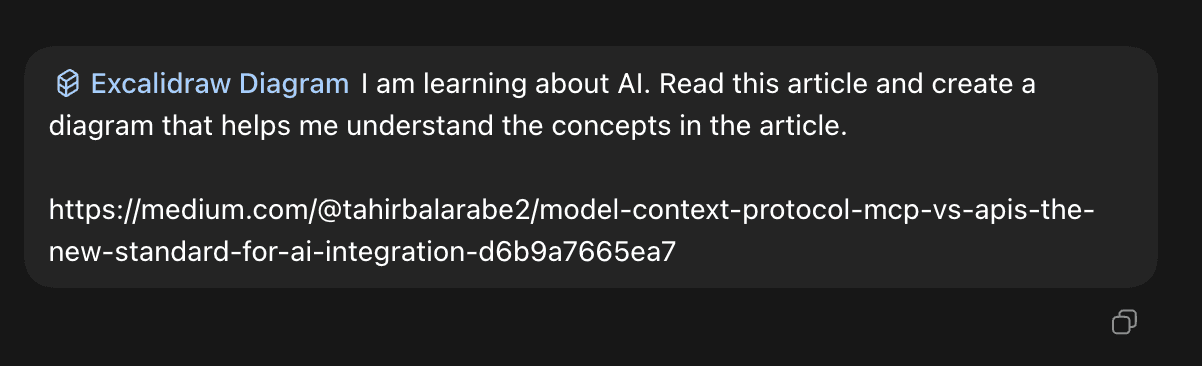
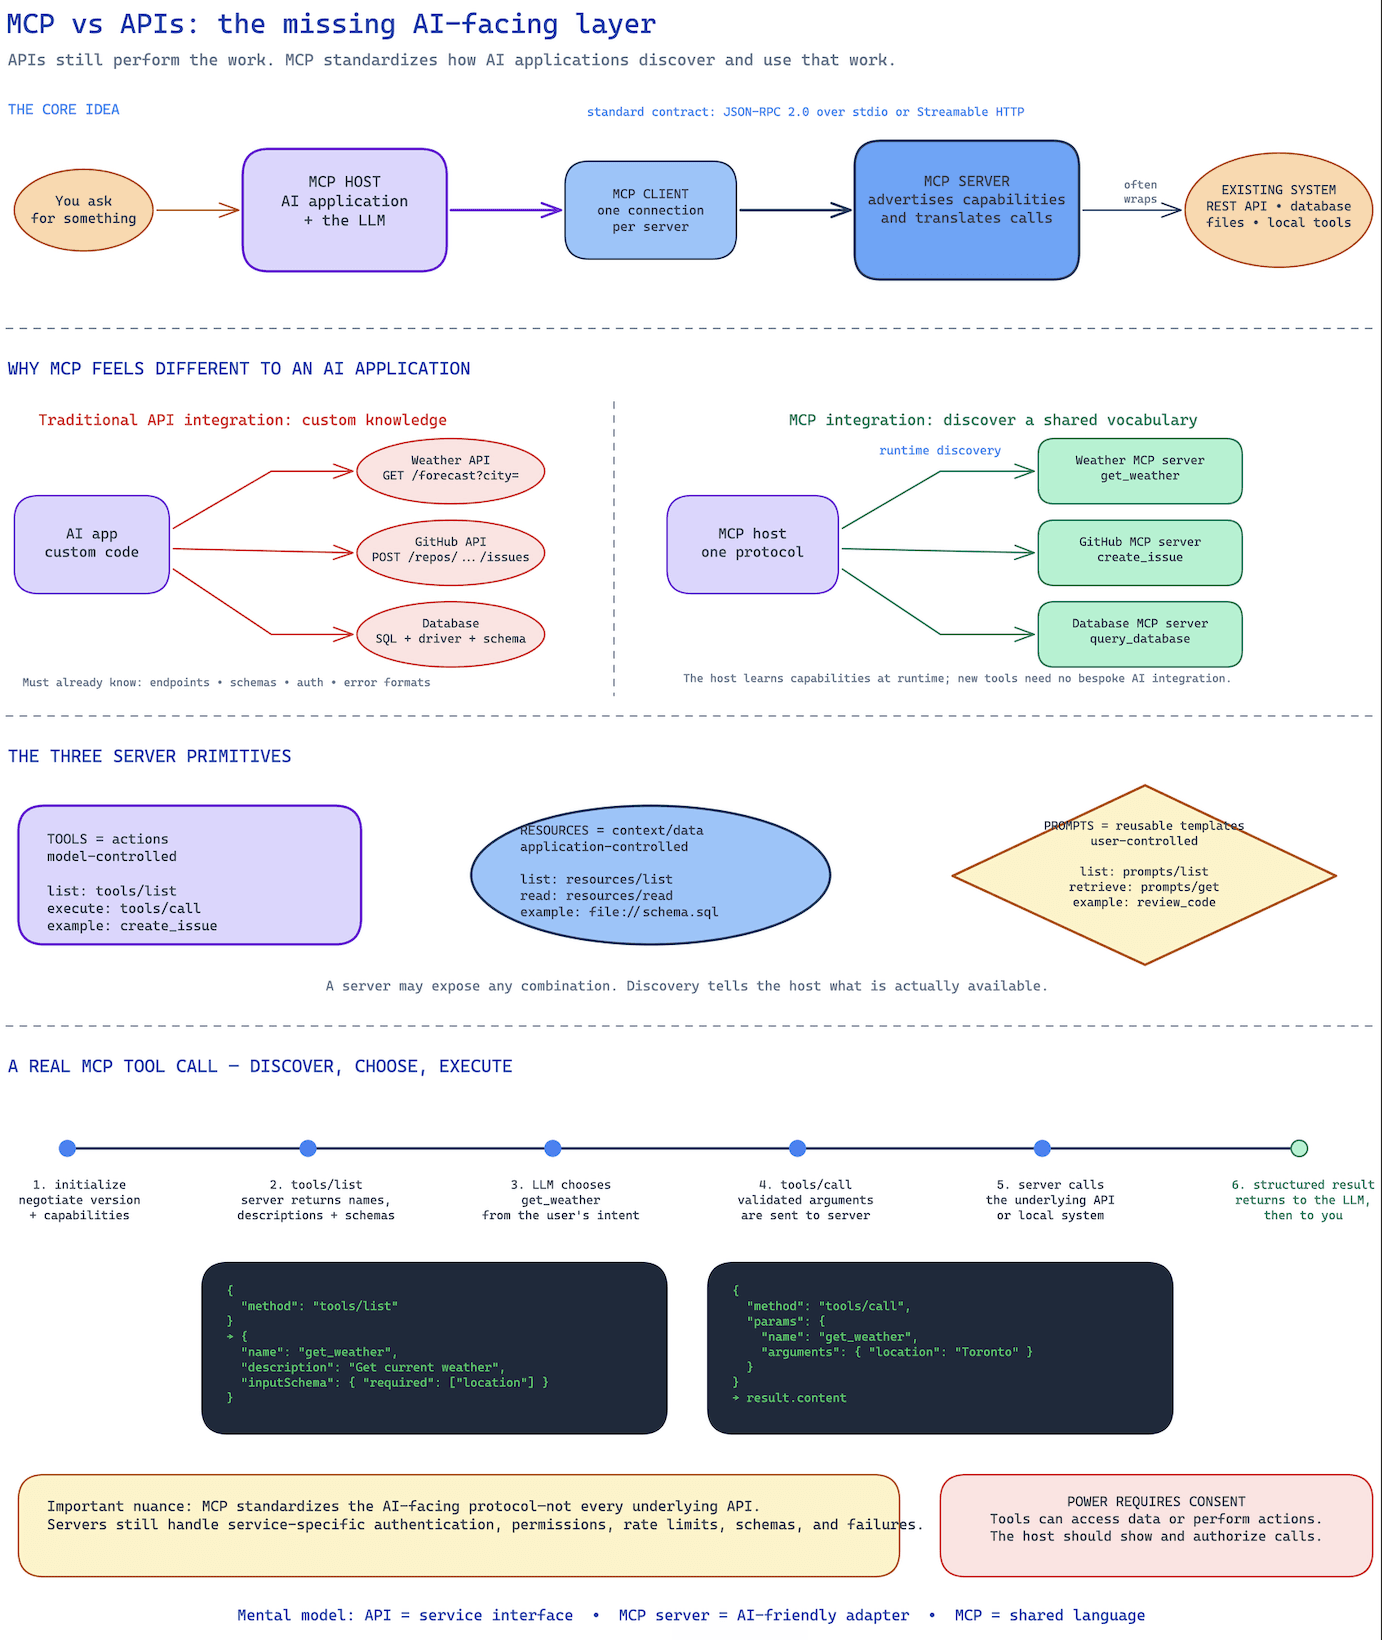
8. frontend-slides
What it does: turns a document or rough notes into a slide deck, right inside Codex. It was originally made for Claude, but it works straight in Codex too. It's a quick way to get a presentation started without fiddling around in slides software.
How to install:
Open Codex.
In the chat, tell Codex to install the frontend-slides skill. Paste this in:
Please install this skill: <https://github.com/zarazhangrui/frontend-slides>Restart Codex (close it, then reopen it).
If you want to confirm it's installed, paste this in the same chat:
Please check if the frontend-slides skill is installed.How to use:
In your chat, type /frontend-slides and attach a document or describe the slides you want.
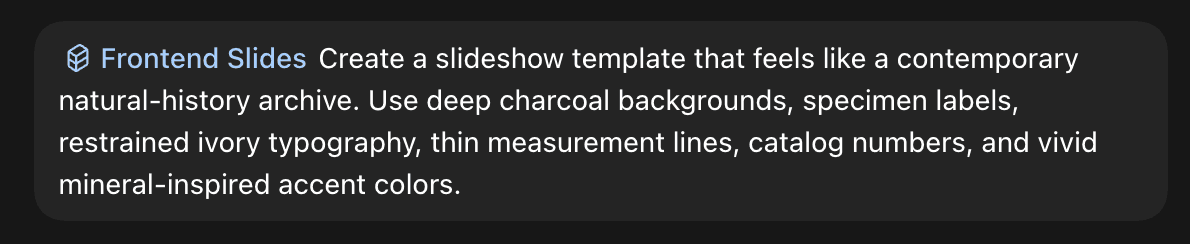
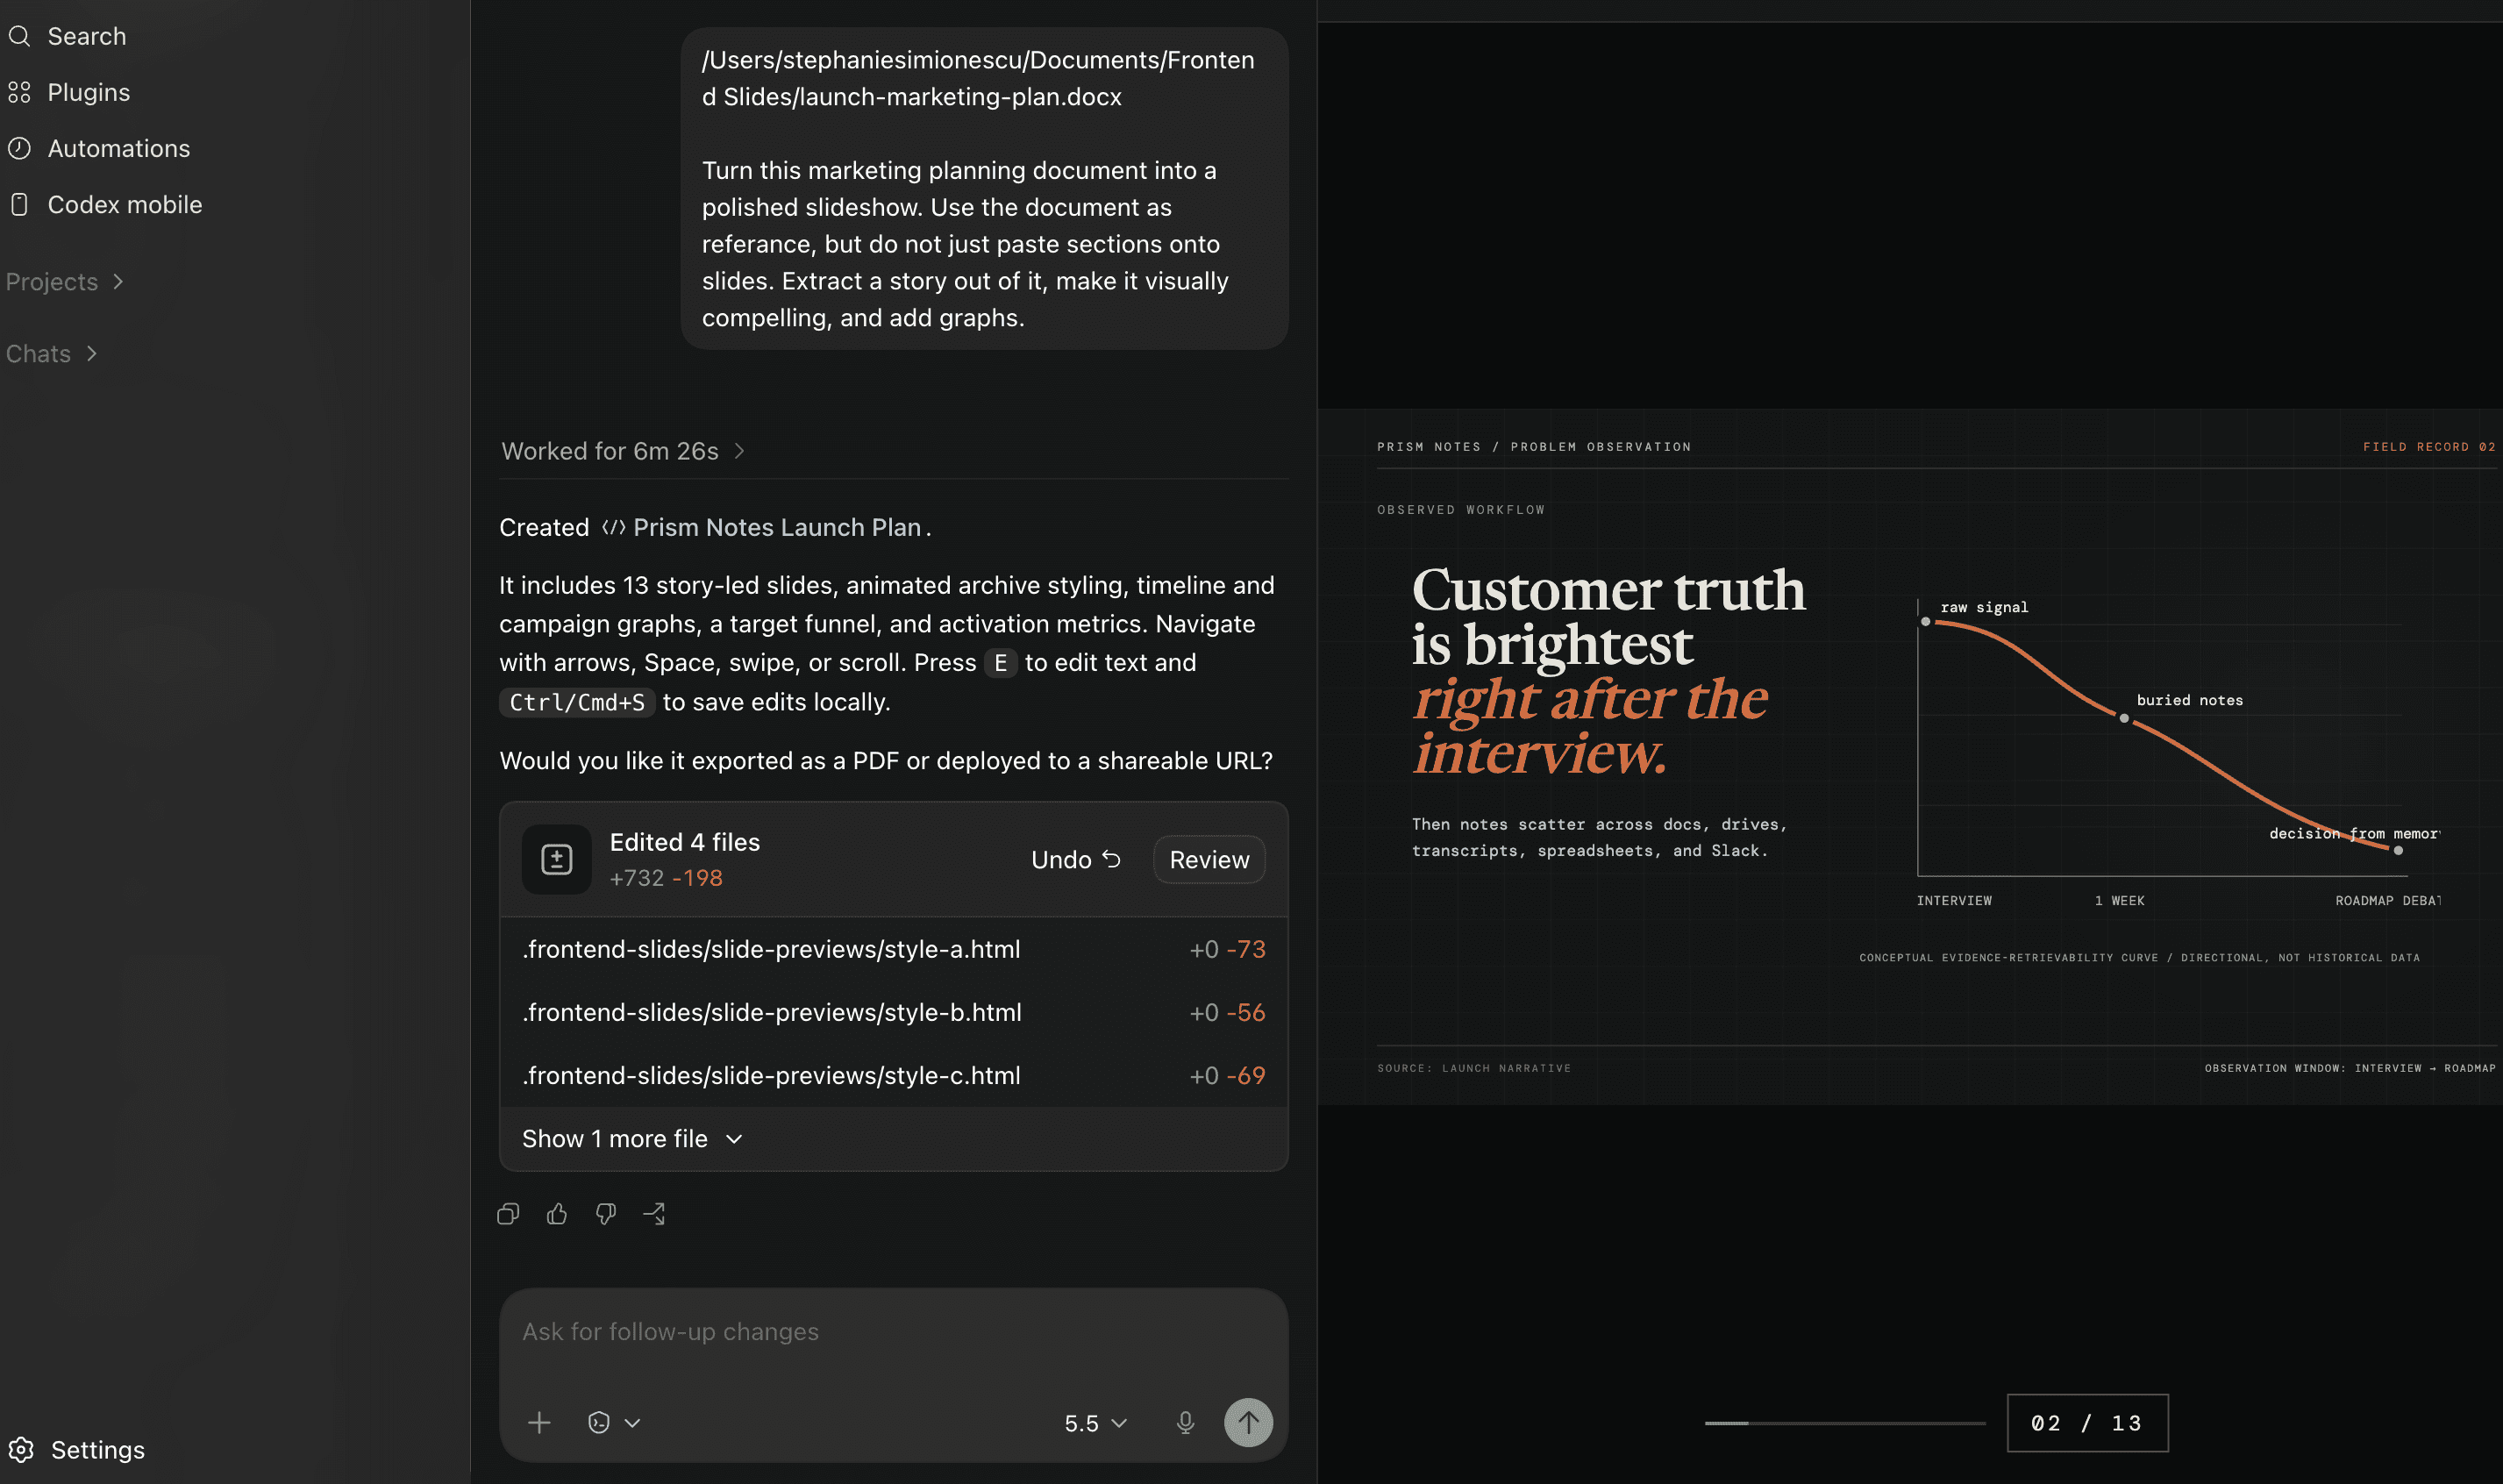
Codex builds the deck, which you can keep editing in the chat.
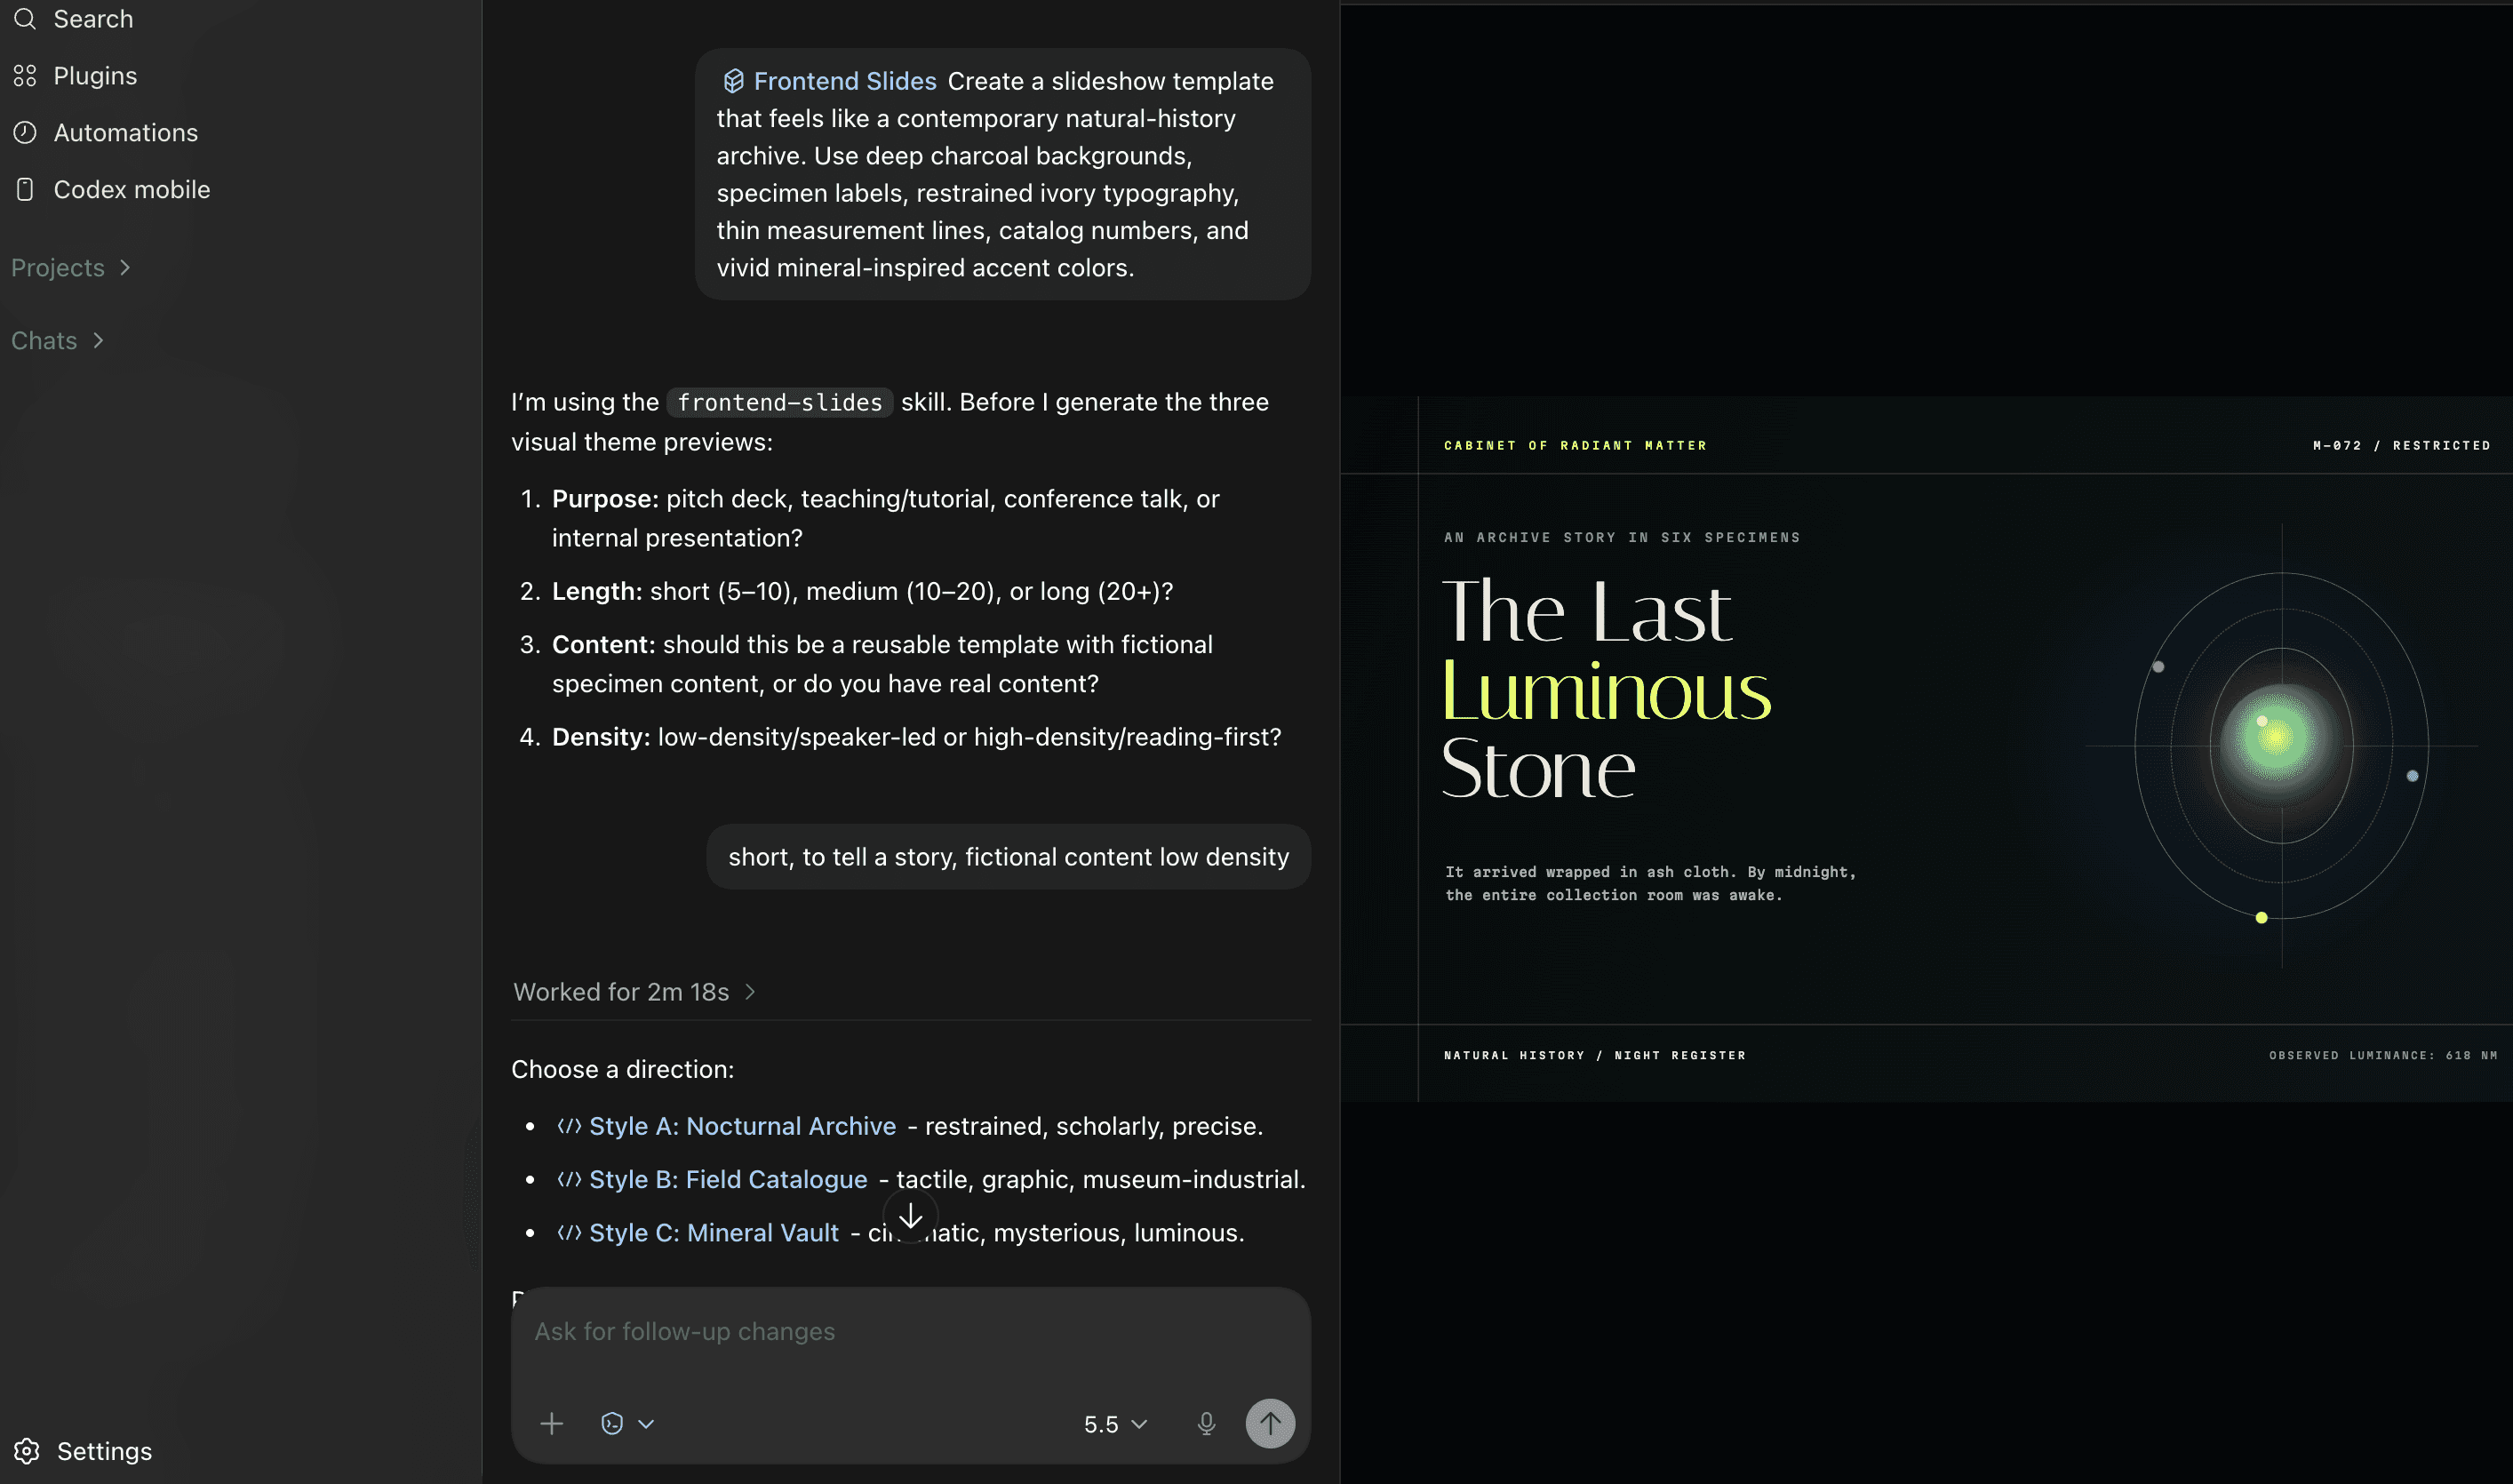
When you're done, you can export it as a .pptx, PDF, or any desired file format.
frontend-slides examples & prompts:
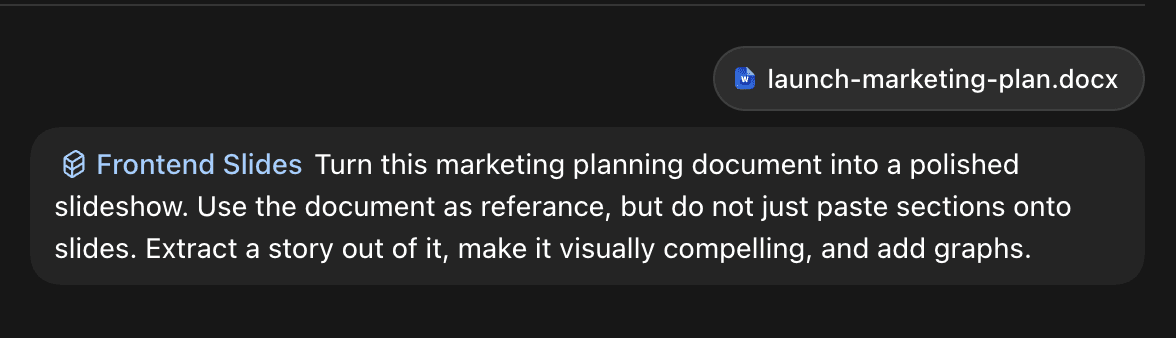
Create a slideshow from a document or rough notes. Attach a Word doc or add rough notes in chat, and it will create a slideshow ready to present.
Fix an existing slideshow. If you already have a slideshow with rough notes, or you want to take an existing slideshow template and polish it up.
9. Record & Replay
This skill turns a workflow you demonstrate once into a reusable Codex skill. Instead of writing detailed instructions for every click, command, and decision, you record yourself completing the task and let Codex translate the recording into a repeatable process.
It is similar to recording a macro, but the result is more flexible. A traditional macro repeats the same actions in the same positions. Record & Replay creates a skill that describes the workflow’s goal, inputs, steps, decision points, and expected result, allowing Codex to adapt when the data or interface changes.
How to install:
Record & Replay is a built-in feature in supported Codex environments
Click on + in the chat box
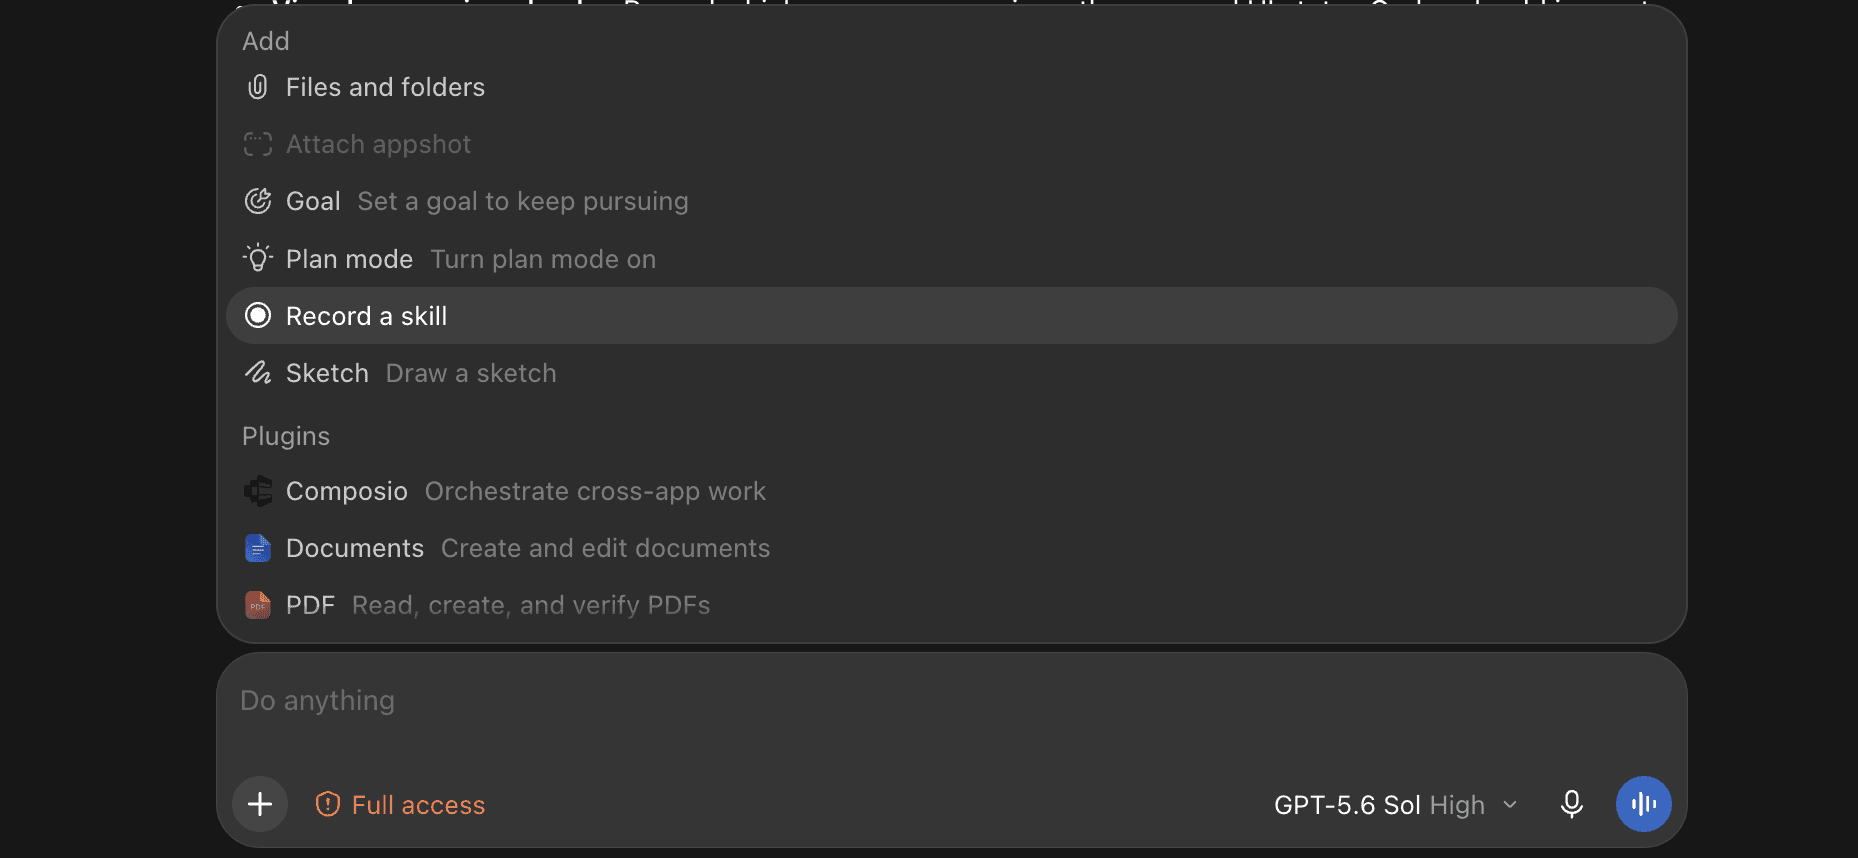
Look for Record & Replay
Click install
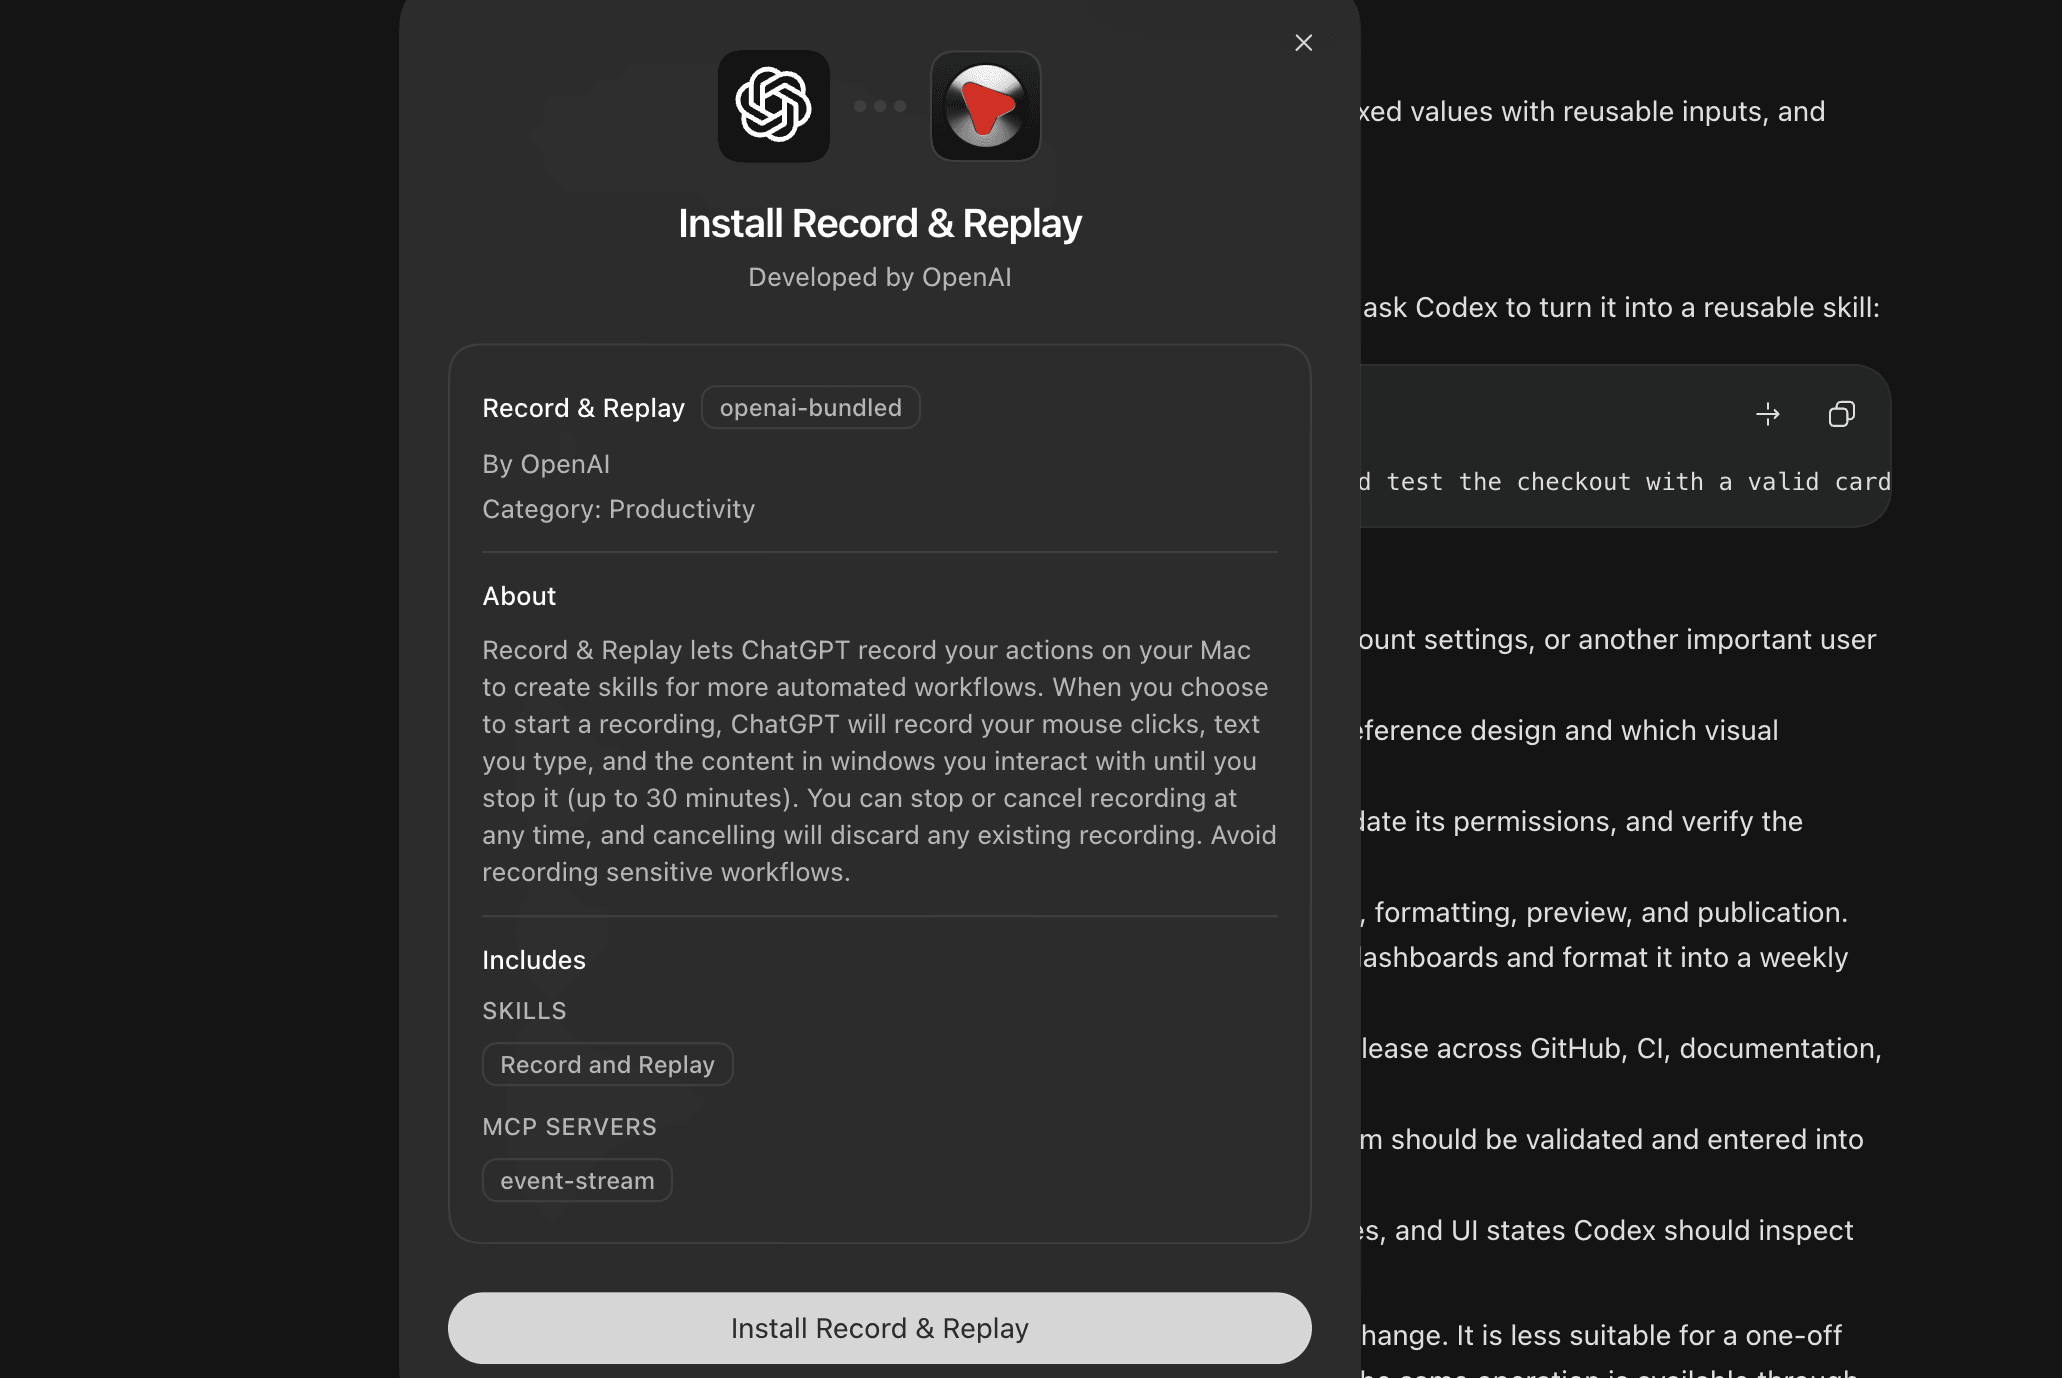
How to use:
Start a new Record & Replay session.
Perform the workflow normally while Codex records the steps. Work carefully and follow the process you want the finished skill to repeat.
Stop the recording when the task is complete.
Review the generated workflow. Remove accidental steps, replace fixed values with reusable inputs, and identify actions that should require confirmation.
Give the skill a clear name and explain when Codex should use it.
Test the skill with different inputs before relying on it for real work.
For example, you could record yourself testing a checkout flow and then ask Codex to turn it into a reusable skill:
Create a skill named checkout-qa from this recording. It should test the checkout with a valid card, an invalid card, and an empty address. Capture screenshots of failures and never place a real order without confirmation.Record & Replay examples:
Browser-based QA: Demonstrate how to test signup, checkout, account settings, or another important user journey.
Design reviews: Show how you compare a running page against a reference design and which visual problems you check.
Admin-panel workflows: Record how you create a test account, update its permissions, and verify the result.
Publishing content: Demonstrate how a draft moves through review, formatting, preview, and publication.
Record & Replay works best when the workflow is stable but the inputs change. It is less suitable for a one-off task or a fragile sequence that depends on exact screen coordinates. If the same operation is available through an API, CLI, or MCP tool, that will usually be more reliable than repeating browser interactions.
OpenAI describes Record & Replay as a way to demonstrate a workflow and convert the recording into a reusable skill.
10. MCP Builder for Codex
What it does: helps Codex build an MCP server that connects an AI agent to an API, database, internal service, or developer tool. MCP stands for Model Context Protocol, a standard that lets agents discover and call external tools through a consistent interface.
Instead of only generating the server boilerplate, MCP Builder guides Codex through the decisions that make an integration useful: which operations should become tools, how those tools should be named, what inputs they require, how much data they return, and how errors should help the agent recover.
It supports MCP servers built with Python and FastMCP or Node.js and TypeScript.
How to install:
Open your project in the terminal.
Install the MCP Builder skill for Codex:
npx skills add anthropics/skills --skill mcp-builder --agent codexRestart Codex or start a new session.
Confirm that the skill appears by opening
/skillsor typing $mcp-builder.
How to use:
Invoke the skill and describe the service you want an agent to access:
$mcp-builder Build an MCP server in TypeScript that lets an agent search our product catalogue, retrieve an item, and check its current inventory.Include a link to the API documentation when possible. Also explain whether the server will run locally or remotely, how authentication works, and which actions should be read-only.
MCP Builder examples and prompts:
Connecting an internal API: Expose selected operations from a private company service as clearly defined agent tools.
Adding database access: Create read-only tools that search or summarise records without exposing unrestricted SQL execution.
Building a developer-tool integration: Let an agent inspect deployments, retrieve logs, or check CI job status.
Connecting a custom CRM: Search customers, retrieve account history, and create follow-up tasks through controlled operations.
Creating documentation tools: Search internal documentation and return focused passages with links to their sources.
A more detailed prompt gives Codex enough information to design the server properly:
$mcp-builder Build a Python MCP server for our support API. Agents should be able to search customers, read tickets, and add an internal note. Keep ticket deletion unavailable, use OAuth for authentication, paginate large results, and include tests for every tool.The skill encourages descriptive, action-oriented tool names and focused responses so the agent doesn't load unnecessary data into its context. It also helps create evaluations that test whether the finished server can complete realistic multi-step tasks.
MCP Builder is most useful when an existing integration does not cover your service or when you need strict control over the tools an agent can access. If a maintained MCP server or Composio connector already exists, using that will usually be faster than building your own.
Frequently asked questions
What are Codex skills?
A Codex skill is a plain text file of instructions that Codex loads when it is relevant. It saves you from pasting the same prompt into every new chat, and because it is just text, you can read exactly what it will do before you install it. Skills cover everything from video editing and design to browser automation and diagram generation.
Does Codex work with skills?
Yes. OpenAI added skill support to Codex and ships its own catalogue, and Codex also runs community skills installed from GitHub. Many skills written for other coding agents work in Codex without changes, because they use the same SKILL.md format.
How do you use a skill in Codex?
Install it, restart Codex, then type a forward slash followed by the skill name, for example /remotion or /handoff, and describe what you want. If the skill does not appear after installing, restart Codex again. That fixes it almost every time.
Is Codex better than ChatGPT?
They do different jobs. ChatGPT is a chat interface. Codex is a coding agent that runs on your machine, reads and writes files, and executes commands. Skills are part of that difference: they let Codex carry the same instructions into every session, which a chat window cannot do.
Conclusion
Don't try to install them all at once. You probably won't need all of them anyway. Start with the ones that already fit at your workplace and expand from there.
These are just some of my personal favourites. Most of these skills come from OpenAI's own skill catalogue for Codex and the awesome-codex-skills repo. Go take a look; you might find a few better ones that fit your workflow even more.

 Get started