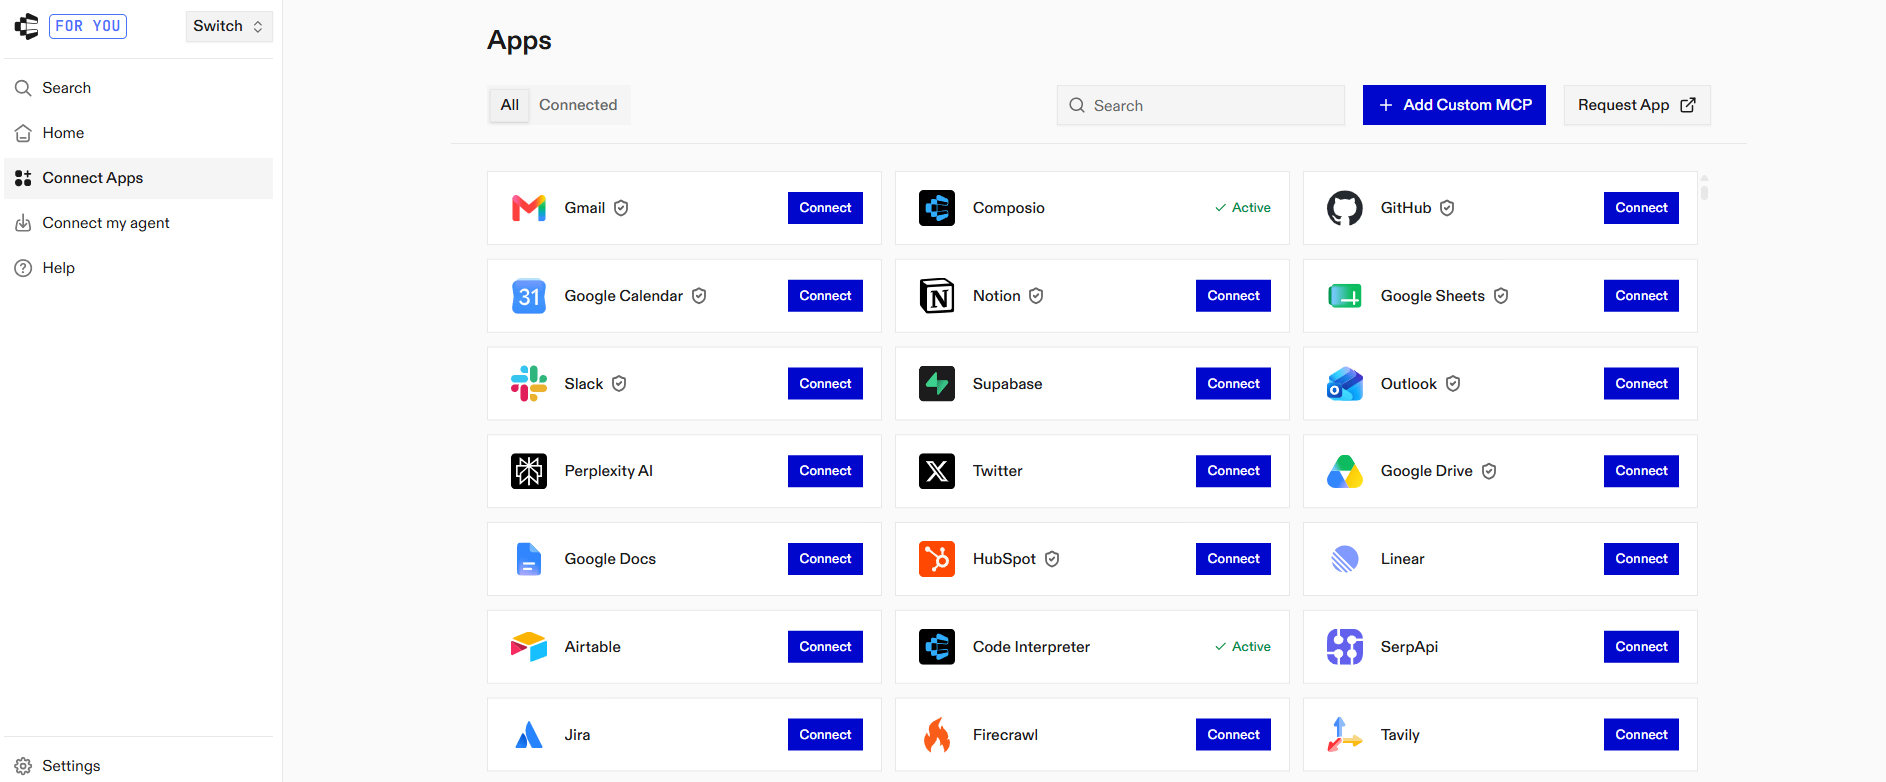
Step 1: Add Composio to Claude (one-time process)
- Click the button below. This will take you to the Claude Custom Connector modal.
 Add to Claude
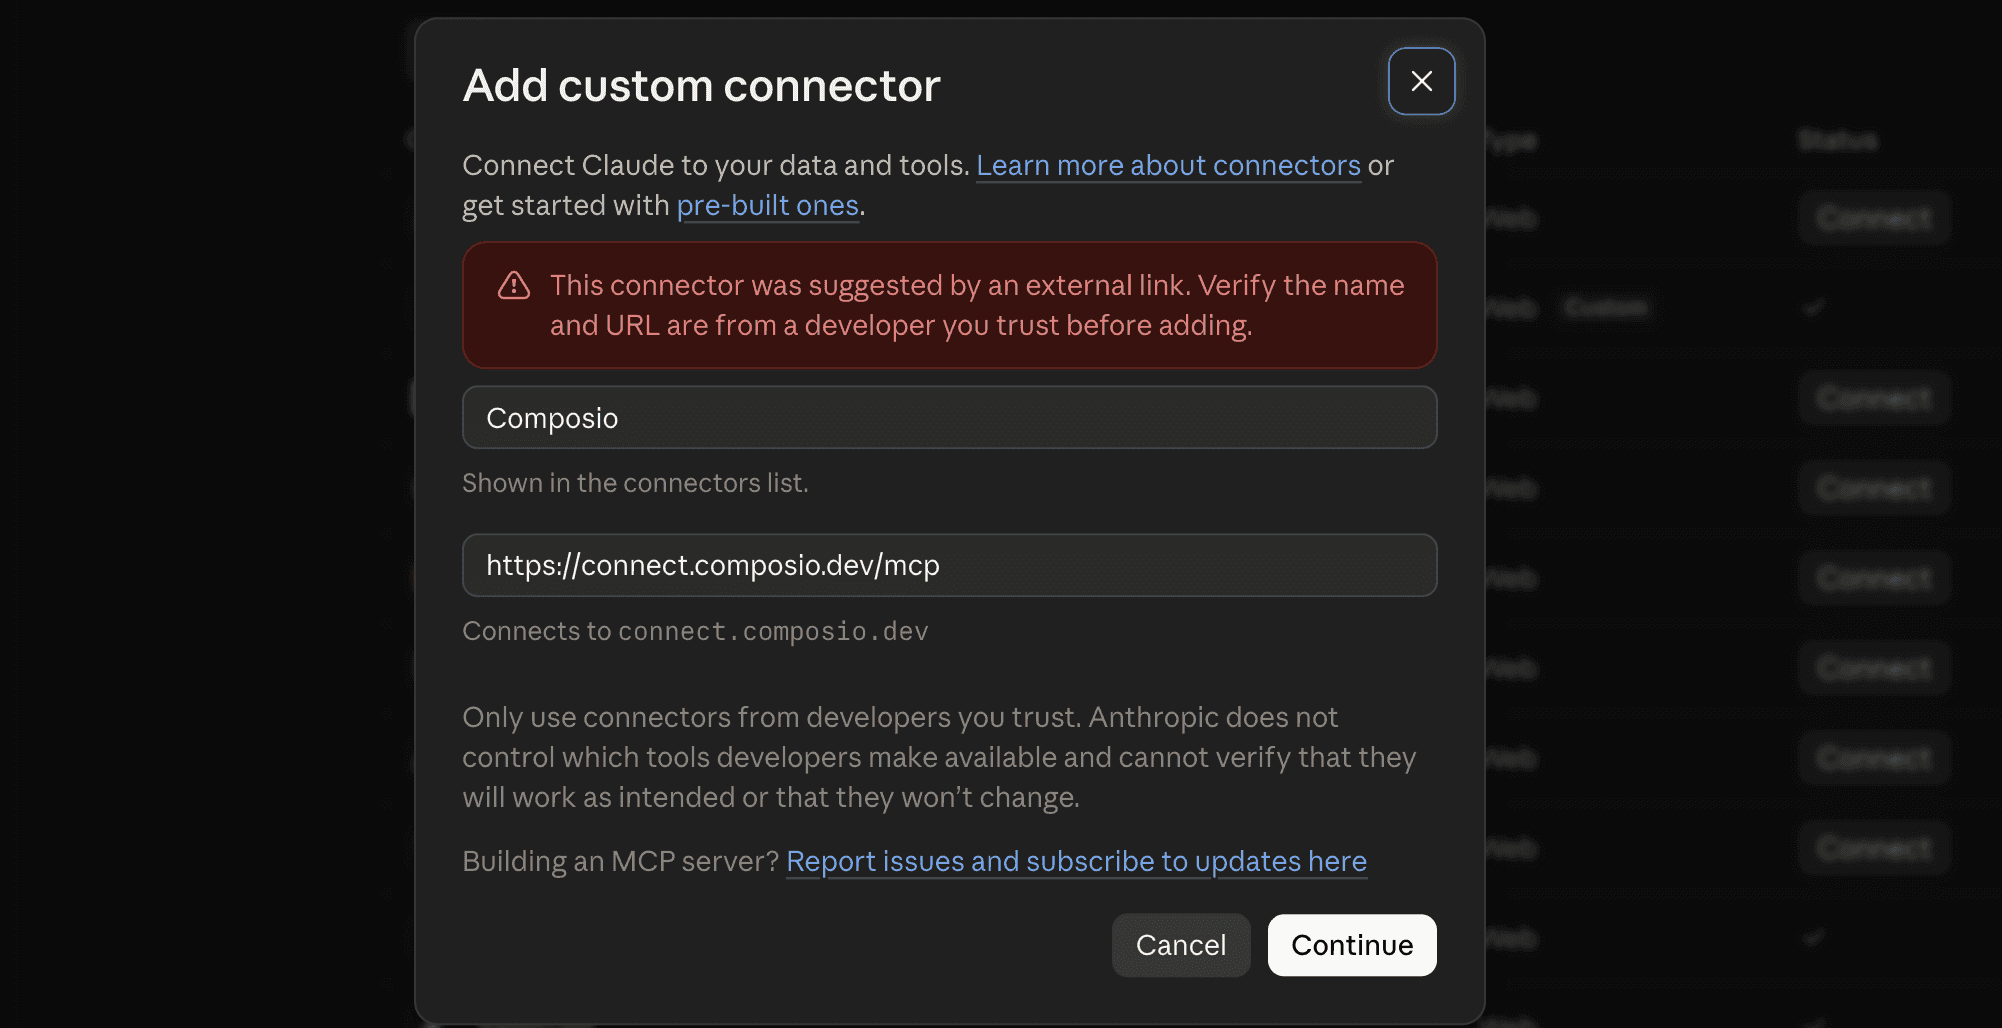
- Click Continue
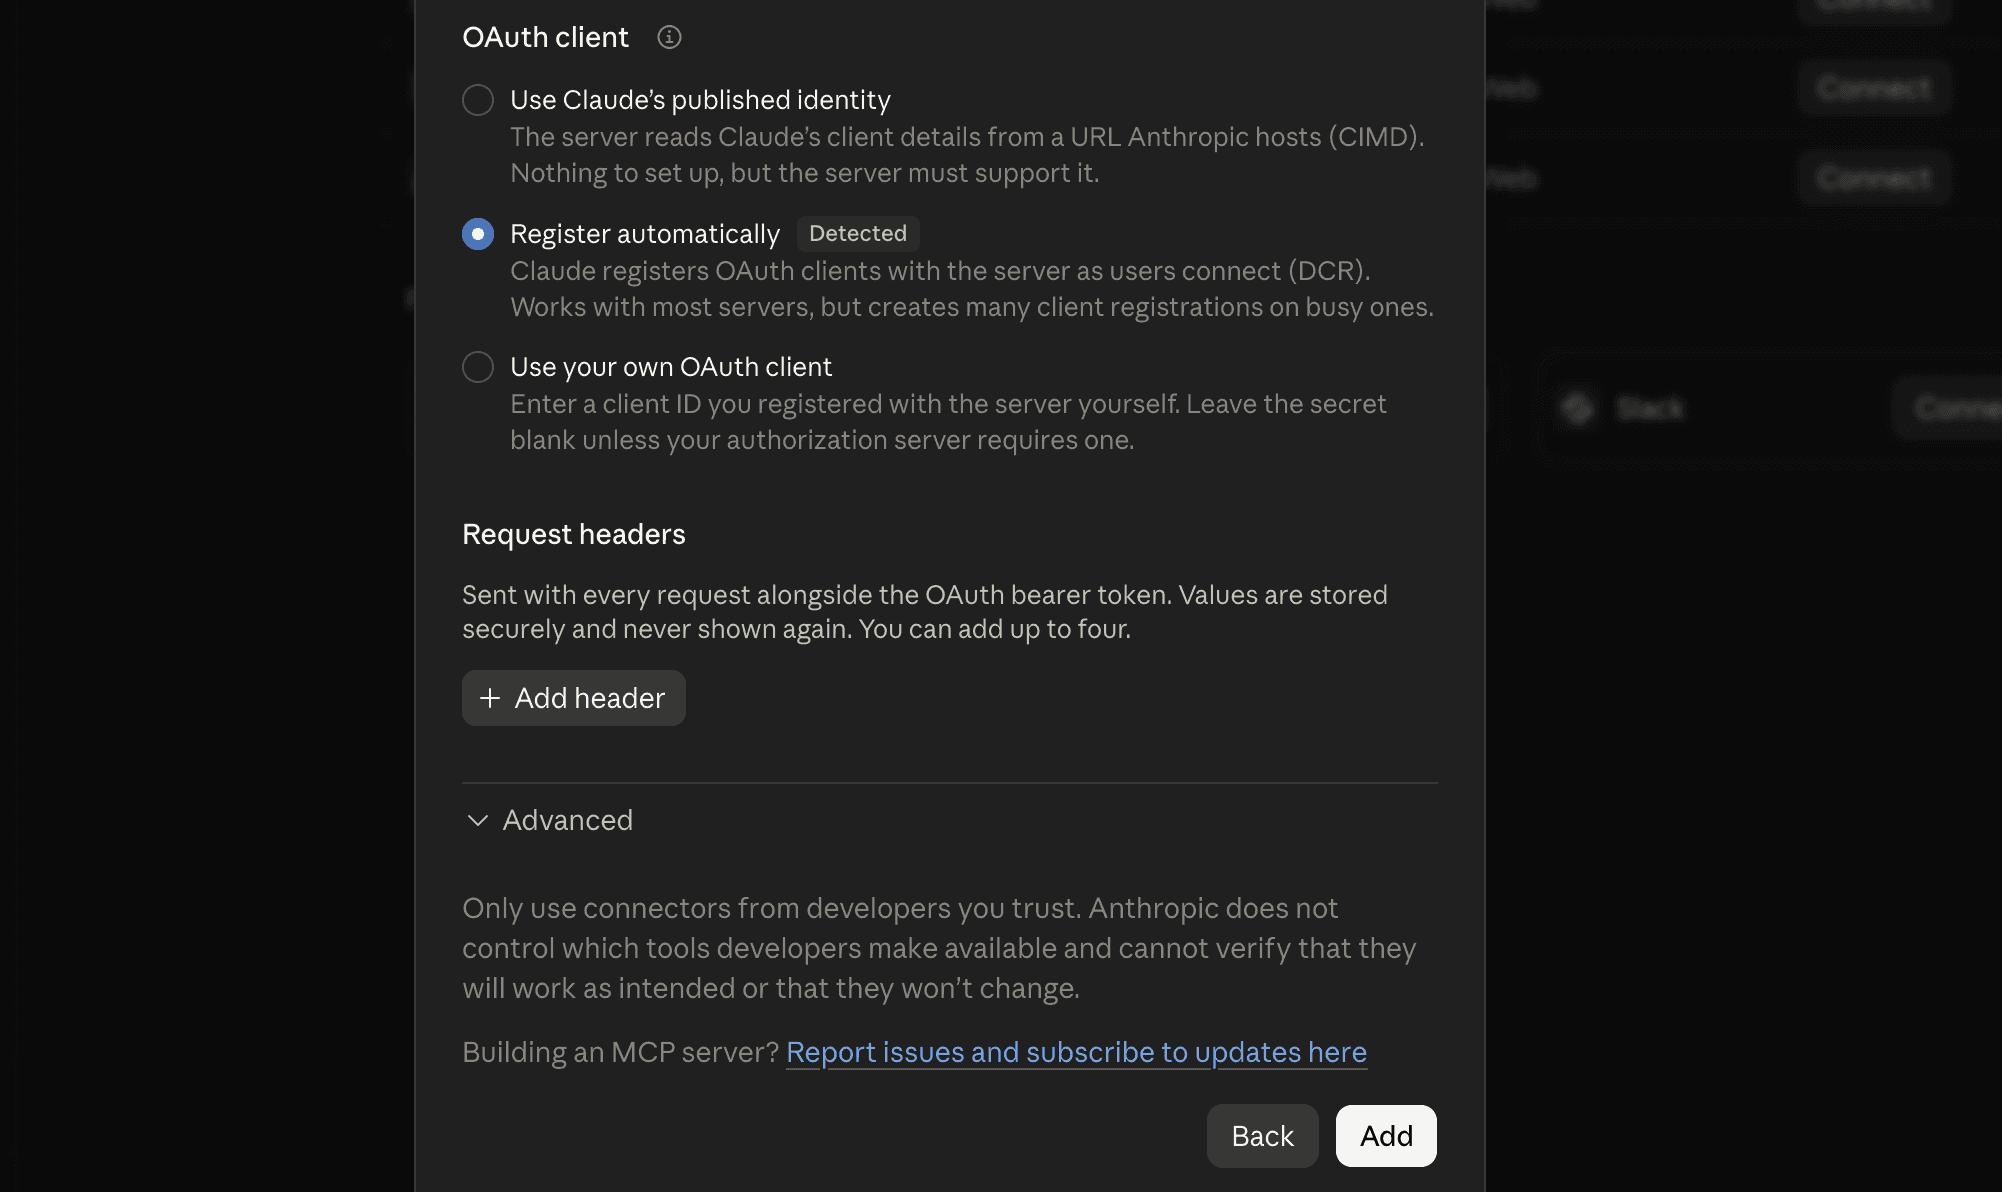
- In the next modal, click Add
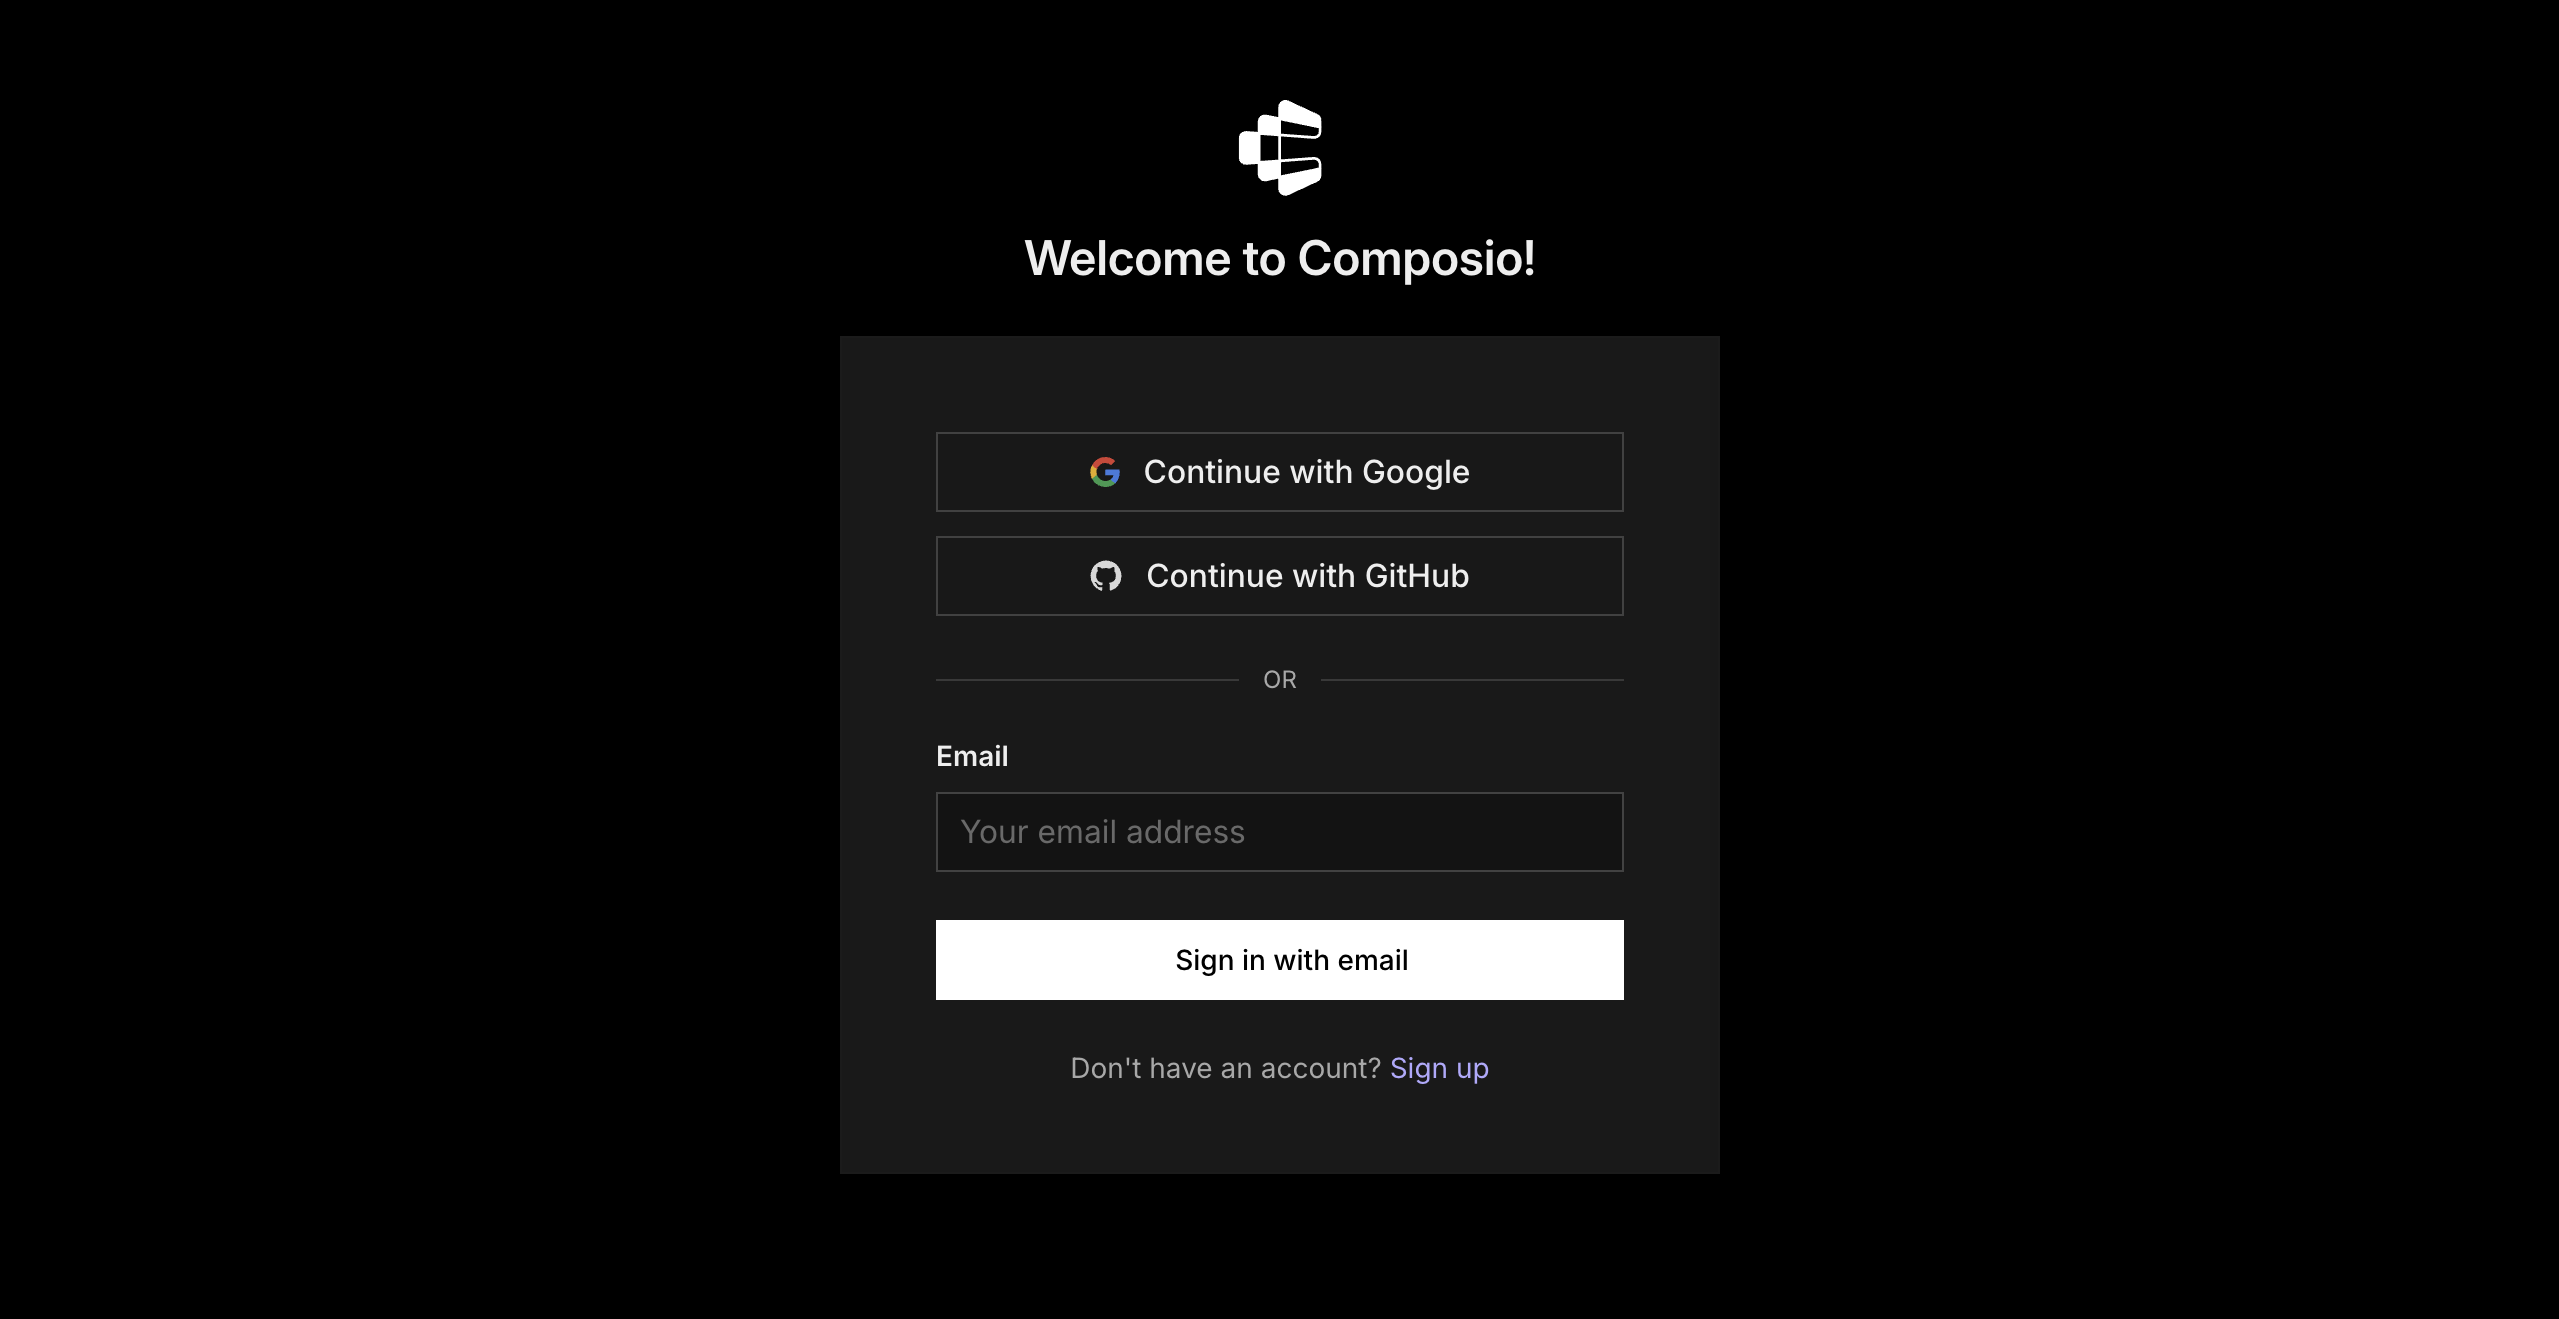
- It will take you to the authentication page. Sign in to Composio and approve the connection.
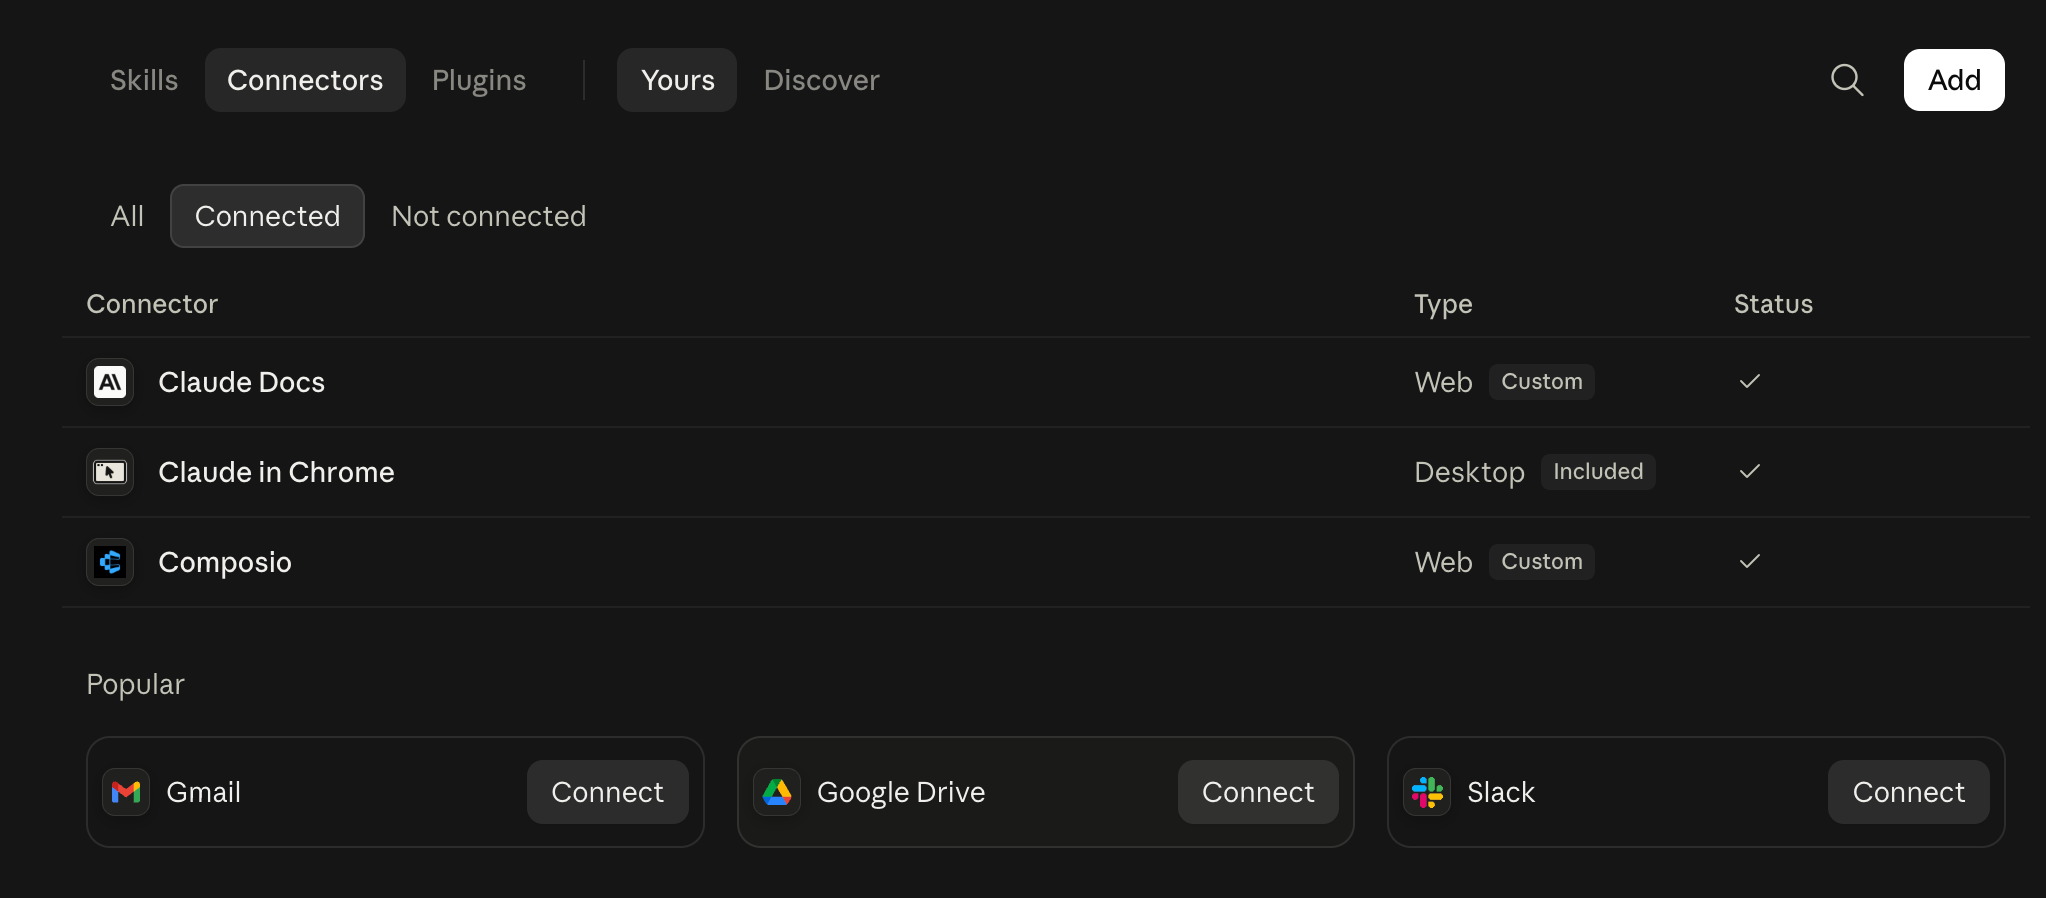
Then return to Claude and make sure Composio is enabled.
Step 2: Connect your first Omnisend account
In a new Claude chat, type:
Connect my omnisend-1 Omnisend account to Composio. Call it omnisend-1.
Claude will give you a sign-in link.
- Click the link.
- Sign in to your omnisend-1 Omnisend account.
- Review and approve Omnisend's permission request.
- Return to Claude.
Claude should confirm that the account is connected.
The name omnisend-1 is how Claude knows which Omnisend account to use. Choose short, obvious names. Good examples include:
omnisend-1omnisend-2omnisend-3
Step 3: Connect your second Omnisend account
In the same Claude chat, type:
Connect another Omnisend account. Call it omnisend-2.
Claude will give you a new sign-in link.
- Open the link.
- Sign in to the second Omnisend account.
- Review and approve Omnisend's permission request.
- Return to Claude.
Claude should confirm that omnisend-2 is connected.
Important: Check that Omnisend is showing the second account before you approve access. If the wrong account appears, sign out or open the link in an incognito or private window.
Repeat this step for every other Omnisend account you want to add. Give each connection a short, descriptive name such as omnisend-1, omnisend-2, omnisend-3, or client-acme.
Step 4: Check your connected Omnisend accounts
Ask Claude:
List my connected Omnisend accounts in Composio. Show each account's name and connection status.
You should see every account you added, and each connection should show as ACTIVE.
For an extra check, ask:
Show the account email or ID and the account name for each connected Omnisend account.
This helps you confirm that every label points to the correct Omnisend account and that you did not connect the same account twice.
Step 5: Use the right Omnisend account
Mention the account name whenever you ask Claude to work with Omnisend. This is especially important when an action could change data.
Review activity across accounts
Check omnisend-1 and omnisend-2 for anything new in Omnisend from the last 14 days. Group the results by account.
Update contact email preferences in bulk
Using the omnisend-1 account, update contact email preferences in bulk.
List all products for upcoming campaign
Using the omnisend-2 account, list all products for upcoming campaign.
Find something across accounts
Search all connected Omnisend accounts for customer@example.com. Show which account it appears in and summarise the latest activity.
For actions such as creating, changing, or deleting data, ask Claude to show you the planned action first and wait for your confirmation.