




You connect Notion to Claude, and it works well until you try to add a client's workspace and discover that Claude gives you no place to add it.
Claude supports one Notion workspace at a time, so you must disconnect the current workspace and connect the other one through Settings → Connectors. This change affects every active session, so you cannot switch the workspace for only one chat.
If you work for an agency or consultancy, or as a freelancer, this limit creates immediate problems because your delivery wiki can be in your workspace while the client's project tracker is in theirs, and you often need to compare or move information between them.
Composio solves this problem with a single custom connector that contains all the Notion workspaces you need and assigns each connection a clear client label.
Compare the deliverable list in acme-notion with our scope document in internal-notion, and identify any item in their list that is missing from ours. Use read-only actions.
This cross-workspace comparison helps you detect scope creep, but Claude's built-in connector cannot perform it across two workspaces.
Related: How to add multiple Gmail accounts to Claude
Before you start
Claude:
Custom connectors work on Free, Pro, Max, Team and Enterprise. Free is limited to one custom connector, so this would have to be it.
On Team/Enterprise, only an Owner can add the connector at organisation level. Members then connect their own account to it.
Composio:
A free account. 100K tool calls a month, unlimited connections, no card.
Client side:
At minimum, guest access to the pages you want Claude to reach.
The ability to complete an OAuth flow against that workspace. Some workspace owners restrict integrations.
Step 1 — Add Composio as a custom connector
Composio publishes one shared MCP endpoint. Same URL for everyone, no API key, OAuth on click.
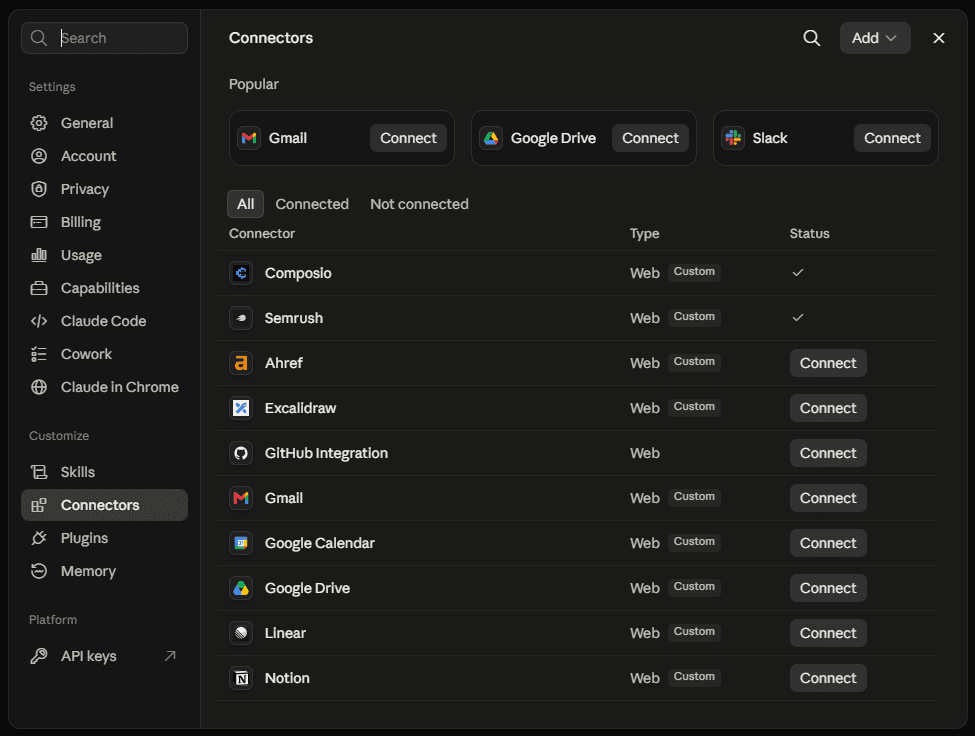
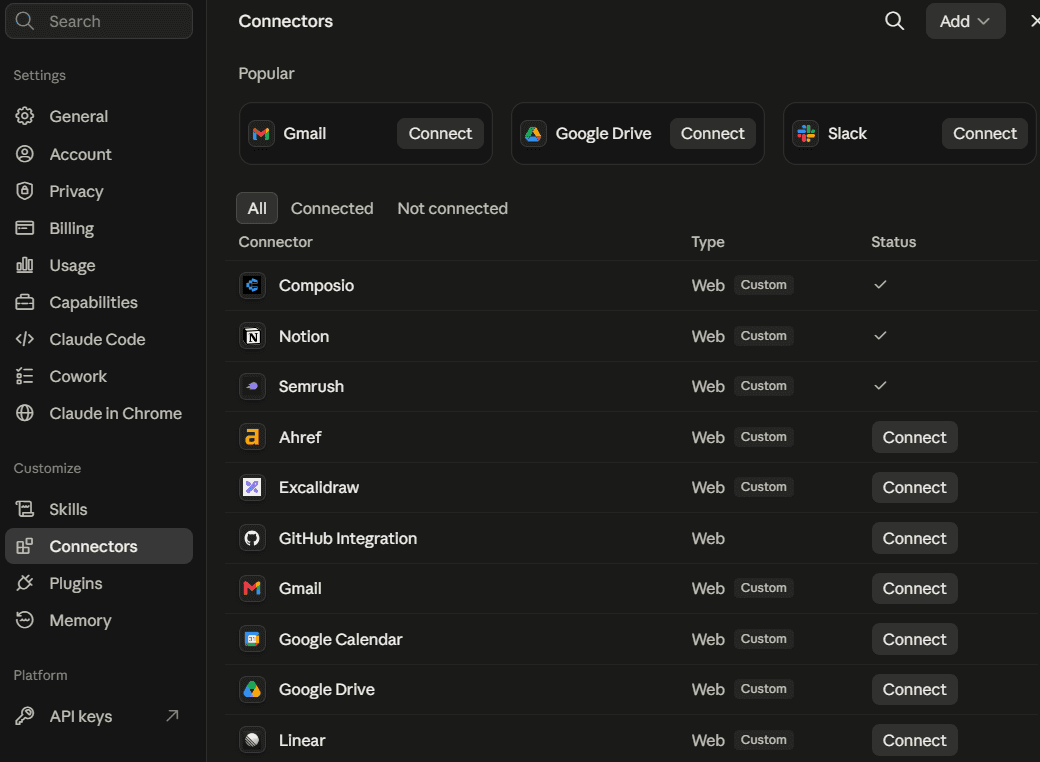
In Claude, open Customise → Connectors (
https://claude.ai/customize/connectors).Click the + button, then Add custom connector.
Fill in:
Name:
ComposioURL:
https://connect.composio.dev/mcpAdvanced settings: leave blank. No client ID, no secret, no headers; Composio handles auth automatically.
Click Add, then Connect. A browser window opens; sign in to Composio (or create a free account) and approve.
Back in Claude, confirm Composio shows with a CUSTOM badge and is toggled on.
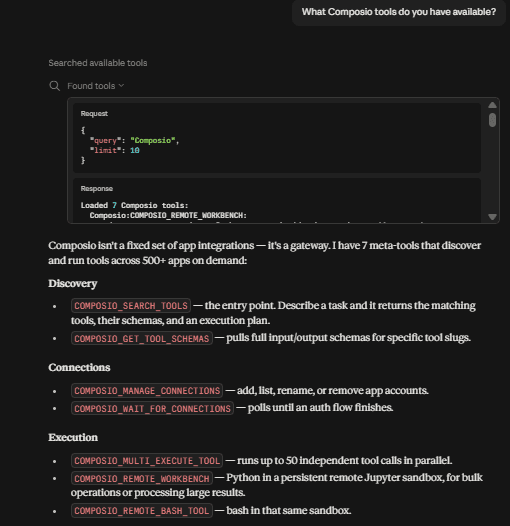
Sanity check. New chat: "What Composio tools do you have available?" You should get a short list of meta-tools.
Composio doesn't dump every app's tools into your context, it exposes a handful that discover and run the right tool on demand, which is how one connector fronts 1,000+ apps without wrecking your context window.
Step 2 — Connect your first Notion workspace
Everything from here happens in chat:
Connect my agency's Notion workspace to Composio. Label it internal-notion.
Claude returns an authorisation link. Click it, and then slow down, because Notion's consent screen has two things Slack's and Google's don't.
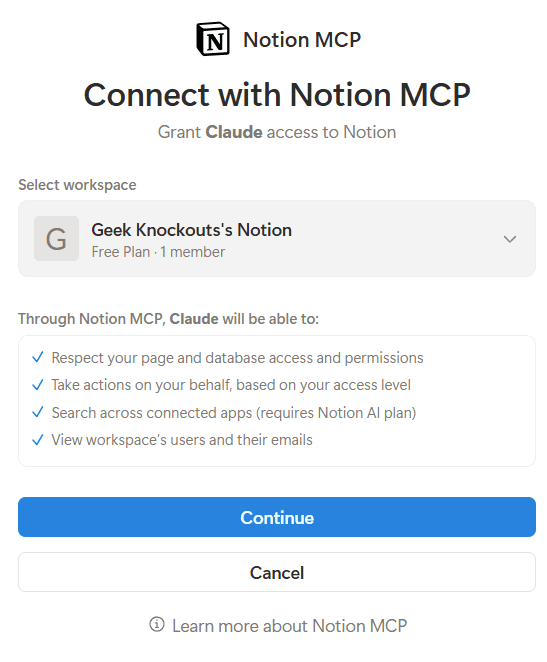
The workspace selector. Notion authorisation covers exactly one workspace, and the screen picks one by default. Change it if it's wrong.
The page picker. Notion asks which pages the integration can access, and this is the real permission boundary. Whatever you don't select, Claude cannot see — you'll get "could not find page" errors later and waste an hour assuming the connection is broken.
Whatever you don't select, Claude cannot see. It will return "could not find page" errors later, and you will spend an hour assuming the connection is broken when the connection is fine.
How to choose:
Your own workspace: selecting broadly is usually fine.
A client workspace: select the shared project space, not everything. Narrow is almost always right, and it's the answer you want to be able to give when they ask what your AI can see.
Either way, prefer a parent page over hand-picking a dozen children. Children inherit, and it saves you the maintenance problem below.
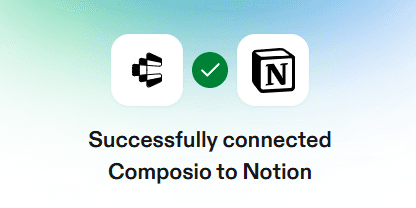
After approving, come back to Claude. It polls until the connection is Active, then confirms.
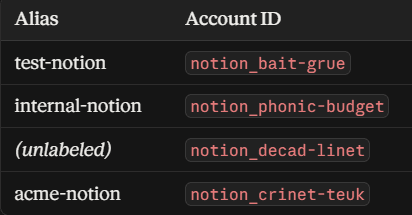
That label — internal-notion — is the mechanism. Composio calls it an alias, and it's how every future request routes to the right workspace. Aliases must be unique per toolkit.
Step 3 — Connect the second, third, and fourth workspaces
Same conversation:
Now connect another Notion workspace. Label it notion2.
Composio issues a fresh authorisation link and creates a separate connection. It does not overwrite the first; that's the whole point.
Same two checks every time: workspace selector, then page picker. If you're signed into several Notion workspaces in that browser, consider opening each auth link in an incognito window and signing in deliberately.
Repeat per client. Composio enforces a cap on accounts per toolkit; the SDK default is 5, configurable between 2 and 10, so an agency with more than 5 active Notion clients should raise it or split across Composio projects.
Step 4 — Verify before you trust it
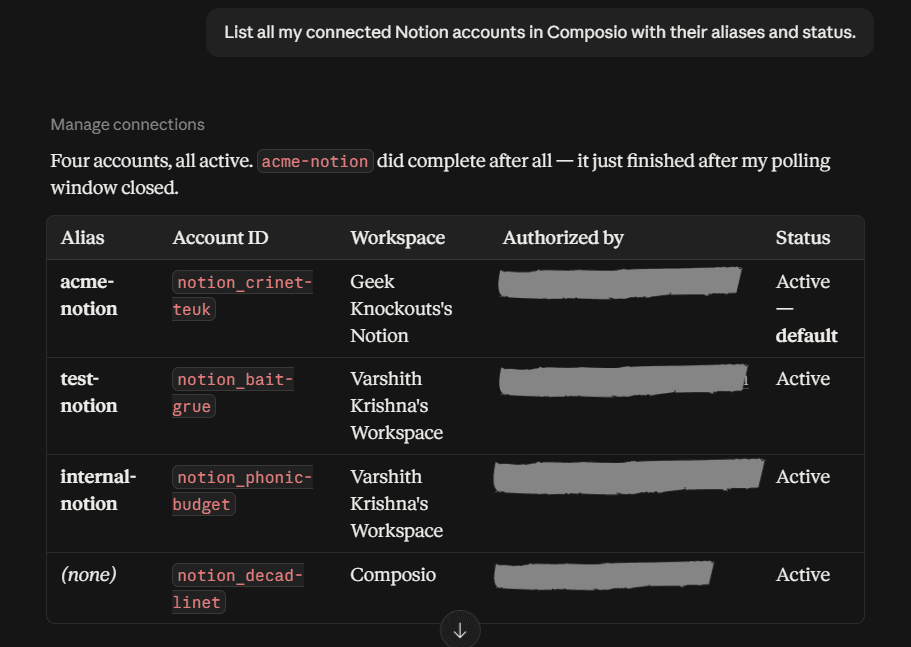
List all my connected Notion accounts in Composio with their aliases and status.
Only connections marked ACTIVE can execute tools.
Then prove each alias reaches the workspace and pages you intended:
For each connected Notion account, search for a page and tell me which workspace it came from, next to its alias.
This catches both failure modes at once: two aliases pointing at the same workspace, and a connection that authorised fine but has access to almost nothing because the page picker was skipped.
Step 5 — The Composio dashboard flow
Chat is faster for connecting. The dashboard is where you audit, rename, revoke and debug.
Go to dashboard.composio.dev and sign in with the account you authorised in Step
First: know which surface you're on
Composio's dashboard splits in two, and this confuses everyone exactly once:
Surface | What lives there |
|---|---|
For You | Personal app connections for agents and MCP clients — the setup you just built |
Platform | Developer projects: Playground, API Keys, Toolkits, Skills, Users, Sessions, Auth Configs, Triggers, Logs |
Resources in one surface do not appear in the other. If your Notion connections aren't where you expect them to be, you're on the wrong surface. Use the product switcher.
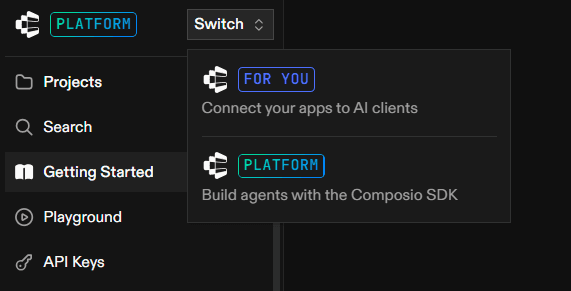
For You — the click-through path
The point-and-click equivalent of Steps 2 and 4, and the better route when onboarding several clients in one sitting:
Open For You from the switcher.
Find Notion in the app list.
Click Connect and complete the OAuth flow: workspace selector, then page picker.
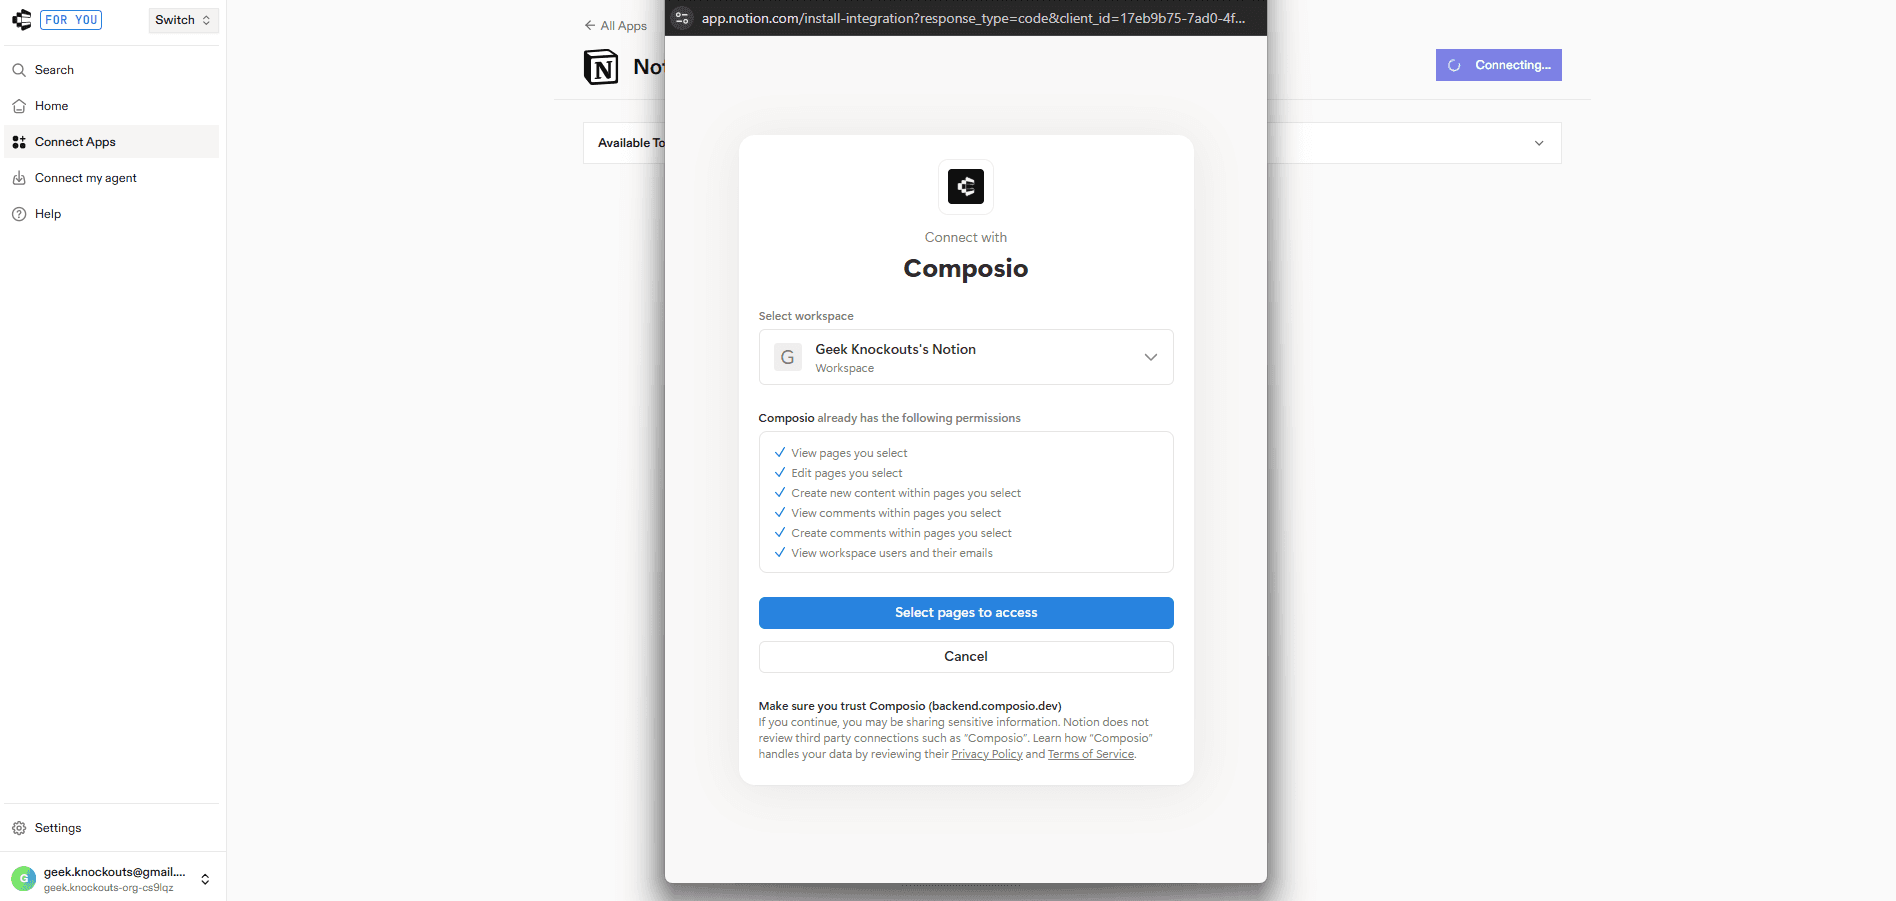
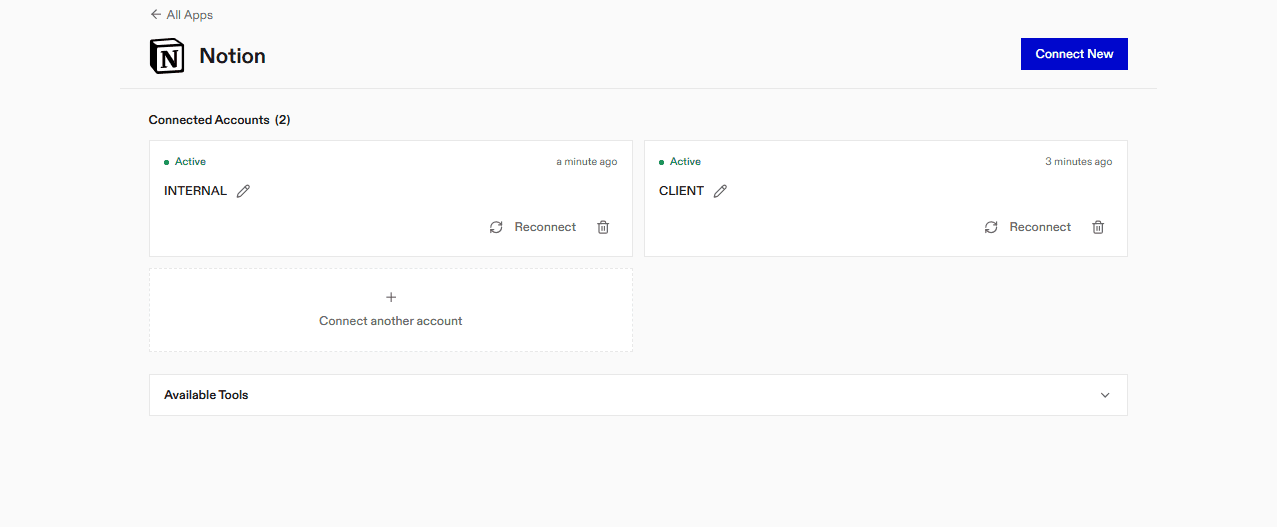
Click **Connect on Notion again (Connect New) ** for the next workspace. It adds a separate connection rather than replacing the first.
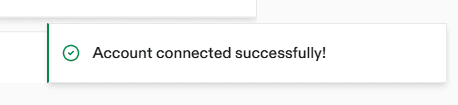
Label each connection with the client name.
From here you can also rename a connection, disconnect or delete one (immediately), and re-authorise an expired one.
Re-authorising is also how you widen page access. If you need Claude to reach a page you didn't select originally, reconnect that workspace and include it in the picker.
FAQ
Can Claude connect to two Notion workspaces natively?
No. One at a time, per Anthropic's own open issue, which names agency and freelance users as the affected group.
Does this work in Cowork and Claude Code?
Yes. Cowork uses the same Customise → Connectors flow. Claude Code takes the same endpoint as an HTTP MCP server, or Composio's native agent plugin via the CLI.
Do my workspaces get merged?
No. Each connection keeps its own token and stays separately addressable. That's why alias routing works.
How many workspaces can I connect?
The default cap is 5 per toolkit, configurable from 2 to 10. See Docs for more.
What about pages a client shares with me as a guest?
Guest-accessible pages come along with the workspace you connected, provided you select them in the page picker. Composio makes it explicit rather than assuming; guest access behaviour is the murkiest corner of this and worth verifying per client.
Can each person on my team have their own connections?
Yes, Composio scopes connections per user, so two people never touch each other's credentials. Shared connections with per-user access control are available if you'd rather maintain one agency connection per client.

 Get started