As a developer, I just get mad when I have to manage my projects manually. When I first started juggling multiple projects, things were okay at first, but as the workload grew, so did the time I spent updating tickets, searching for status reports, and clarifying project requirements. I often found myself wishing for a smarter way to bridge the gap between project management and the development process, where I could simply ask an AI agent to handle the tedious tasks for me.
And if you're working in a team, you may face the same problem.
So… what if we could just ask an AI agent to handle project management while we focus on the things that actually matter?
In this article, I'll show you how to connect Jira with Claude Code for effortless project management.
What is MCP?
Think of MCP as a bridge that connects all your SaaS tools to your AI agent. It acts like an adapter, enabling your AI agent (client) to understand and interact with your tools.
According to Anthropic (the team behind Claude and MCP):
“MCP is an open protocol that standardizes how applications provide context to LLMs…”
What is Jira MCP?
Jira MCP is a layer that enables AI agents to interact with Jira. It allows your agent to perform actions like creating issues, updating tickets, managing sprints, and more—by translating natural language into structured API calls.
What Can You Do with Jira MCP?
If you’re working in an Agile team, Jira MCP can simplify many of your workflows:
Create a new issue using
JIRA_CREATE_ISSUEAdd comments with
JIRA_ADD_COMMENTCreate multiple issues using
JIRA_BULK_CREATE_ISSUEAssign issues, fetch projects, list sprints, and more
All of this can be done using simple prompts.
What’s Covered?
How to connect Jira with Claude Code
How to manage Jira tickets using natural language
How to automate common project management tasks
Let's Start With the Setup
We’ll be using the following tools:
Set up using Composio Connect (Recommended)
With the new setup, you no longer need to configure MCP servers manually or run CLI commands.
Step 1: Open Composio Connect
Go to: https://connect.composio.dev/
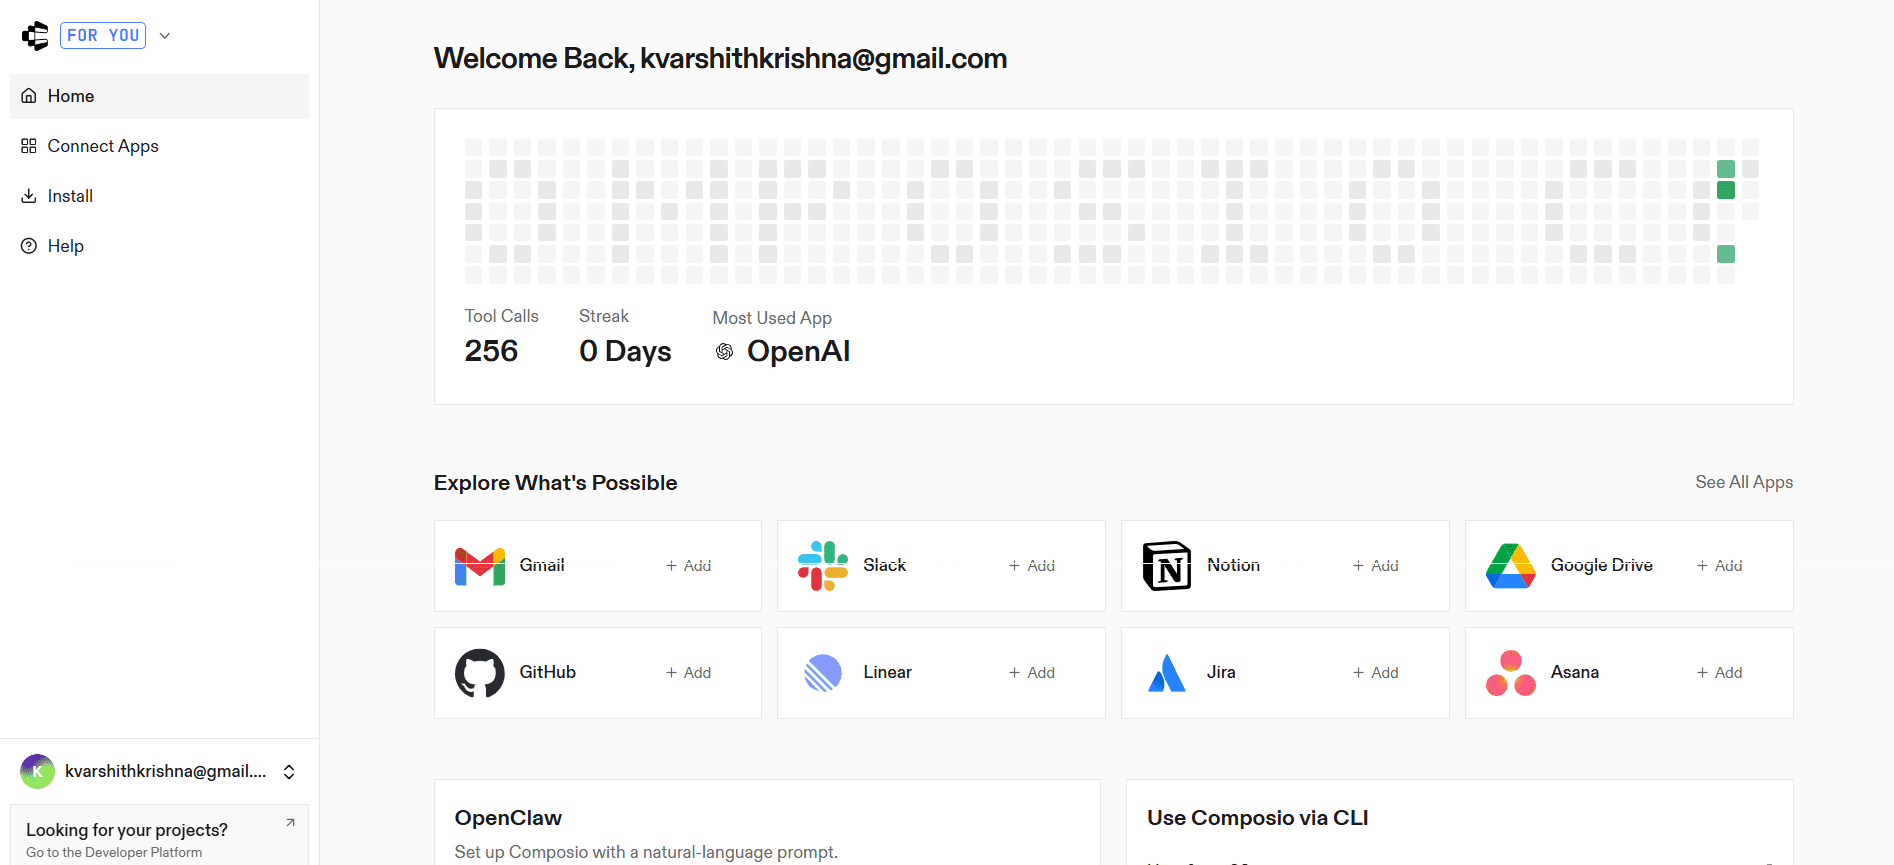
Step 2: Enable Jira Integration
Search for Jira
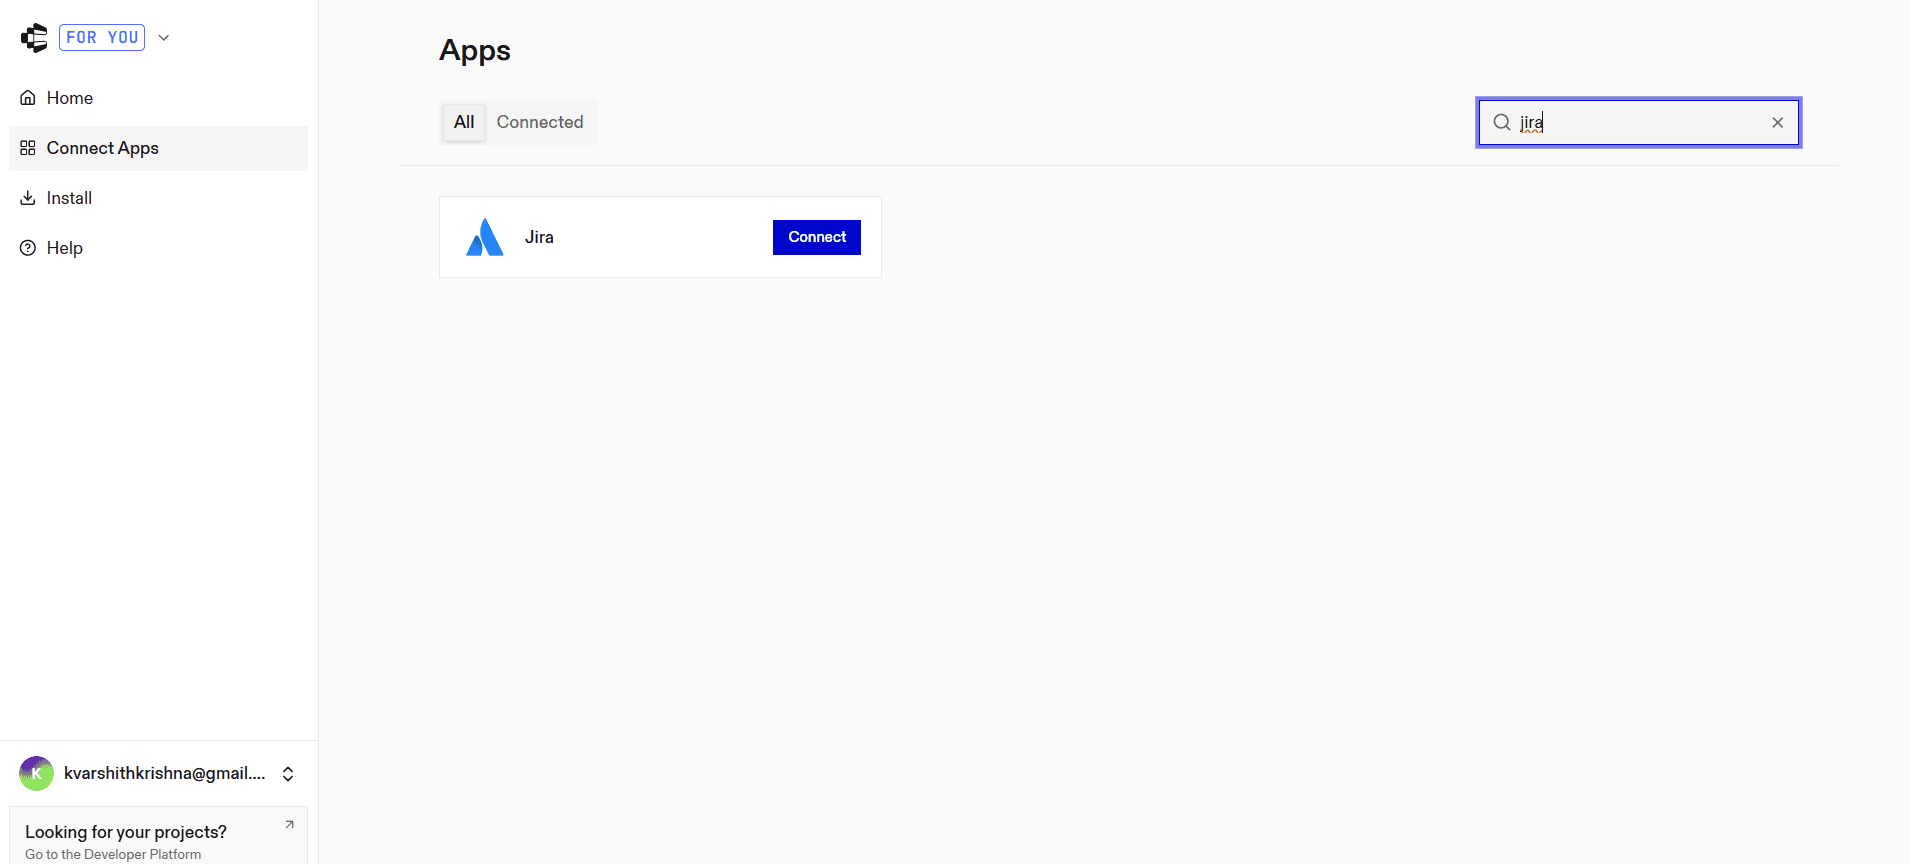
Click Integrate
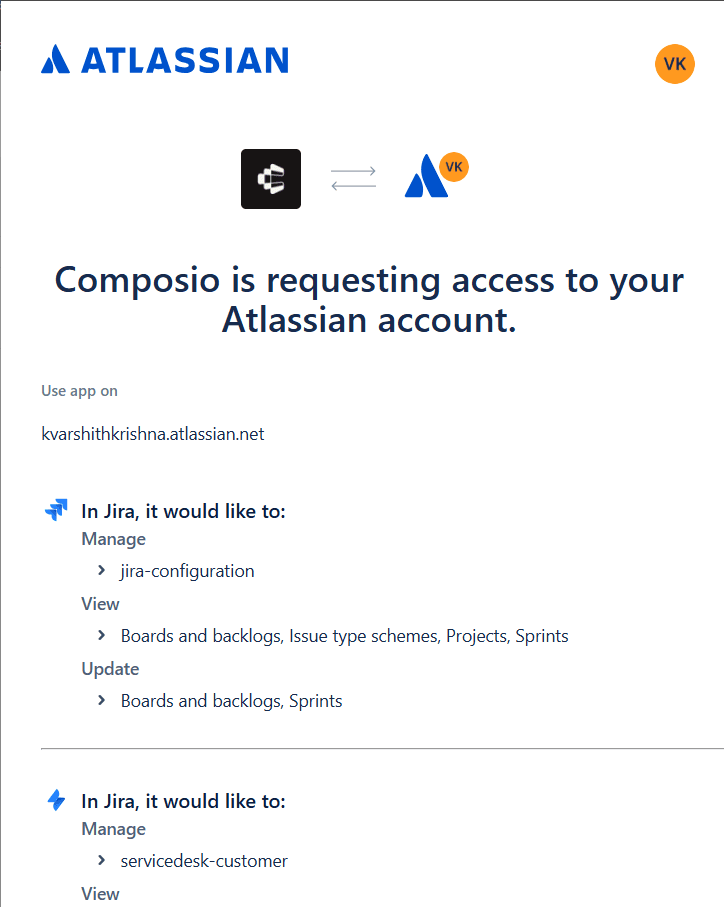
Authenticate your Jira account
With Composio Connect, the MCP layer is fully managed and hosted, and is accessed via authentication (OAuth or API key), so no local setup is required.
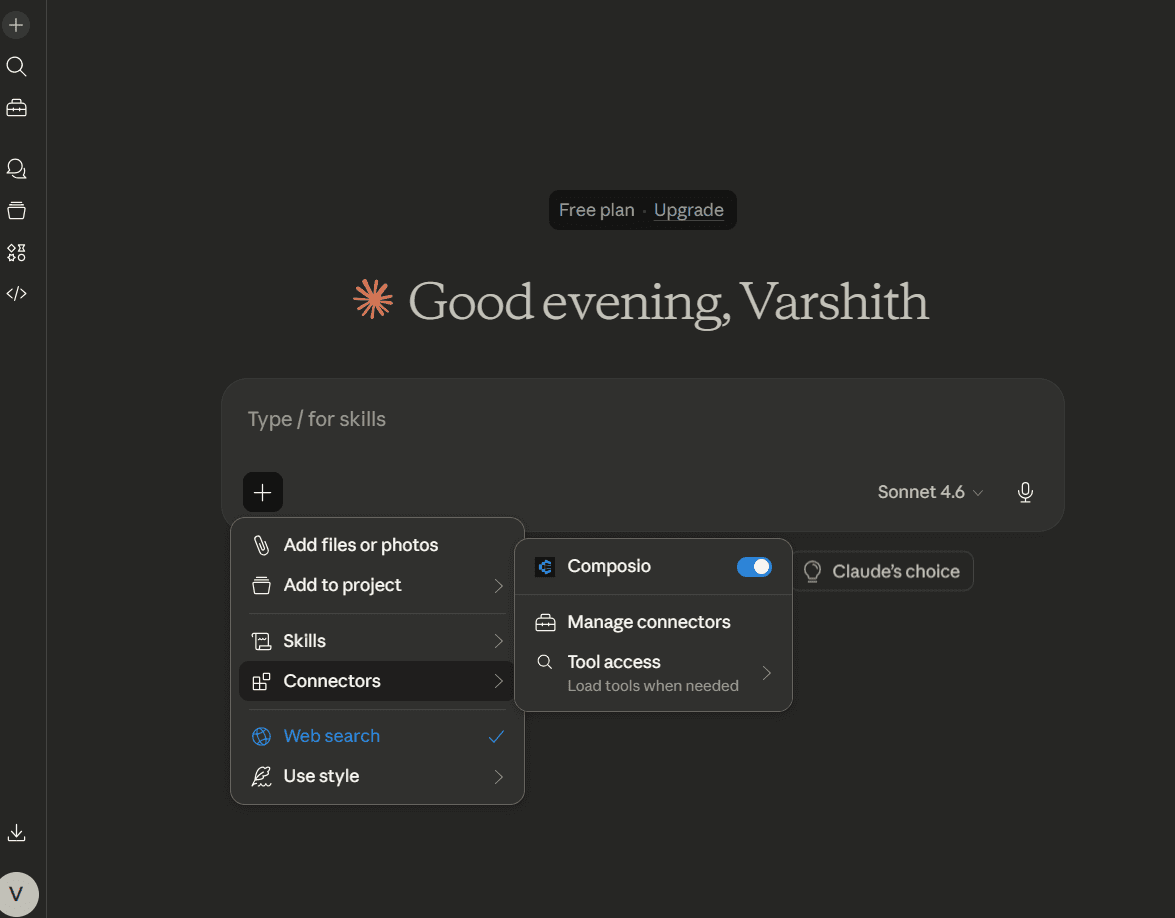
Open Connectors in Claude Desktop
Launch Claude Desktop
Go to Settings
Select Connectors
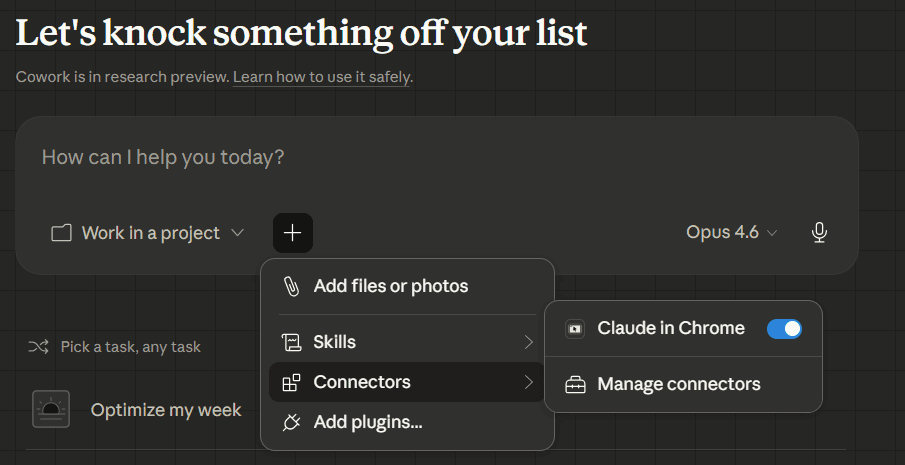
Step 3: Add the MCP server
Click Add custom connector
Enter the URL:
https://connect.composio.dev/mcp
This connects Claude to all applications linked through Composio.
Step 4: Authorise access
A browser window will open. Sign in to your Composio account and approve the connection. Once completed, the integration becomes active.
Managing Jira Tickets with Claude Code
Once your Jira integration is connected via Composio Connect, you can start managing your Jira tickets directly using Claude Code.
For example, you can prompt:
“List all tasks in my Jira board”
“Create a new task for fixing login issues”
“Update the status of task XYZ to In Progress”
“Add a comment to issue ABC”
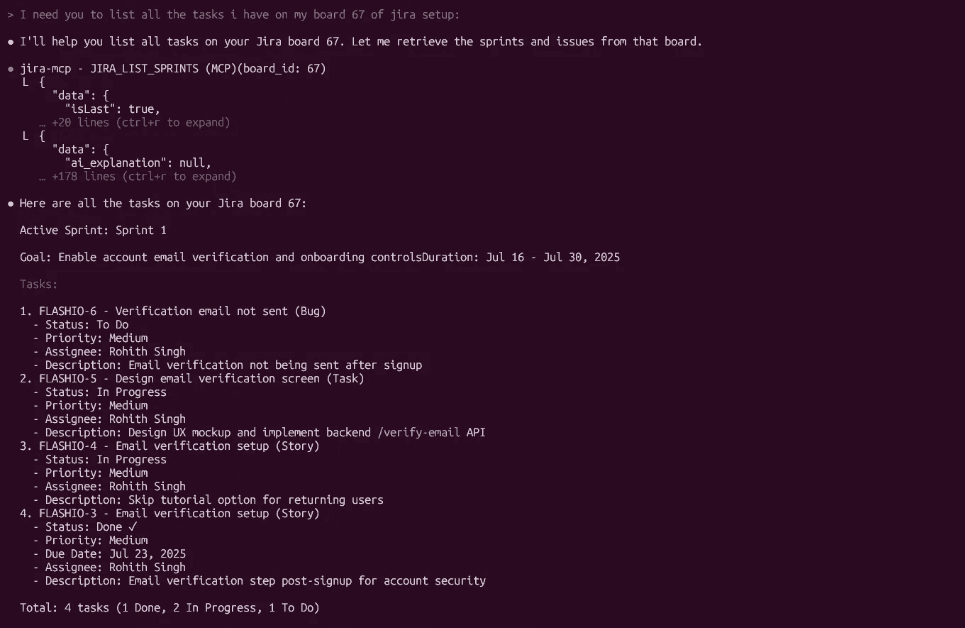
Claude will automatically handle the interaction with Jira and return structured results.

Prompt:
I need you to list all the tasks I have on my board 67 of Jira setup.
Conclusion
Managing Jira projects manually can be time-consuming and repetitive. With Composio Connect, you can eliminate manual setup and directly integrate Jira with Claude Code.
By simply connecting your account and authenticating, you can automate project management tasks and focus on what truly matters, building and shipping faster.