Neon is just amazingly fast, serverless PostgreSQL with branching built in. But after using it for a few months, I just hit a wall. The dashboard wasn't keeping up. It was slow, and the queries were stalling.

To their credit, the Neon CEO himself replied (yes, seriously), and the team promptly fixed the backend issue. But when I thought about it yesterday, it left me with a thought:
Why am I even using a dashboard for this stuff?
So, I built an MCP (Model Context Protocol) server using Composio and Claude Code as my client, and it works great. Now, I manage all my Neon projects locally, without clicking things around or waiting for the dashboard to load - just prompts and a good, reliable speed.
But first, what even is MCP?
MCP serves as an adapter between LLMs (such as Claude) and the tools we use on a daily basis.
Think of it like a USB-C for your AI agents.
According to modelcontextprotocol.io:
"MCP is an open protocol that standardizes how applications provide context to LLMs. Think of MCP like a USB-C port for AI applications. Just as USB-C provides a standardized way to connect your devices to various peripherals and accessories, MCP provides a standardized way to connect AI models to different data sources and tools.”
With an MCP server, your LLM can integrate with your Neon project and interact with it just like a human would.
Wait, what is Composio in this?
If you're wondering how Composio fits in, think of Composio as the integration layer that manages authentication, configuration, and plugs apps like Neon into your AI workflow.
You can run your MCPs, but that means handling:
Auth (OAuth, API keys)
Manually describing and optimizing each tool in the proper format for LLMs to understand
With Composio, you skip all that. Select an app from their dashboard (such as Neon), connect it, and you're done. It’s accessible from Claude, Cursor, Windsurf, or even curl.

credits: modelcontextprotocol
In this blog post, I'll walk you through:
What’s Neon MCP by Composio, and what can you do with it?
How I set it up and now use Claude to manage projects locally
How can you build this setup too, in minutes
What's Neon MCP by Composio (and why it's useful)?
Composio provides an MCP server that bridges Claude (or any LLM) with tools like Neon. It handles authentication, context, and task execution via simple, structured actions. Here's what you can do with it:
NEON_CREATE_PROJECT_WITH_QUOTA_AND_SETTINGS: Create a new project with a specific quota and settings.NEON_CREATE_BRANCH_DATABASE: Create a new branch database.NEON_RETRIEVE_BRANCH_DATABASE_DETAILS: Retrieve the details of a branch database.NEON_RETRIEVE_PROJECT_LIST: Retrieve the list of projects.NEON_DELETE_PROJECT_BY_ID: Delete a project by its ID, and more...
What I built (and why it helped)
I switch between projects frequently, testing ideas, spinning up new databases, and cleaning up old ones. Managing that from a slow UI was painful.
Now, I ask Claude things like:
“Create a new Neon project called test-db, with default settings.”
And it just works.
How to set it up (and use it yourself)
You’ll need:
Neon and your API key, which you can get from the dashboard itself.
Set up using Composio Connect (Recommended)
With the new setup, you no longer need to configure MCP servers manually or run CLI commands.
Step 1: Open Composio Connect
Go to: https://connect.composio.dev/

Step 3: Enable Neon Integration
Search for Neon
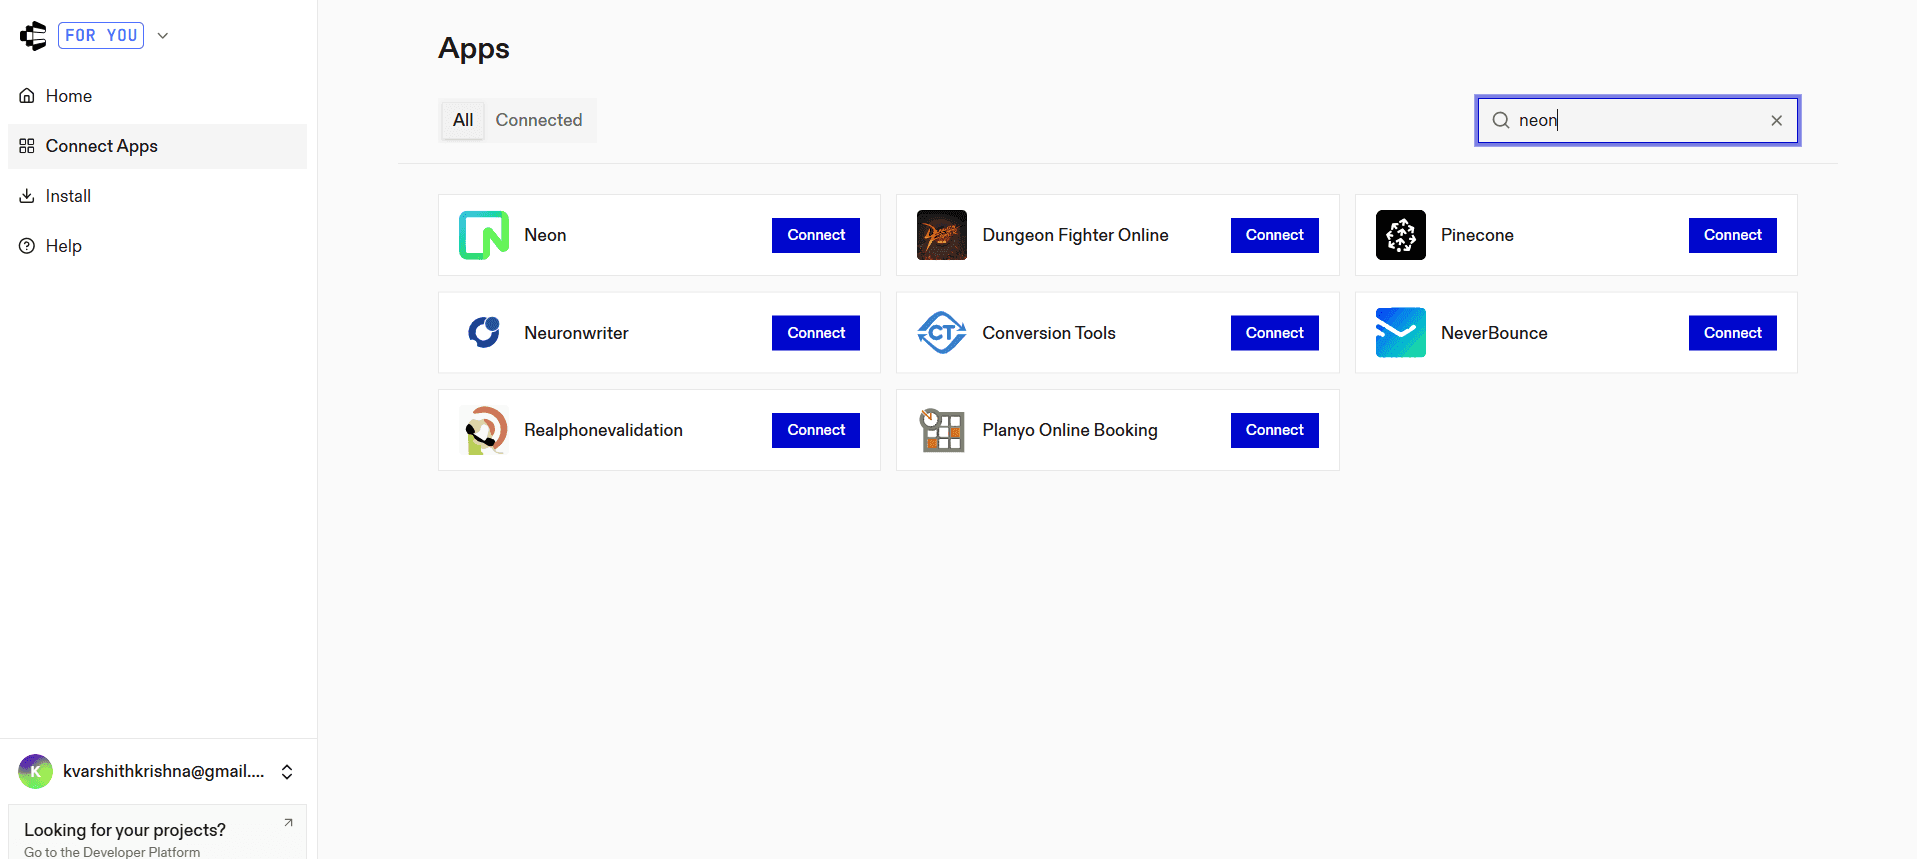
Click Integrate
Authenticate your Neon account
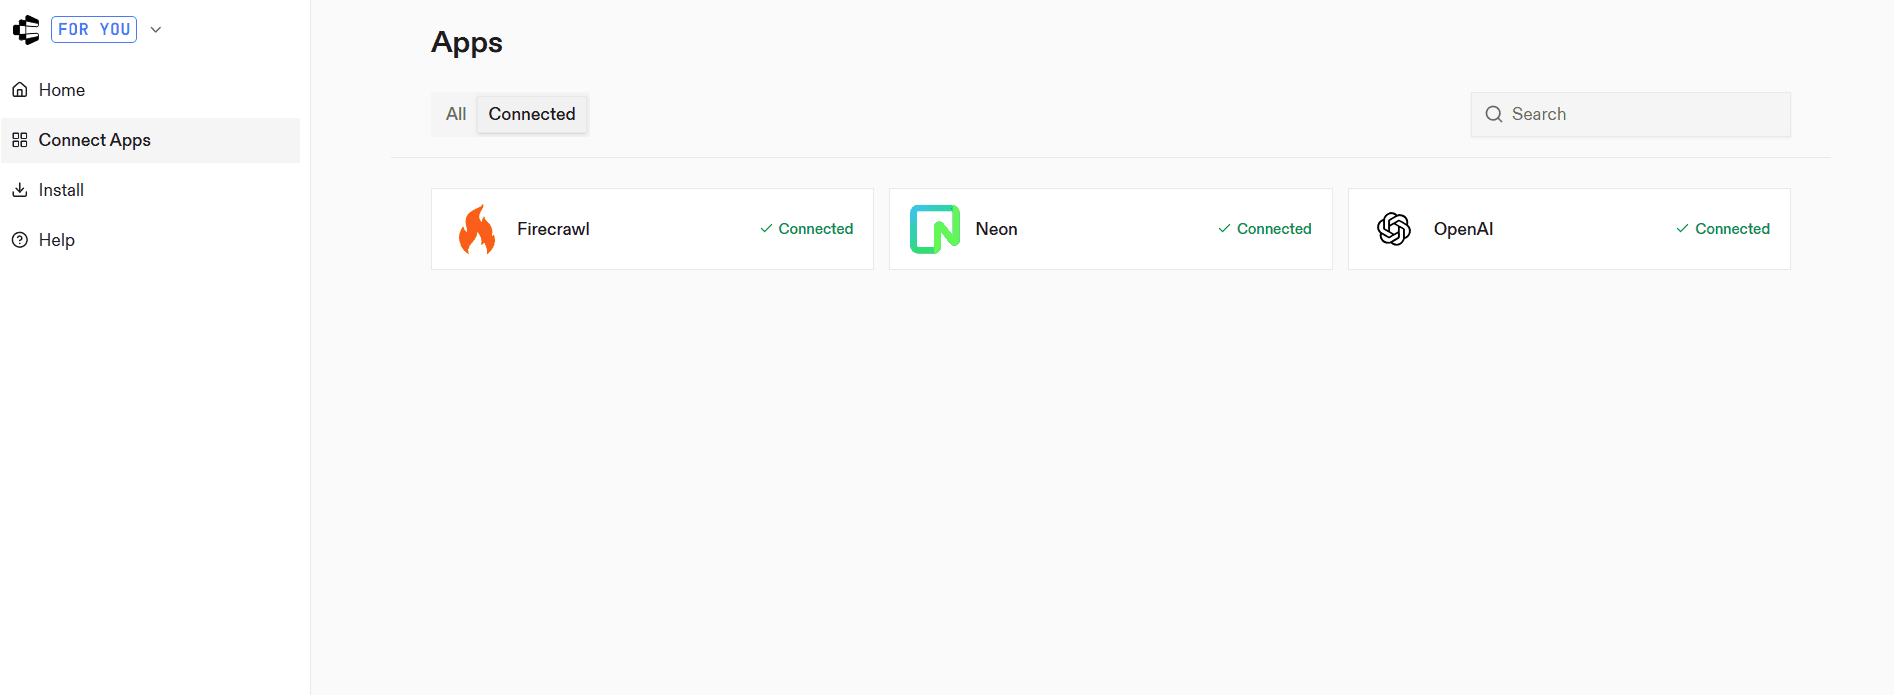
Once connected, your integration is ready to use.
Open Connectors in Claude Desktop
Launch Claude Desktop
Go to Settings
Select Connectors
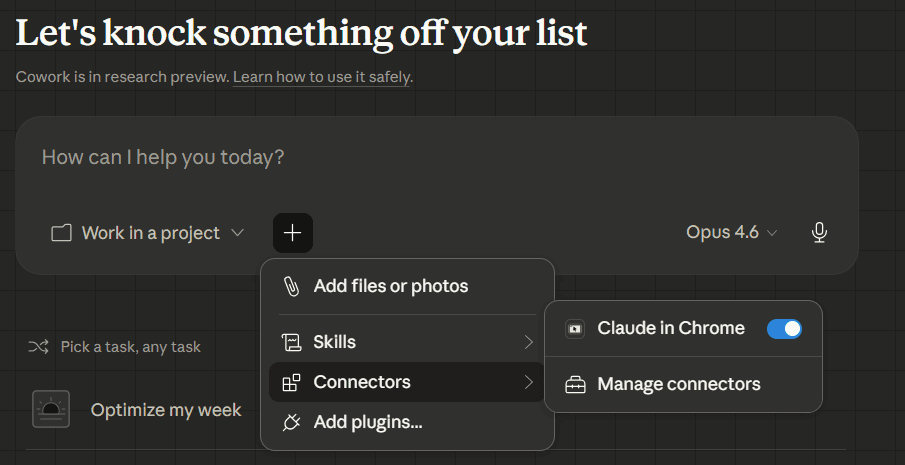
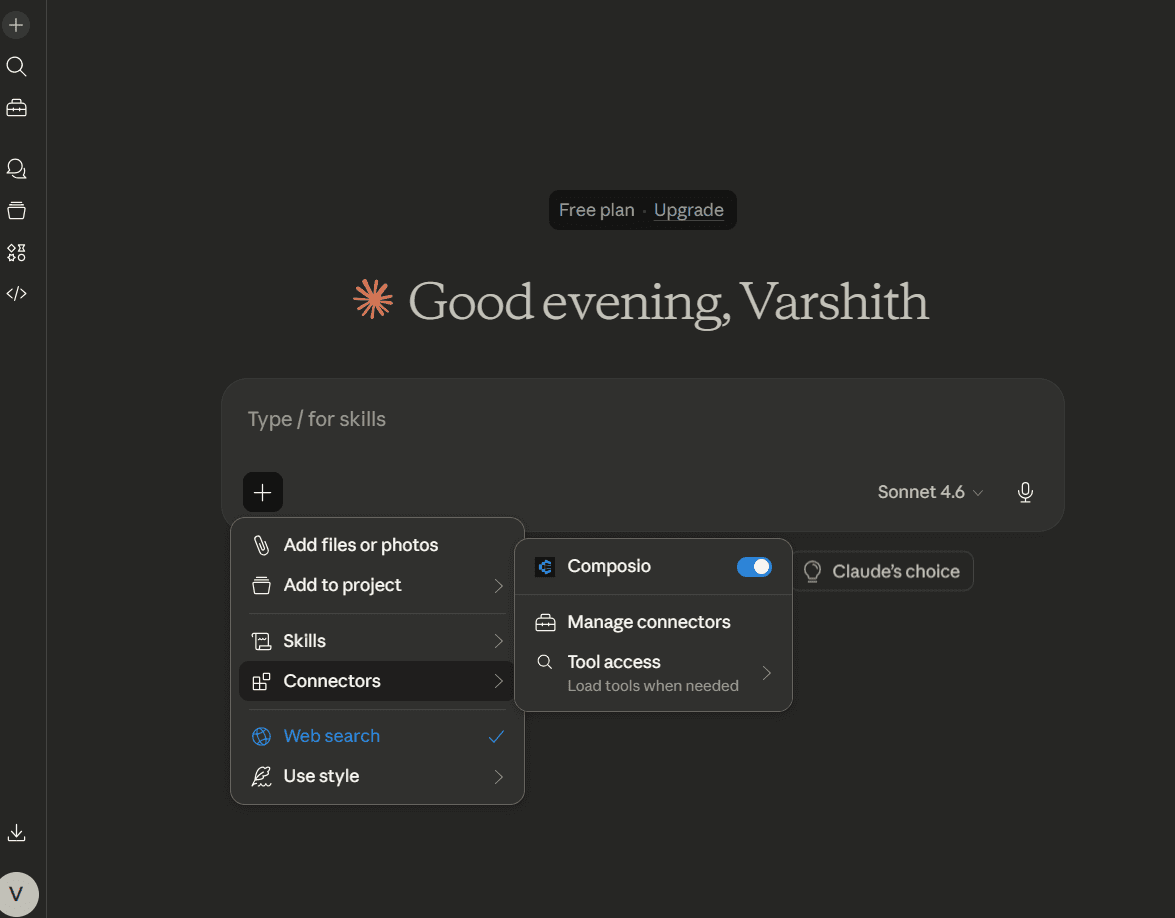
Step 3: Add the MCP server
Click Add custom connector
Enter the URL:
https://connect.composio.dev/mcp
This connects Claude to all applications linked through Composio.
Step 4: Authorize access
A browser window will open. Sign in to your Composio account and approve the connection. Once completed, the integration becomes active.
Using Neon with Claude Code
Once your Neon integration is connected via Composio Connect, you can start managing your database directly using Claude Code.
For example, you can prompt:
“Create a new table called users with id, name, and email.”
“Insert sample data into the users table.”
“Fetch all rows from the users table.”
“Update the email of a specific user.”
Claude will handle the database operations and return structured results.
Wrapping Up
Managing databases manually can be repetitive and time-consuming. With Composio Connect, you can eliminate manual setup and directly integrate Neon with Claude Code.
By simply connecting your account and authenticating, you can manage your database using natural language and focus on building faster.