This guide shows how to connect Composio with OpenClaw to unlock access to 860+ tools beyond the default set, along with some practical use cases.
The focus is simple: expand capabilities while keeping authentication secure and data under your control. No fluff, no complex infrastructure - just plug in, connect your tools, and start building things that actually matter.
So let's get started with the setup!
Adding Composio MCP to OpenClaw
Assuming you already have Open Claw installed, there are 3 ways to enable composio in OpenClaw. I have listed all of them, though I prefer the 1st one the most!
In case you don’t have openclaw install you, check out the Docker Install Section of Install OpenClaw
Get it done and then follow along.
1. Using a direct prompt with your API Key
Before setting up OpenClaw, we need to configure the MCP server
For configuring mcp server:
Create an account: Go to https://dashboard.composio.dev/ and sign up / login
Set up MCP: Head to the Connect to OpenClaw and copy the prompt
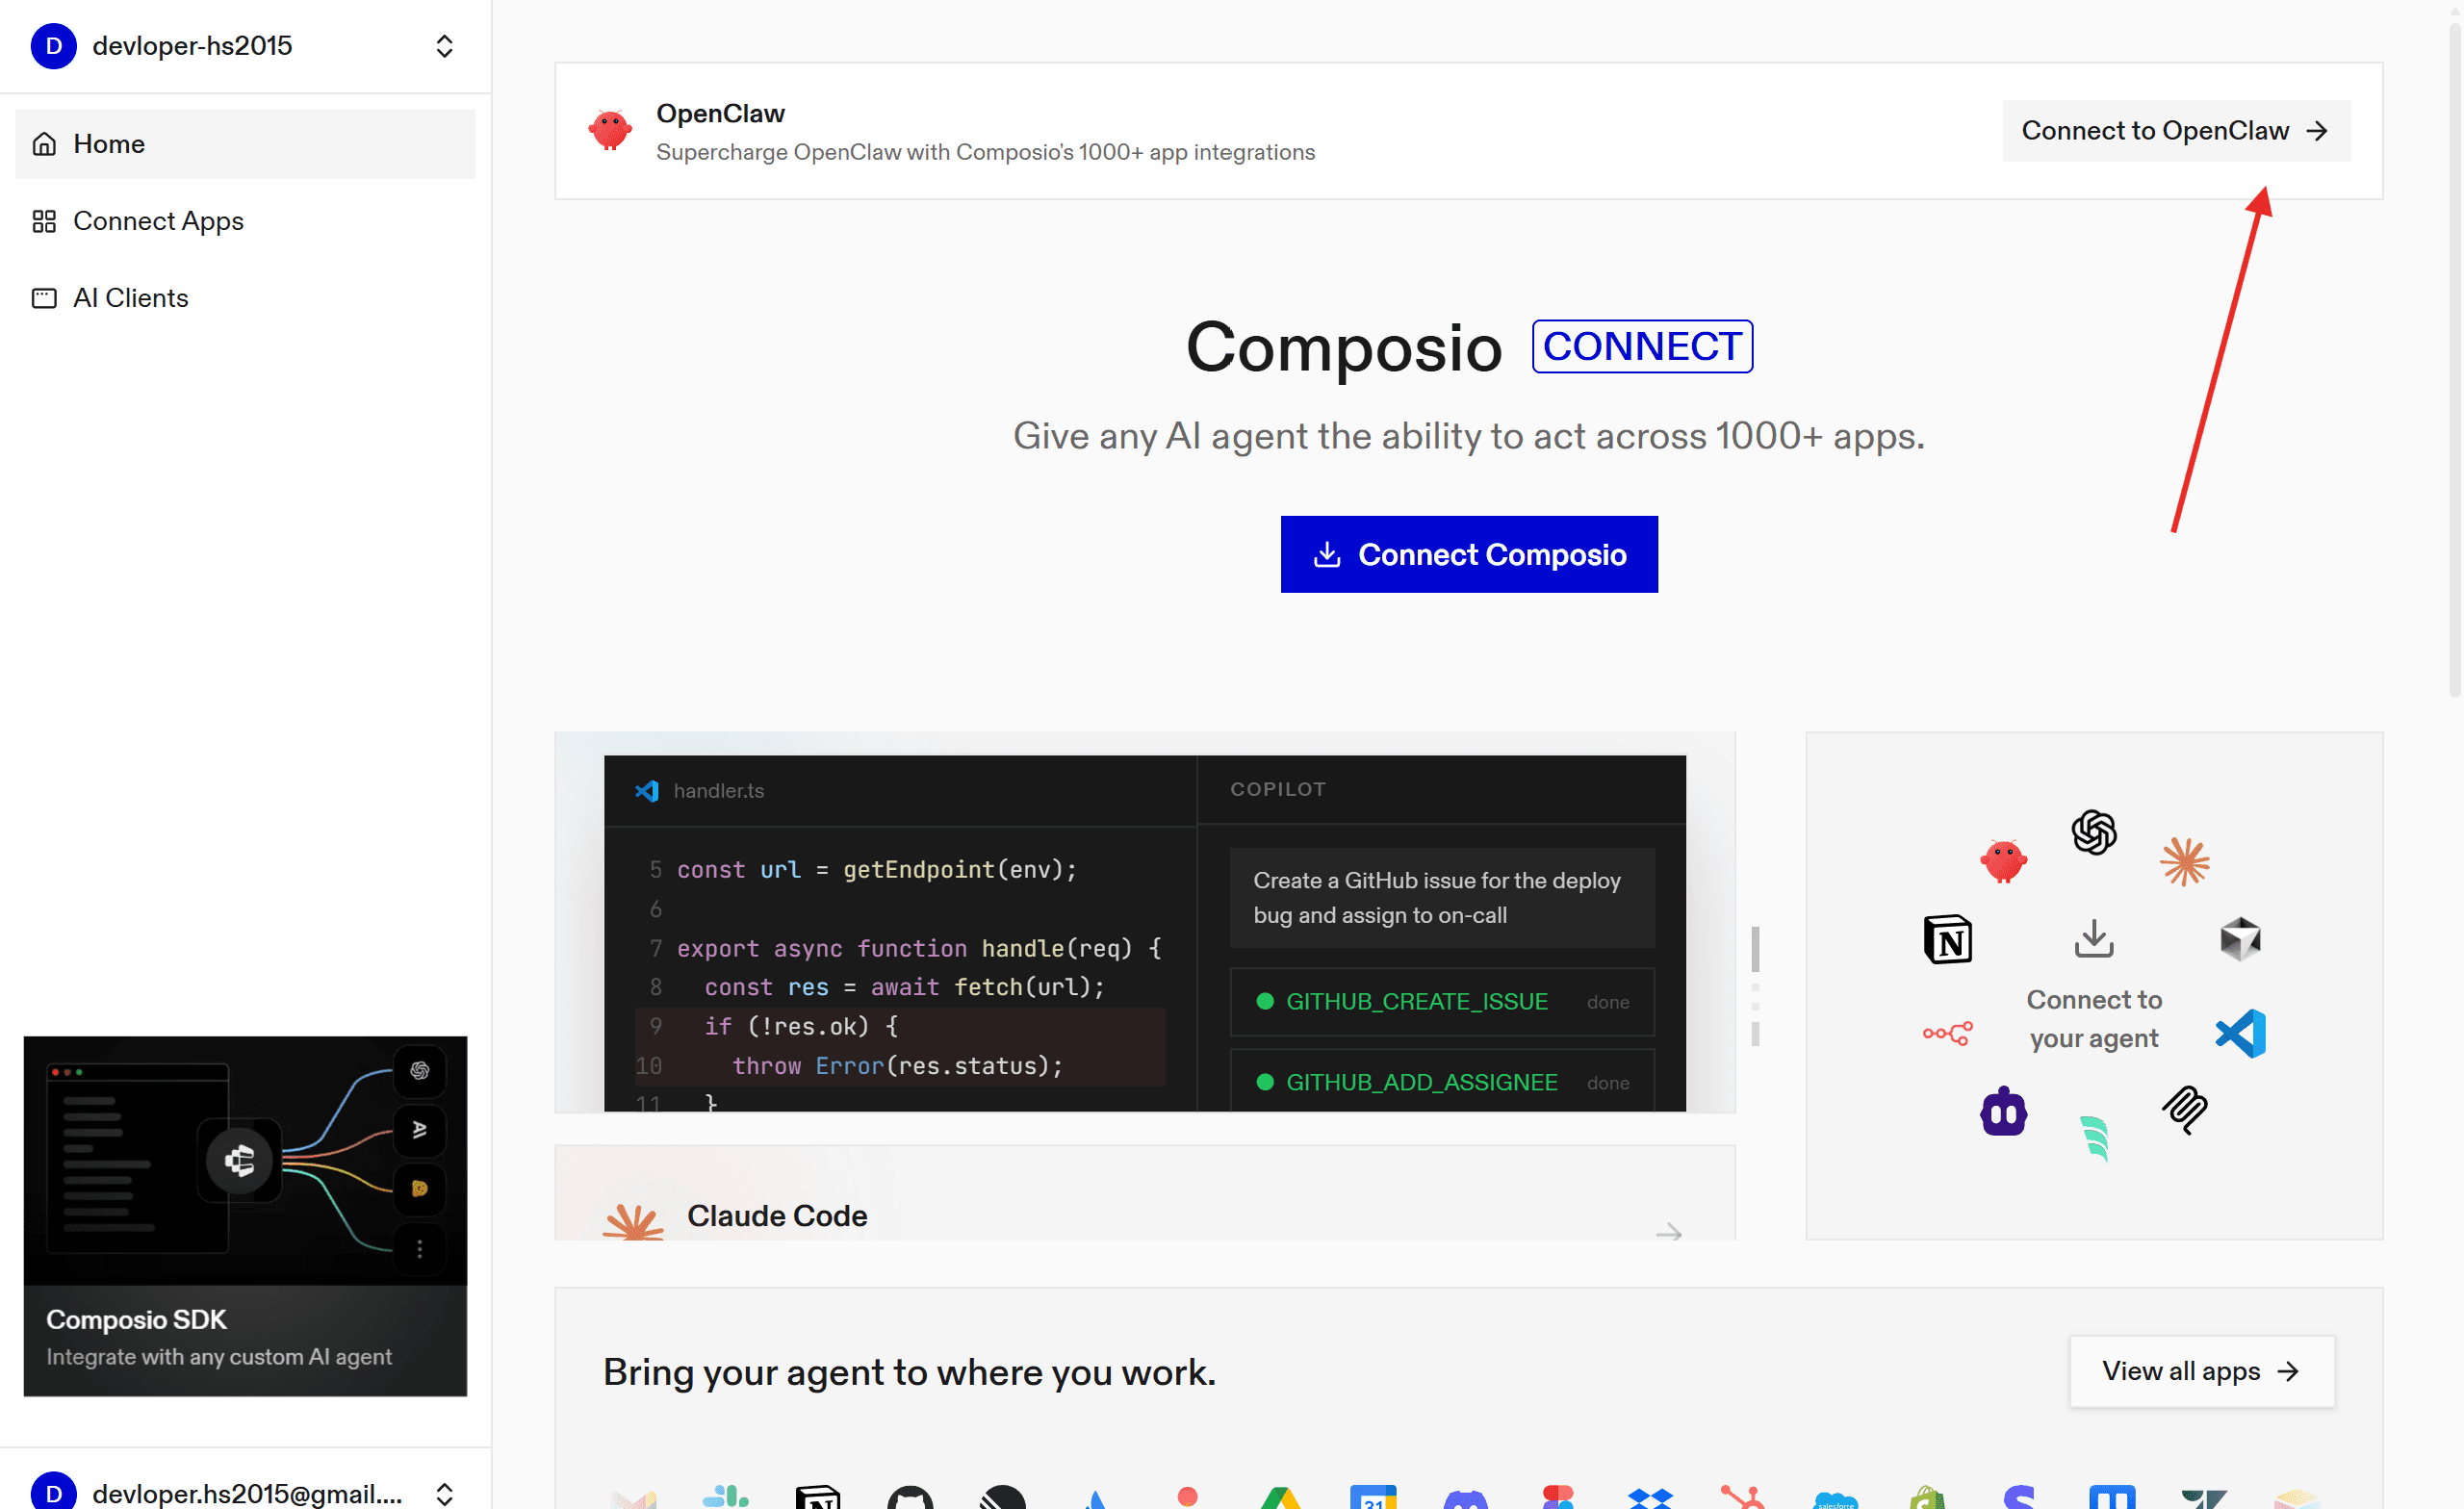
Head to OpenClaw and paste the prompt:
Add a new MCP server called "composio" with transport type HTTP. Use the URL https://connect.composio.dev/mcp and add the header "x-consumer-api-key: your-api-key".If it's your first time logging in and authenticating, you are done!
2. Using Composio npm Plugin
Composio recently allowed support for the Open Claw plugin, i.e. no headache of configuration, simple one liner command set it all!
So, head to the terminal and type
openclaw plugins install @composio/openclaw-pluginOnce done, set up your api key, following the steps:
Log in at dashboard.composio.dev.
Choose your preferred client (OpenClaw, Claude Code, Cursor, etc.).
Copy your consumer key (
ck_...).
In terminal run:
openclaw config set plugins.entries.composio.config.consumerKey "ck_your_key_here"Finally, restart the gateway:
openclaw gateway restartAll this does is set up the open claw configuration with the consumer key in the Composio MCP.
Alternatively, you can set up the MCP server directly for more granular control.
3. Using MCP Porter
As a secondary measure, you can activate MCP support through mcp_porter and then add composio. This keeps things organised and simple.
→ Head to the Skills section, search for the MCP Portal and click install.
→ Now go to the terminal and restart the containers (openclaw & socat-proxy) using:
cd /home/devloper_hs/openclaw && docker compose restart openclaw-gateway→ Then again, go to skills and in MCP Porter, refresh the page. Make sure it shows eligible
→ Now go to the home folder where OpenCalW is installed: /home/username/.openclaw/workspace/config
→ Open the mcporter.json In any IDE, paste the following & save:
{
  "mcpServers": {
    "composio": {
      "baseUrl": "url_from",
      "headers": {
        "x-api-key": "api_key"
      }
    }
  },
  "imports": []
}
The url and **api **key are the one from the pre-require step.
Or if you want a stdio server setup, you can use (might cause issues):
npm install -g composio-mcp{
"mcpServers": {
"composio": {
"command": "composio-mcp",
"args": ["--api-key", "api_key"],
"transport": "stdio"
}
}
}# usage
npx mcporter call --stdio "npx @composio/mcp@latest setup https://backend.composio.dev/tool_router/<api-key>/mcp" <tool_name> <arg1>=<value1>Now, to make sure the agent picks up the MCP servers perfectly, let’s top the setup with the skills file!
npx skills add https://github.com/composiohq/skills --skill composio --yesNow we are all set up to experience OpenCLaw seamlessly.
💡Fact: You can do all the steps in the section through a prompt in OpenCLAW, but as it stores logs that are accessible to others, it causes a security concern, so the CLI approach is better.
Using OpenClaw
Head back to the dashboard and go to chat.
The nicest thing about Clawd Bot is that you can chat with it to get things done, rather than prompting, and it understands you pretty well.
However, for this test, I just want it to fetch hackathon emails for me, so here is my chat session!
Note: It might hallucinate, as it's a personal project, however, take care of security as these chats are visible to anyone if they know your token.
You can even try it with Telegram. Steps are simple:
Head to the telegram
BotFatherchannel and select your botClick Start and copy the pairing code
Head to the terminal and paste:
cd /home/devloper_hs/openclaw && docker compose run --rm openclaw-cli pairing approve telegram pairing-codeReplace the pairing-code with one you copied.
In a few seconds, you will see an output like:
Container openclaw-openclaw-cli-run-58c012ca9af1 Creating
Container openclaw-openclaw-cli-run-58c012ca9af1 Created

🦞 OpenClaw 2026.2.17 (4134875) — Your AI assistant, now without the $3,499 headset.

Approved telegram sender [bot_id].
Now you can easily interact with OpenClaw.
I even tried using it to get some trendy tweets:
Prompt
Use OpenClaw as an autonomous agent connected through Composio tools.

Continuously monitor trending topics from Google Trends, X trending feeds, and other available trend sources, filter for high-engagement AI/tech/startup discussions, and extract concise context (keywords, sentiment, why it’s trending).

Generate 2–4 short, opinion-neutral social posts per trend in a natural human tone optimized for Telegram readability, avoid hashtags spam, avoid misinformation, and deduplicate similar topics.

Schedule execution every few hours, keep outputs brief (max ~4–5 lines each), and send the final approved posts directly to a specified Telegram chat using the Composio Telegram integration.

Include lightweight safety checks, rate limits, and logging of sources used for each generated post.
Output
and even to create my own task board (inspired by AlexFinn).
Prompt:
Please build a task board for us that tracks all the tasks we are working on. I should be able to see the status of every task and who the task is assigned to, me or you. Movingg forward please we will put all tasks you and I work on into this board and update it in real time.Output:
Make sure to stop the session once done using:
cd /home/devloper_hs/openclaw && docker compose downThis was it. have fun.