Connecting Datascope to Grok Bot
Once Grok Bot is set up, you connect Datascope entirely from its interface, and the whole flow takes under a minute.
Set up Grok Bot
Get access. Grok Bot is included with Cursor Ultra, Cursor Premium Teams, and SuperGrok Heavy. Get the desktop app for macOS or Windows from x.ai/bot and sign in. An iPhone companion app is also available, and your bots sync across devices.
Create a bot. Pick a suggested role or define your own, then give it a short name, one primary job, and a short description of how it should work. Focused bots work best, because a clear role gives the bot more useful context over time.
Connect Datascope
1. Add the Composio plugin
Click the button. The Composio listing on x.ai opens and launches Grok Bot for you. If the app does not open on its own, click Add to Grok Bot.
 Add to Grok Bot
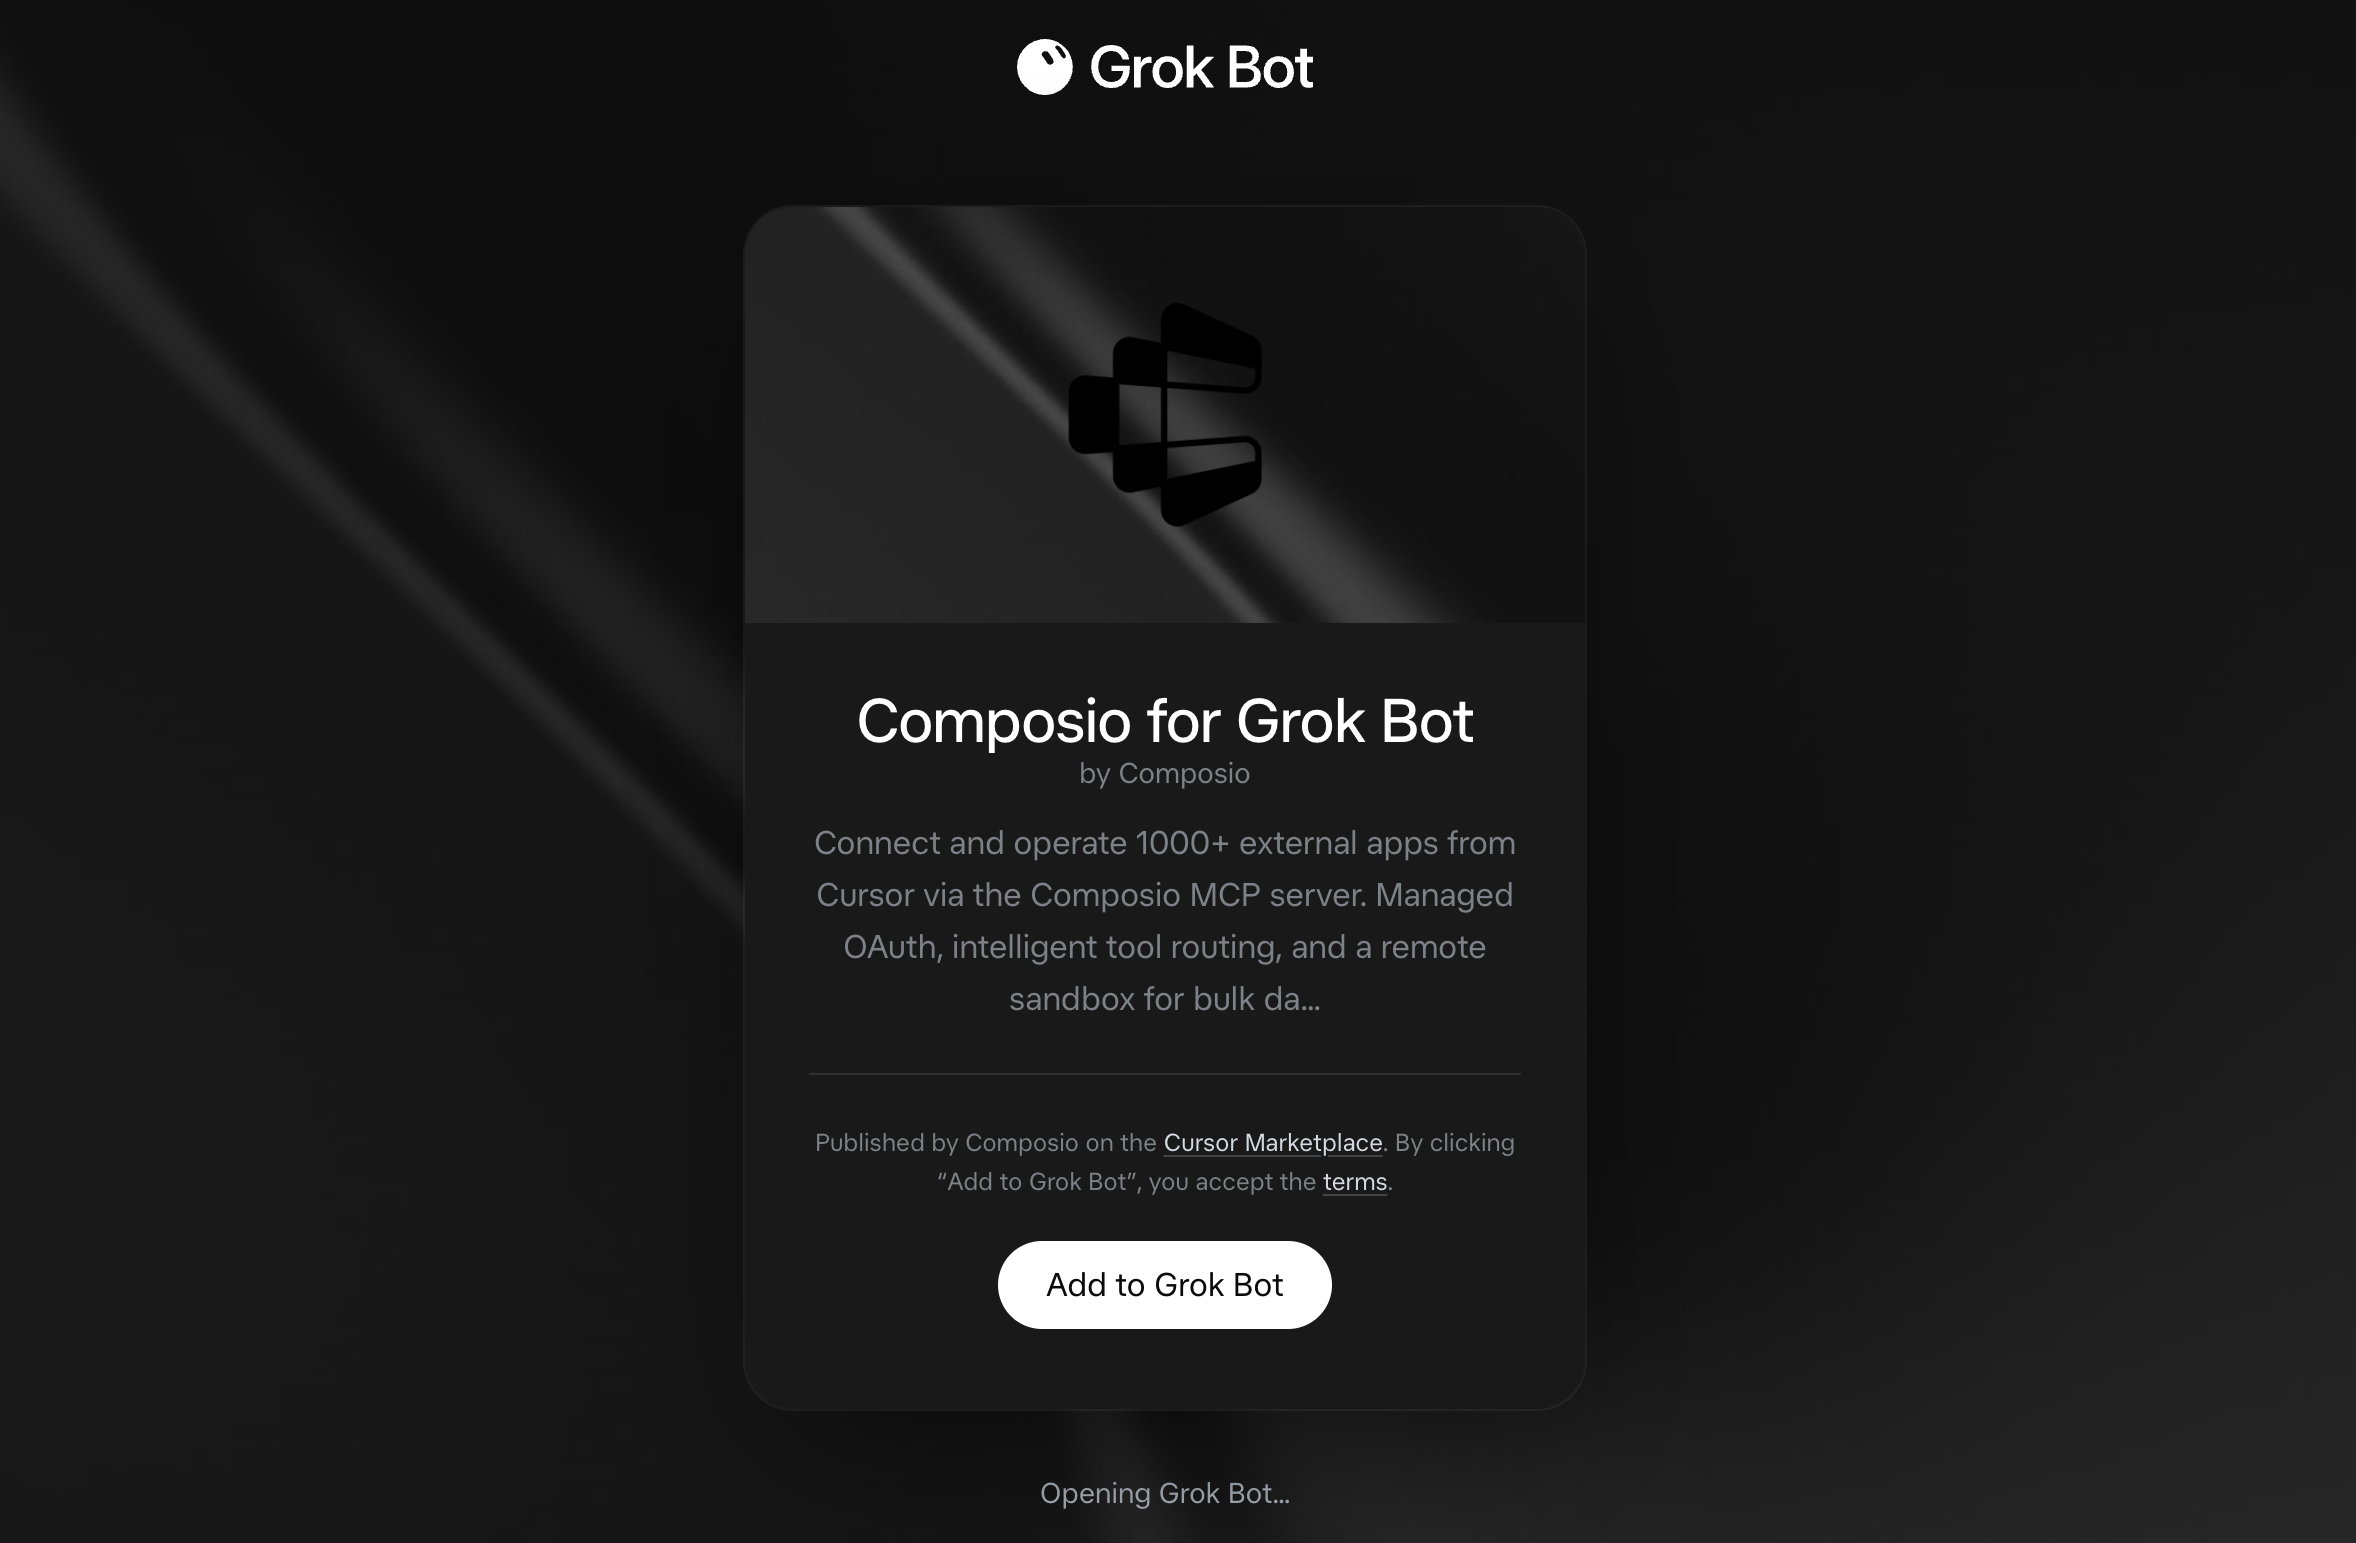
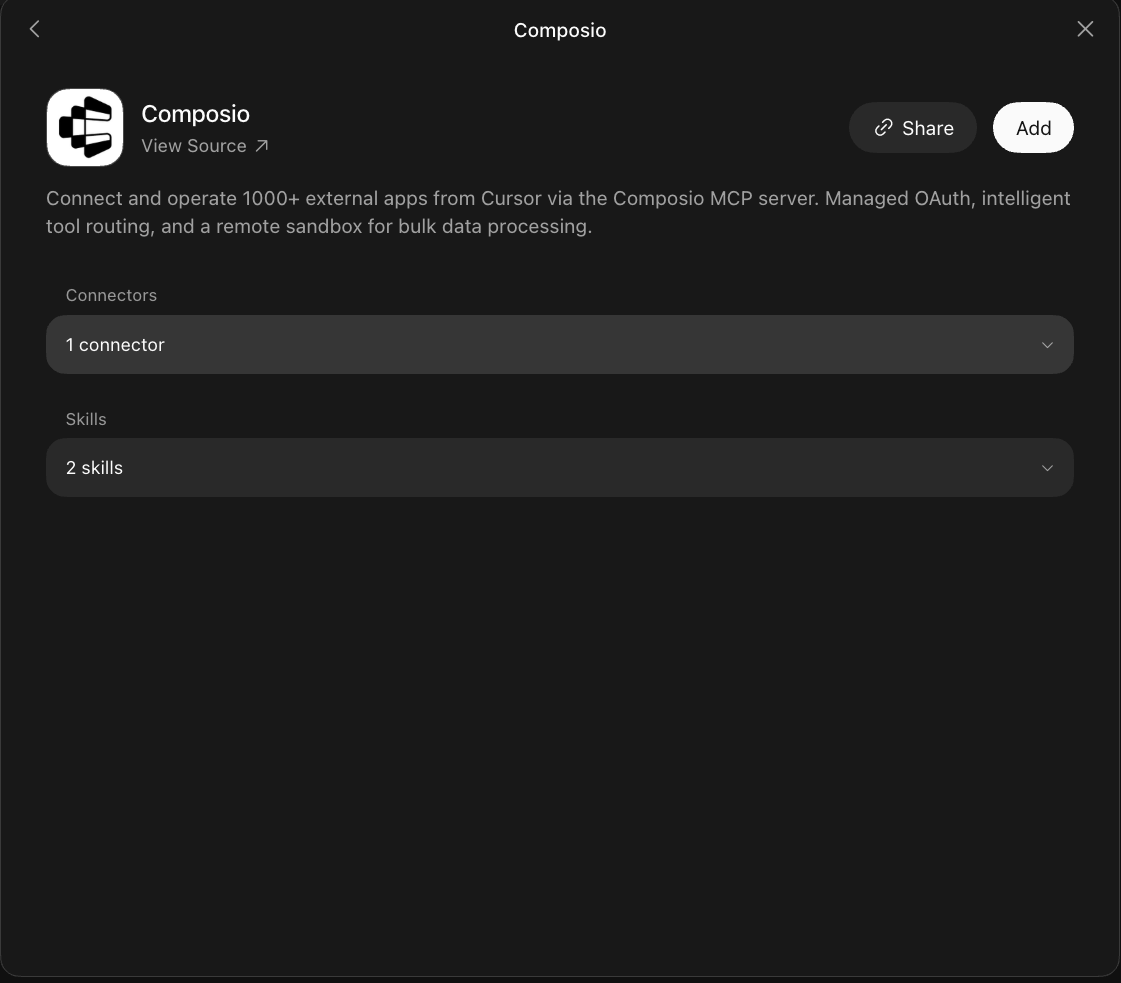
Grok Bot opens the Composio plugin, showing its connector and skills. Click Add.
2. Authenticate
Go to the Installed section and click the Composio entry. You'll see its connector and skills listed.
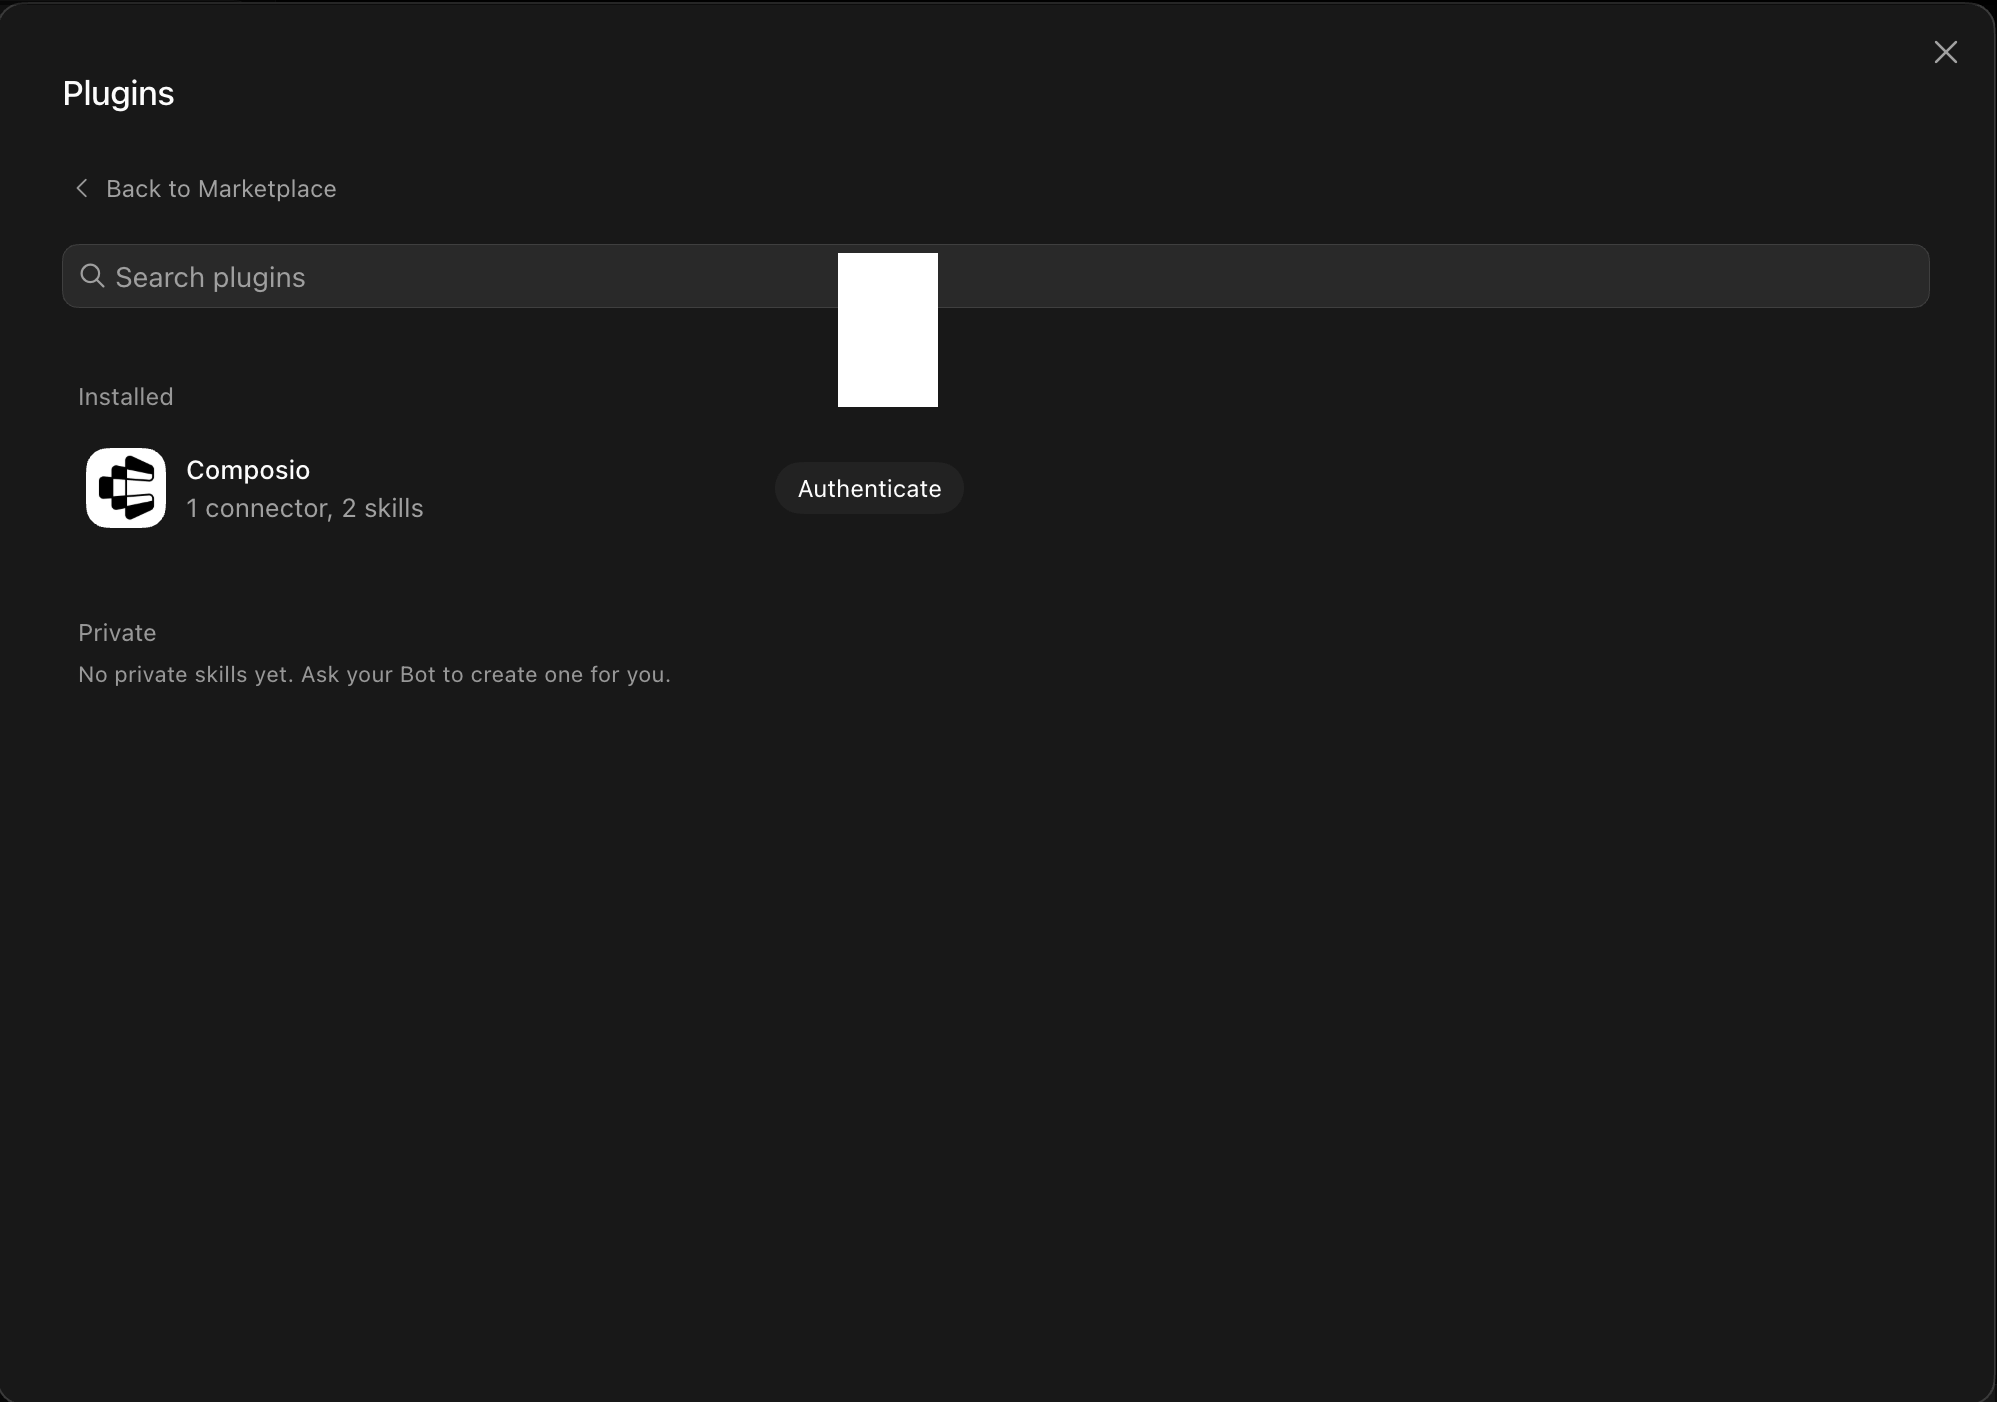
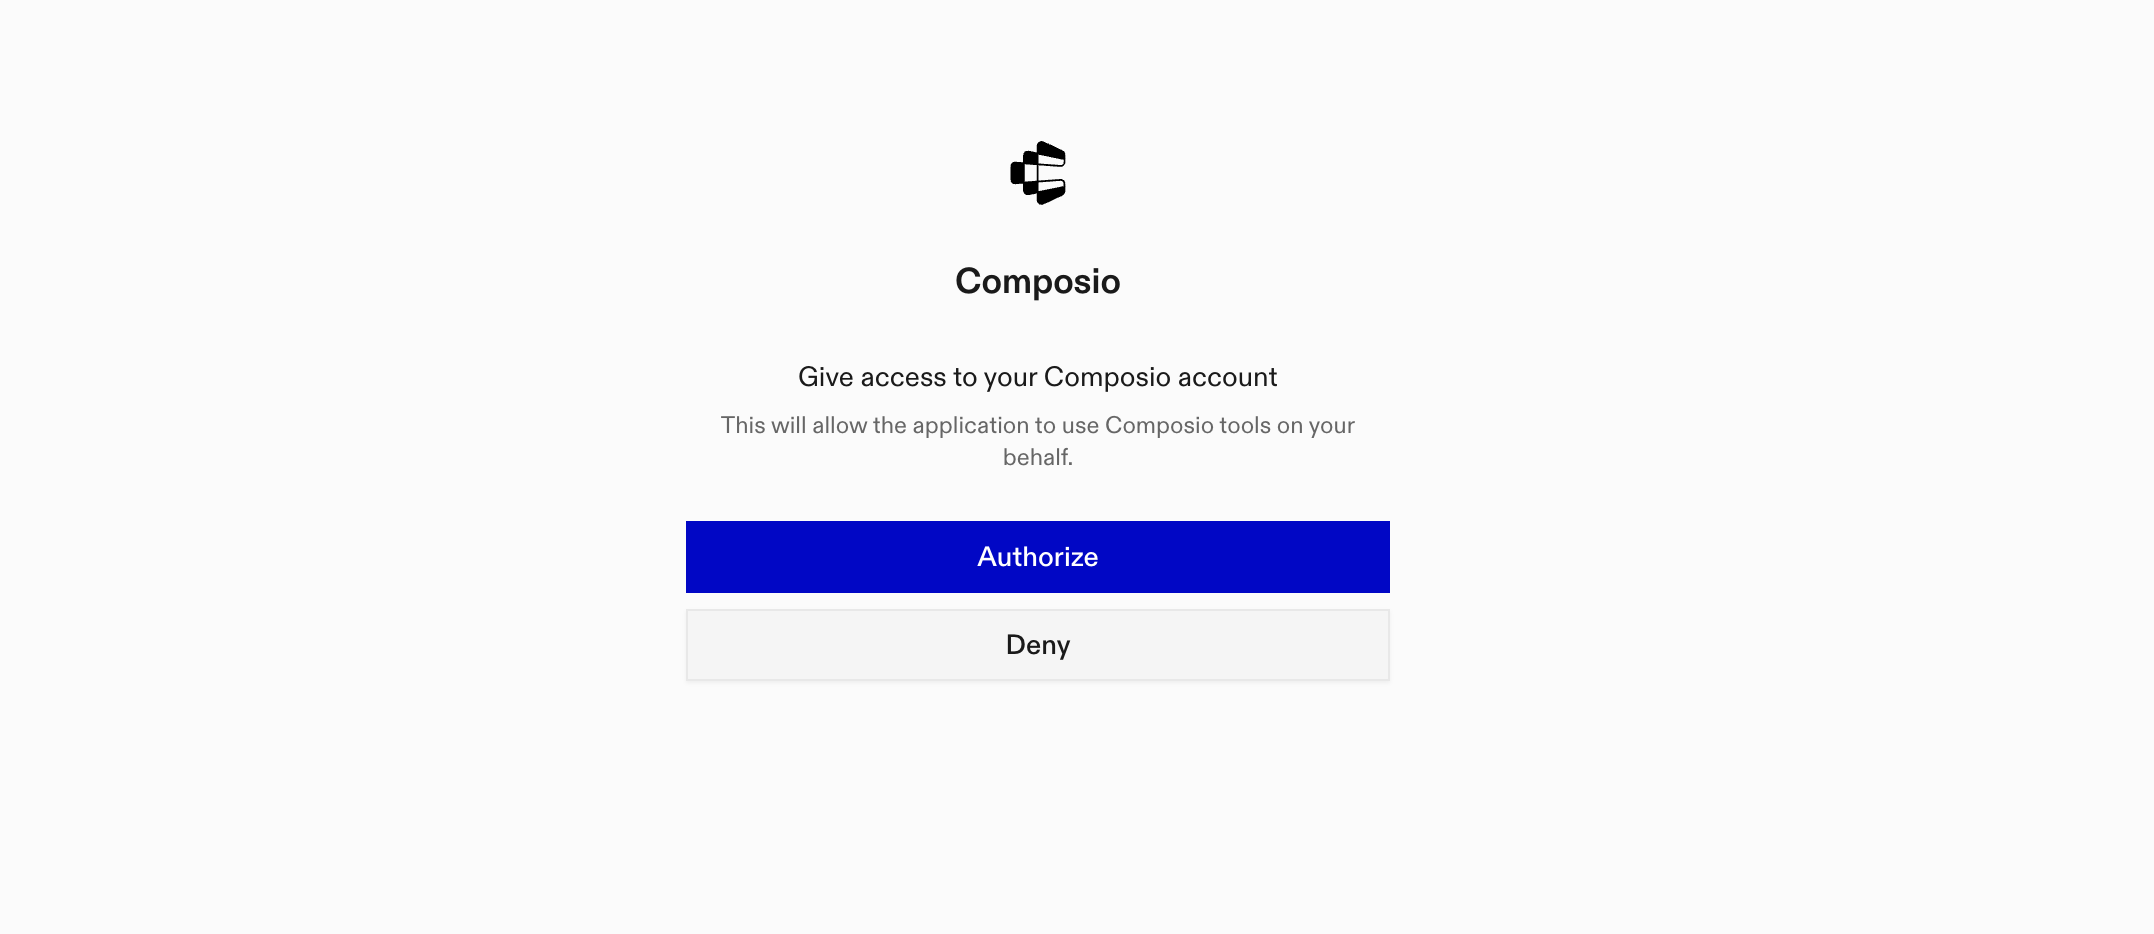
Click Authenticate. You'll be taken to the Composio consent screen. Review the access it requests and click Authorize. Composio handles the OAuth handshake for you, so you never touch API keys or tokens.
3. Connect your Datascope account
Back in the chat, ask your bot to connect to Datascope or give it any Datascope task.
For example, ask it to:
- "Get all completed forms from this week"
- "Submit a new inspection report form"
- "Export responses from today's safety checklist"
It will prompt you to authenticate and authorize access.
That's it. Composio's tools are now available in your Grok bot, and your Datascope account is ready to use.