This blog post walks you through how to integrate MCP servers with Kimi Code CLI.
We will cover local stdio servers and remote HTTP servers.
Prerequisites
Before connecting MCP servers, make sure you have:
Kimi Code CLI installed.
A working Kimi login or Moonshot AI API key configured in Kimi Code.
The command-line runtime needed by your MCP server. Many local MCP servers use Node.js and npx; others may use Python, Docker, or a standalone binary.
Any API keys required by the MCP server you plan to connect to.
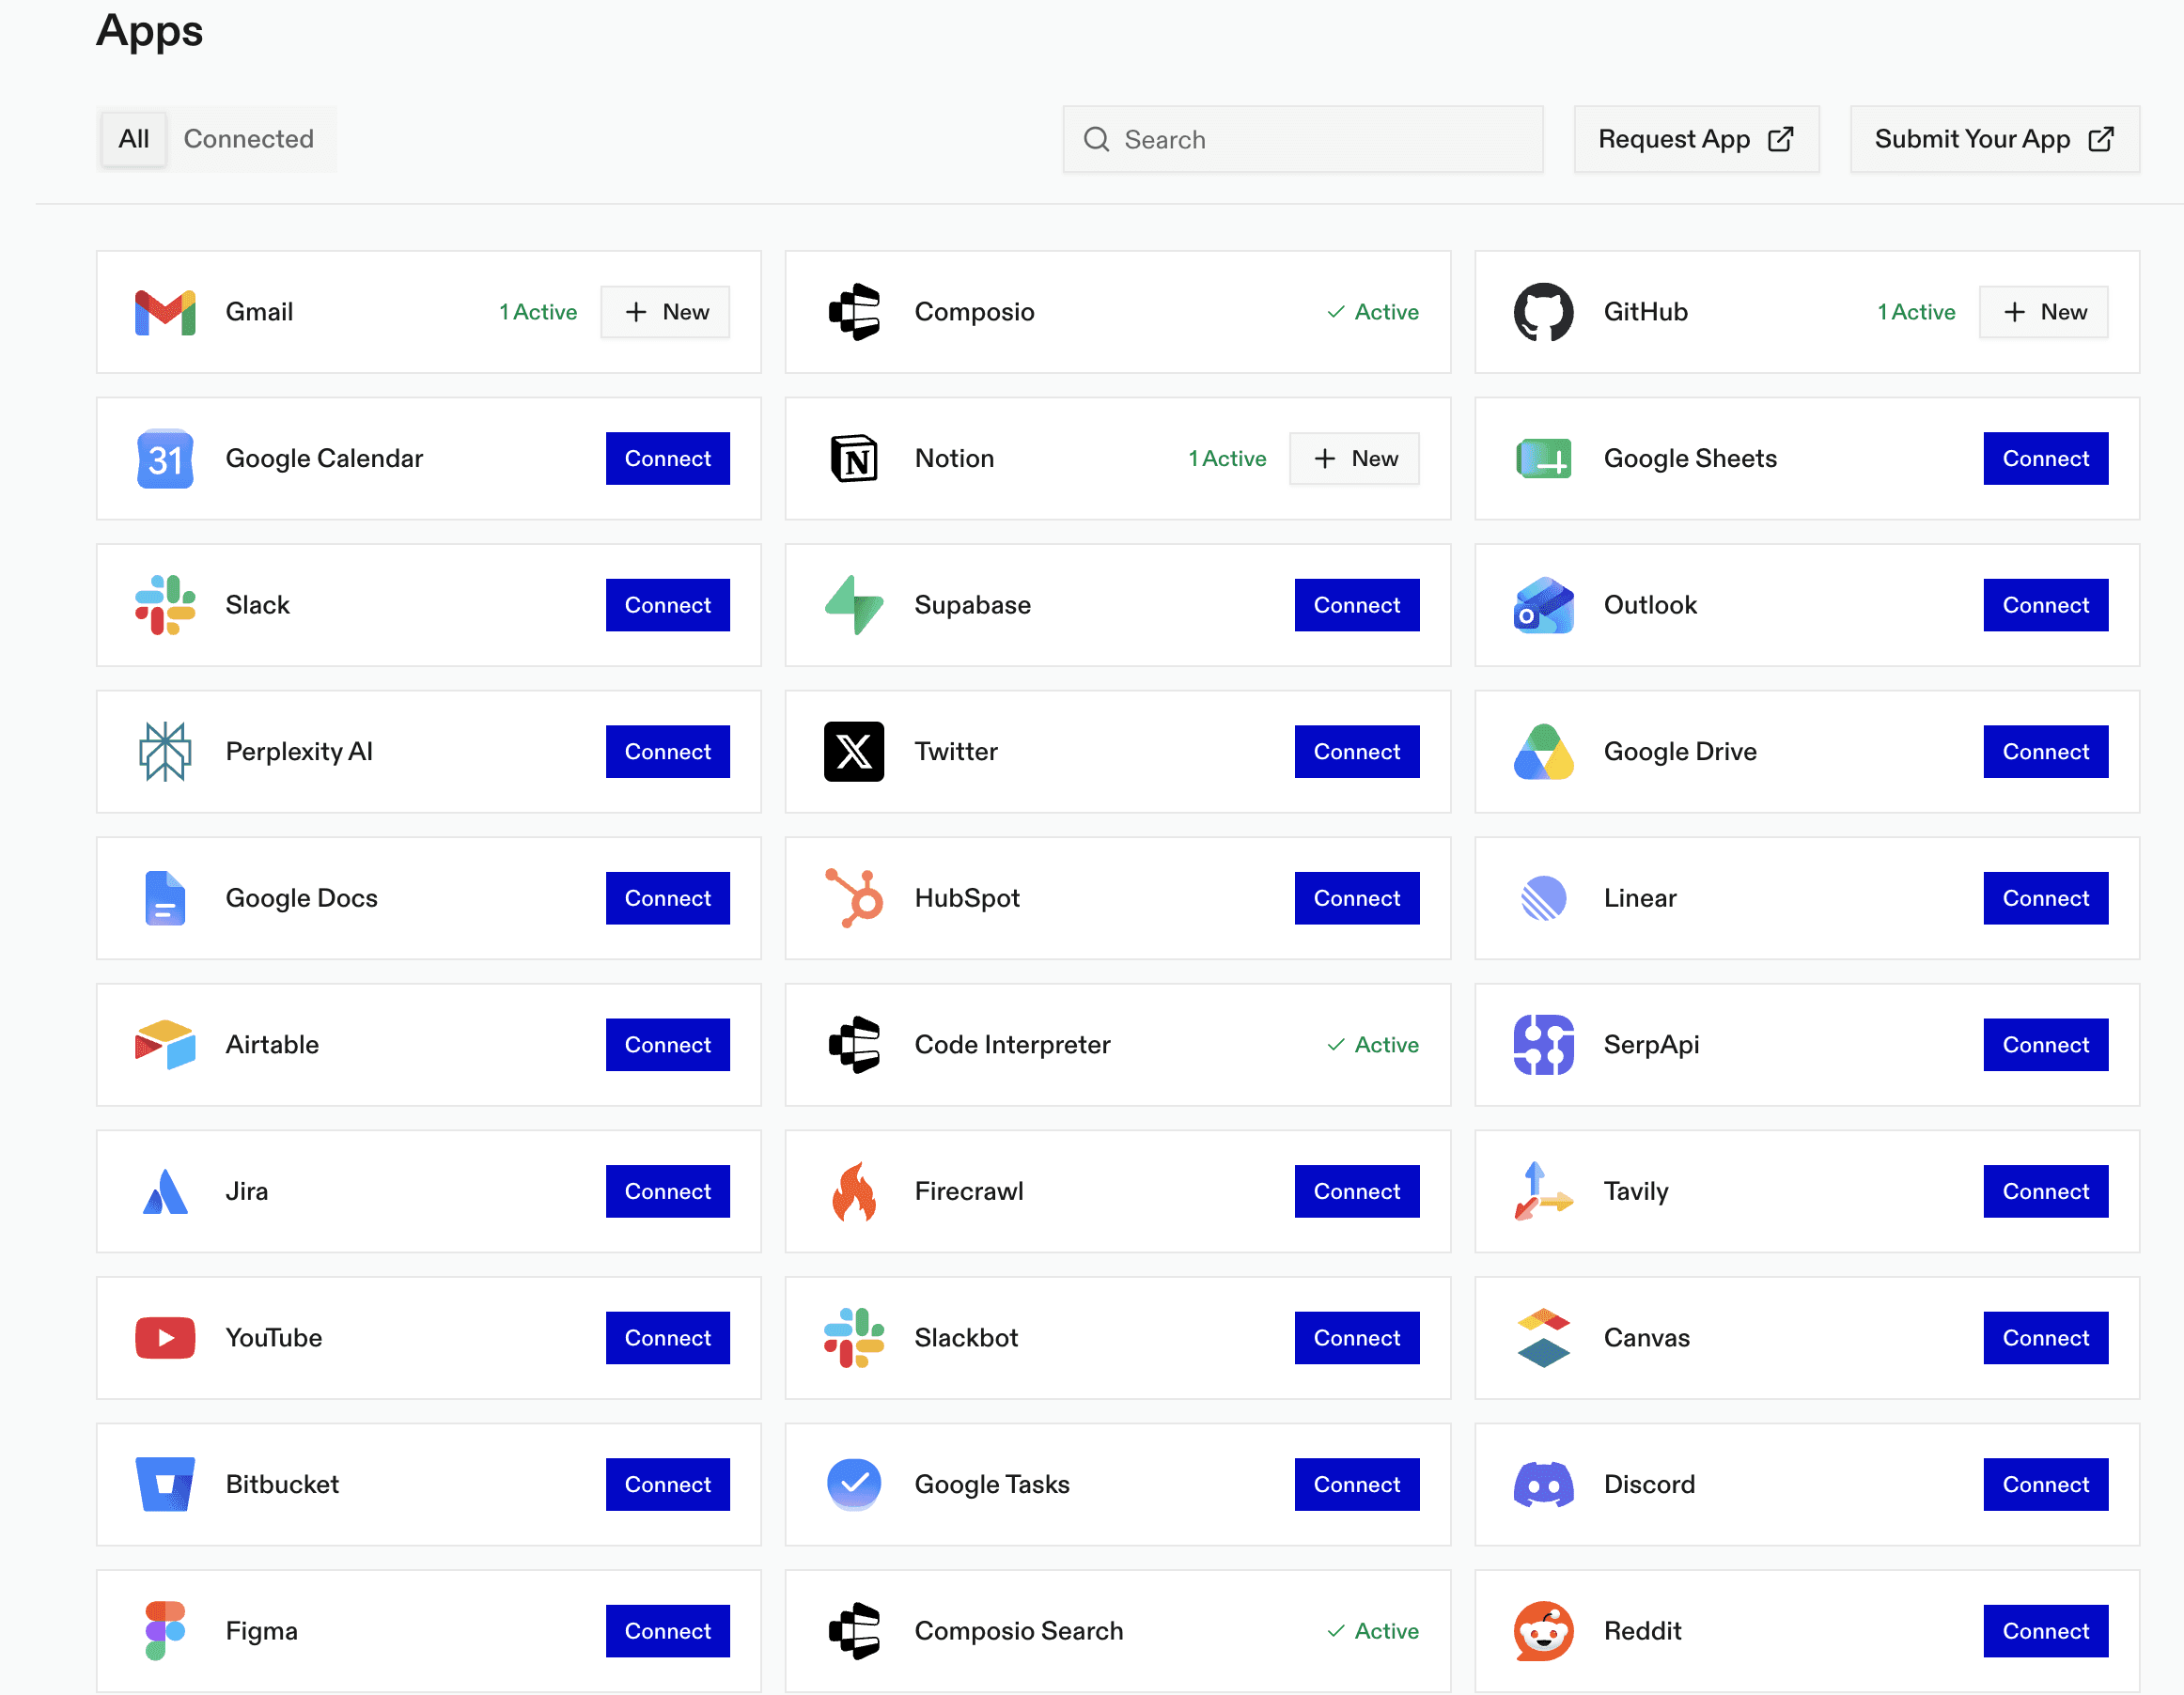
A Composio account if you want a single MCP connection that can reach many apps such as Gmail, Slack, GitHub, Notion, Linear, HubSpot, and more.
Install Kimi Code on macOS or Linux with the official installer:
curl -fsSL <https://code.kimi.com/kimi-code/install.sh> | bashOr install it with Homebrew:
brew install kimi-codeThen open a new terminal and verify the install:
kimi --versionStart Kimi Code from a project directory:
cd your-project
kimi
On first launch, run /login inside Kimi Code and complete authentication. Kimi Code can use either Kimi Code OAuth or a Moonshot AI Open Platform API key.
What is an MCP server?
An MCP server is a small program or service that exposes a set of tools and resources to an MCP-compatible client (such as Kimi Code) via a standard interface.
Instead of Kimi needing a custom integration for every product, the MCP server acts as an adapter that translates between:
What the agent needs to do (search docs, open a browser, read tickets, query data)
The underlying system or API that actually performs the work
In practice, an MCP server can be:
Remote (HTTP): a hosted endpoint you connect to with a URL, often secured with an API key or OAuth.
Local (stdio): a process Kimi starts on your machine and talks to over standard input and output.
An MCP server typically provides three kinds of capabilities:
Tools: callable actions, like “search documentation” or “create an issue”.
Resources: structured data the client can read, like files, schemas, or lists of entities.
Prompts: reusable instructions or workflows that shape how the agent should behave for a task.
Once you add a server, Kimi can discover what it offers and then selectively call those capabilities during a coding session, without you wiring each integration by hand.
Option 1: Add a Remote HTTP MCP Server
Remote MCP servers are useful when a service hosts its own MCP endpoint. For example, a documentation or SaaS provider may expose an MCP URL that Kimi Code can connect to.
The general pattern is:
kimi mcp add --transport http SERVER_NAME MCP_URLFor an HTTP server that requires a header-based API key:
kimi mcp add --transport http context7 <https://mcp.context7.com/mcp>
  --header "CONTEXT7_API_KEY: ctx7sk-your-key"
After adding it, start Kimi Code and ask a task that would benefit from that server:
Use Context7 to look up the current docs for this library and update the implementation.Option 2: Add an OAuth MCP Server
Some hosted MCP servers need OAuth authorization. In that case, add the server with --auth oauth:
kimi mcp add --transport http --auth oauth Composio <https://mcp.linear.app/mcp>Then authorize it:
kimi mcp auth linearAfter authorization succeeds, Kimi Code can use the server during a session. For example:
Check the Linear issue related to this branch and summarize the acceptance criteria.Use OAuth MCP servers carefully. They may provide access to private workspaces, tickets, repositories, or customer data, depending on the service.
Option 3: Add a Local stdio MCP Server
Local MCP servers are started by Kimi Code as subprocesses. This is common for developer tools that run on your machine.
The general pattern is:
kimi mcp add --transport stdio SERVER_NAME -- COMMAND ARG_1 ARG_2For example, to add the Chrome DevTools MCP server:
kimi mcp add --transport stdio chrome-devtools -- npx chrome-devtools-mcp@latestThe -- is important. Everything after it is treated as the command Kimi Code should run to start the MCP server.
Once connected, you can ask Kimi Code to use that capability:
Open the local app, inspect the console errors, and suggest the smallest fix.Option 4: Connect Composio MCP for All Your Tools
Composio is useful when you do not want to configure a separate MCP server for every app. Its Composio Connect MCP server serves as a gateway to 1000+ apps via a single MCP connection.
The hosted Composio Connect endpoint is:
<https://connect.composio.dev/mcp>Composio exposes a small set of meta-tools to the agent. Those meta-tools let Kimi discover available tools, request app authorization when needed, wait for OAuth to finish, and execute actions across connected apps. In practice, this means Kimi can start from a request like:
Find the GitHub issue for this bug, check whether there is a related
Linear ticket, and draft a Slack update for the team.
Instead of wiring GitHub, Linear, and Slack one by one, Kimi can go through Composio.
Connect Composio Connect to Kimi Code
First, get your Composio Connect MCP credentials from the Composio dashboard. In newer Composio MCP client setup flows, the broad Connect endpoint usually uses the x-consumer-api-key header:
kimi mcp add --transport http composio <https://connect.composio.dev/mcp>
  --header "x-consumer-api-key: YOUR_COMPOSIO_CONSUMER_API_KEY"
If Composio presents an OAuth-only setup flow for your MCP client, use Kimi Code's OAuth option instead:
kimi mcp add --transport http --auth oauth composio <https://connect.composio.dev/mcp>
kimi mcp auth composio
Then verify the server is available:
kimi mcp listStart Kimi Code and ask it to use Composio:
Use Composio to check which app connections are available,
then connect GitHub and Slack if needed.
The first time a workflow needs an app, Composio may generate an authorization link. Open it in your browser, approve the app connection, then return to Kimi Code and continue the task.
What Kimi Gets Through Composio
Through Composio Connect, Kimi can use Composio's routing tools to:
Search the Composio catalog for the right app tools.
Fetch exact schemas for tools before calling them.
Create, list, rename, or remove OAuth connections to apps.
Wait while you complete an OAuth authorization flow.
Execute multiple app actions in parallel.
Use a remote workbench or bash environment for large outputs and bulk processing.
This is the easiest path when you want Kimi Code connected to many services without maintaining many individual MCP server configs.
Use a Custom Composio MCP Server
For stricter production setups, create a dedicated Composio MCP server that exposes only selected toolkits or allowed tools. Composio describes this MCP approach in its Native Tools vs MCP guide. For example, you might create a server that only includes GitHub and Jira, or a Gmail server that only allows fetching and sending emails.
Composio's custom MCP API can create a server with multiple toolkits:
curl -X POST "<https://backend.composio.dev/api/v3.1/mcp/servers/custom>"
  -H "Content-Type: application/json"
  -H "x-api-key: YOUR_COMPOSIO_API_KEY"
  -d '{
    "name": "Development Integration Server",
    "toolkits": ["github", "jira"],
    "managed_auth_via_composio": true
  }'
Composio will return an MCP URL for the server. Add that generated URL to Kimi Code:
kimi mcp add --transport http composio-dev "<https://backend.composio.dev/v3/mcp/YOUR_SERVER_ID?user_id=YOUR_USER_ID>"
  --header "x-api-key: YOUR_COMPOSIO_API_KEY"
Use the generated URL and headers from Composio rather than copying these placeholders literally. For app-specific or session-based MCP servers, Composio may give you session.mcp.url and session.mcp.headers; pass those same values into kimi mcp add.
List, Remove, and Manage MCP Servers
To see the MCP servers currently configured:
kimi mcp listTo remove a server:
kimi mcp remove chrome-devtoolsTo authorize a server that uses OAuth:
kimi mcp auth linearThese commands are useful when you are experimenting with multiple servers and want to keep your Kimi Code environment tidy.
Use an Ad-Hoc MCP Config File
Kimi Code also supports launching with a one-off MCP configuration file. This is useful when you want project-specific MCP servers without permanently adding them to your global Kimi configuration.
Create a file such as mcp.json:
{
  "mcpServers": {
    "context7": {
      "url": "<https://mcp.context7.com/mcp>",
      "headers": {
        "CONTEXT7_API_KEY": "YOUR_API_KEY"
      }
    },
    "chrome-devtools": {
      "command": "npx",
      "args": ["-y", "chrome-devtools-mcp@latest"]
    }
  }
}
Then start Kimi Code with that config:
kimi --mcp-config-file /path/to/mcp.jsonThis approach is clean for teams because the MCP setup can live near the project documentation. If the file contains secrets, keep it out of version control and provide a redacted example such as mcp.example.json.
Security Checklist
MCP gives an AI agent access to external capabilities, so treat each server as a real integration rather than a harmless plugin.
Before adding a server:
Read what tools it exposes.
Prefer official servers or well-maintained open-source projects.
Use the least-privileged API key or OAuth scope available.
With Composio, prefer a custom MCP server with selected toolkits for sensitive work, rather than exposing every possible app.
Avoid connecting production databases or admin-level services unless you have clear guardrails.
Keep secrets in environment variables or in local config files that are excluded from Git.
Remove servers you no longer use.
For local stdio servers, also inspect the command that Kimi Code is asked to run. A stdio MCP server is still a local process with whatever permissions your user account gives it.
Troubleshooting
If Kimi Code does not seem to use an MCP server, start with these checks:
Run kimi mcp list and confirm the server is registered.
If the server uses OAuth, run kimi mcp auth SERVER_NAME.
For stdio servers, run the server command manually to confirm dependencies are installed.
For HTTP servers, verify the URL, API key, and headers.
Restart Kimi Code after changing the MCP configuration.
Explicitly ask Kimi to use the connected tool in your prompt.
For example:
Use the Composio MCP server to to fetch last 4 emails from GmailBeing explicit helps during setup by confirming whether Kimi can see and call the expected server.
Example Workflow
A practical MCP-enabled Kimi Code workflow might look like this:
cd my-web-app
kimi mcp add --transport stdio chrome-devtools -- npx chrome-devtools-mcp@latest
kimi mcp add --transport http context7 <https://mcp.context7.com/mcp>
  --header "CONTEXT7_API_KEY: ctx7sk-your-key"
kimi mcp add --transport http composio <https://connect.composio.dev/mcp>
  --header "x-consumer-api-key: YOUR_COMPOSIO_CONSUMER_API_KEY"
kimi
Then, inside Kimi Code:
Run the app, inspect it with Chrome DevTools, check the latest framework docs with Context7,
find the related GitHub issue through Composio, and fix the failing layout.
In that setup, Kimi Code can combine local code editing, terminal feedback, browser inspection, documentation lookup, and connected SaaS workflows into a single agent session.
Conclusion
Connecting MCP with Kimi Code is mostly a matter of adding the right server with kimi mcp add, choosing the correct transport, and authorizing the server if needed.
Use HTTP MCP servers for hosted services, stdio MCP servers for local developer tools, Composio when you want one gateway to many apps, and --mcp-config-file when you want a project-specific setup. Once connected, MCP turns Kimi Code from a terminal coding agent into a more capable development workspace that can reach the tools and context your project actually depends on.