As a Neovim nerd, I was blown away when I first tried Cursor.
Let's be honest, Cursor does feel good, the agentic coding experience, and the MCP integrations make it really tempting. However, as a Neovim user, you don't need to ditch Neovim to get that experience. I know how much you like your setup.

In this post, as you read in the title, I'll show you how to "transform your Neovim to Cursor in minutes" with a great UI and all the vibes in just a few minutes.
Don't worry, adding Cursor-like AI features to Neovim doesn't betray what makes Neovim great.
Let's jump in!
TL;DR
Here's a summary of what we are going to achieve here
Get the agentic coding capability using the Avante nvim package
Add the MCP capability via the MCPHub nvim package.
Get managed and secured MCP servers via Composio.
And voila, you have your Cursor experience in Neovim.
Prerequisites
You'll need the following:
Neovim 0.10.1 (or higher)
A plugin manager. Better if you have
lazy.nvimavante.nvimandmcphub.nvimpluginscargoinstalledDocker installed
OpenAI or Claude API key, based on your preference
Composio MCP for managed production-grade servers
That's pretty much it!
Setting up the Plugins
💁 Here, I'll show you how to set up
avante.nvimandmcphub.nvimplugins with thelazy.nvimpackage manager.
First, what are these plugins for?
avante.nvim emulates the cursor-like experience in your Neovim and mcphub.nvim allows you to add MCP capabilities to Avante.
Now, the steps might differ based on how you've structured your plugins. Essentially, you may have a plugins directory containing all your plugins. First, figure this out and follow along.
Let's start with setting up mcphub.nvim. Create a new file mcphub.lua and add the following lines of code:
return {
    "ravitemer/mcphub.nvim",
    dependencies = {
        "nvim-lua/plenary.nvim",
    },
    build = "npm install -g mcp-hub@latest",  -- Installs `mcp-hub` node binary globally
    config = function()
        require("mcphub").setup()
    end
}
But think of it just as an MCP marketplace to install other MCP servers, and now we need to add a way to communicate with all the servers we install.
That's where avante.nvim comes in. Create a new file avante.lua and add the following lines of code:
return {
  'yetone/avante.nvim',
  build = function()
    -- conditionally use the correct build system for the current OS
    if vim.fn.has 'win32' == 1 then
      return 'powershell -ExecutionPolicy Bypass -File Build.ps1 -BuildFromSource false'
    else
      return 'make'
    end
  end,
  event = 'VeryLazy',
  version = false, -- Never set this value to "*"! Never!
  ---@module 'avante'
  ---@type avante.Config
  opts = {
    -- add any opts here
    -- for example
    provider = 'claude',
    -- provider = 'openai',
    providers = {
      claude = {
      -- openai = {
        endpoint = '<https://api.anthropic.com>',
        model = "claude-sonnet-4-20250514",
        api_key_name = 'CLAUDE_API_KEY',
        -- model = 'o3-mini',
        -- api_key_name = 'OPENAI_API_KEY',
        timeout = 30000, -- Timeout in milliseconds
        extra_request_body = {
          temperature = 0.75,
          max_tokens = 20480,
        },
      },
    },
  },
  dependencies = {
    'nvim-lua/plenary.nvim',
    'MunifTanjim/nui.nvim',
    --- The below dependencies are optional,
    'echasnovski/mini.pick', -- for file_selector provider mini.pick
    'nvim-telescope/telescope.nvim', -- for file_selector provider telescope
    'hrsh7th/nvim-cmp', -- autocompletion for avante commands and mentions
    'ibhagwan/fzf-lua', -- for file_selector provider fzf
    'stevearc/dressing.nvim', -- for input provider dressing
    'folke/snacks.nvim', -- for input provider snacks
    'nvim-tree/nvim-web-devicons', -- or echasnovski/mini.icons
    'zbirenbaum/copilot.lua', -- for providers='copilot'
    {
      -- support for image pasting
      'HakonHarnes/img-clip.nvim',
      event = 'VeryLazy',
      opts = {
        -- recommended settings
        default = {
          embed_image_as_base64 = false,
          prompt_for_file_name = false,
          drag_and_drop = {
            insert_mode = true,
          },
          -- required for Windows users
          use_absolute_path = true,
        },
      },
    },
    {
      -- Make sure to set this up properly if you have lazy=true
      'MeanderingProgrammer/render-markdown.nvim',
      opts = {
        file_types = { 'markdown', 'Avante' },
      },
      ft = { 'markdown', 'Avante' },
    },
  },
  config = function()
    require('avante').setup {
      -- system_prompt as function ensures LLM always has latest MCP server state
      -- This is evaluated for every message, even in existing chats
      system_prompt = function()
        local hub = require('mcphub').get_hub_instance()
        return hub and hub:get_active_servers_prompt() or ''
      end,
      -- Using function prevents requiring mcphub before it's loaded
      custom_tools = function()
        return {
          require('mcphub.extensions.avante').mcp_tool(),
        }
      end,
    }
  end,
}
Don't worry, there's no rocket science here; it's all the default config you'll find on the avante.nvim GitHub repository.
Here, I'm using Claude, but you could also use OpenAI. Just comment out the Claude part and uncomment the OpenAI part in the above code, and you should be fine.
The only change I've made in the above code is to change the config function to set up the mcphub extension foravante, which is also something you'll find in their documentation.
That's pretty much all the work you need to do to set up the basics. ✌️
Neovim to the cursor
Demo (avante.nvim + mcphub.nvim in action)
Now that the setup is done, we can install any MCP servers we want from MCP Hub and start using them with Avante.
Run the following command to open MCP Hub and view the marketplace:
:MCPHubThat’s pretty much it. You can now easily access all the local MCP servers available in the marketplace by following the instructions there.
That said, to run remote MCP servers, which in our case is Composio’s MCP server, we need to use the MCP URL.
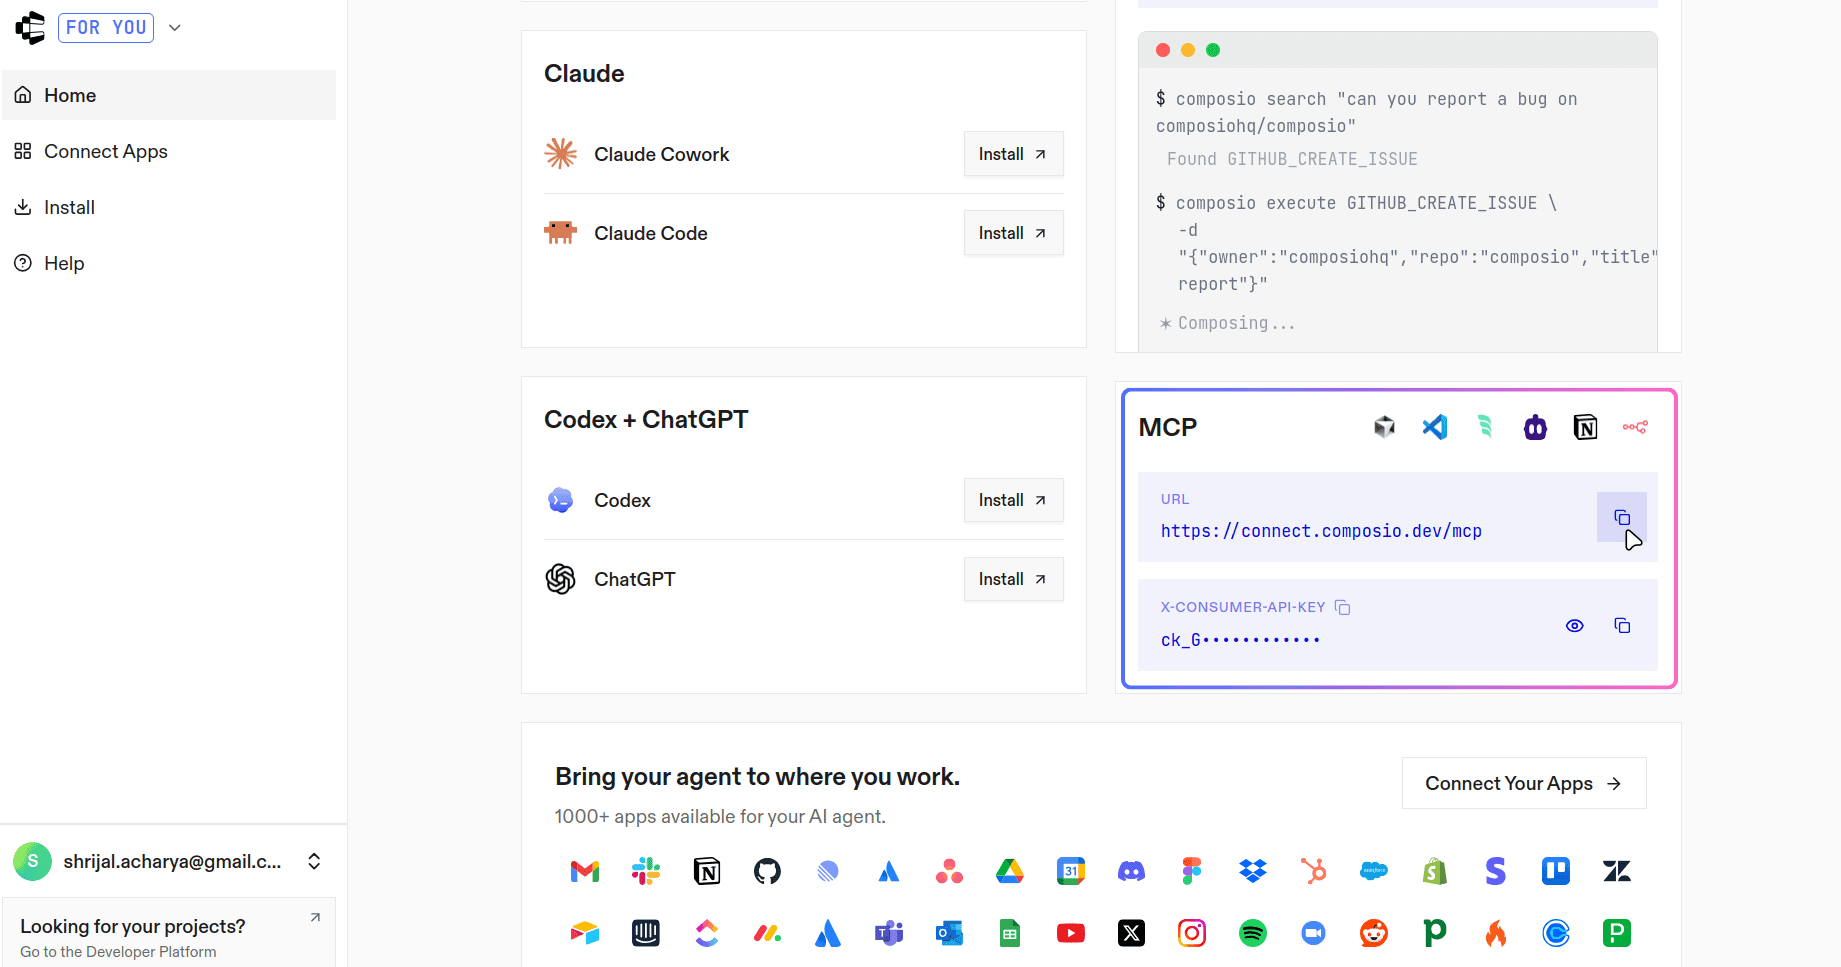
Head over to connect.composio.dev. If you do not already have an account, sign up first.
Next, we need to get the MCP URL and the API key. Scroll down a bit, and you should see both the URL and the API key, which is labelled X-CONSUMER-API-KEY. Copy both, as we will need them in the next step.
Like any other MCP client, MCP Hub uses a servers.json file in your config directory. In my case, it is located at /home/shricodev/.config/mcphub/servers.json, and it holds all the server configurations.
Before moving further, export the API key you just copied from Composio:
💁 You can also paste the key directly into the config file, but that is not recommended since you might accidentally leak it, for example on GitHub.
export COMPOSIO_CONSUMER_KEY=<your_api_key>I have added a few local servers, Git and Time, along with the Composio server. Here is what the servers.json file looks like:
// 👇 ~/.config/mcphub/servers.json

{
  "mcpServers": {
    "composio": {
      "url": "<https://connect.composio.dev/mcp>",
      "headers": {
        "x-consumer-api-key": "${env:COMPOSIO_CONSUMER_KEY}"
      }
    },
    "time": {
      "args": ["run", "-i", "--rm", "mcp/time"],
      "command": "docker"
    },
    "git": {
      "command": "docker",
      "args": [
        "run",
        "--rm",
        "-i",
        "--mount",
        "type=bind,src=/home/shricodev/codes,dst=/personal",
        "mcp/git"
      ]
    }
  }
}
As soon as you save the changes to the servers.json file, you should see Docker containers spin up automatically for the local servers through MCP Hub:

If you are not using any remote MCP servers through Composio, that is pretty much it. You can start using everything right away.
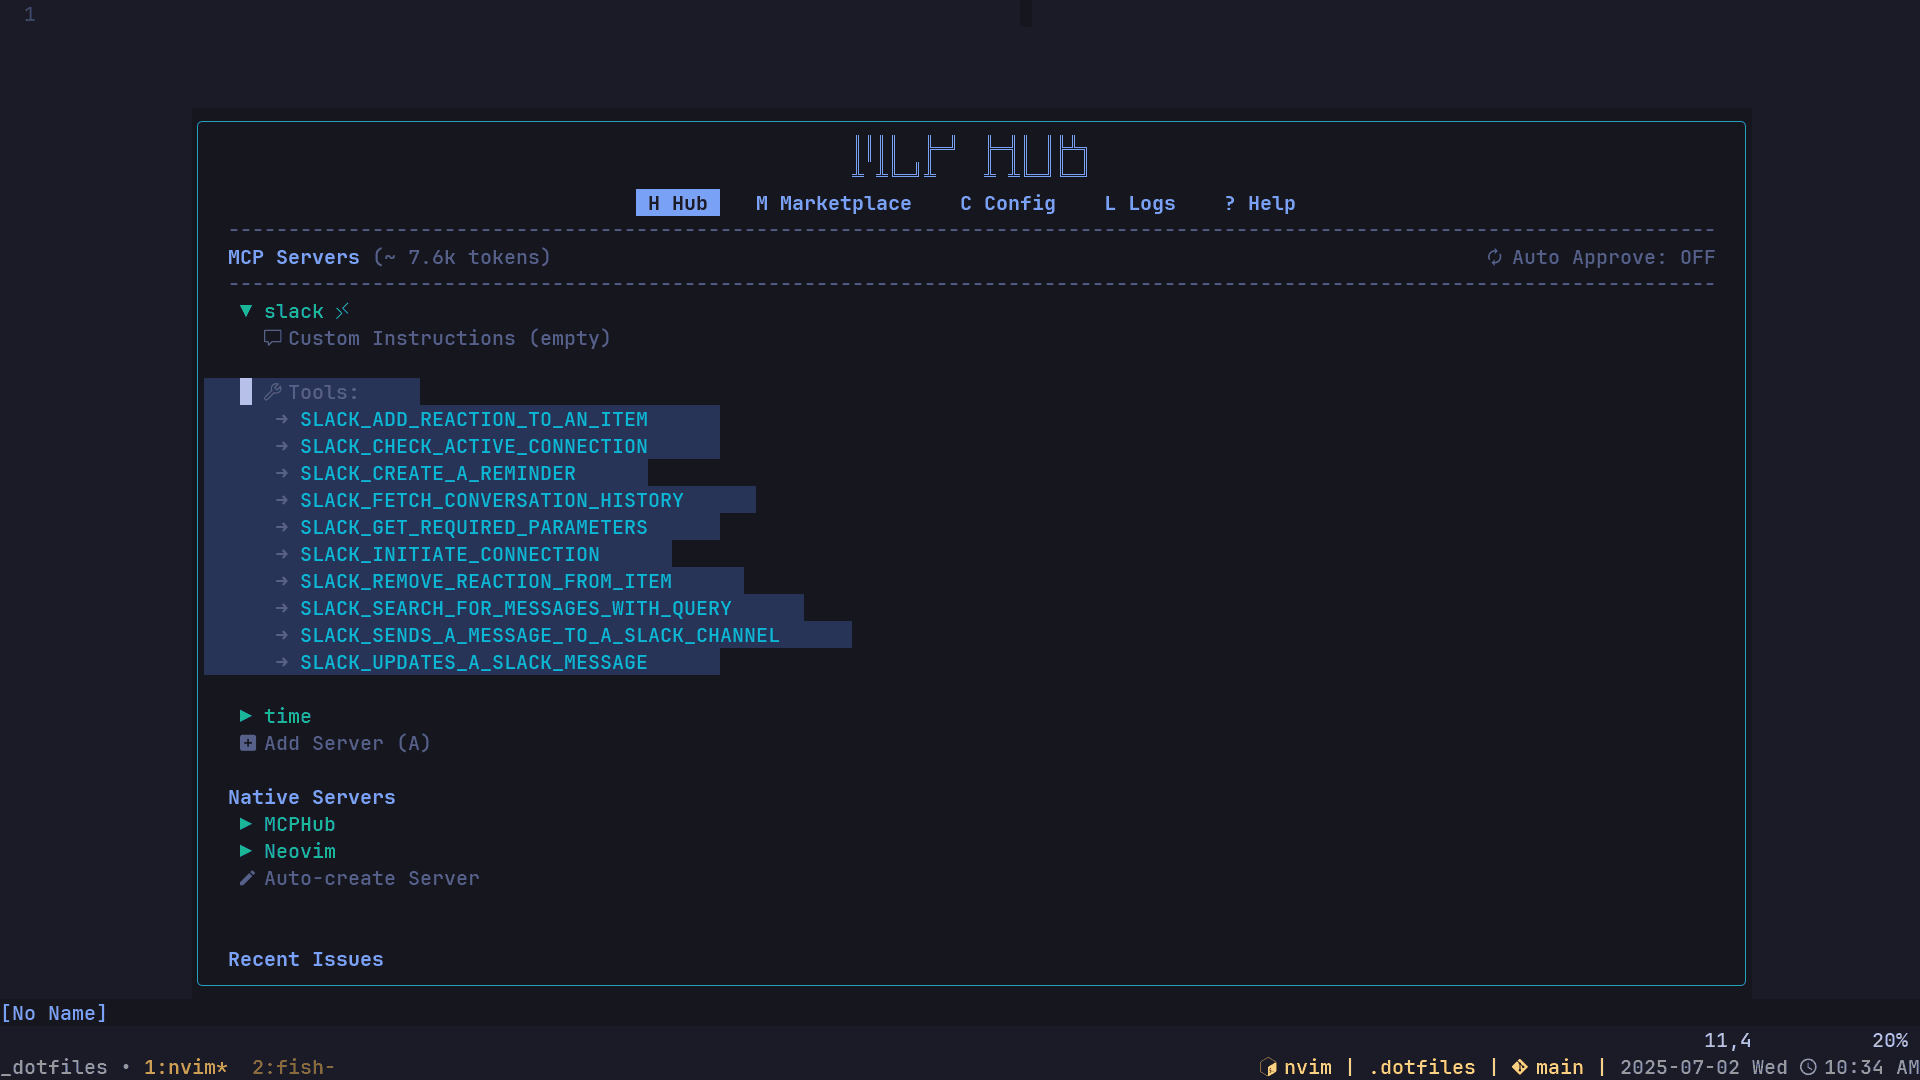
But if you want to use MCP servers from Composio and you have configured the Composio part properly, you should see a list of all the available tools in the MCP Hub UI.
Now, there is one small step left, which is connecting the tools you plan to use. In my case, that is Slack. In the sidebar, click Connect Apps, search for Slack, and connect it.
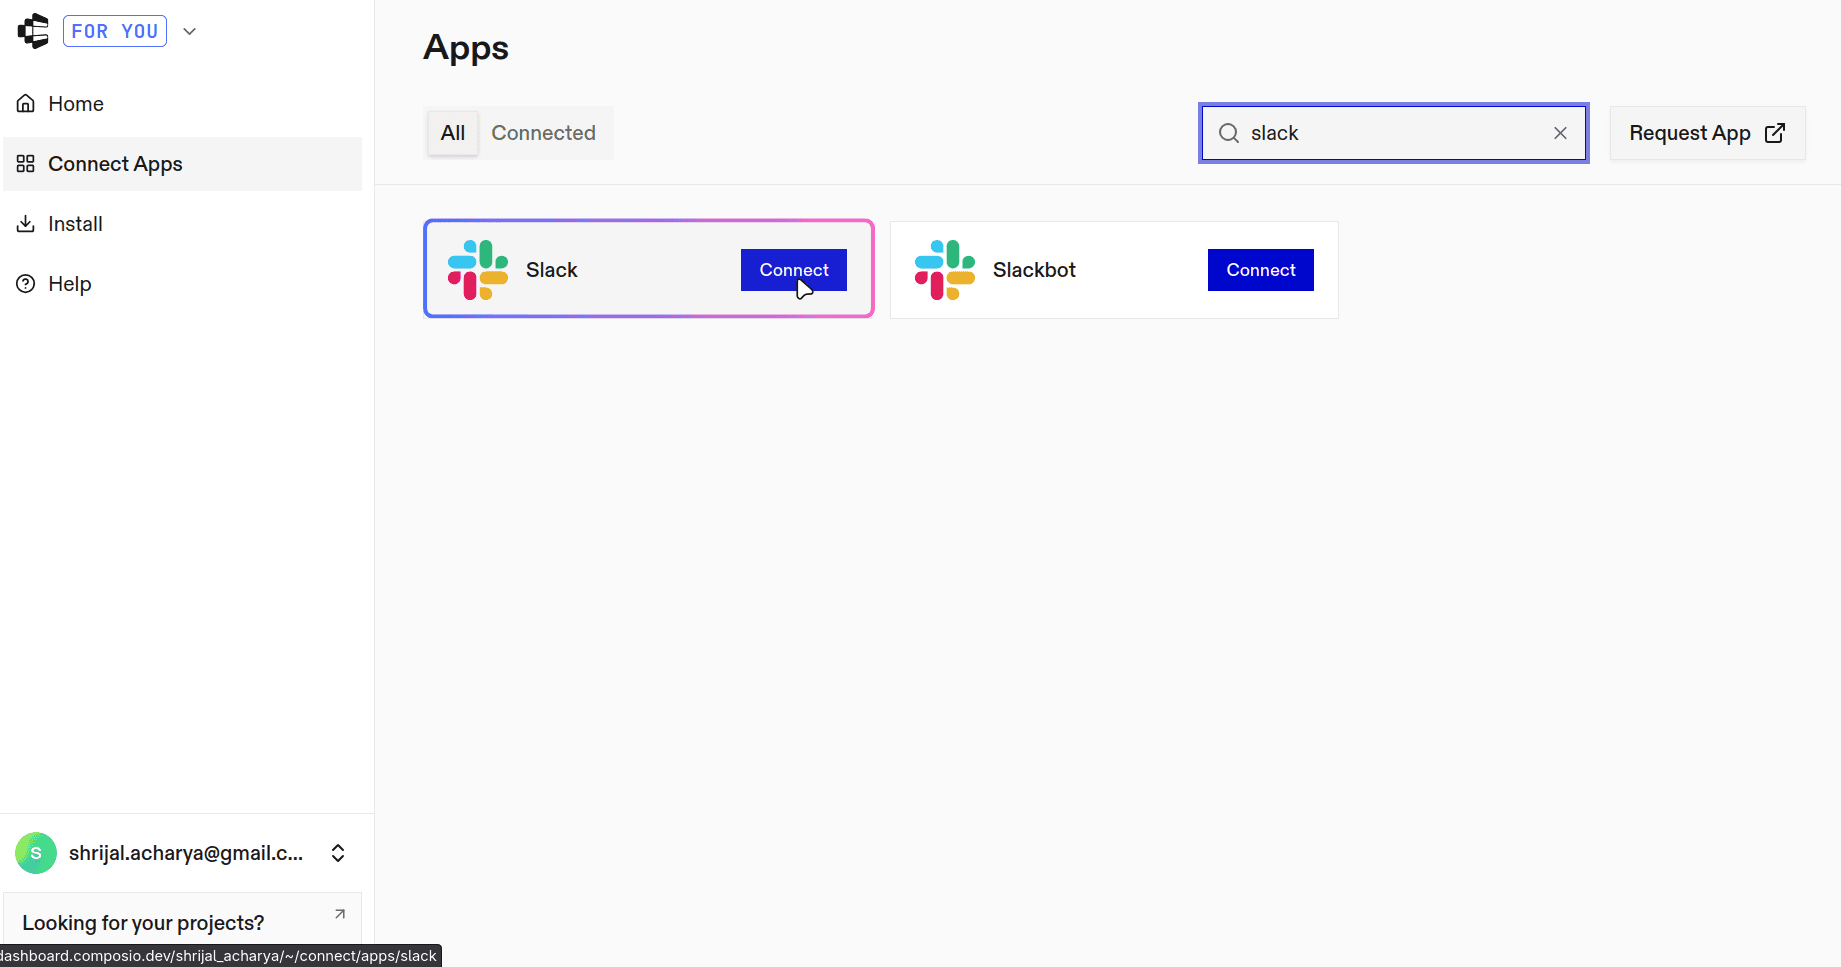
Once connected, the application should appear as connected. This is basically your one place to plug in all the tools you want to use.
Just like that, you can access those tools directly from Neovim. You are not limited to a fixed number of applications, so connect as many as you need.
Here is a quick demo of me using these together with Slack:
Here's the local MCP server with Git demo:
Conclusion
How easy is that, right? Even this servers.json is consistent with how Cursor handles it.
So, is this a drop-in replacement for Cursor in Neovim? Yes and no.
Yes, because it emulates the cursor experience well, and no, because the workflow is still not perfect. The plugins are still being developed, and you may encounter some issues from time to time.
That's it for this blog post.