MCP has been in place for a while, but not many have fully leveraged its potential by utilising all its core components. The MCP tutorials and blogs I see focus on using tools, with none addressing the rest, including resources and prompts, the much-neglected kin.
For one of my projects, after extensive research, I discovered an easy way to use them. In this blog, I will share my findings with you all. Refer to this guide for instructions on building MCP servers from scratch.
Let’s begin by looking at Workspace Setup.
TL;DR
Setup: MCP projects are best handled in a workspace.
Tools: Let’s LLMs run code or perform actions.
Prompts: Defines reusable, structured prompt templates for LLMs.
Resources: Expose local or remote data to feed info into the LLM context.
Use Cases: Build intelligent agents, CLIs, bots, assistants, and analysers by combining tools, prompts, and resources.
Workspace Setup (recommended)
MCPs are unmoderated and can damage original file systems. So, I prefer and recommend using it in a separate workspace. Let’s begin
Creates a new directory mcp and cd into it!
mkdir mcp
cd mcp
Install UV – a modern and fast alternative to pip with improved package management.
# windows
powershell -ExecutionPolicy ByPass -c "irm https://astral.sh/uv/install.ps1 | iex"

#ubuntu/mac
curl -LsSf https://astral.sh/uv/install.sh | sh
Create a virtual environment.
# windows
uv venv .venv
.venv\Scripts\activate

# ubuntu / mac
uv venv .venv
source .venv/bin/activate
Install MCP package – uses FastMCP under the hood
# latest - ver 2.0
uv pip install fastmcp

# ver 1.0 - can cause issue
uv pip install "mcp[cli]"
Ensure the MCP library is available.
fastmcp versionOutput 👇

Remember the root path, it will help a lot later 😁
With the workspace ready, let’s examine the first MCP component: tools.
Tools – The Action Takers
Overview
Tools enable the LLM to perform tasks and actions through the MCP servers. Think of it as an extra hand to LLMs.
With Tools + MCP, LLM / AI Agents can now:
interact with the external system,
executes code and
can access non-training data.
Tools have three key components:
Discovery: Client can fetch a list of available tools by sending a
tools/listrequest to the MCP server.Invocation: Any tool can be called by the client via
tool/callRequest. Once the tool is exposed, the server performs the requested operation and returns the result, which AI Models later use.Flexibility: Tools can be wrapped around a function / API interaction (opening up endless possibilities)
Now, let’s look at how to create tools!
Code
Tools in MCPc are functions/methods wrapped within @mcp.tools(*kwargs), a decorator. Yes, this is all you need!
Create a new file mcp_hello.py and paste the following code
from fastmcp import FastMCP

mcp = FastMCP("Hello World")

# define the tool
@mcp.tool()
def hello_world(name: str) -> str:
    return f"Hello World. This is {name} 👋"

# entry point - not needed but suggested
if __name__ == '__main__':
    mcp.run(transport = 'stdio')
In terminal type
fastmcp dev mcp_hello.pyCopy the provided session token, click on the provided link, paste in: Proxy Session Token and connect.
This will open an MCP debugger, a shortcut for testing MCP Servers. I used it in the past in one of my earlier articles on the MCP Server.
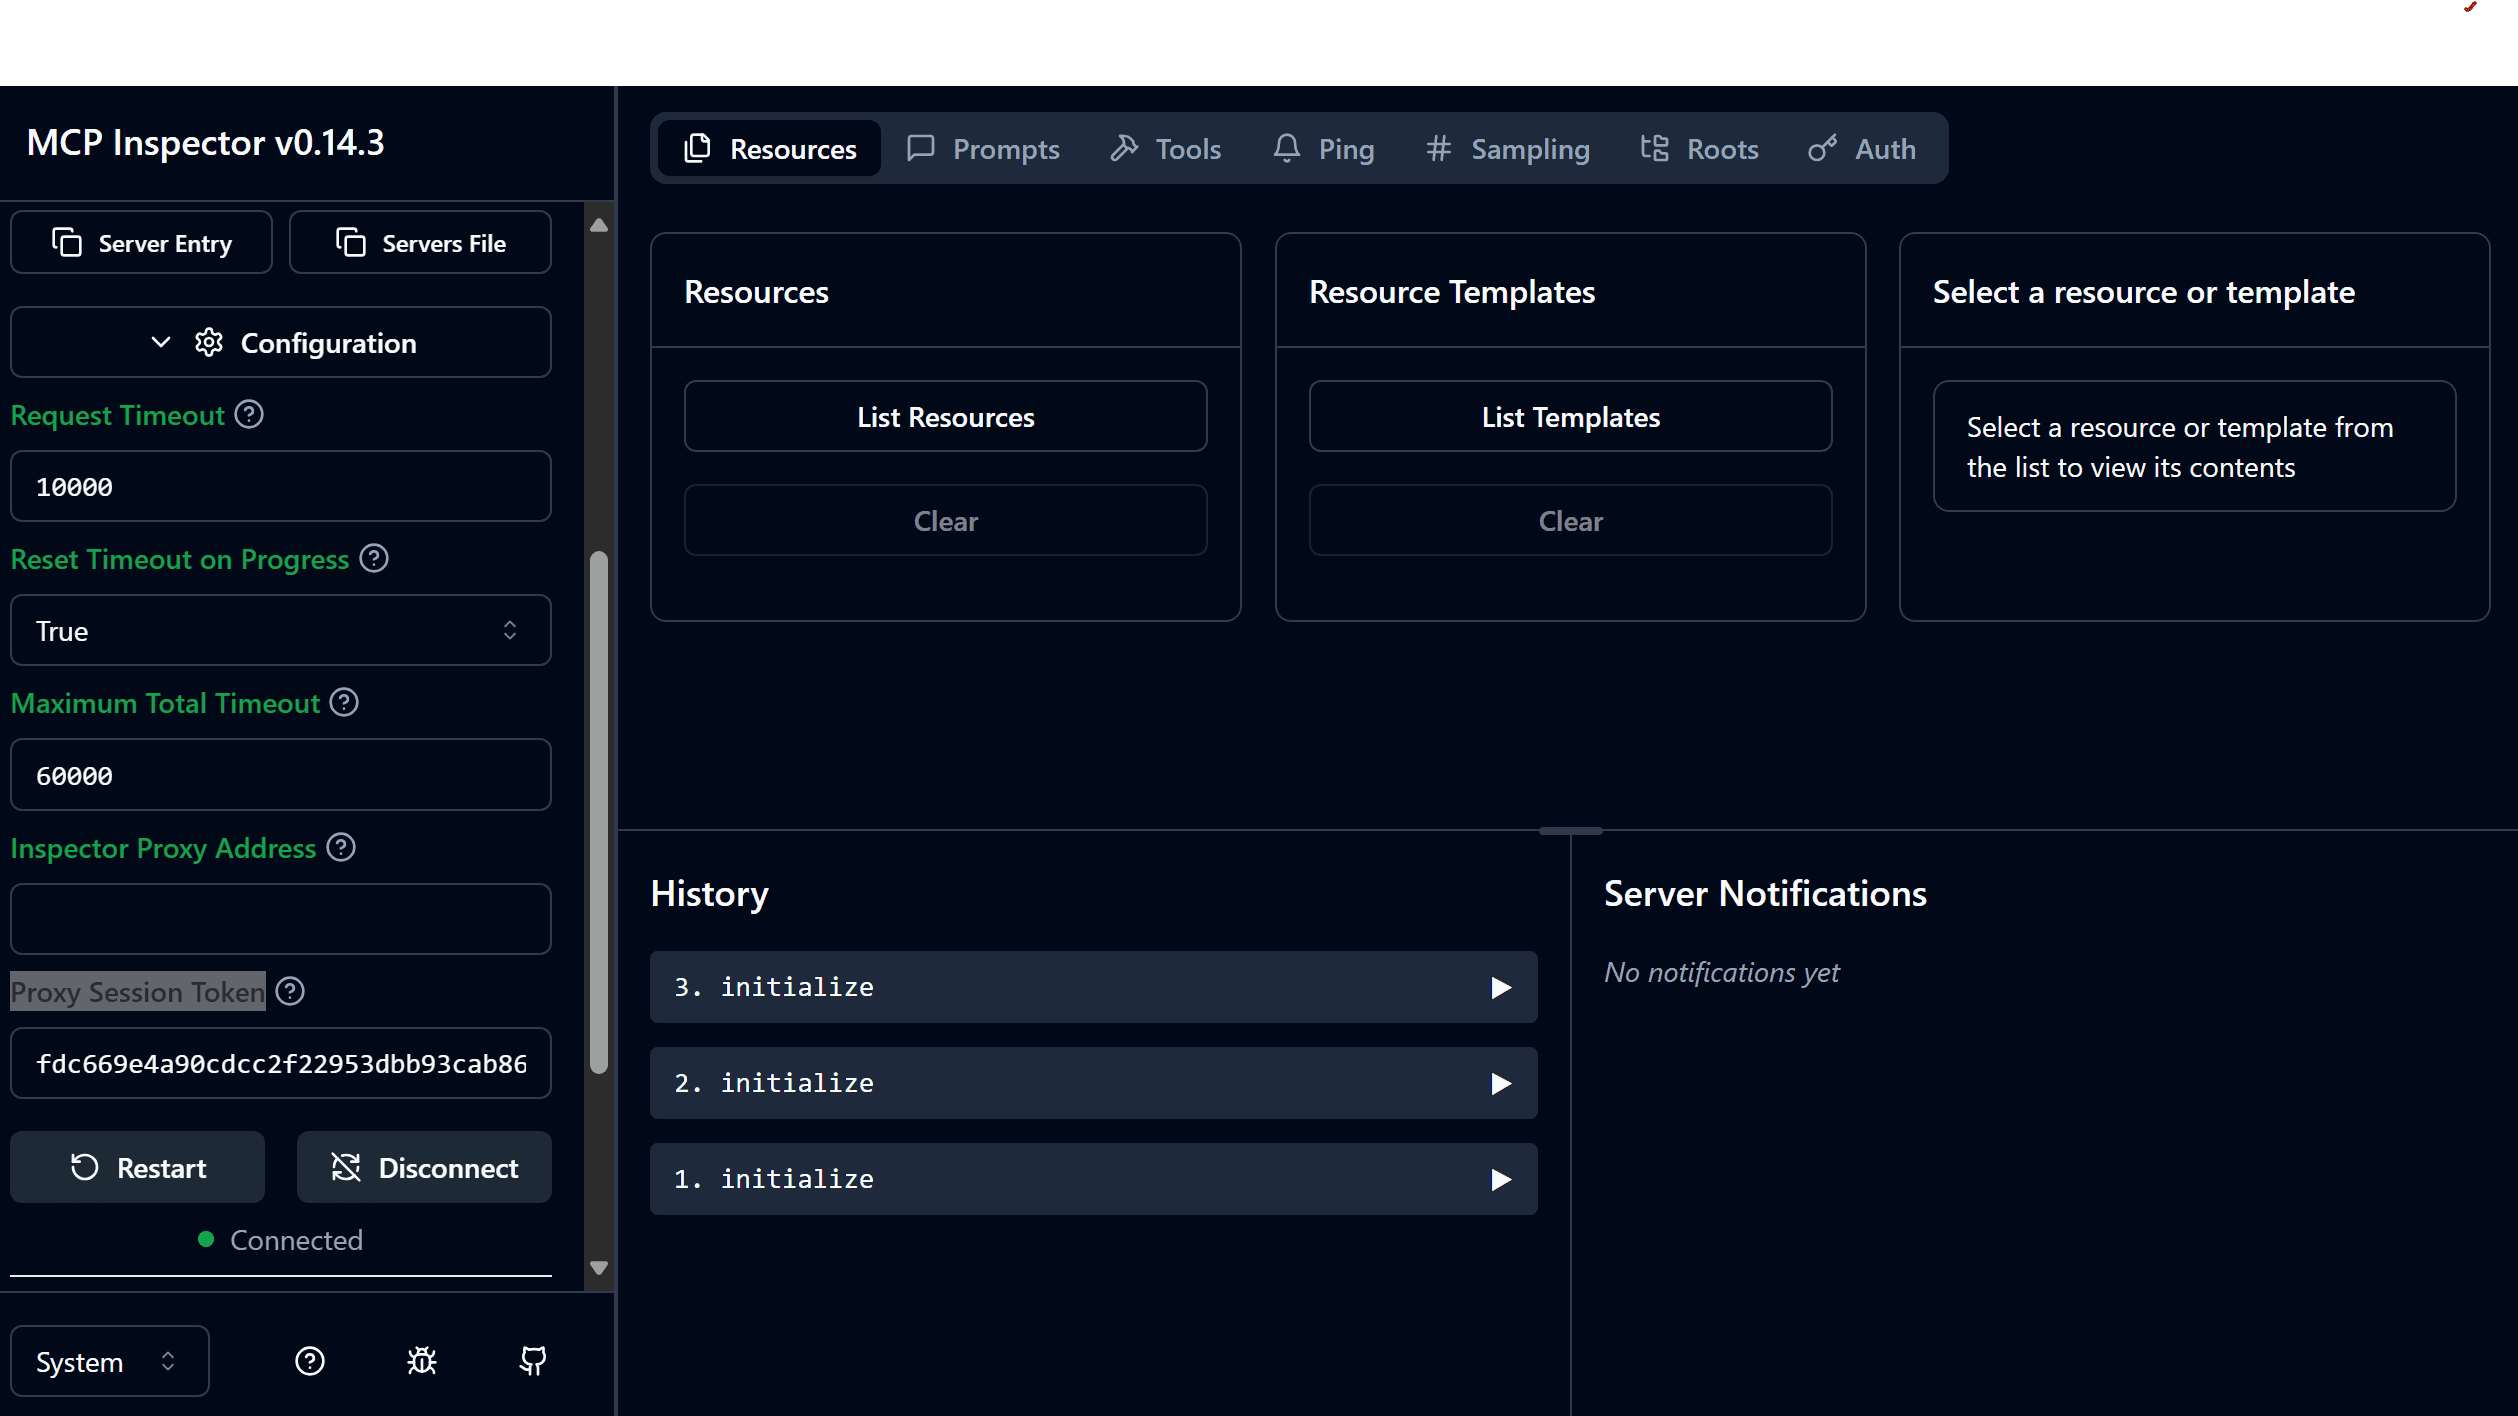
Note: If you are installing for the first time, you will receive a confirmation prompt. Press y and let the installation happen
Now, head to the Tools in the navigation bar and select List Tools and Notice History. You will see a call to the server. Remember discovery.

& here is the response schema
{
  "tools": [
    {
      "name": "hello_world", //name of the mcp server
      "inputSchema": { // JSON Schema for the tool's parameters
        "type": "object",
        "properties": { // Tool Specific Properties
          "name": { // input parameter
            "title": "Name", // name of the parameter
            "type": "string" // dtype
          }
        },
        "required": [
          "name"
        ] // required parameter
      }
    }
  ]
}
You can learn more about tools schema here
Next, select the Hello World tool, enter your name and click Run Tool. I put devloper_hs and here is the output 👇
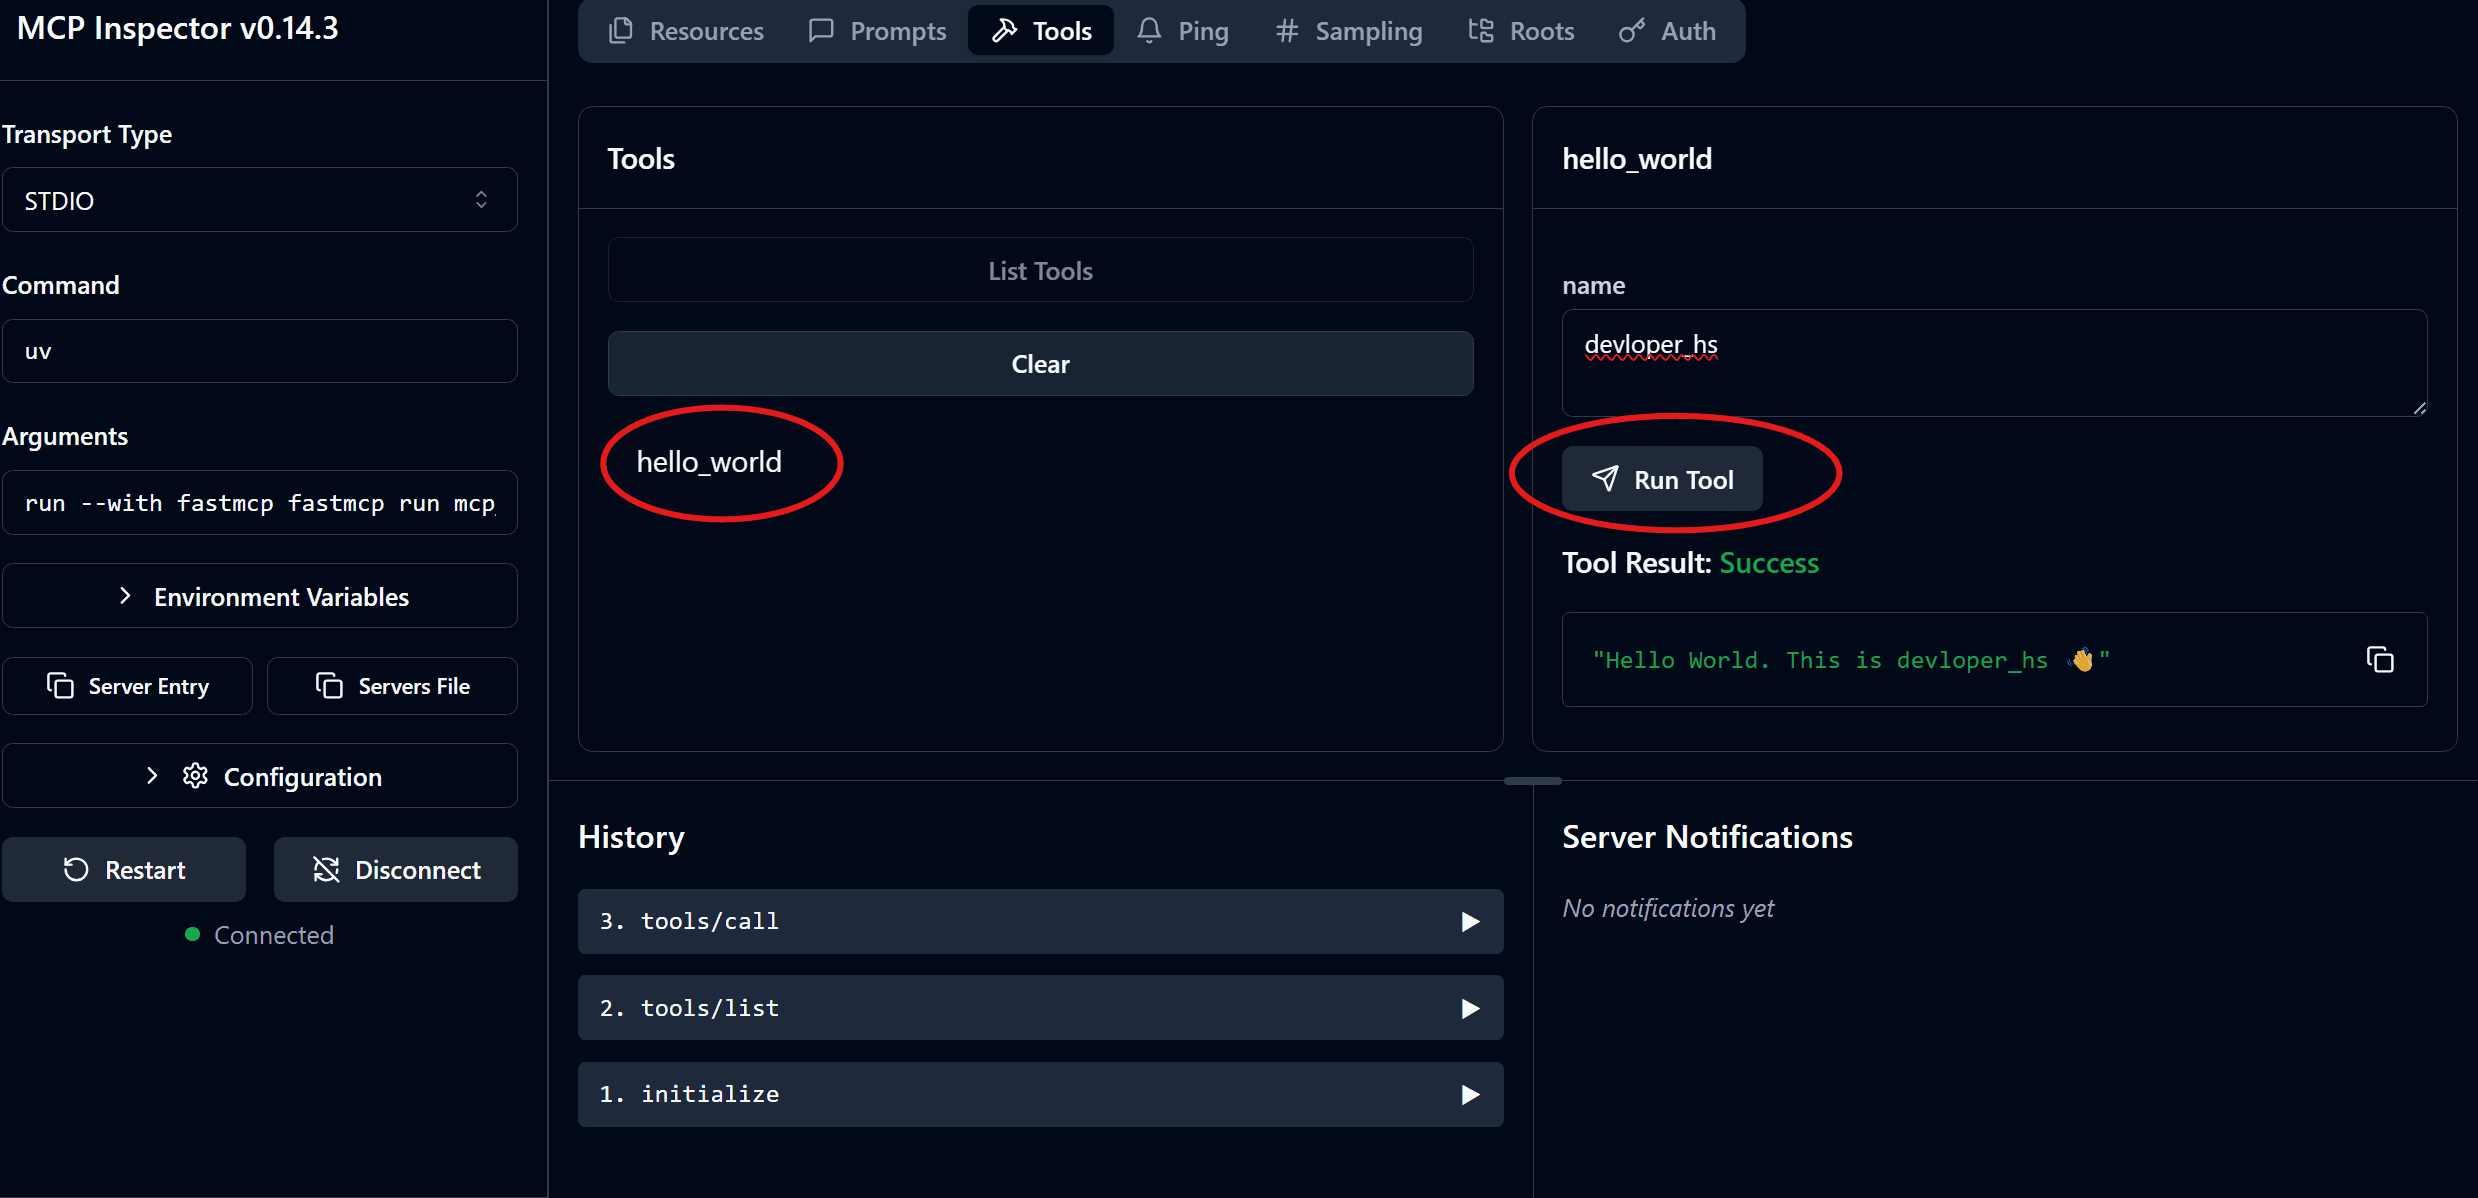
If you notice history tools/call is made as part of the tool invocation process. This is the request schema to the MCP Server via the client.
{
  "method": "tools/call", //method type - here tool_call
  "params": { // required parameter
    "name": "hello_world", // name of the tool / fn
    "arguments": {
      "name": "devloper_hs" // argument provided
    },
    "_meta": { // metadata - ignore
      "progressToken": 0
    }
  }
}
& after tool is executed (via server), following response schema is generated!
{
  "content": [ // content resource
    {
      "type": "text", // content type
      "text": "Hello World. This is devloper_hs 👋" //actual content
    }
  ],
  "isError": false //any error?
}
Guess the best part?
As MCP Tools are just a function, a single MCP server can have any no of tools. Refer to this quick guide to learn more!
However, a question remains: what are the use cases?
Here are some examples to get you started!
Examples
Here are some MCPs to get started!
Utility MCP Server
Use tool-wrapped functions to perform everyday tasks – create, read, move, update, search files and directories, all using natural conversation.
Data Toolbox MCP Server
Expose all your data science tools, wrapped functions to LLM, provide data and get analytics done. Build once, use anywhere.
IRCTC MCP Server:
Build by one of my mentors for the Hugging Face MCP hackathon, helps with handling IRCTC-related tasks, except for ticket booking – uses multiple API as tools 😁
For more ideas, explore this blog.
However, not every time an LLM calls tools, especially for complex or ambiguous scenarios. To mitigate, MCP provide prompts.
Prompts – The Context Builder
Overview
The prompt enables the LLM to generate structured and purposeful responses by allowing the server to define reusable and parameterised messages, often used to initiate conversations.
Prompts can be used for:
Take and pass the dynamic input from the user.
Include context using local data.
Chain multiple interactions for memory building.
Guide complex workflows
Act as a frontend using / command.
And all the server needs is a prompts/get Request from the client.
Let’s understand this by building an MCP with prompt support.
Code
Like tools, prompts are wrapped around functions containing Prompt Templates as f-string, Prompt Messages using
@mcp.prompt(*kwargs).Additionally, function definition may include type annotations (pydantic), optional parameters, and mcp metadata (override in decorator). Learn more here.
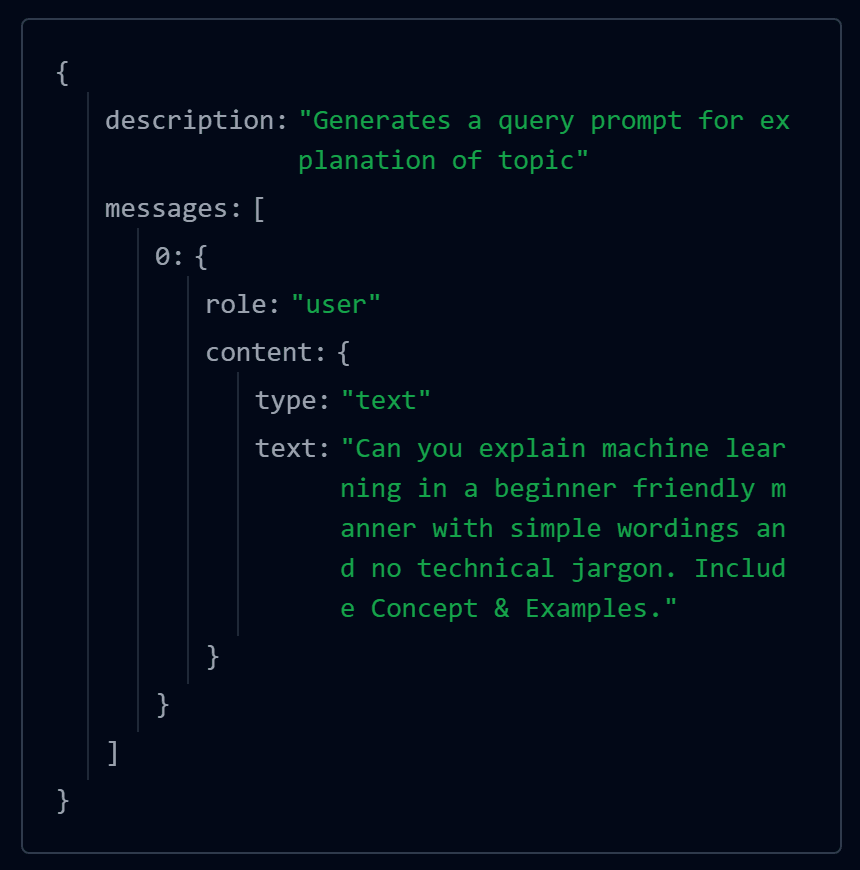
Here is an MCP prompt template that generates a topic explanation prompt. Can be tested using MCP Inspector or CLI.
# prompt_mcp.py

import asyncio
from fastmcp import Client
from fastmcp import FastMCP

# create a mcp object with name TopicExplainer
mcp = FastMCP(name='TopicExplainerPrompt')

# create prompt
@mcp.prompt
def explain_topic(topic : str) -> str:
    "Generates a query prompt for explanation of topic"
    return f"Can you explain {topic} in a beginner friendly manner with simple wordings and no technical jargon. Include Concept & Examples."

# create mcp client to test server directly (final prompt display)
async def test_prompt():

    # create a aynschronus loop to run mcp client
    async with Client(mcp) as client:

        # fetch all prompts
        prompts = await client.list_prompts()
        print("Available prompts:", [p.name for p in prompts])

        # Provide the topic to explain_topic for testing and check results
        result = await client.get_prompt("explain_topic", {"topic": "machine learning"}) # change topic
        # add more prompts here for testing multiple prompts

        print("Generated prompt:", result.messages[0].content.text)

if __name__ == "__main__":
    asyncio.run(test_prompt())
In terminal type
uv run prompt_mcp.pyEntire prompt template generated for topic – machine learning

or use the MCP inspector with
fastmcp dev prompt_mcp.py& paste session token in config → Proxy Session Token. Press Connect and wait for 🟢.
Head to prompt → list all prompts → select
explain_topicand pass the topic (dropdown has text input option)Hit Get Prompt and check out the text field. It will contain the same output as shown in the terminal image. If curious, in the code,
result.messages[0].content.textindex the same to get the prompt.
Notice the history tab, you will see the following flow:
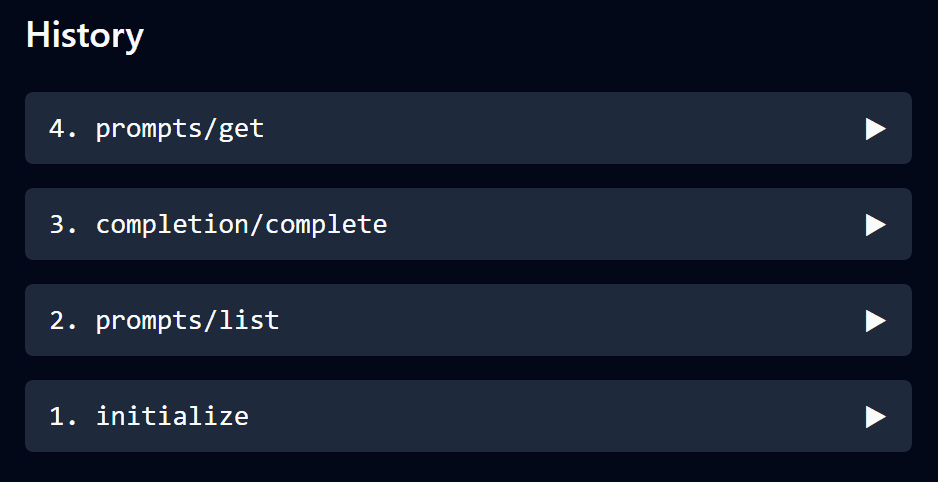
I highly encourage you to toggle each request. It will provide a good understanding of the schema followed internally. For reference on the schema, check out the documentation.
So, what can you build with a prompt and resources in your arsenal to start with?
Examples
Data Analyser MCP:
Build an MCP server that uses a prompt template to define the analysis type and where to fetch data (local / URL).
Then, use the tool to fetch the data, pass it to the LLM, and let the LLM perform the analysis based on the specified analysis type. Share the results.
Prompt Enhancer MCP
Create a prompt enhancer that utilises the prompt template to combine user input and context with predefined system instructions and passes it to the LLM.
Then use the LLM as a tool (wrap LLM calling into the MCP tool) to create an optimised prompt and return it to the user.
Add optional enhancements, such as character limits, prompt sizes, conversational tones, and required information. I want to incorporate this into my daily workflow.
Code Converter MCP – MCP to handle code conversion – no tips here, let llm do the job 😁
Now time to shift focus to resources – an essential component of MCP, but often overlooked (as per my research)
Resources – The Data Providers
Overview
Resources allow MCP servers to expose private data to clients and provide context to LLMs. – Think the MCP version of partial rag.
Resources can be of many types; the following are common ones:
File Content – Plain text
Database / Model Records – Contains schema, relationships, methods and so on
API Responses – response from server; often llm / other MCP server – a game changer for LLM
Screenshot / Images – Yup, mcp supports multimodality
Log files – log filesare generated like
server_uptime.logand many more.
All resources are identified using a URI like :
[protocol]://[host]/[path]Some common examples are
File Resource
file:///Users/Harsh/Documents/mcp/mcp_prompt.py # /// - indicates empty hostDB Resource
postgres://database/customers/schema # databade -> host , customer/schema -> pathScreen Capture Resource
screen://localhost/display1 # locahost -> host , display1 -> pathThe best part is that servers can also define their own custom URI schema. Refer to the resource’s docs to learn more!
Anyway, let’s now look at how to build a resource-supported MCP server!
Code
The simplest way to define a resource is to wrap it within a function decorated with @mcp.resource(*kargs) .
Copy and paste the following code in mcp_resources.py :
Note: The goal of the code is to teach the usage, not the use case. So, depending upon the problem at hand, resources can have complex behaviours with return types as well.
from fastmcp import FastMCP
from pathlib import Path

# define mcp server name
mcp = FastMCP(name="Resource Server")

# basic resource
@mcp.resource("resource://greeting")
def greet() -> str:
    """Simple greet"""
    return "Hey This Is Harsh👋"

# Image resource with URL - protocol://host//path
@mcp.resource("images://img.jpg", mime_type="image/jpeg") # defined uri -> returns in json output for resource calls
def fetch_image_bytes() -> bytes:
    """Returns Harsh's profile photo"""
    file_path = Path("img.jpg").resolve()  # file must be present at script route

    if not file_path.exists():
        raise FileNotFoundError(f"Image file not found: {file_path}")

    return file_path.read_bytes()

if __name__ == "__main__":
    mcp.run(transport="stdio")
The above script defines 2 mcp resources → Simple greet → greet message and profile photo → returns the base64 format image URI.
In general, you will aim to expose it to an LLM, but here we will use the MCP Inspector. So, lets’ pull up the inspector with:
fastmcp dev mcp_resources.pyOnce loaded, repeat the previous copying token and connecting step, then
Head to the resources tab and click List Resources
For
greet→ Click on it and check out greet tab → it contains contents array with uri, mime_type and text.For
fetch_image_bytes→ Ciick on it and check fetch_image_bytes tab in far right → it contains content array with uri , mime_type and blob data → base64 byte encoding value.
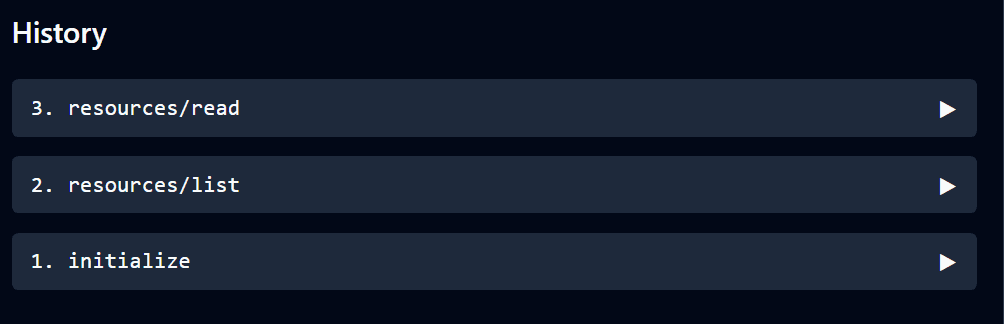
Here is the server-client request flow for both:
For greet flow
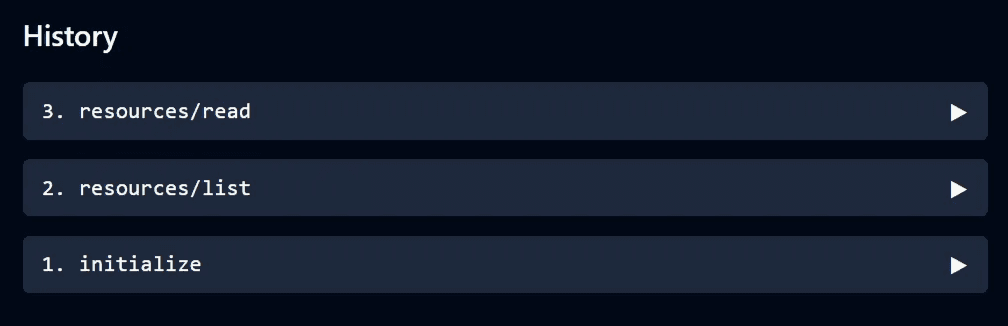
For fetching the image byte flow
I highly encourage toggling each request to understand the underlying flow; otherwise, I will cover it later in another blog.
But what can you build with the new powerup ⚡?
Here are some examples to get started with building MCP, including tools, prompts, and resources.
Examples
Research Assistant MCP
Build an MCP server that uses tools, prompts, and resources to summarise and compare academic papers.
Define the MCP tools like:
search,extract_data,citation_formatter.Define MCP prompts like:
research_system_prompt_template,user_prompt_template.Set default mcp resources links for: Google Scholar, arXiv, Papers with code.
Here, tools → access, extract and format data, prompts → define assistant behaviour, resources → provide raw search context.
Code Debugger MCP
Build a mcp server that uses prompt templates to detect, explain, and fix errors in code.
Define mcp tools like:
python.run,syntax_checker,diff_tool.Define mcp prompts like:
debugger_system_prompt_template,user_code_input_template.Set default mcp resources links like: Python Docs, Stack Overflow, Bento.io.
Here are tools → run, analyse, and correct code issues, prompts → guide step-by-step explanations and fixes. Resources → provide syntax rules, common issues, and examples.
Business Strategy MCP
Build an MCP server that enables users to create SWOT analyses, conduct competitive research, and develop business model canvases.
Define the MCP tools like:
web.search,canvas_builder,chart_gen.Define MCP prompts like:
strategy_system_prompt_template,user_business_query_template.Point LLM to mcp resources: CB Insights, Statista, Strategyzer.
Here are tools → gather, visualise, and structure business strategy data, prompts → simulate strategic consultant behaviour, resources → deliver market insight, competitive intel, and visual frameworks.
Now is the time to combine everything learnt and put it into action!
Final Thoughts
Building MCP Servers and seeing them do things on automation is fun. I love to experiment with them.
This blog scratches the surface of what is possible with MCP. Therefore, it’s highly recommended to explore the resources shared, as the best way to learn is through exploration.
Happy Learning 👍