


Composio connects AI agents to Zoho Inventory so they can work with stock, items and order information using the permissions you approve.
We recommend using your own Zoho OAuth app so you can manage its identity and OAuth credentials directly in the Zoho API Console. You need access to an existing Zoho Inventory organization.
Part 1: Create a Zoho OAuth app
Step 1: Open the API Console
1. Sign in to Zoho API Console with the account you use for Zoho Inventory. Use the console for your account’s data center; for an Indian account, use api-console.zoho.in.
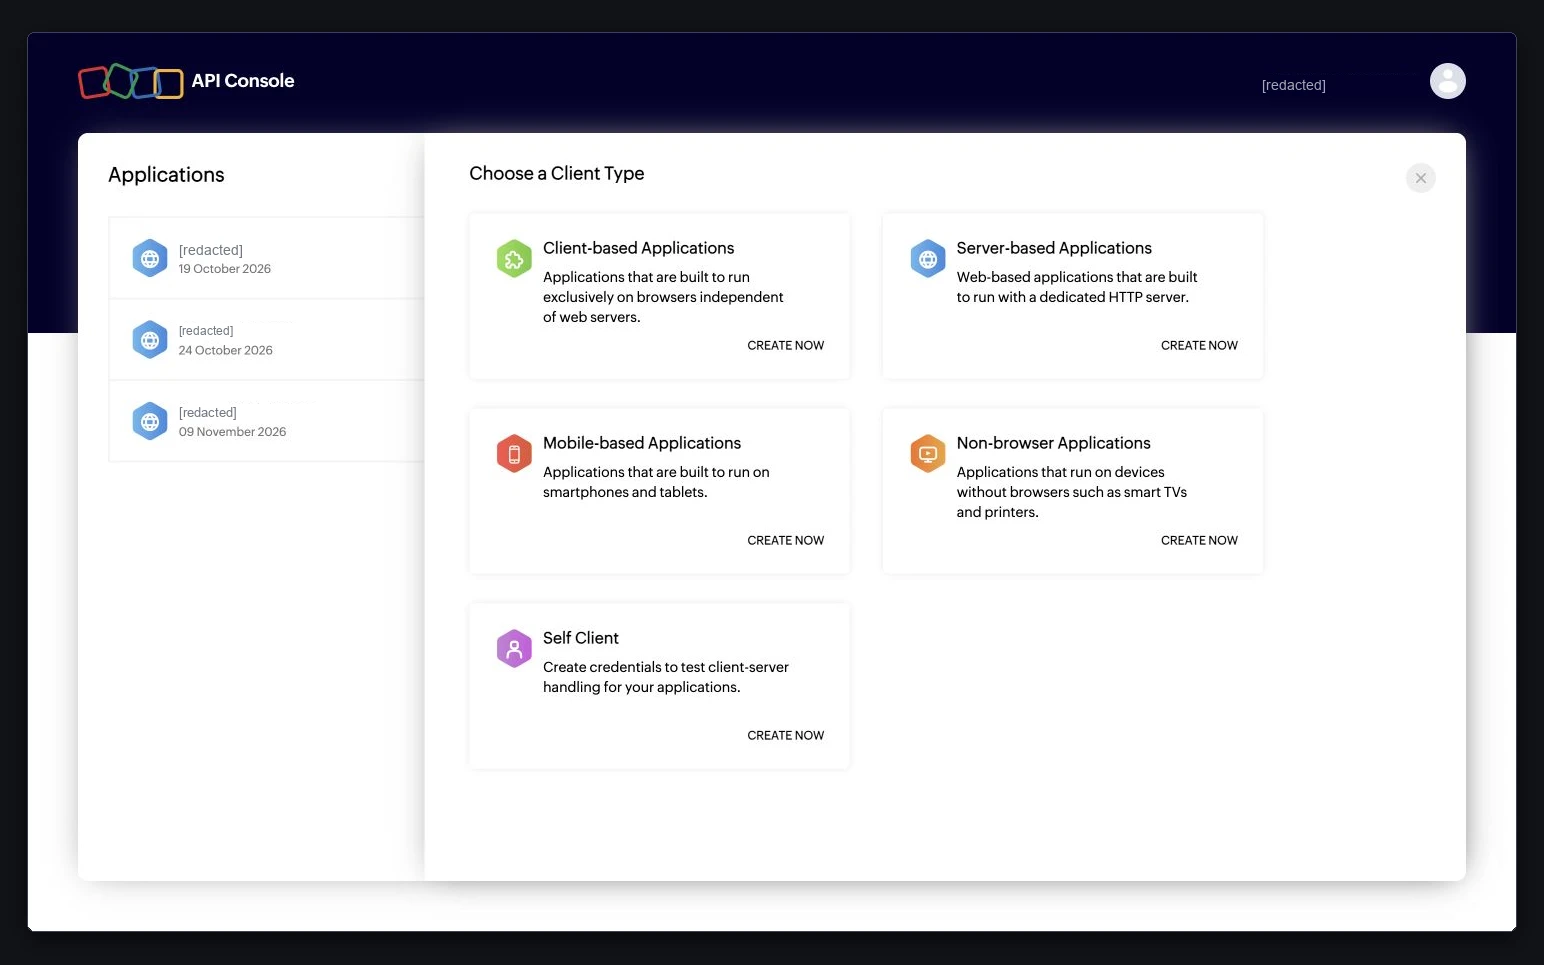
2. Select Add Client, or Get Started for your first client. Choose Server-based Applications → Create Now. You can also reuse an existing Server-based Application with the correct callback.
Step 2: Register the callback
1. Enter your Client Name and Homepage URL. Use your own product name; Zoho rejects client names containing ZOHO.
2. In Authorized Redirect URIs, enter this exact URL:
https://backend.composio.dev/api/v1/auth-apps/add

3. Select Create. Open Client Secret and save the Client ID and Client Secret privately. You will enter them in Composio.

Step 3: Choose scopes for your workflow
Choose only the scopes needed by the tools you plan to use. The read-only example shown here uses ZohoInventory.settings.READ to read organization details. Other tools need their corresponding scopes; this example does not grant access to every tool. Check the example’s required scope and the Zoho Inventory API reference before selecting permissions.
Part 2: Connect Zoho Inventory in Composio
Step 1: Create an auth config
1. Open the Composio dashboard. Select Auth Configs → Create, search for Zoho Inventory and select the toolkit.

2. Give the config a name and select Next. Choose OAuth 2.0 and Your Own Credentials.


3. Enter the Client id and Client secret from Zoho. Keep Redirect URI identical to the callback registered in the API Console.

4. In Scopes, keep only the permissions your workflow needs. Remove preselected scopes you do not need. If a scope is missing from the list, type its exact name and select Add scope. Select Create Auth Config.
Step 2: Select your data center
Open the config and select Connect Account. For Region, choose the code matching your Zoho Inventory account’s data center. The example uses in for inventory.zoho.in; use com for the US, eu for Europe, or au for Australia. Do not paste a full website URL into this field.

Organization ID is optional. Enter it to select a specific Inventory organization; find it under Settings → Organization Profile. If you leave it blank, Composio uses the first organization available to the account.
If your app connects accounts in multiple data centers, configure Zoho multi-DC support for those regions. The client and account regions must be compatible.
Step 3: Authorize the account
Sign in to the Zoho Inventory account you want to connect. Review the app name, organization and permissions on Zoho’s consent screen. Select the consent checkbox when shown, then select Accept if the permissions match your workflow.

Step 4: Confirm the connection is Active
Wait for Composio’s successful-connection confirmation. Return to the auth config’s Accounts tab and check that the account shows Active. An auth config marked Enabled does not by itself confirm an active connection.

Connection troubleshooting
Redirect mismatch: compare the complete callback in Zoho and Composio, including the path.
Invalid client or data-center error: check the API Console region, the account region and Region.
Permission or organization error: check access to the existing Zoho Inventory organization and the scope required by that tool. Add needed scopes to the config and authorize again; an existing connection does not acquire new permissions automatically.