In this guide, I will share the process for creating and configuring the auth config for Rocketlane. So, let's begin.
Setting Up Rocketlane
In this section, we’ll go through the process of setting up Rocketlane and, mainly, creating a personal API key you can use in Composio.
Step 1: Create a Rocketlane account
Visit Rocketlane and create a new account if you don't already have one.
NOTE: The API key that we will generate will be tied to this Rocketlane account.
Step 2: Create a Personal API Key
Once you have a Rocketlane account, you can create a personal API key.
Navigate to your Rocketlane account.
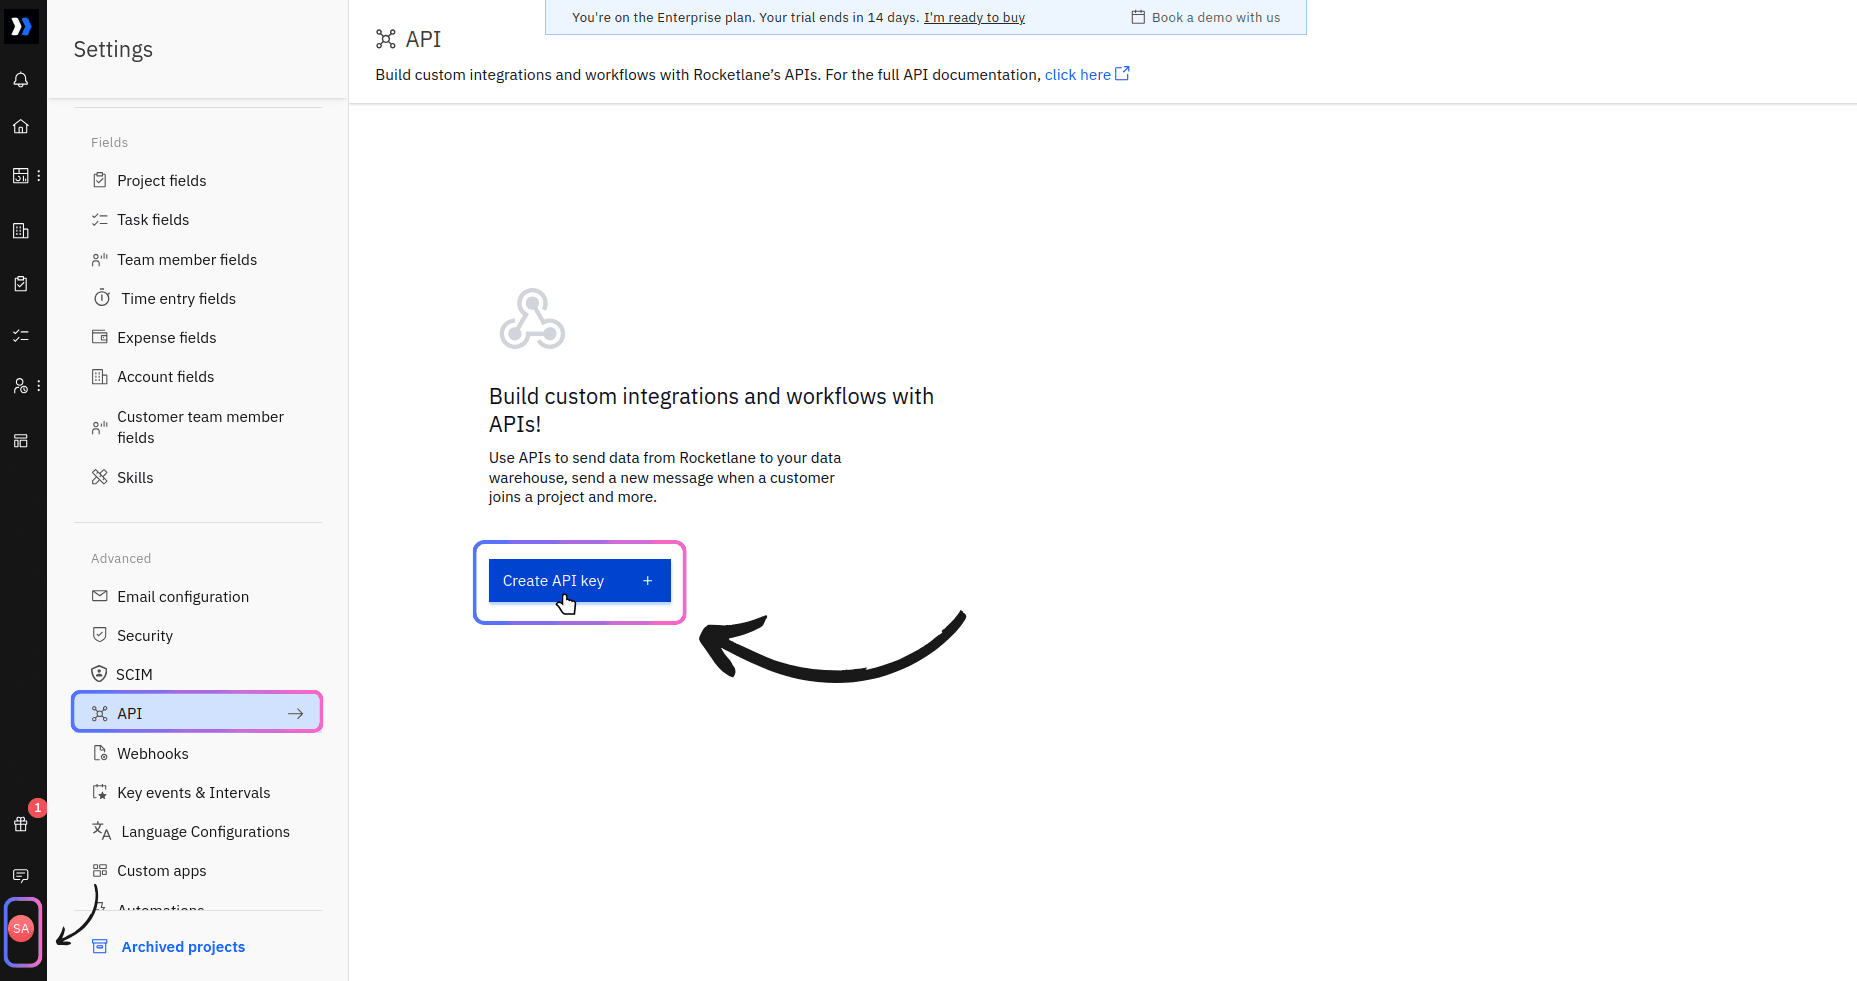
In the bottom-left corner, click your profile icon, then click Settings. Scroll down to the Advanced section to find the option to manage API keys. Click on the Create API Key button.
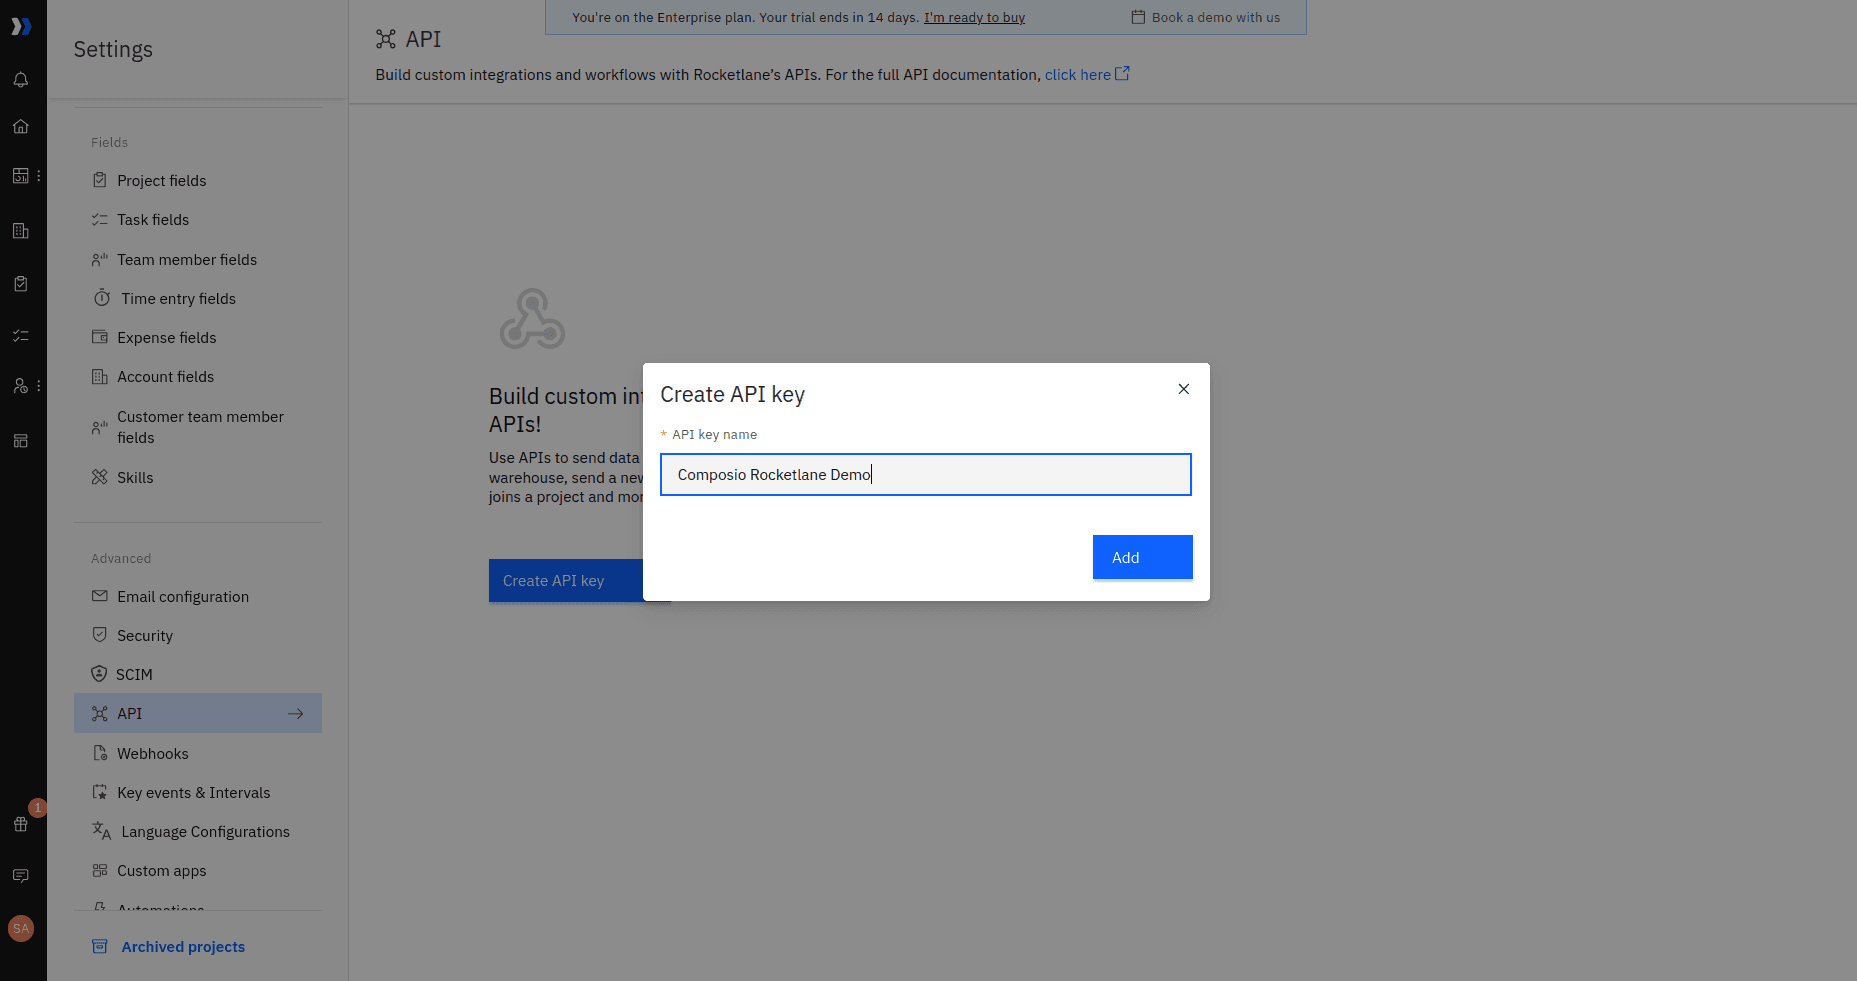
Give a nice name to your API key and click Add.
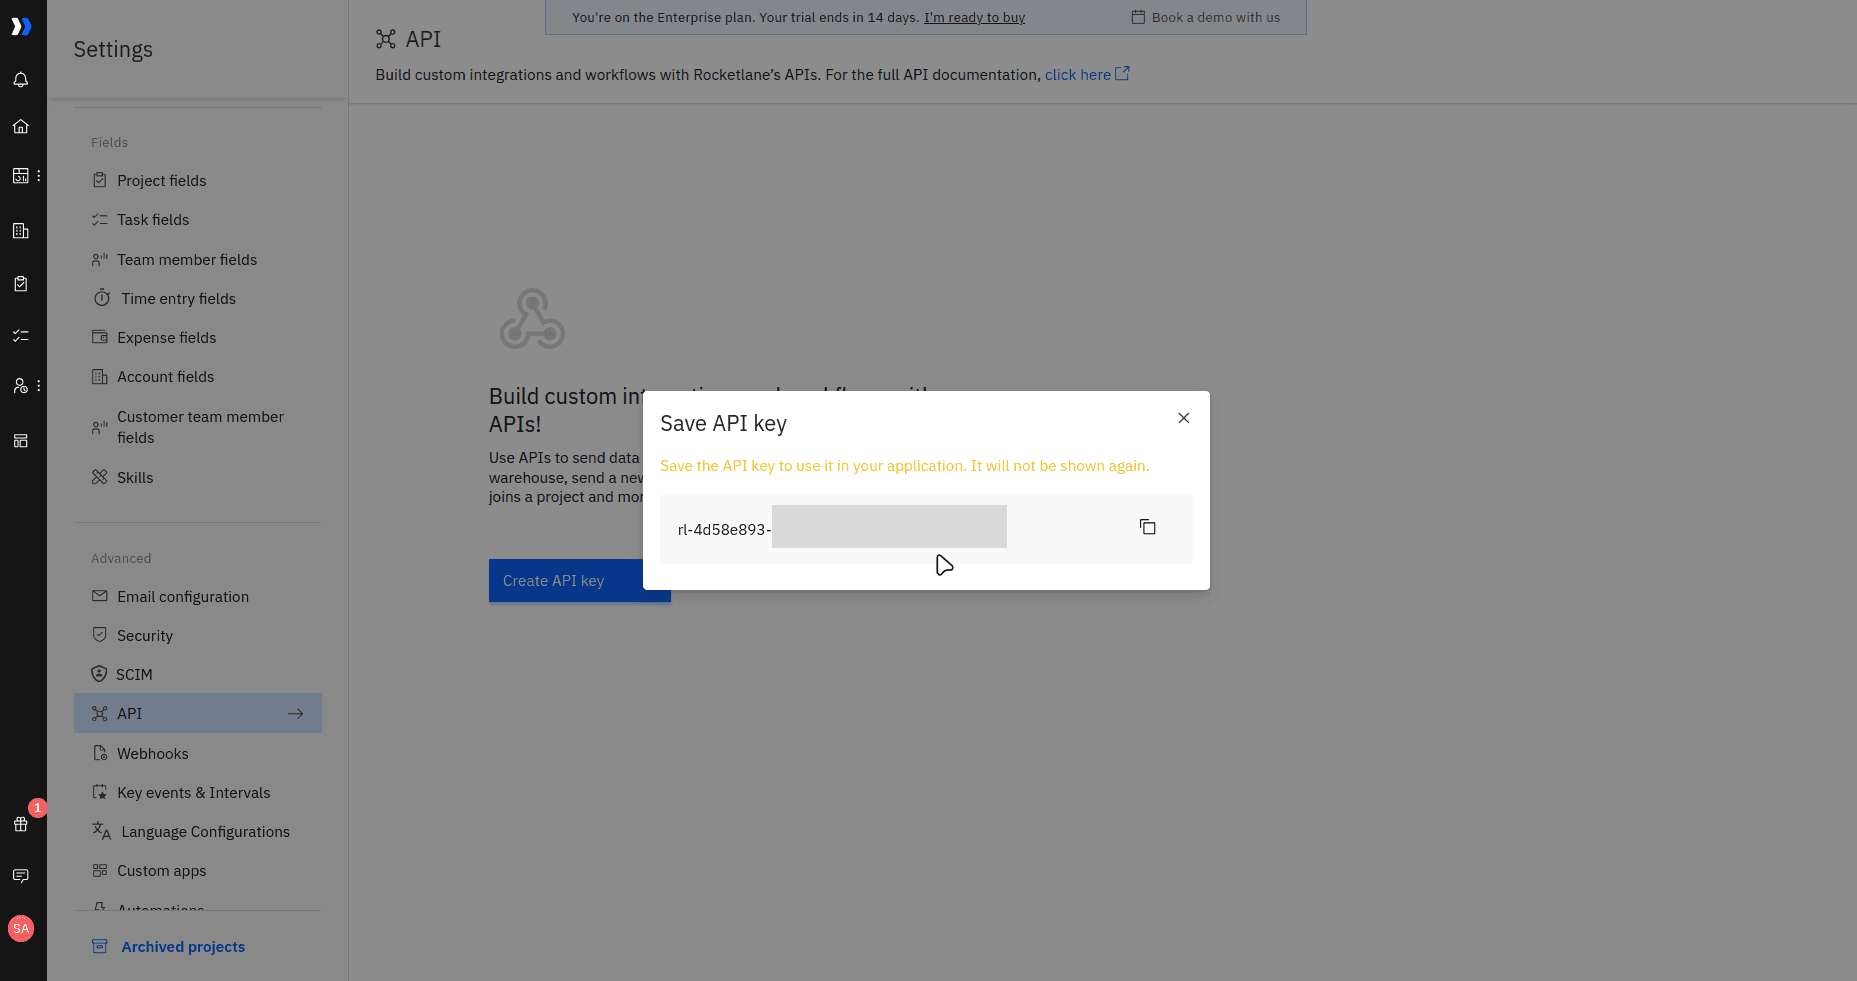
Once you do that, you will receive the API key. Make a note of this, as we will need it when setting up Composio.
💁 NOTE: There isn't a way you can specify or limit scopes for a personal API key as you could with Stripe, GitHub, etc. Rocketlane does support role-based permissions (RBAC) at the account/project/customer level, so keys effectively get constrained by whatever the issuing user is allowed to access.
That's it. That’s all you need to set up on the Rocketlane side.
Create the auth config in Composio
With your API key ready, navigate to the Composio dashboard for your project to configure the authentication settings for Rocketlane.
In the sidebar click on create auth config, choose Rocketlane from the toolkit.
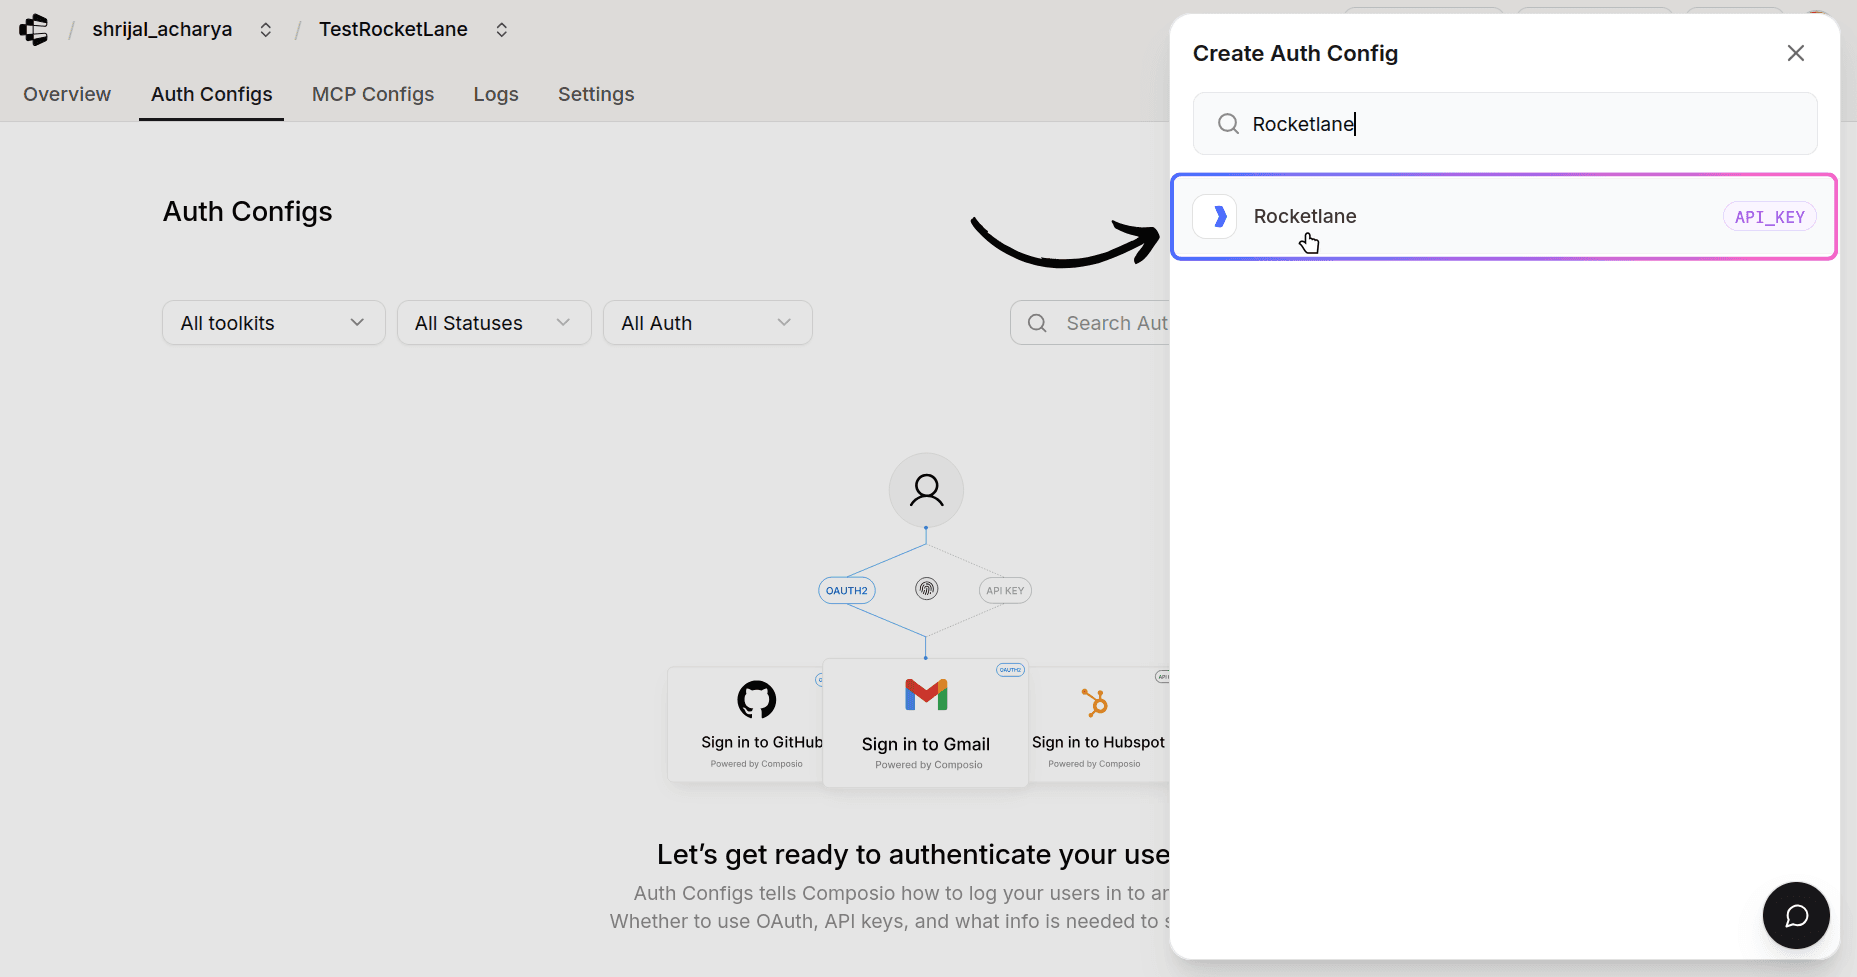
Ensure the authentication is set to API Key. There is no support for OAuth2 with RocketLane.
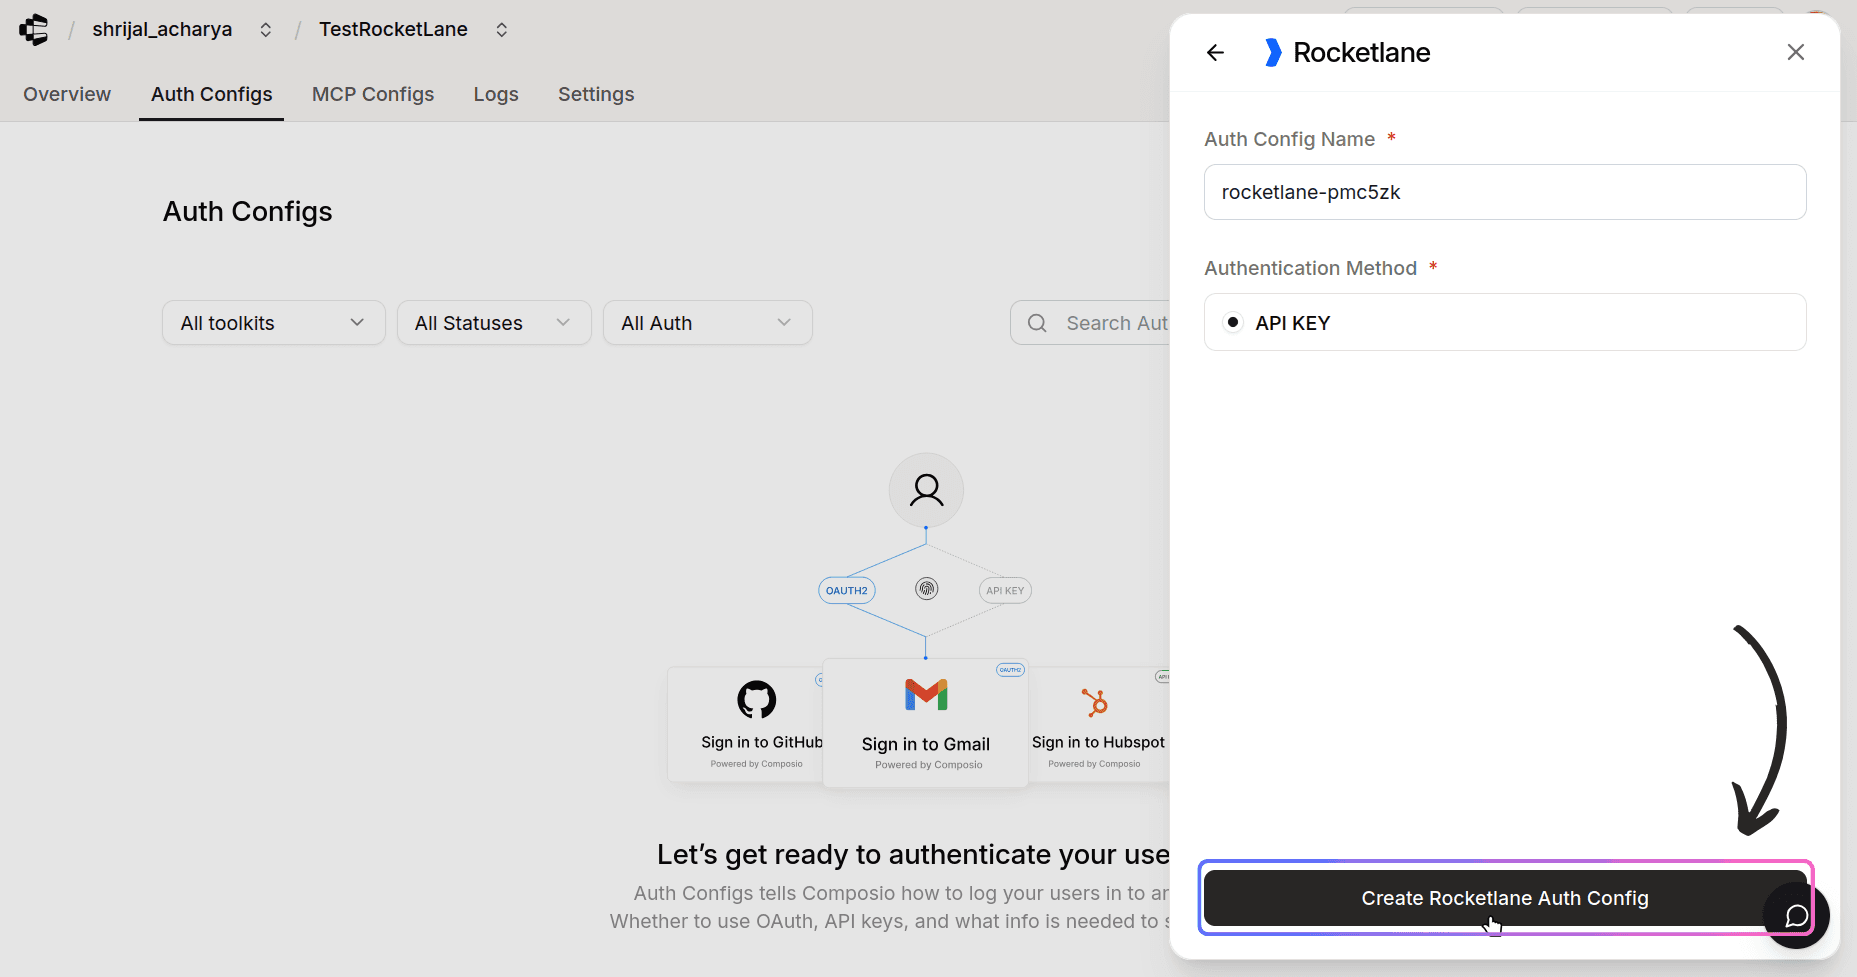
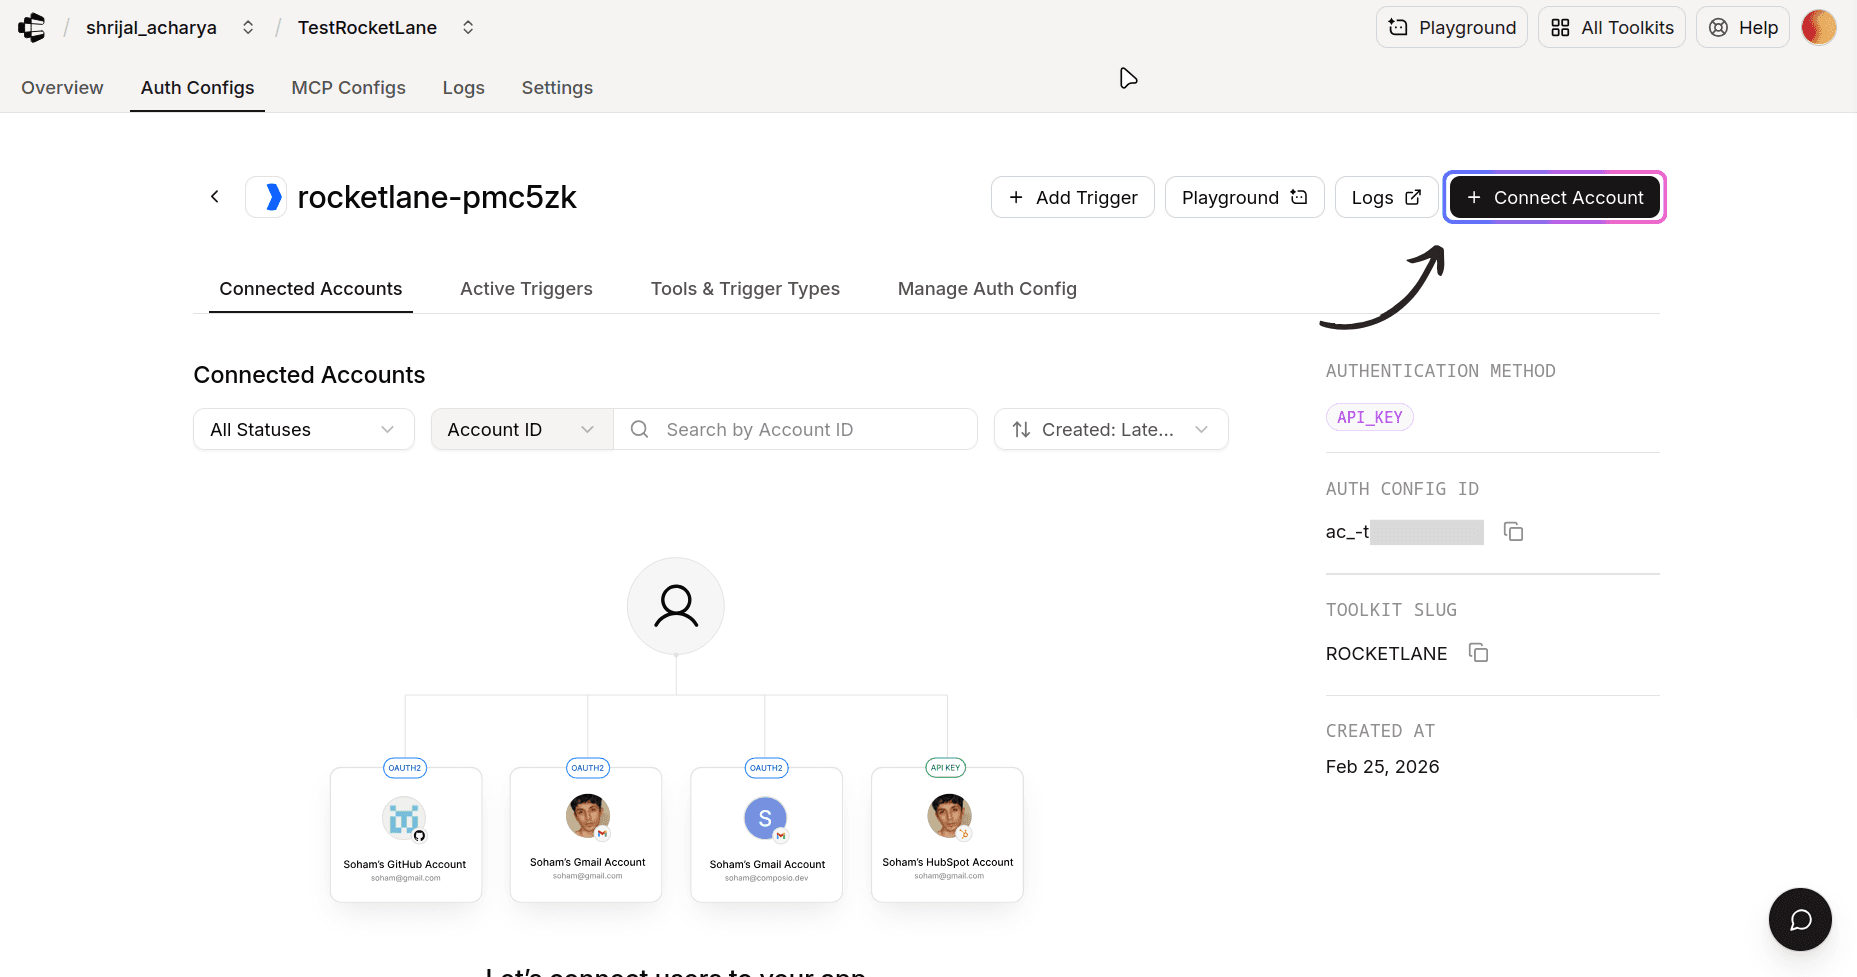
Now, click on Create Auth Config, and the auth config should be created successfully. This should get you to your new Auth Config page.
ℹ️ Auth config is what defines how a toolkit authenticates across users (method + scopes + credentials/managed auth) so Composio can create and use connected accounts.
Once that's done, click Connect Account.
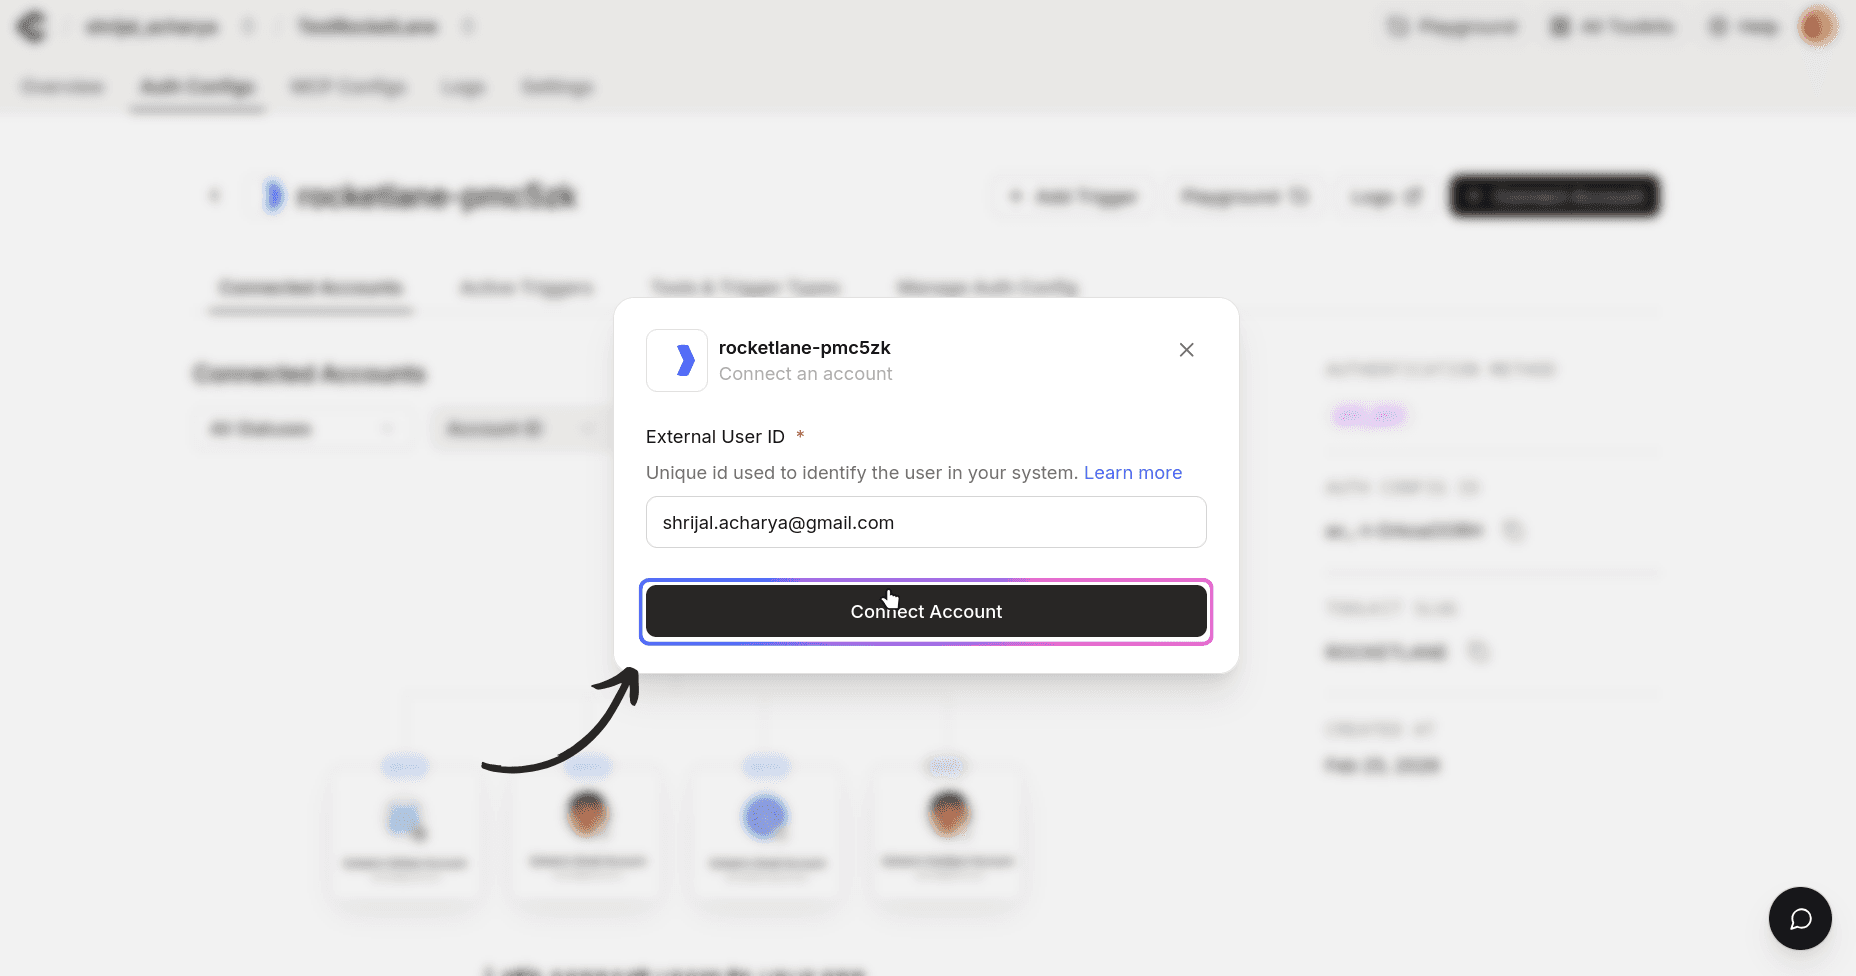
This should prompt you to add an external User ID, which is a unique way to identify each user. For me, I chose my gmail account; you can add yours or leave it to its default.
Now, you will be prompted to enter your API key. Paste in your API key you just generated from Rocketlane.
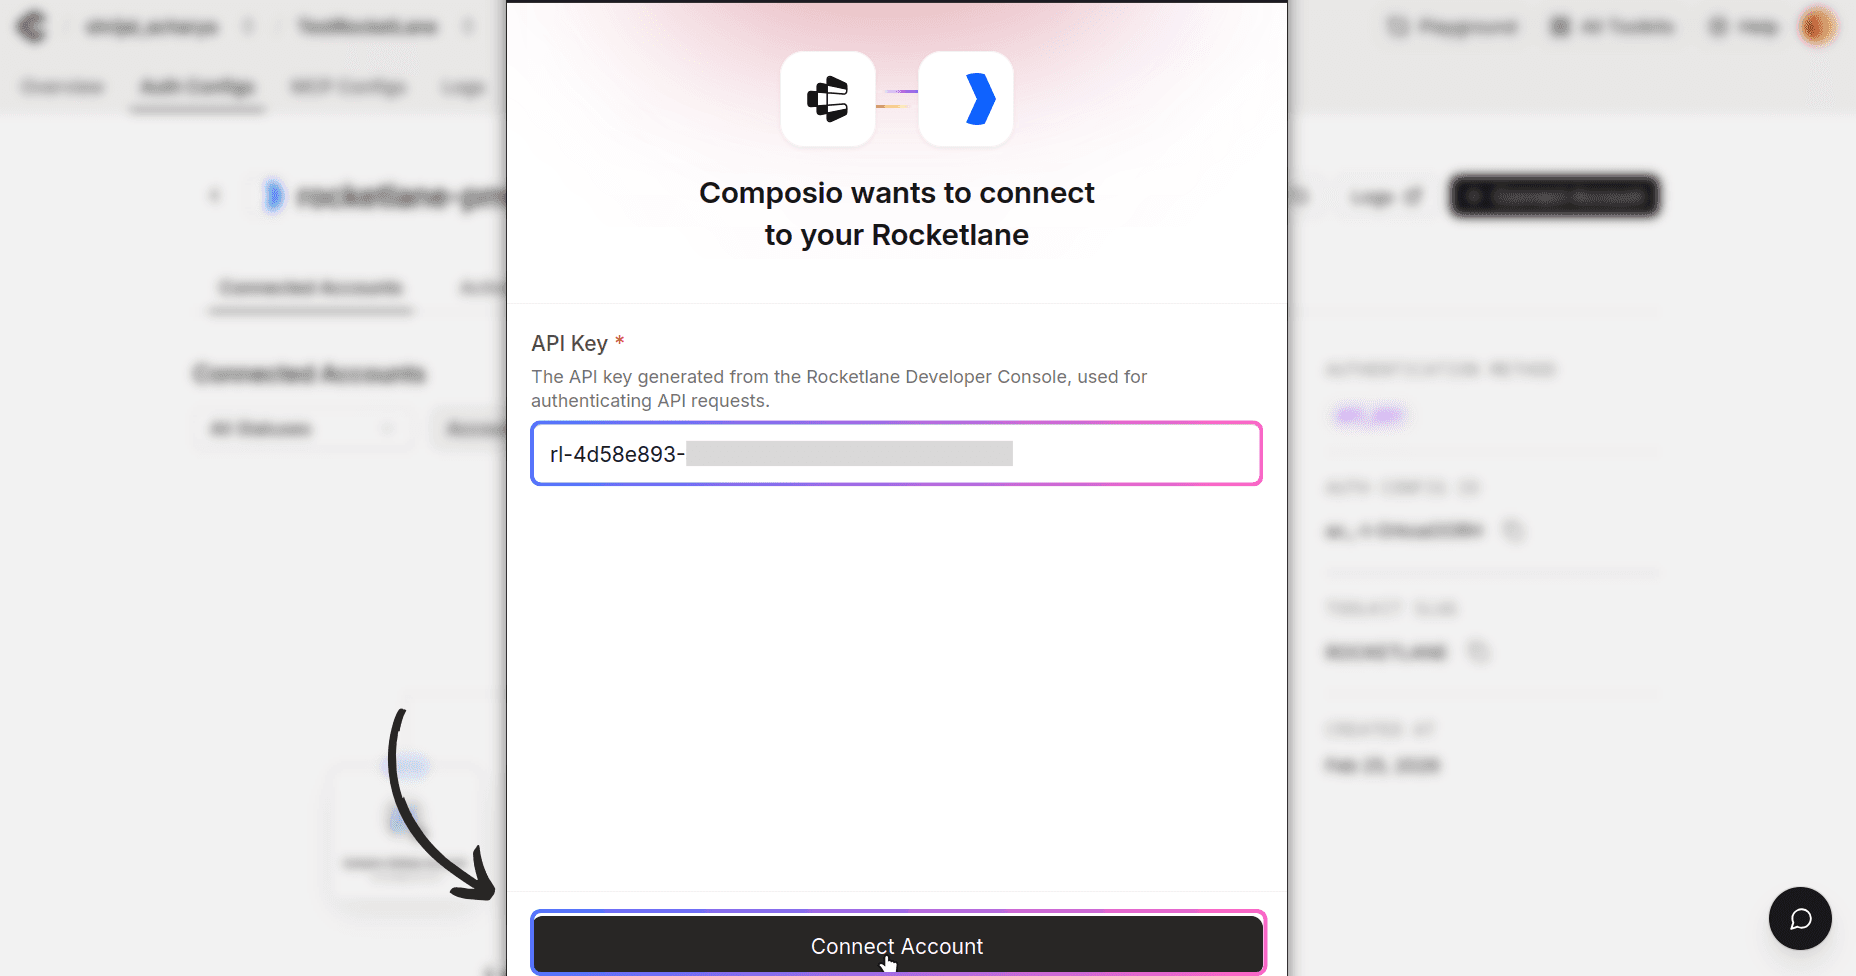
If everything goes well, you should see the connection status as ACTIVE, which verifies that Composio can successfully access your account.
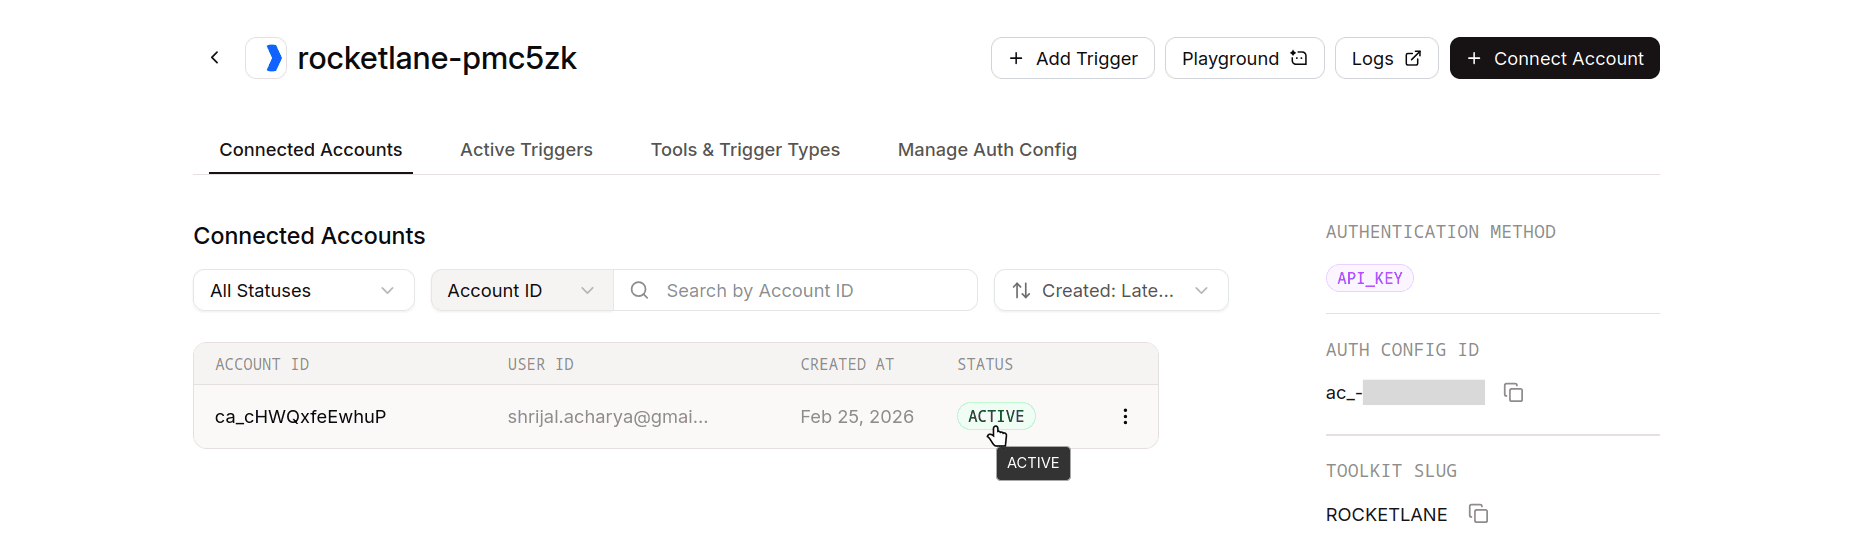
And with that, now Composio is all set up with Rocketlane.
If you want to limit the scopes from the Composio end, that's not possible either. But you can limit just the tools Composio has permission to run.
To get the tool names, head over to the Tools & Trigger Types and copy all the tools you want to limit.
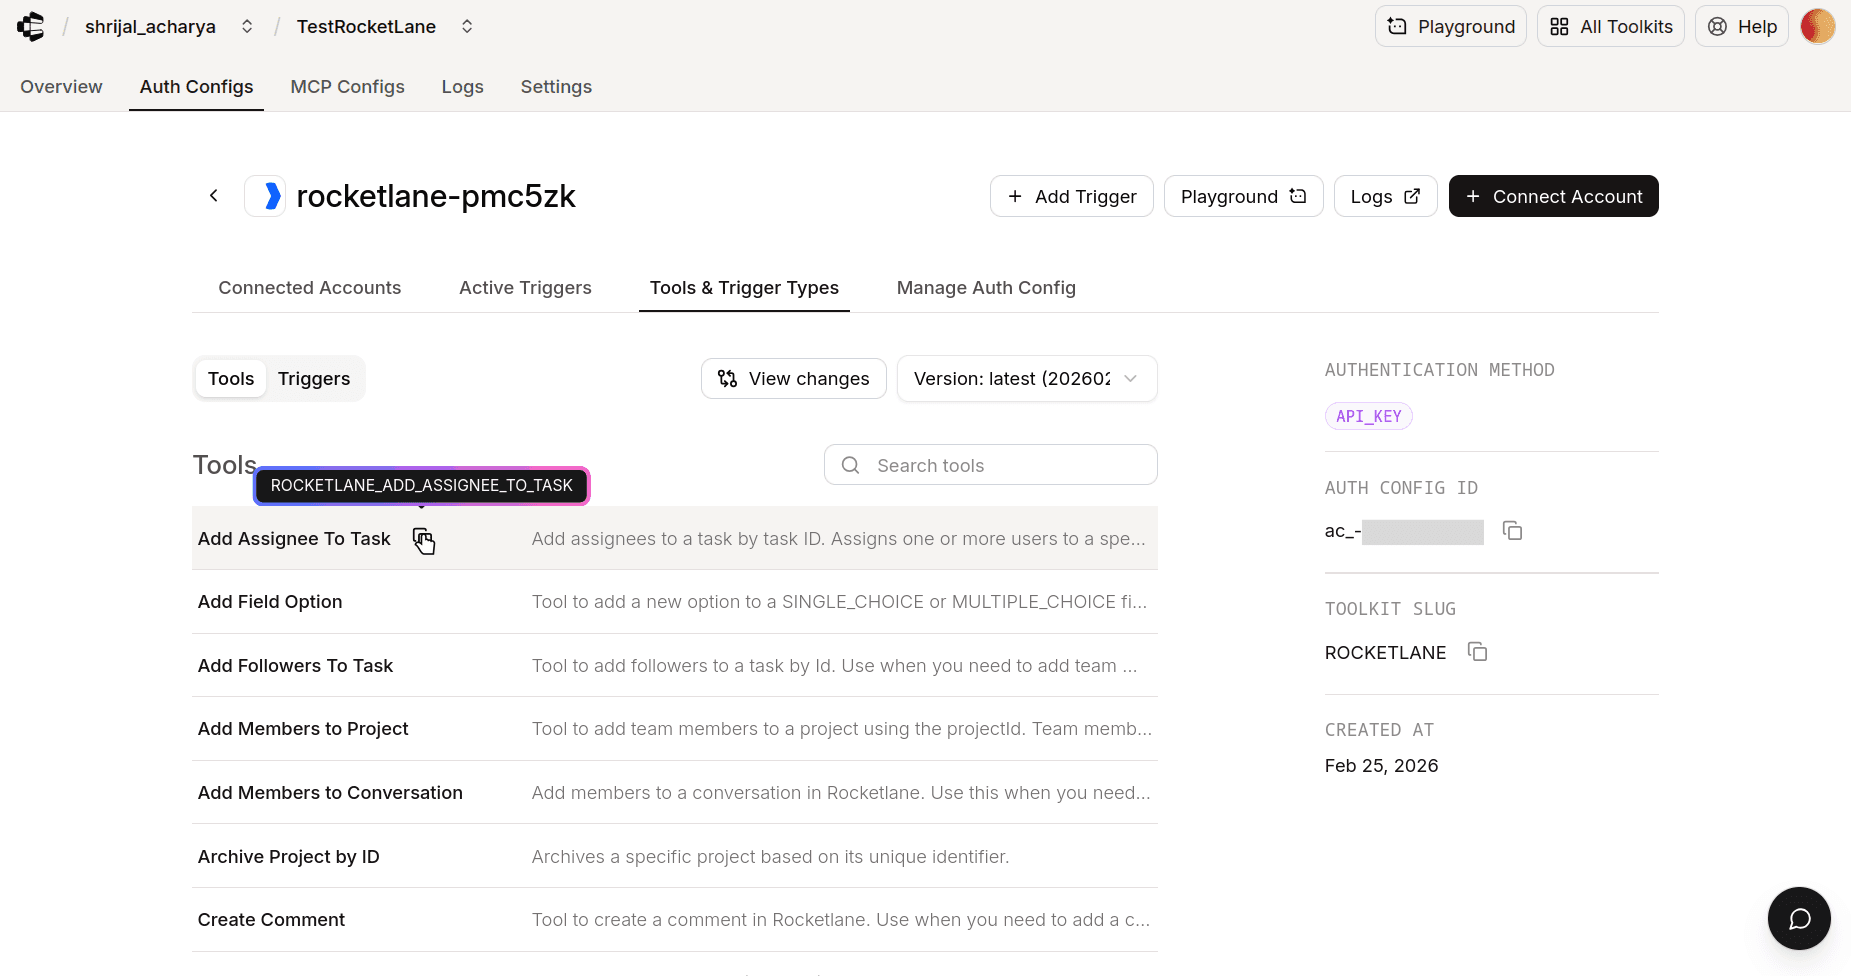
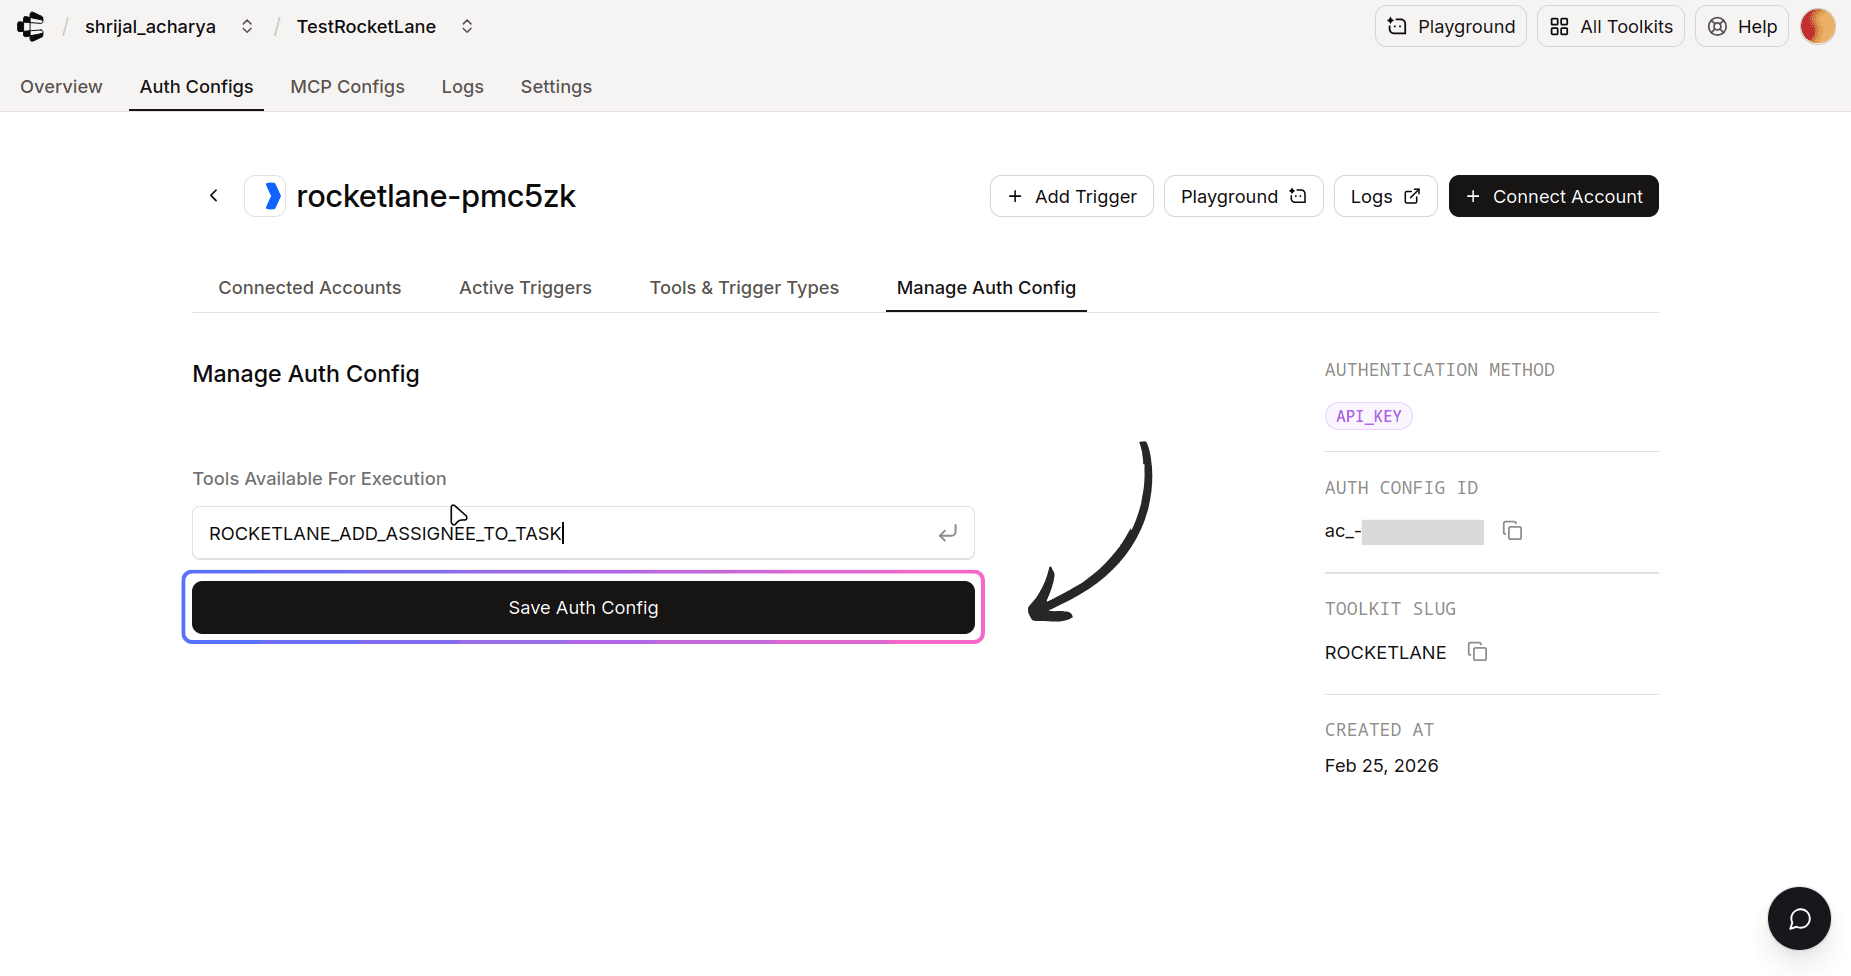
For example, if I want to only let Composio add an assignee to a task, I'll copy the Add Assignee To Task tool name and paste it in the Manage Auth Config tab and click Save Auth Config.
Unless you specifically need to do it, don't touch it, as it could lead to unnecessary complexity.
Once done, copy the auth config ID (which starts with ac_) and use it in your application code via a secret manager.
Your custom Rocketlane auth config is now ready to go! 🚀
Test Rocketlane Connection (Optional)
You can test Rocketlane in the playground to check the connection and how the tools would work with an agent.
Navigate to your Rocketlane Auth Config.
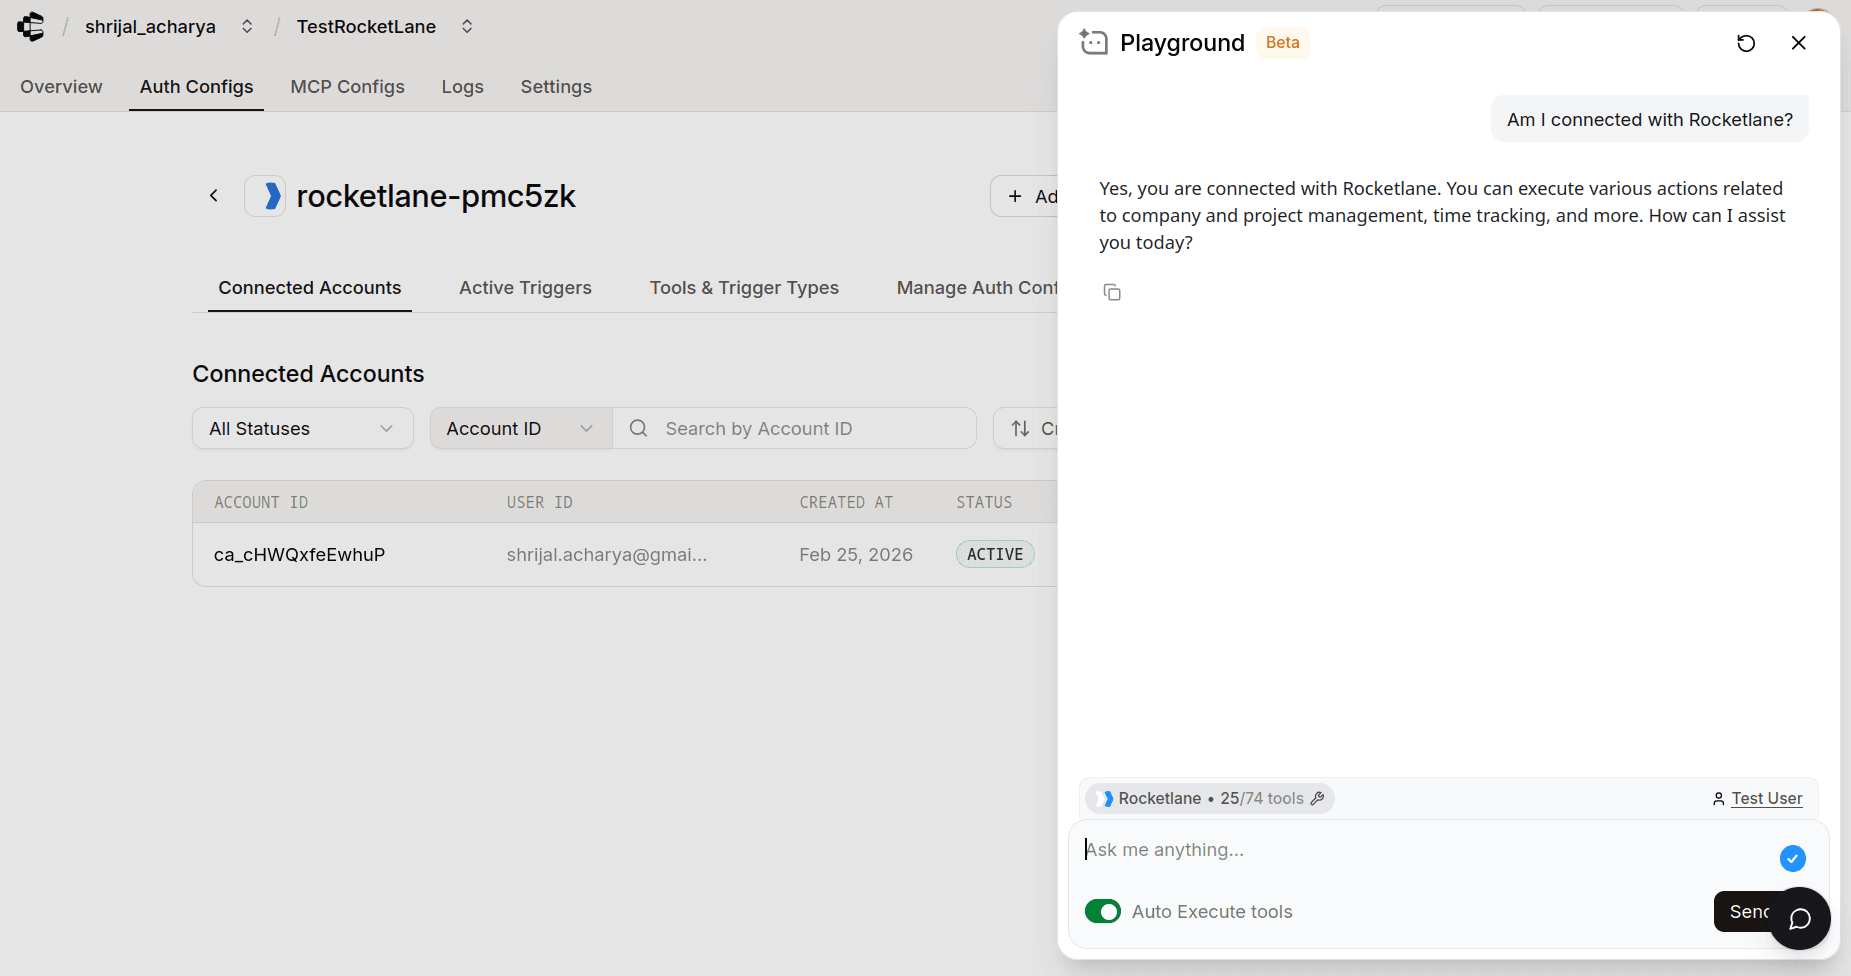
Click on the Playground.
NOTE: Since this is a completely new connection you will set up, you might have to repeat some earlier steps. Make sure you follow them properly, as above.
Once everything is done, try asking some related prompts, and if you did everything correctly, Composio should be able to access the details.
And that's it! You're all set to go with Rocketlane! 🎉