In this guide, I will share the process for customizing the auth config for Linear. So, let's begin.
Setting Up Linear
In this section, we’ll go through the process of setting up Linear and adding a new application.
💁 NOTE: If you already have an application and access to the Client ID and Client Secret, you can skip this section.
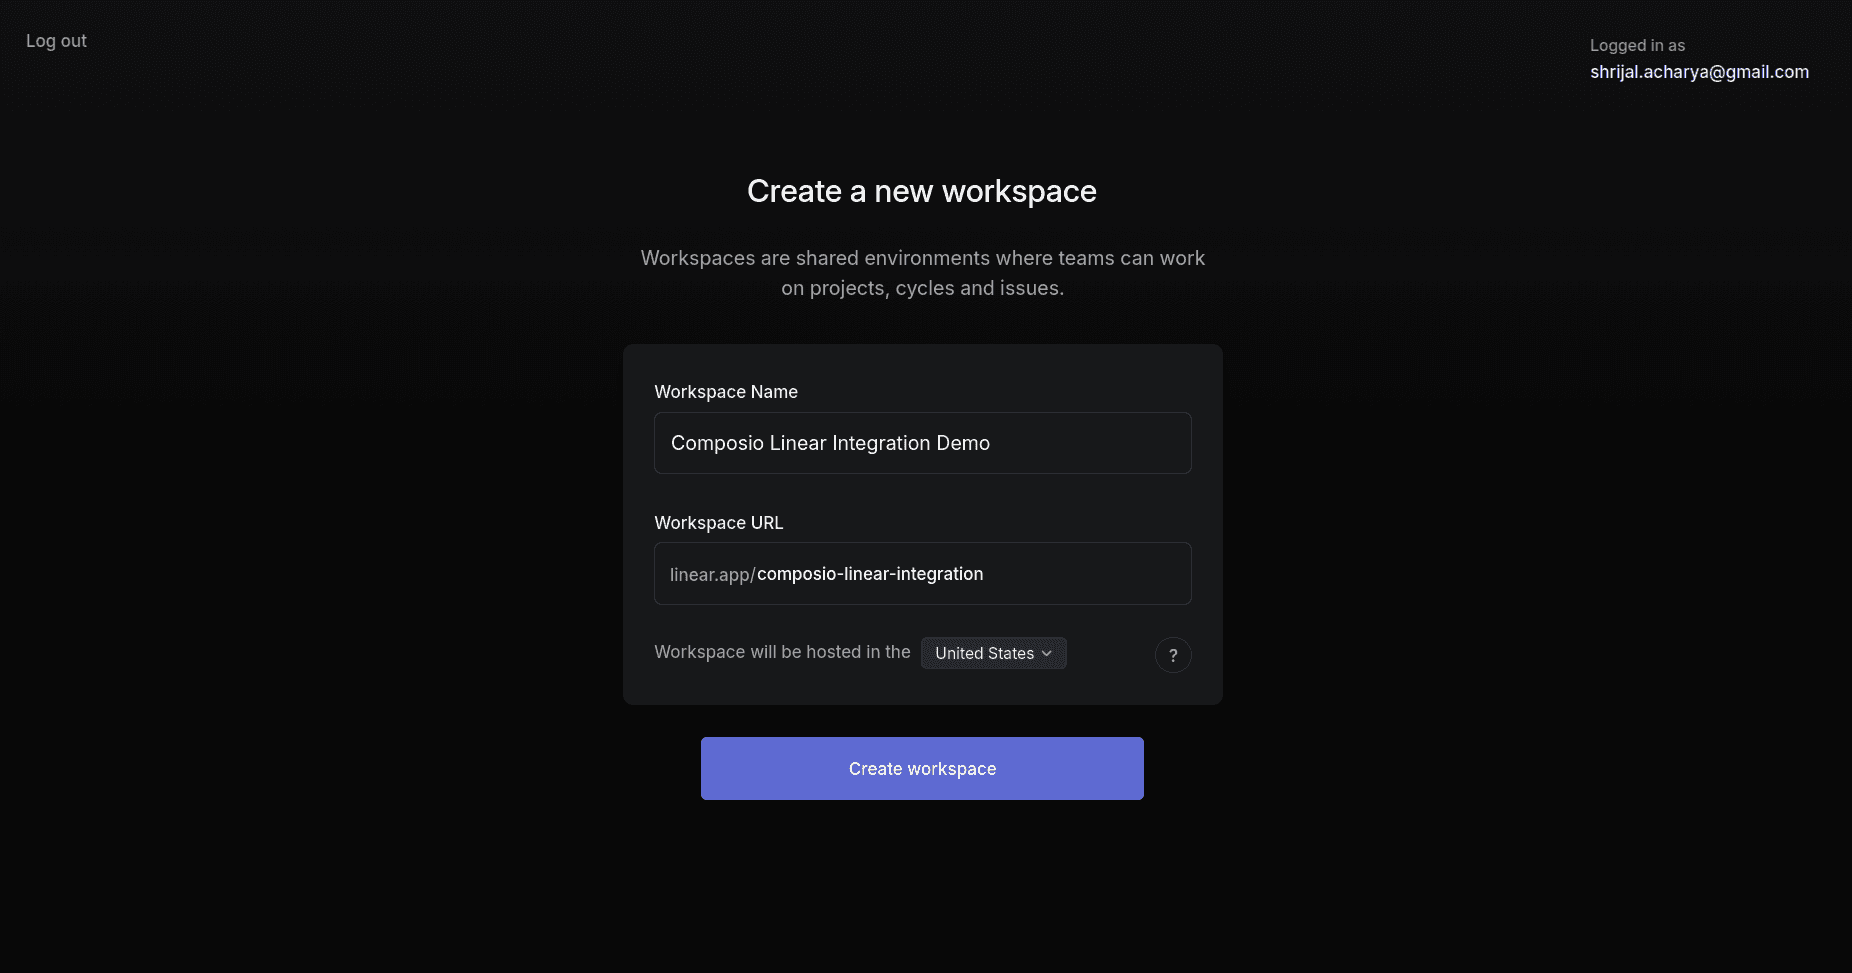
Step 1: Create a Linear Workspace
First and foremost, head over to Linear and log in or sign up if you don't have an account already.
Then Linear will ask you to create a workspace. Give it a nice name and details:
Step 2: Create a New OAuth Application
Now, head over to your Linear Developer Portal and create a new OAuth application.

Name it appropriately. For the Callback URL, configure it to point to Composio's callback URL, which is:
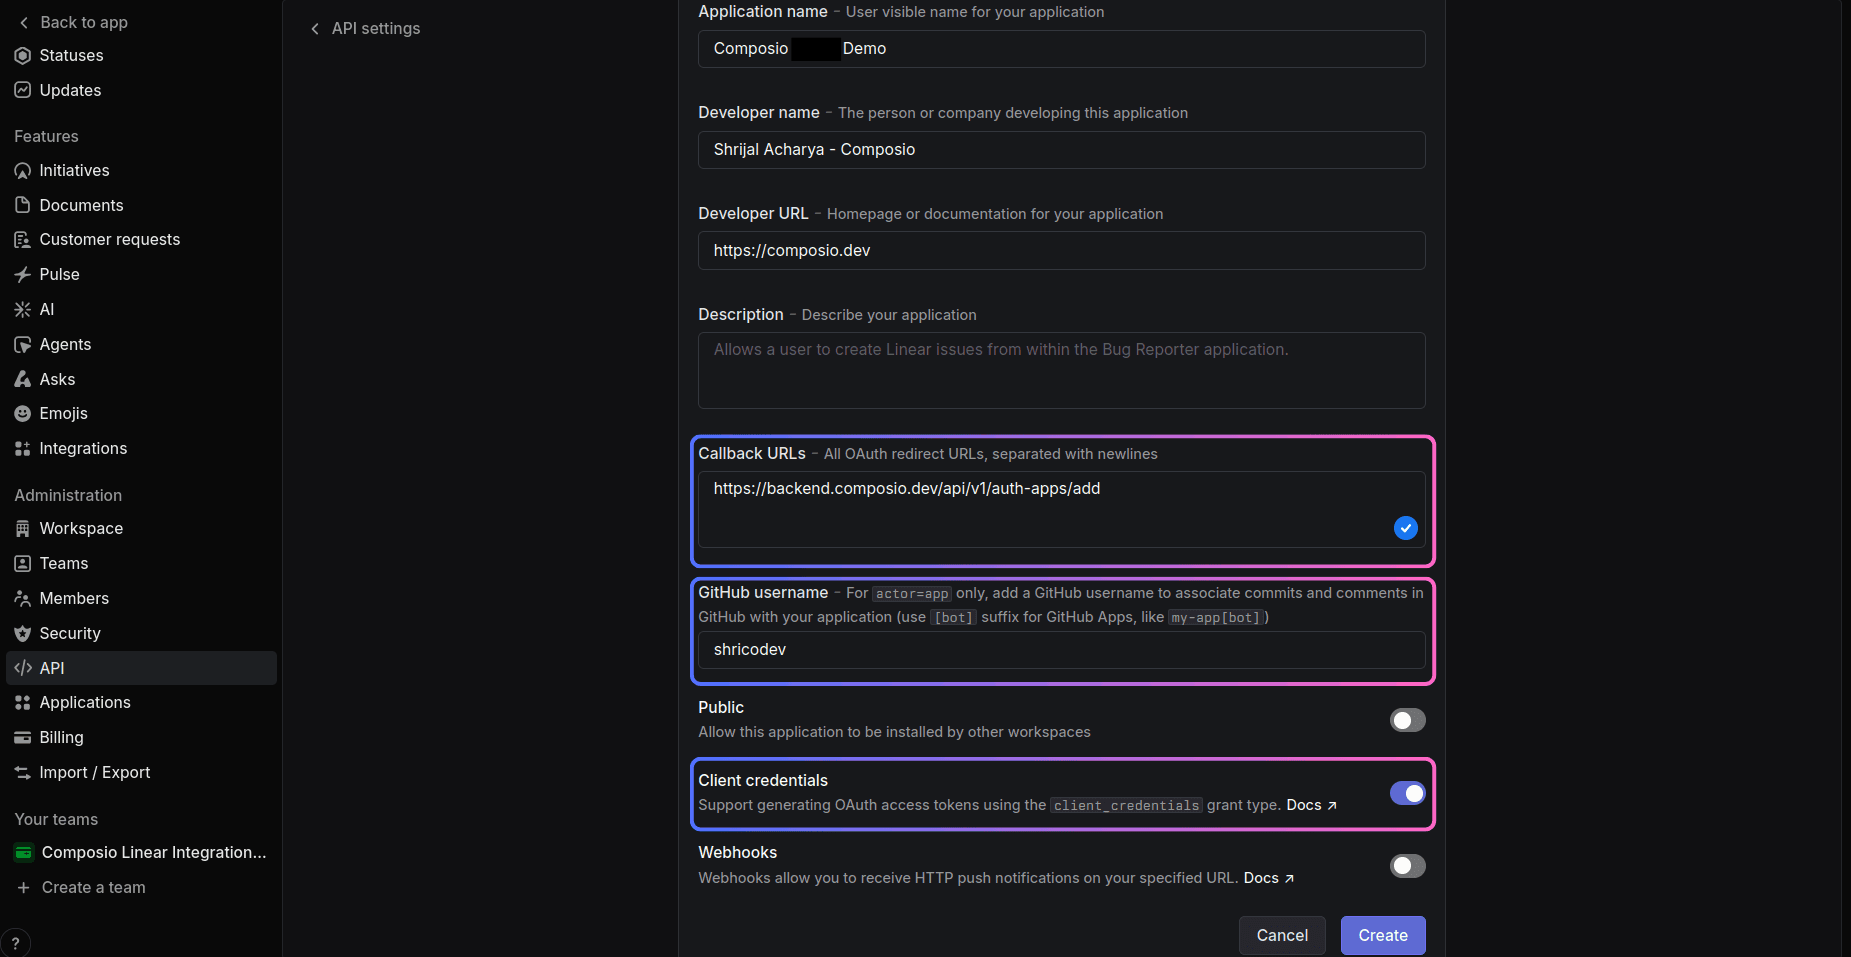
And fill in the remaining fields, such as your GitHub username and, optionally, enabling support for generating an OAuth access token if required.
Step 3: Copy the OAuth2 Credentials
You'll find the Client ID and Client Secret on the next page you are redirected to, for the new application you just created:
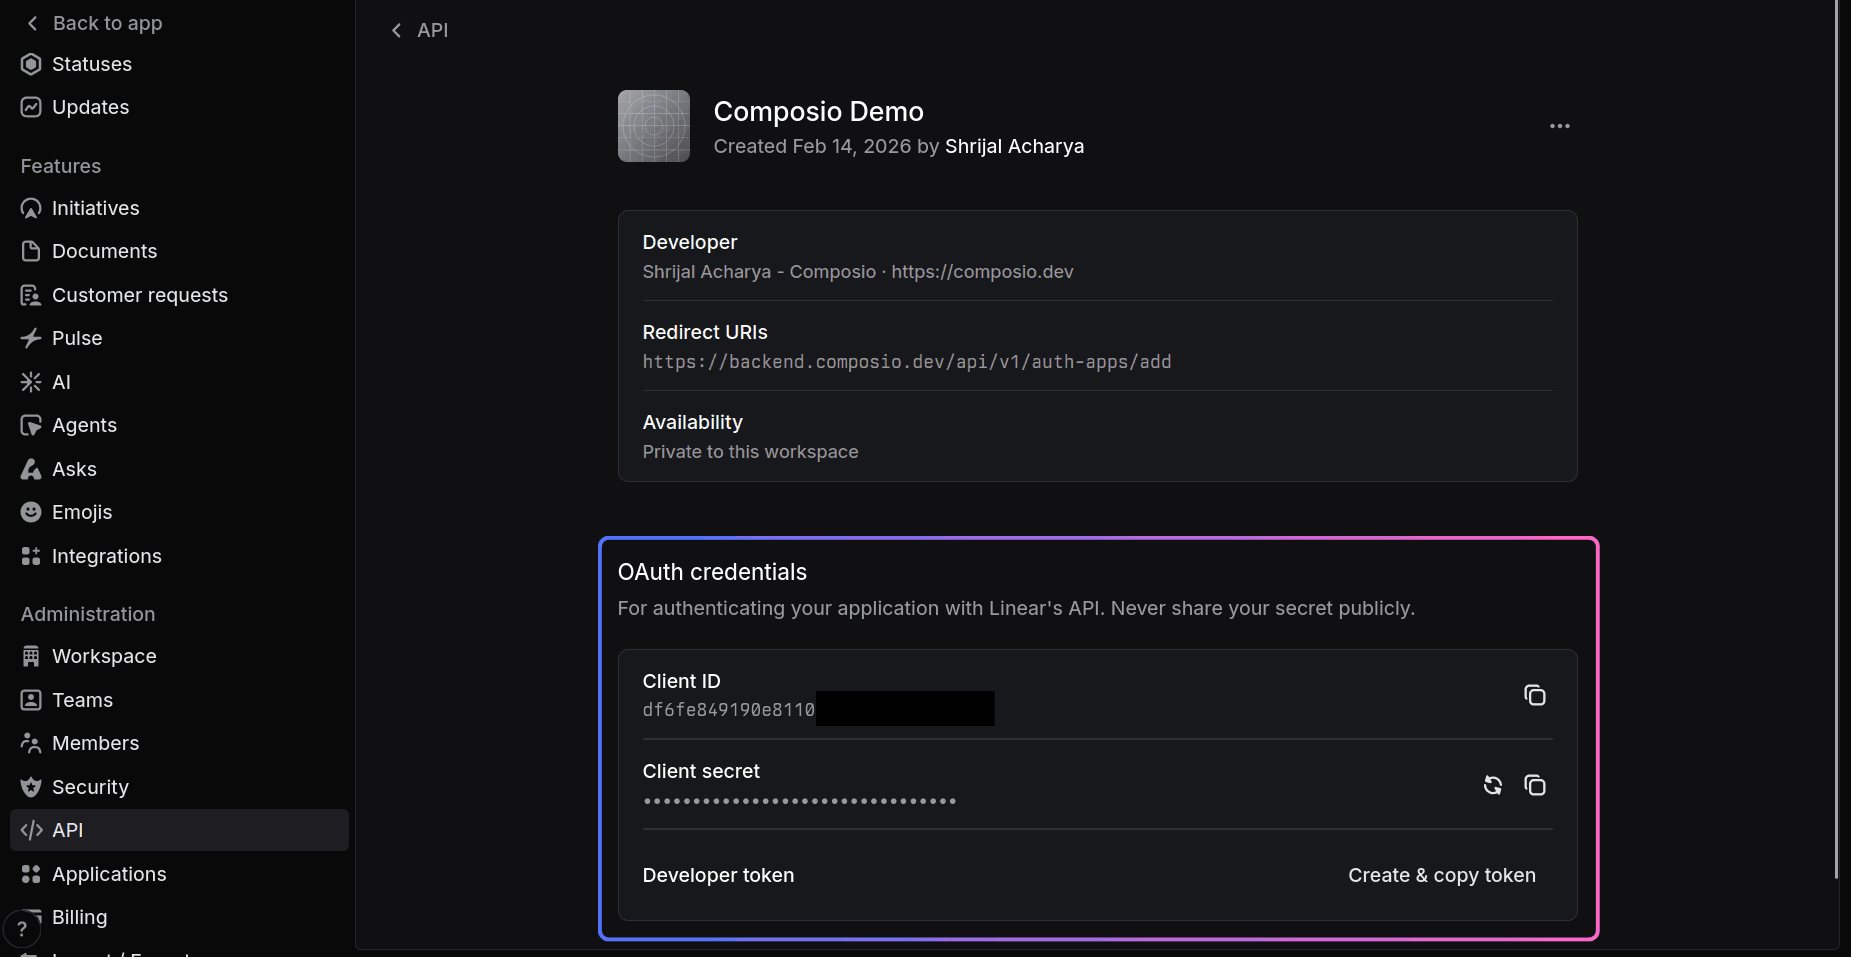
Copy these as we will need them when setting up Composio. That's all the configuration you need to do on the Linear side.
Create the auth config in Composio
With your OAuth2 credentials ready, navigate to the Composio dashboard for your project to configure Linear authentication settings.
Click on the Create Auth Config button to get a list of all the toolkits available.
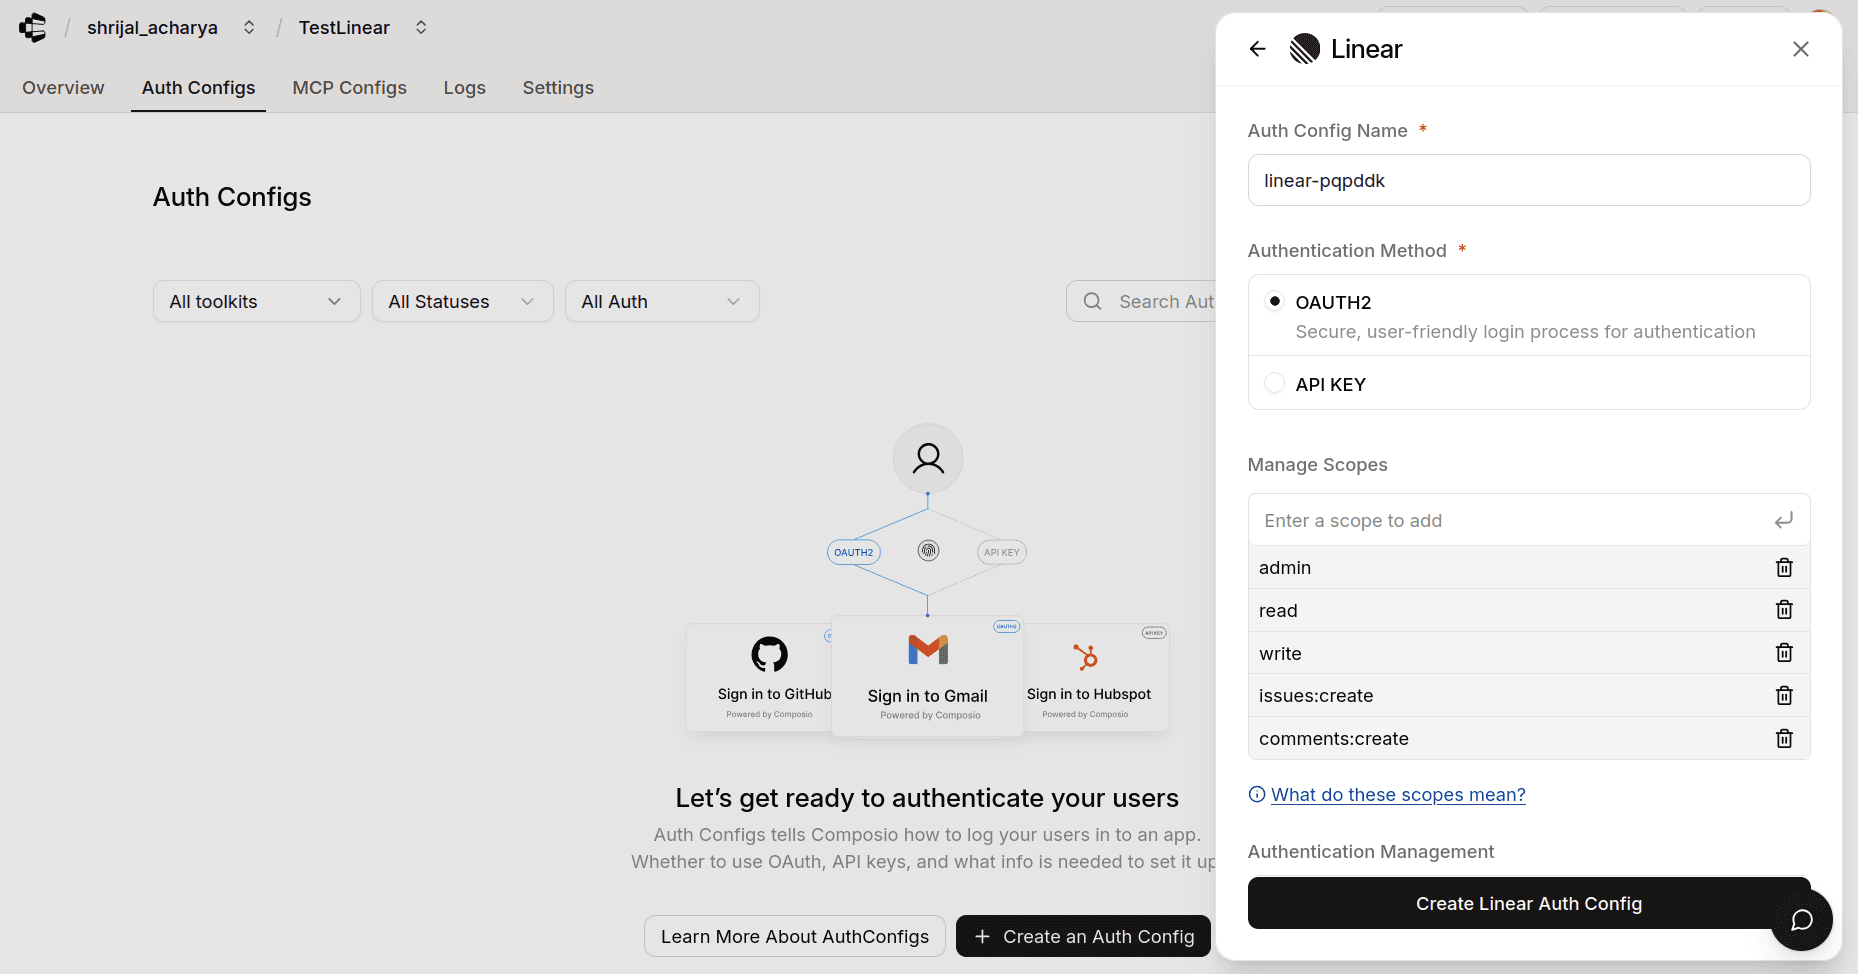
In the sidebar that opens, choose Linear for the toolkit. Ensure the authentication is set to OAuth2. There is also support for API Key with Linear if you ever need it in the future. All the steps are the same. Just instead of Client ID and Secret, Composio will ask for the API key.
Here we are interested in setting up our own custom developer credentials, so to do that, enable Use your own developer credentials.
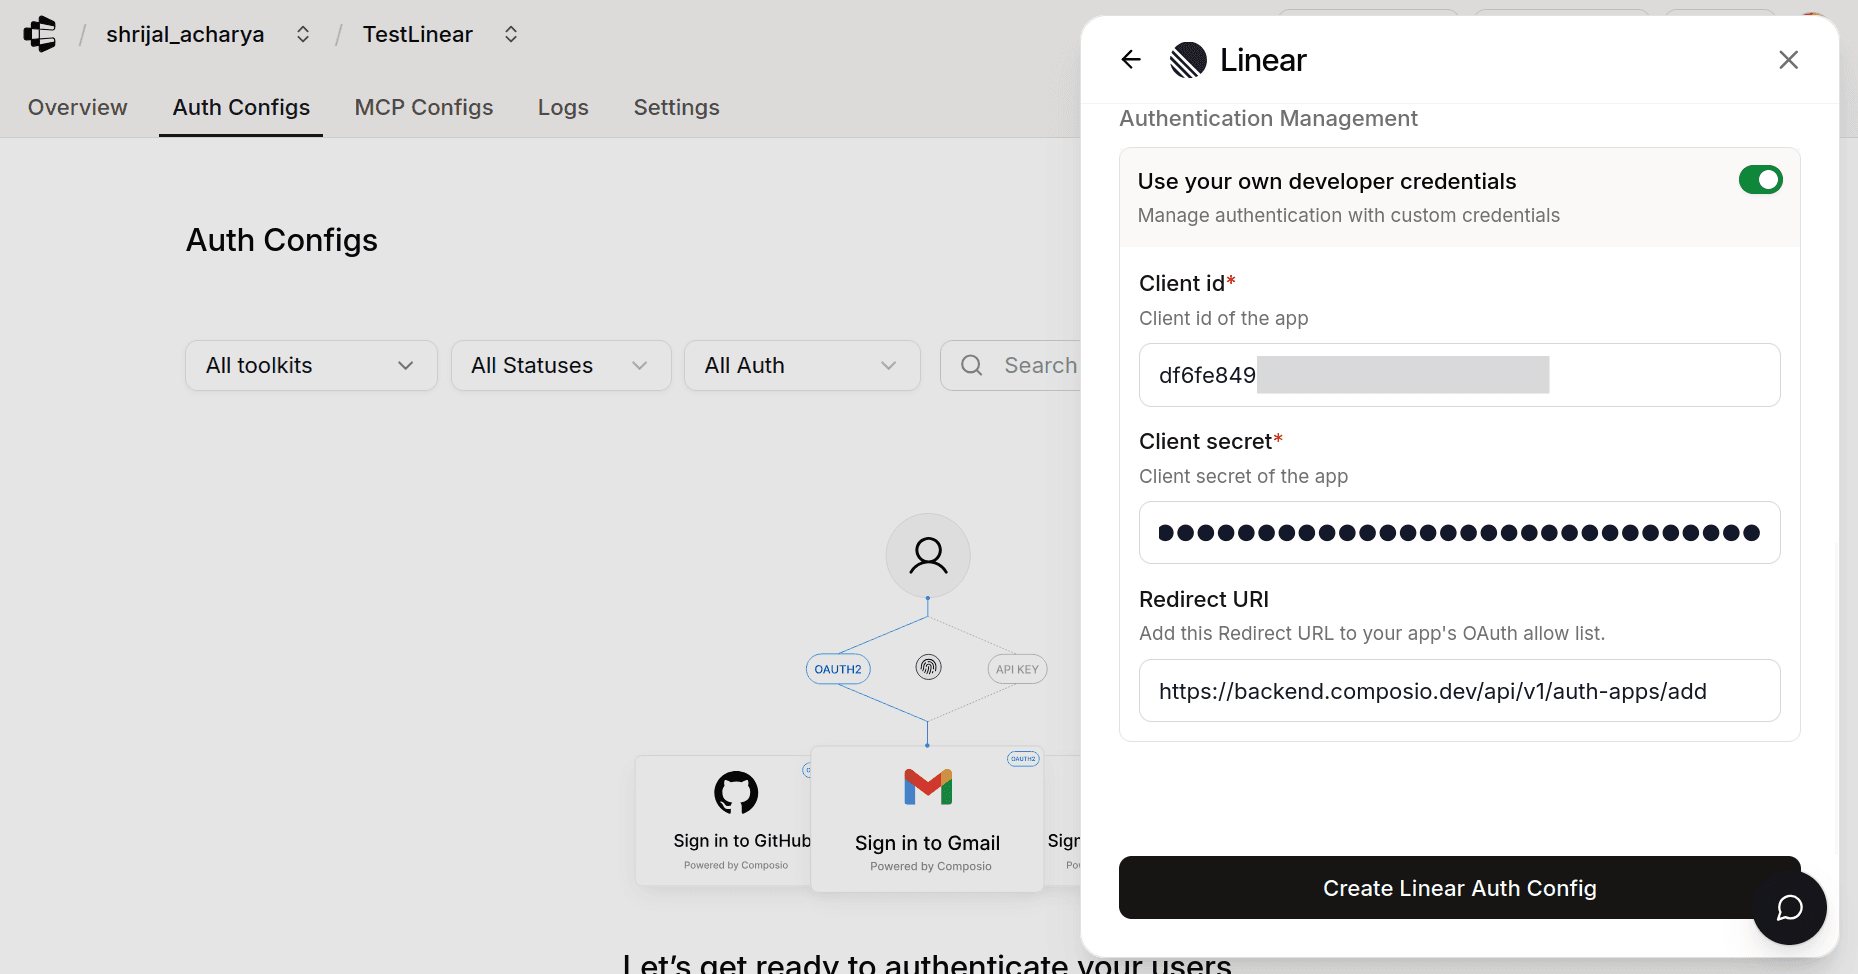
Now, in the respective fields, paste the credentials you just copied from your newly created Linear Application.
Click Create Linear Auth Config, and the auth config should be created successfully.
By default, Composio will have the following scopes:
If you want to limit the scopes, you can do so by heading over to the Manage Auth Config tab and removing all the scopes that you don't need.

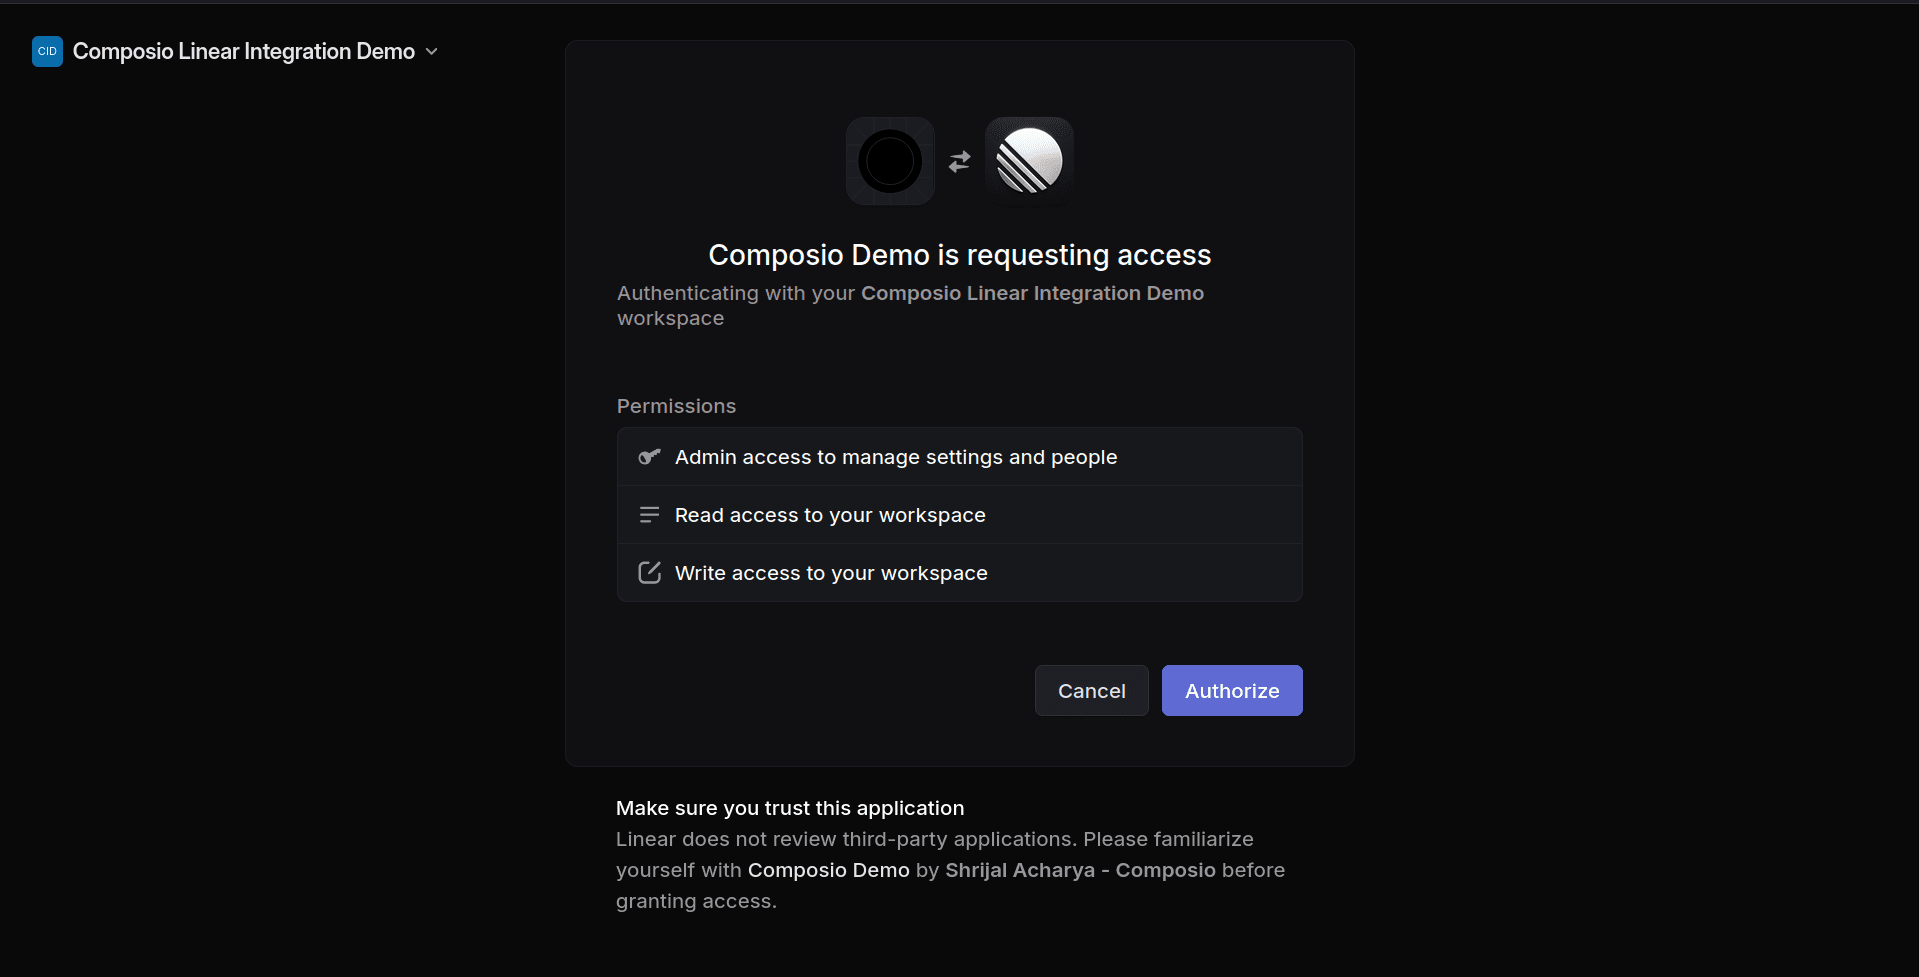
Once that's done, click Connect Account, and Linear will ask for your consent to authorize the application. Click Authorize, and Composio will handle the rest for you.
If everything goes well, you should see a Connection Successful screen.
Once done, copy the auth config ID (which starts with ac_) and use it in your application code via a secret manager.

Your custom Linear auth config is now ready to go! 🚀
Test Linear Connection (Optional)
Composio recently added support for Playground, where you can test the connection and see how the tools work with an agent.
Navigate to your Linear Auth Config.
Click on the Playground.
Once you're there, try asking some related prompts, and if you did everything correctly, Composio should be able to access the details.

And that's it! You're all set to go with Linear! 🎉