In this guide, I'll walk you through setting up Zoho CRM OAuth2 credentials and configuring the authentication setup. So, let's begin.
Setting up Zoho CRM
In this section, we'll go through the process of creating a Server based Application and setting up Zoho to access the credentials.
Note: If you already have a Server based application in Zoho API Console and can access the Client ID and Client Secret, you can skip to Step 3.
Step 1: Create an Application
Visit the Zoho API Console and create a Server-based Application (since our redirect URI points to a backend endpoint).
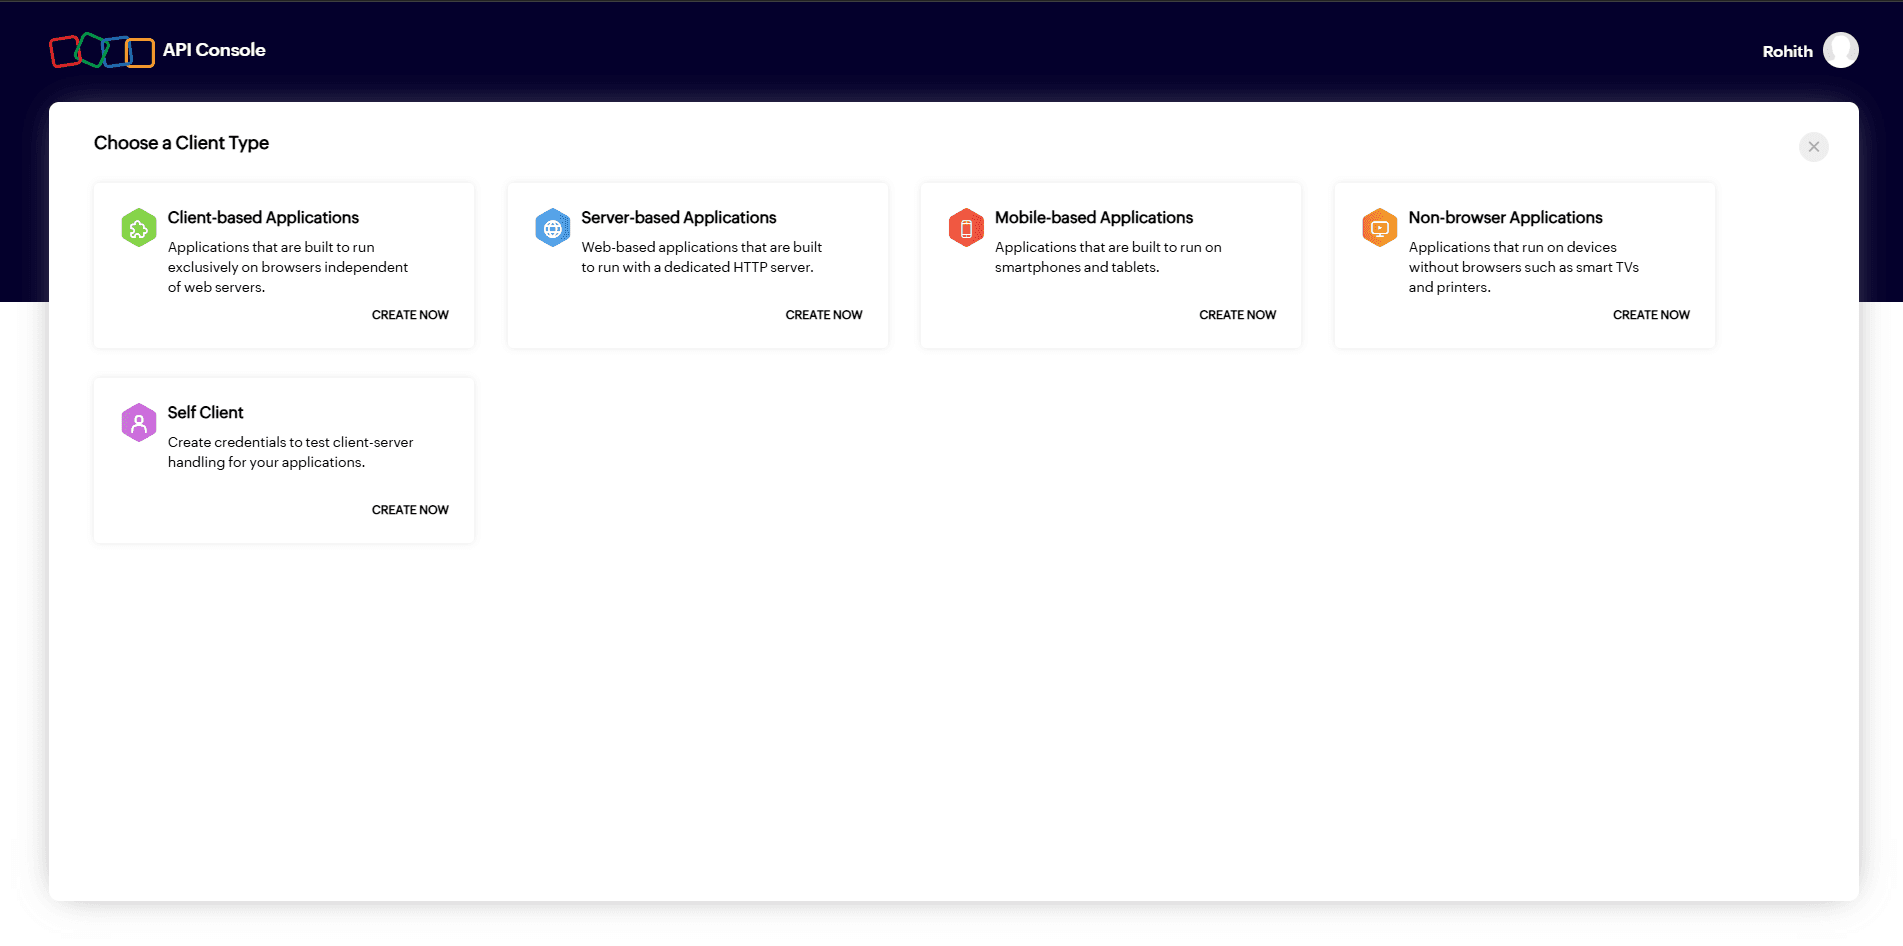
A Client-based app uses a SPA to perform the application logic directly in the browser, so you will need a JavaScript origin URI to create a Client App. You can learn more about the types of Applications in the Zoho OAuth 2.0 Glossary.
Step 2: Fill Out Application Details
When creating the app, use the following configuration:
Client Name:
Test ApplicationHomepage URL:
https://backend.composio.devAuthorized Redirect URIs:
https://backend.composio.dev/api/v1/auth-apps/add
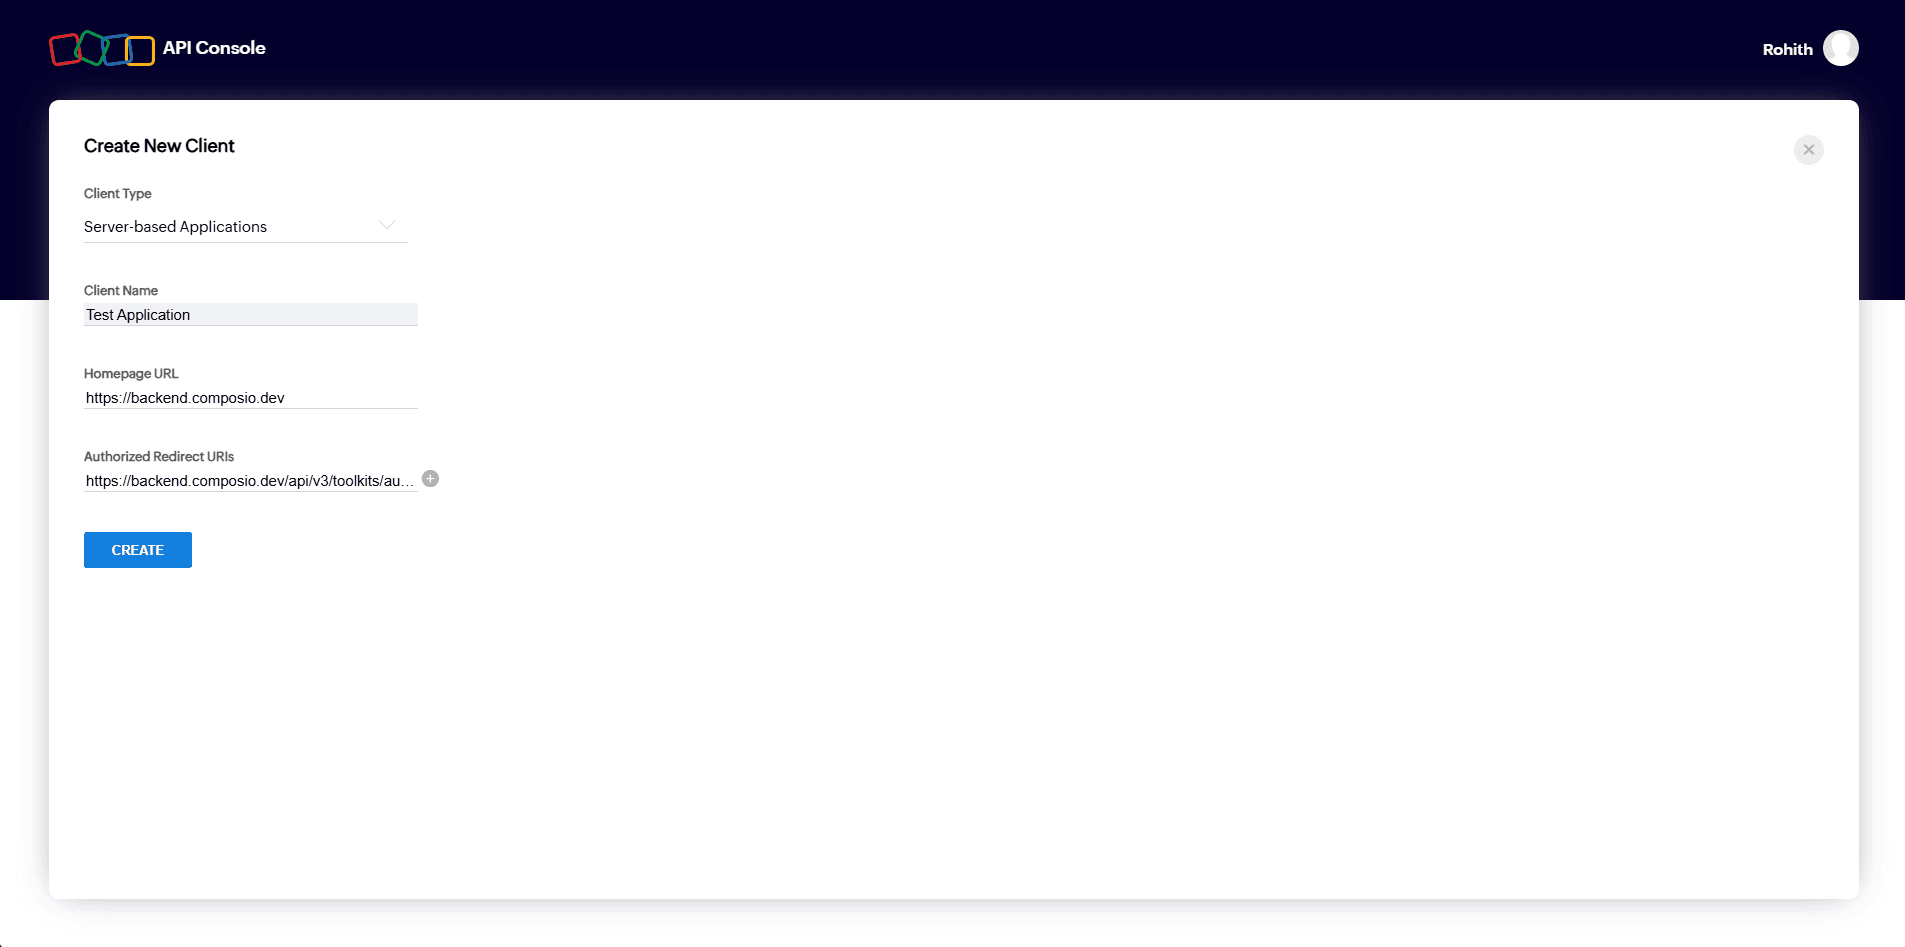
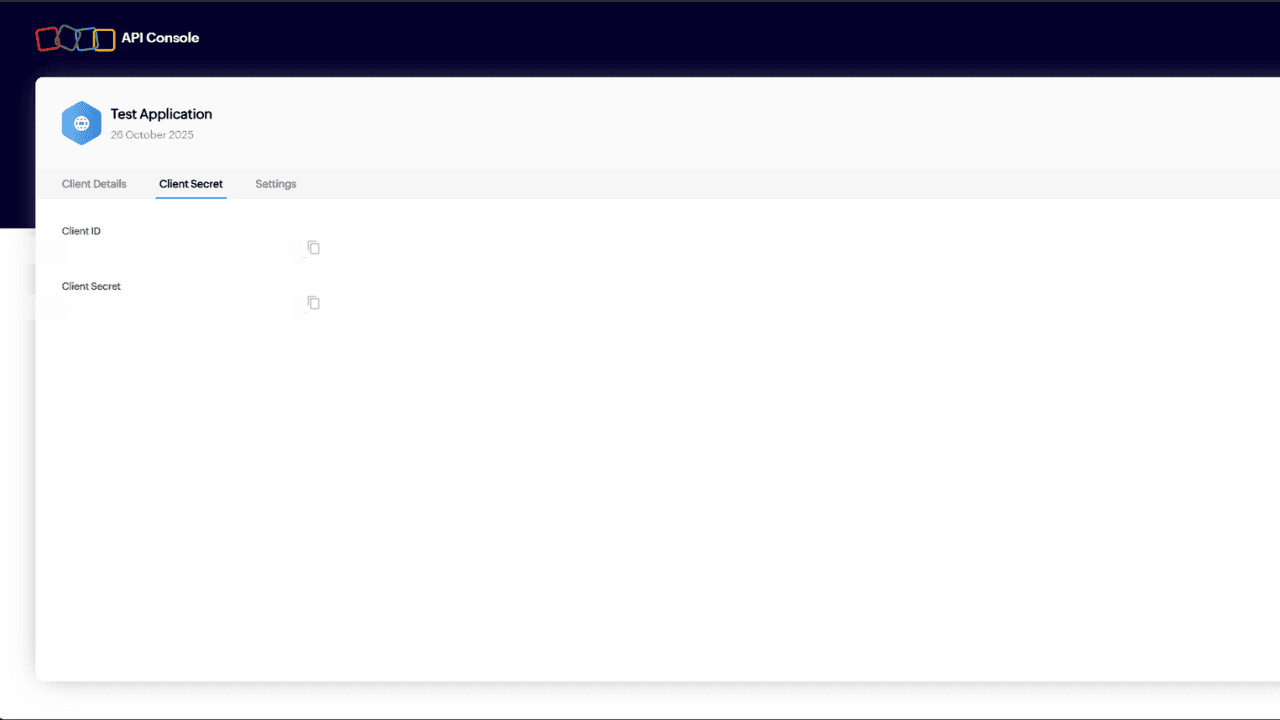
Once you save this configuration, Zoho will generate your Client ID and Client Secret.
Step 3: Configure Scopes
Zoho's Developer Console doesn't let you manually add scopes.
Instead, Composio provides a "Manage Scopes" field to define the access level your integration requires. When creating an Auth Config for Zoho in Composio, scroll down to Manage Scopes and add or remove scopes as needed.
You can learn more about OAuth scopes in the Zoho API documentation.
By default, Composio pre-enables these scopes for Zoho CRM integrations:
Additional Useful Scopes (Optional)
If you need to extend access, here are some specific Zoho CRM scopes you can safely use:
Note: Only add what you actually need, unnecessary scopes may cause extra consent prompts
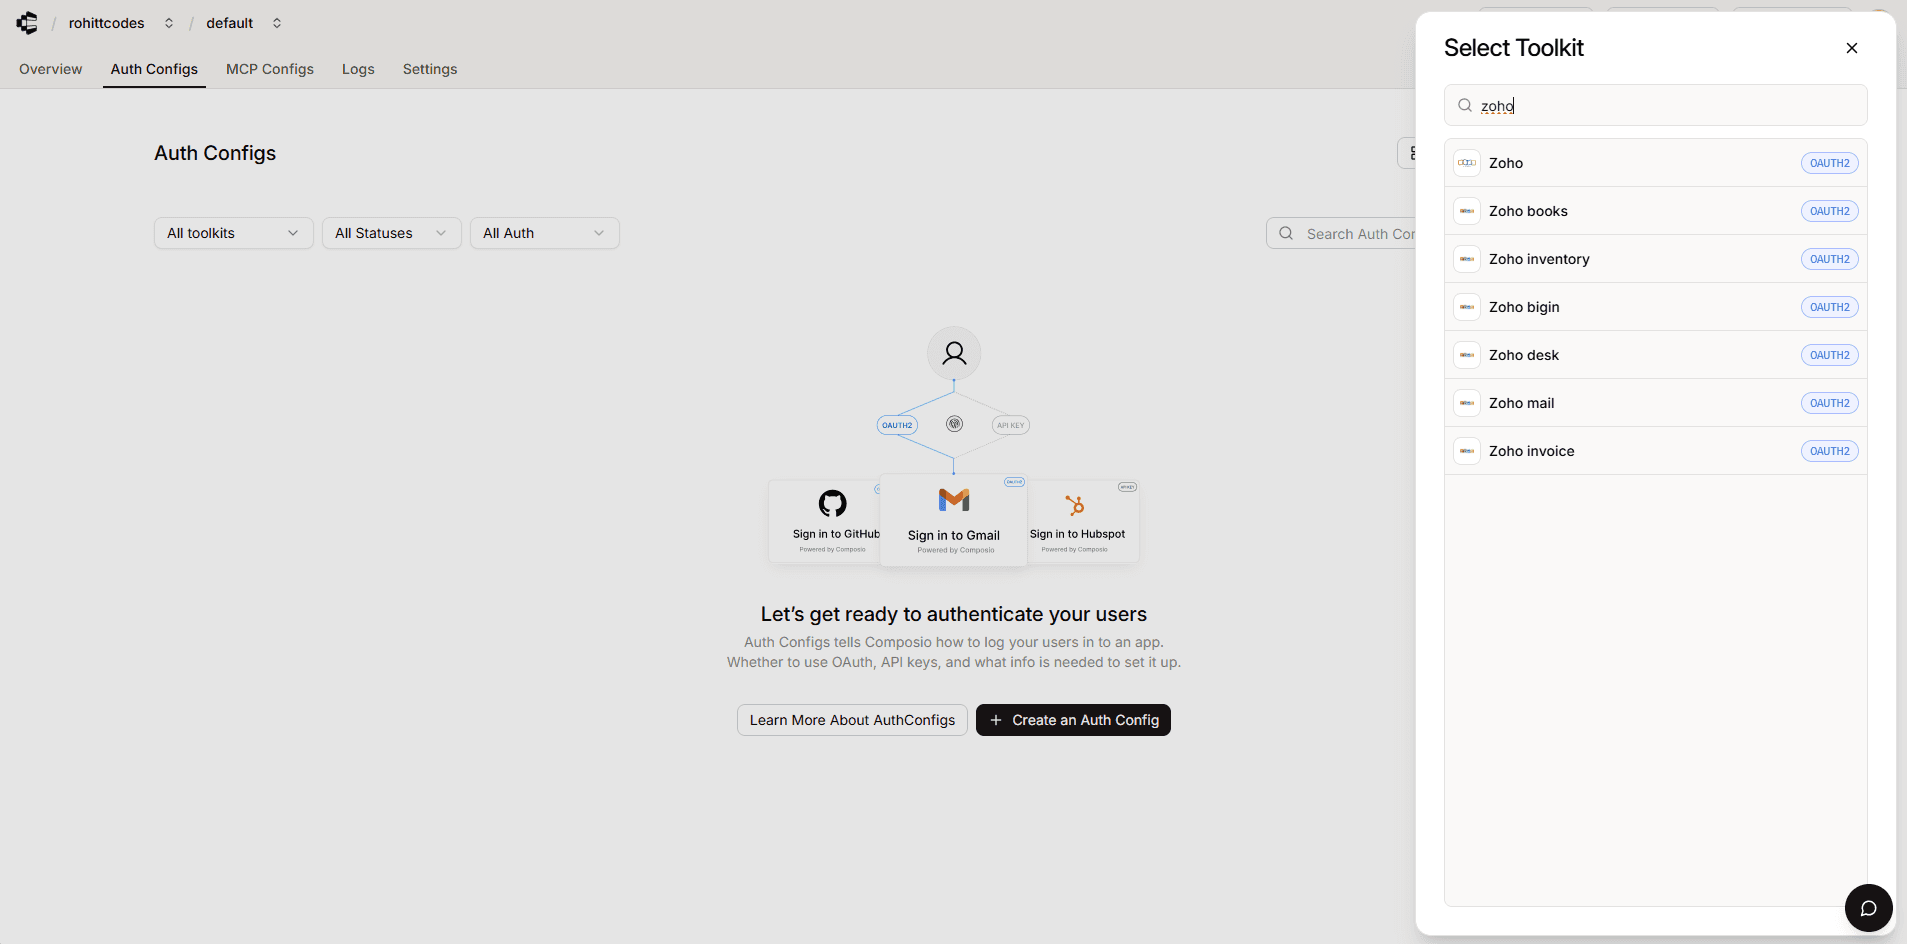
Step 4: Creating the Auth Config in Composio
Once you have your Client ID and Client Secret from Zoho:
Go to your Composio Dashboard.
Click Create Auth Config → select Zoho CRM from the list.
Ensure the authentication type is OAuth2 (default).
Add your scopes under Manage Scopes, or use the defaults above.
Enable "Use your own developer credentials".
Paste in the Client ID and Client Secret.
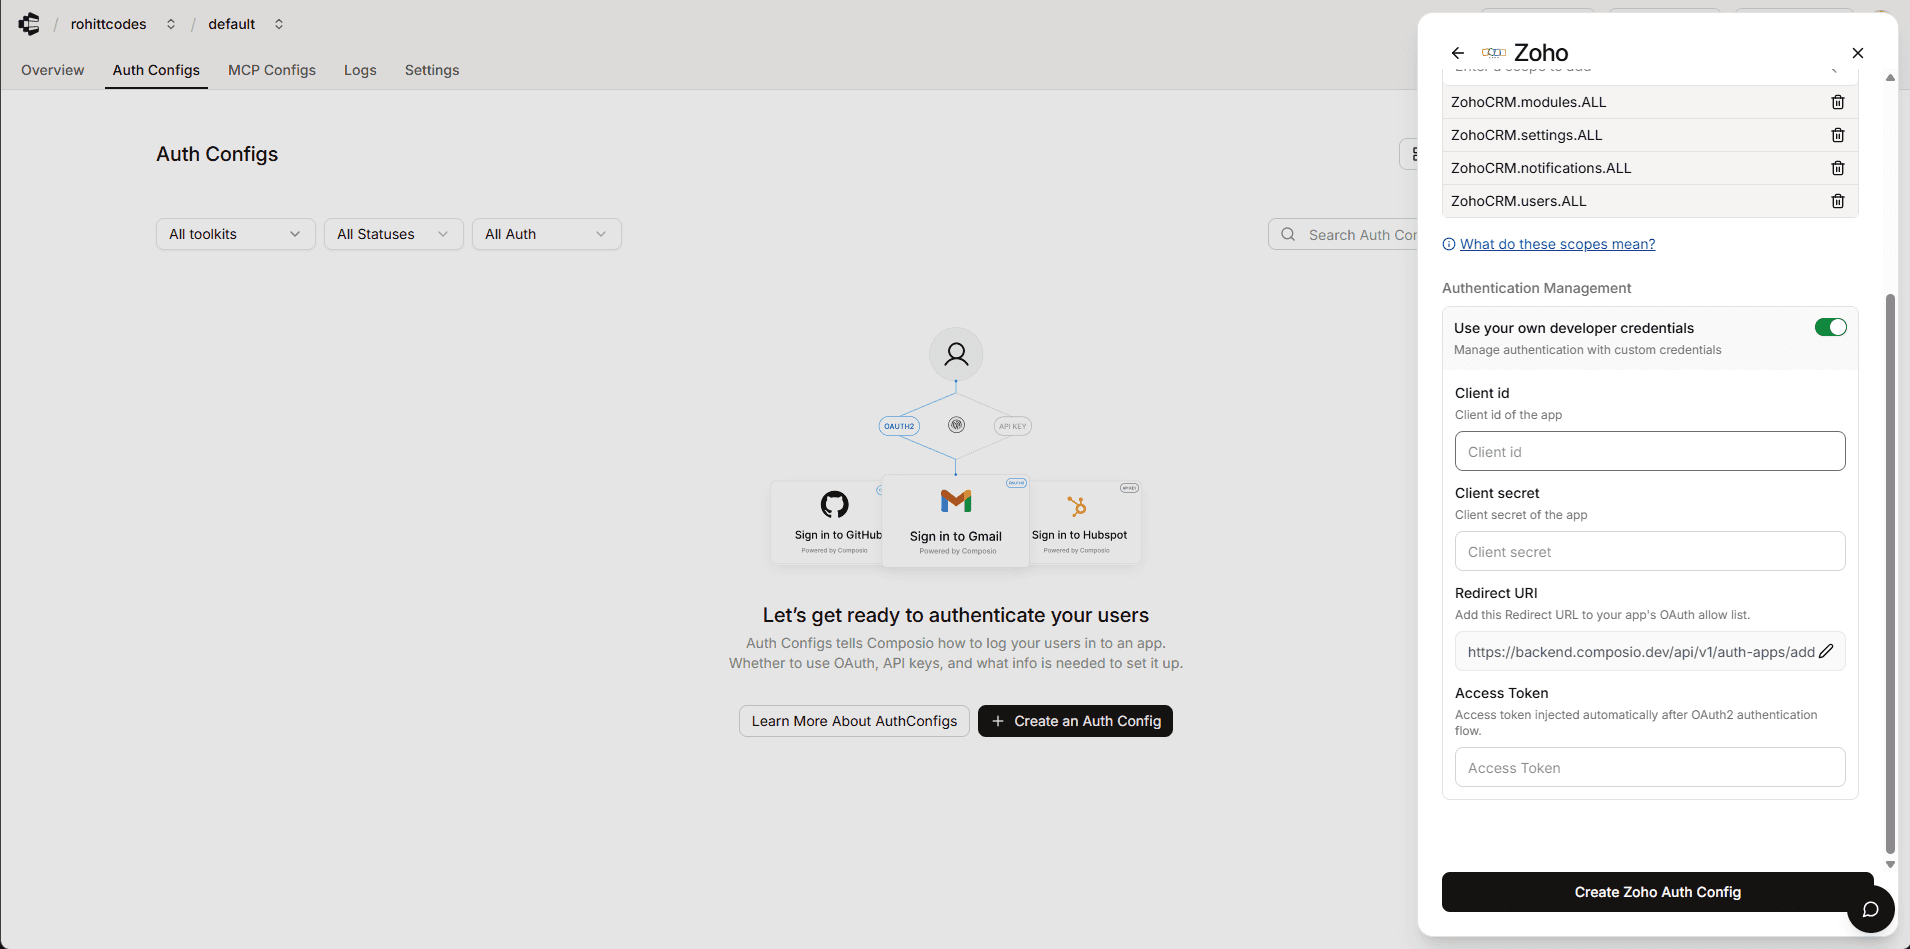
Finally, click Create Zoho Auth Config.
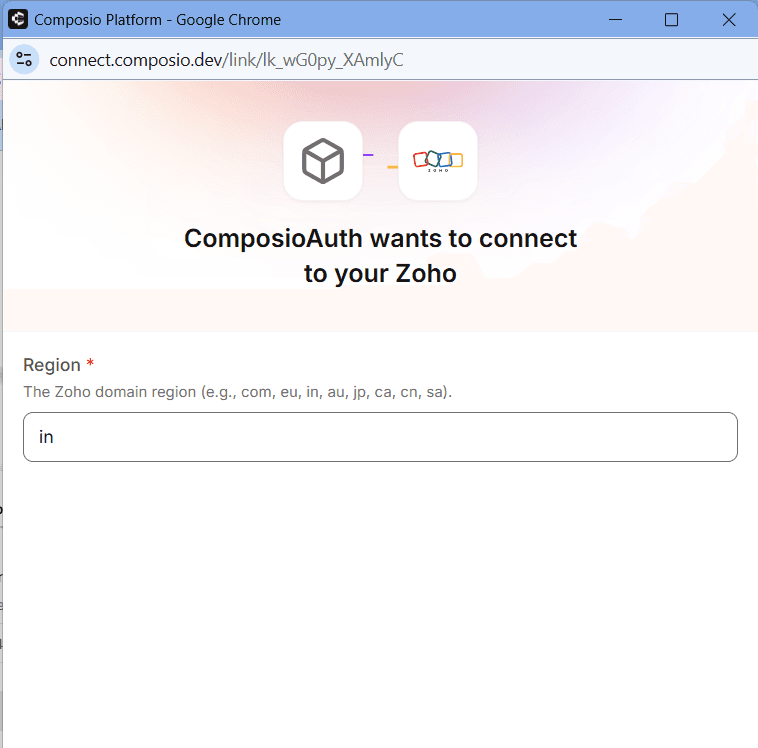
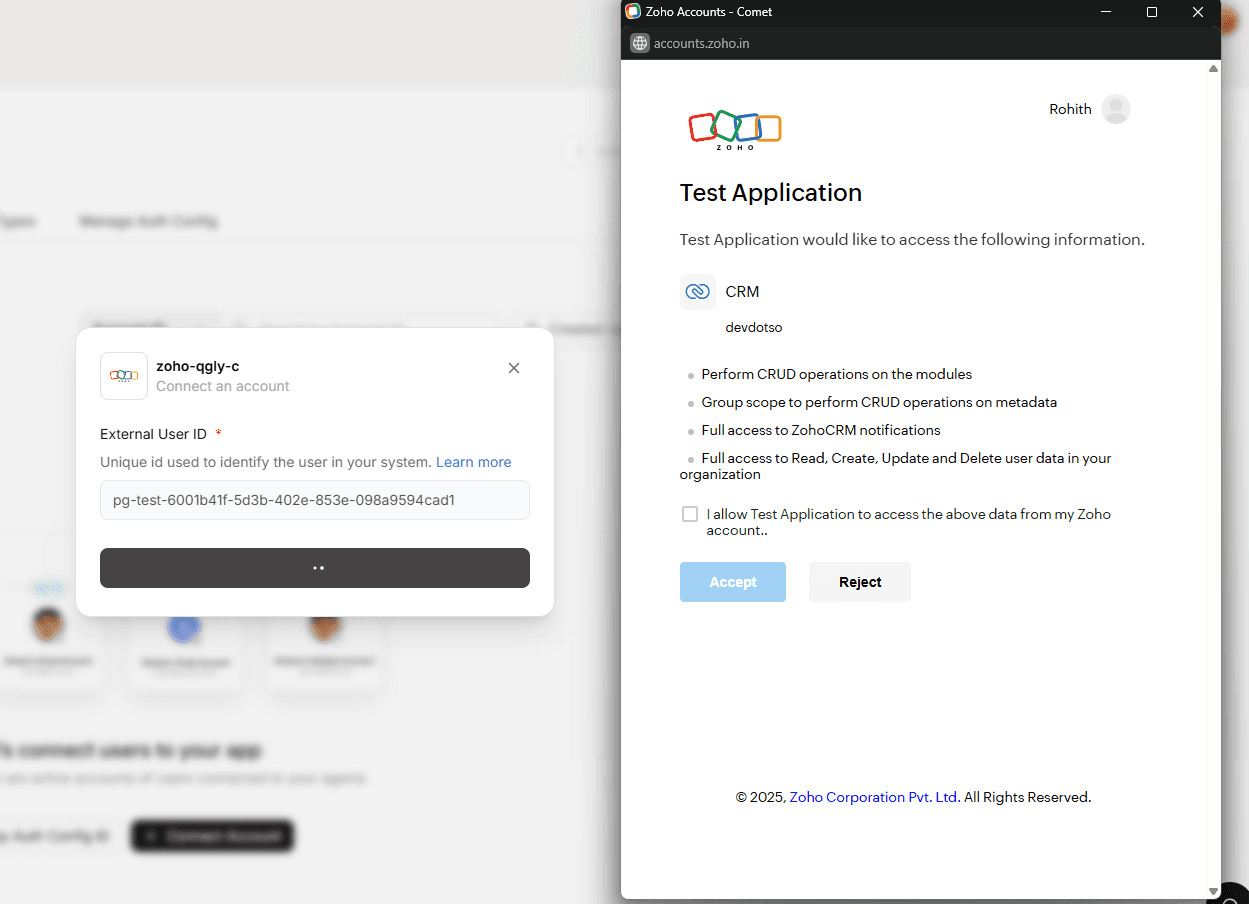
Step 5: Connect your Zoho account
Connect to Zoho by clicking on “Connect Account”, enter your Zoho region, and accept the requested permissions. Once authorised, your account will be successfully connected and ready to use.
Once created, you can find your auth_config_id (starts with ac_) in the Manage Auth Configs tab.
Your Zoho CRM OAuth integration is now fully configured and ready to roll. 🚀