In this guide, I will share the process for customizing the auth config for Xero. So, let's begin.
Setting up Xero
In this section, we'll go through the process of setting up Xero and creating an OAuth application.
NOTE: If you already have a Xero OAuth app and access to the Client ID and Client Secret, you can skip this section.
Step 1: Create a Xero Developer App
Log in to the Xero Developer Portal.


Click New app in the top right corner.
Step 2: Register Your OAuth App and Generate Credentials
Once you click New app, you'll see a form to create your OAuth application.
Fill in the required fields:
App name: Choose a name (e.g.,
Composio-Xero)Company or application URL: Your website or app URL
Integration type: Select Web app
Redirect URI:
https://backend.composio.dev/api/v3/toolkits/auth/callbackThis is required for Composio to complete the OAuth handshake.

Click Create app.
Once created, Xero will show you the Client ID. The Client Secret will be generated after you complete the setup.
Click Generate a secret to create your Client Secret.
Copy both the Client ID and Client Secret somewhere safe, as you'll need them shortly.

Step 3: Configure the Redirect URI
Make sure you've added the following redirect URL in your Xero app:
https://backend.composio.dev/api/v3/toolkits/auth/callbackNo trailing slash. The protocol must be https.

Accounting API:
accounting.transactions→ Read and write invoices, bills, paymentsaccounting.contacts→ Read and write contactsaccounting.settings→ Read organization settingsaccounting.reports.read→ Read financial reports
Payroll API (if needed):
payroll.employees→ Read and write employee datapayroll.payruns→ Read and write pay runspayroll.timesheets→ Read and write timesheets
Files API:
files→ Read and write files attached to Xero records
Other useful scopes:
offline_access→ Required to refresh access tokensopenid→ User identity informationprofile→ User profile informationemail→ User email address
You can customize these based on your integration needs.
That's all you need to set up on the Xero side.
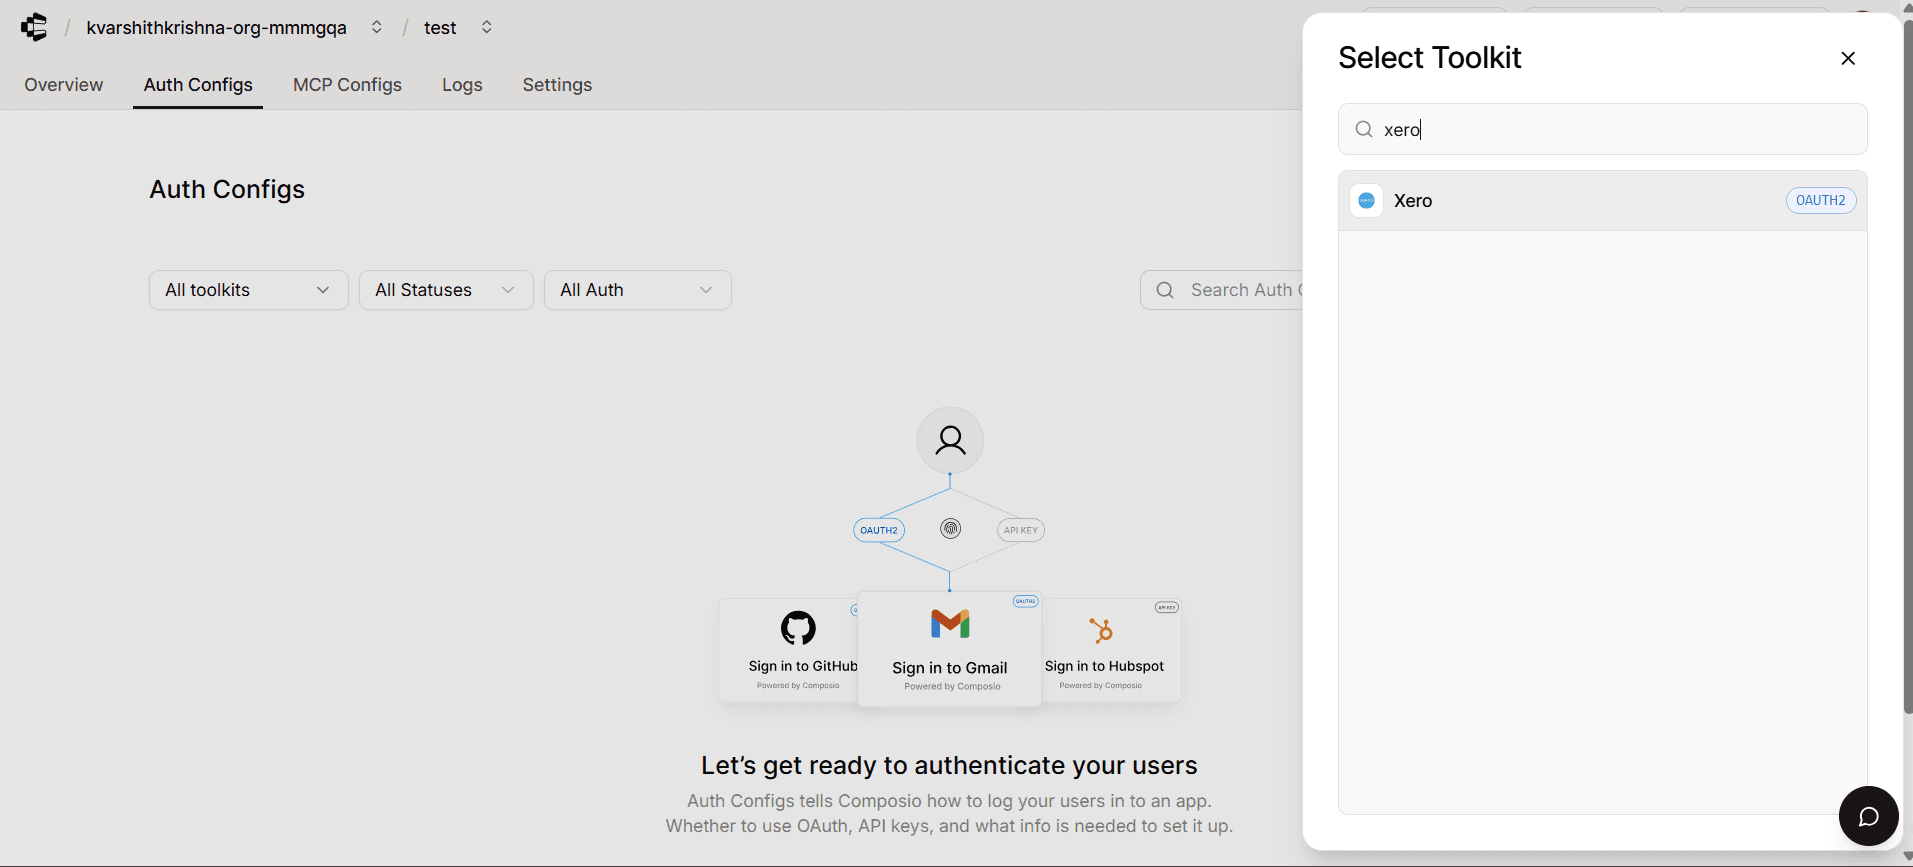
Creating the Auth Config in Composio
With your OAuth credentials ready, navigate to the Composio dashboard to configure the authentication settings for Xero.
Click on the Create Auth Config button to get a list of all the toolkits available.

In the sidebar that opens, choose Xero for the toolkit. Stick with all the default settings for now, as we'll configure it shortly.
Ensure the authentication is set to OAuth2 and not Bearer Token.
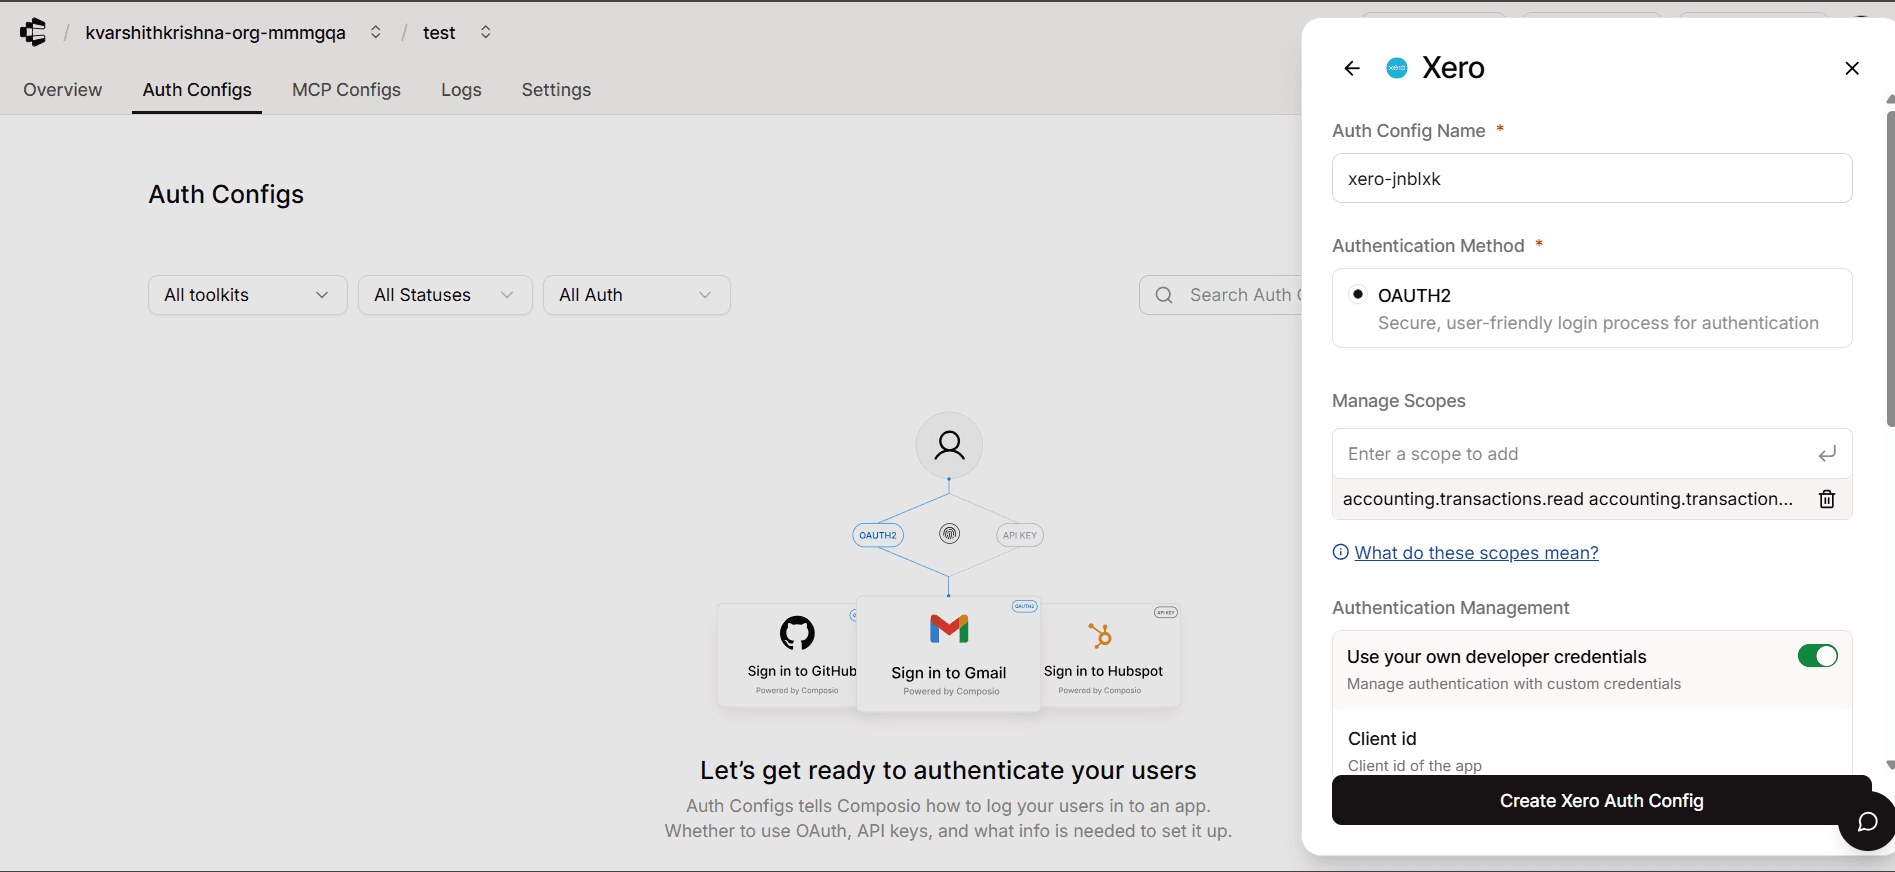
Also, make sure to check "Use your own developer authentication"
Then, click Create Xero Auth Config.
Once you have the auth config for Xero set up, go to the Manage Auth Config tab, where you can fill in the auth config fields.
Paste the Client ID and Client Secret you just copied from Xero into their respective fields.

Scopes supported by Composio:

Base URL for Xero
All Xero API requests go through:
https://api.xero.com/api.xro/2.0/This is the endpoint for all Xero Accounting API calls.
For other Xero APIs:
Payroll AU:
https://api.xero.com/payroll.xro/1.0/Payroll UK:
https://api.xero.com/payroll.xro/2.0/Payroll NZ:
https://api.xero.com/payroll.xro/2.0/Files API:
https://api.xero.com/files.xro/1.0/
Once done, copy the auth config ID (which starts with ac_) and use it in your application code via a secret manager.
How Scopes Are Applied
When you connect your app (for example, through Composio or your custom integration), the scopes are sent as part of the authorisation URL parameters, like:
https://login.xero.com/identity/connect/authorize>?
response_type=code&
client_id=YOUR_CLIENT_ID&
redirect_uri=https://backend.composio.dev/api/v3/toolkits/auth/callback&
scope=accounting.transactions accounting.contacts offline_access&
state=123
Your custom Xero auth config is now ready to go!