In this guide, I’ll walk you through the process of customizing the auth config for TickTick. Let’s get started.
Setting up TickTick
In this section, we’ll go through the process of creating a TickTick OAuth application.
NOTE:
If you already have a TickTick OAuth app and access to the Client ID and Client Secret, you can skip this section.
Step 1: Create a TickTick Developer App
Log in to your TickTick account.
Open the TickTick Developer Console:
https://developer.ticktick.com/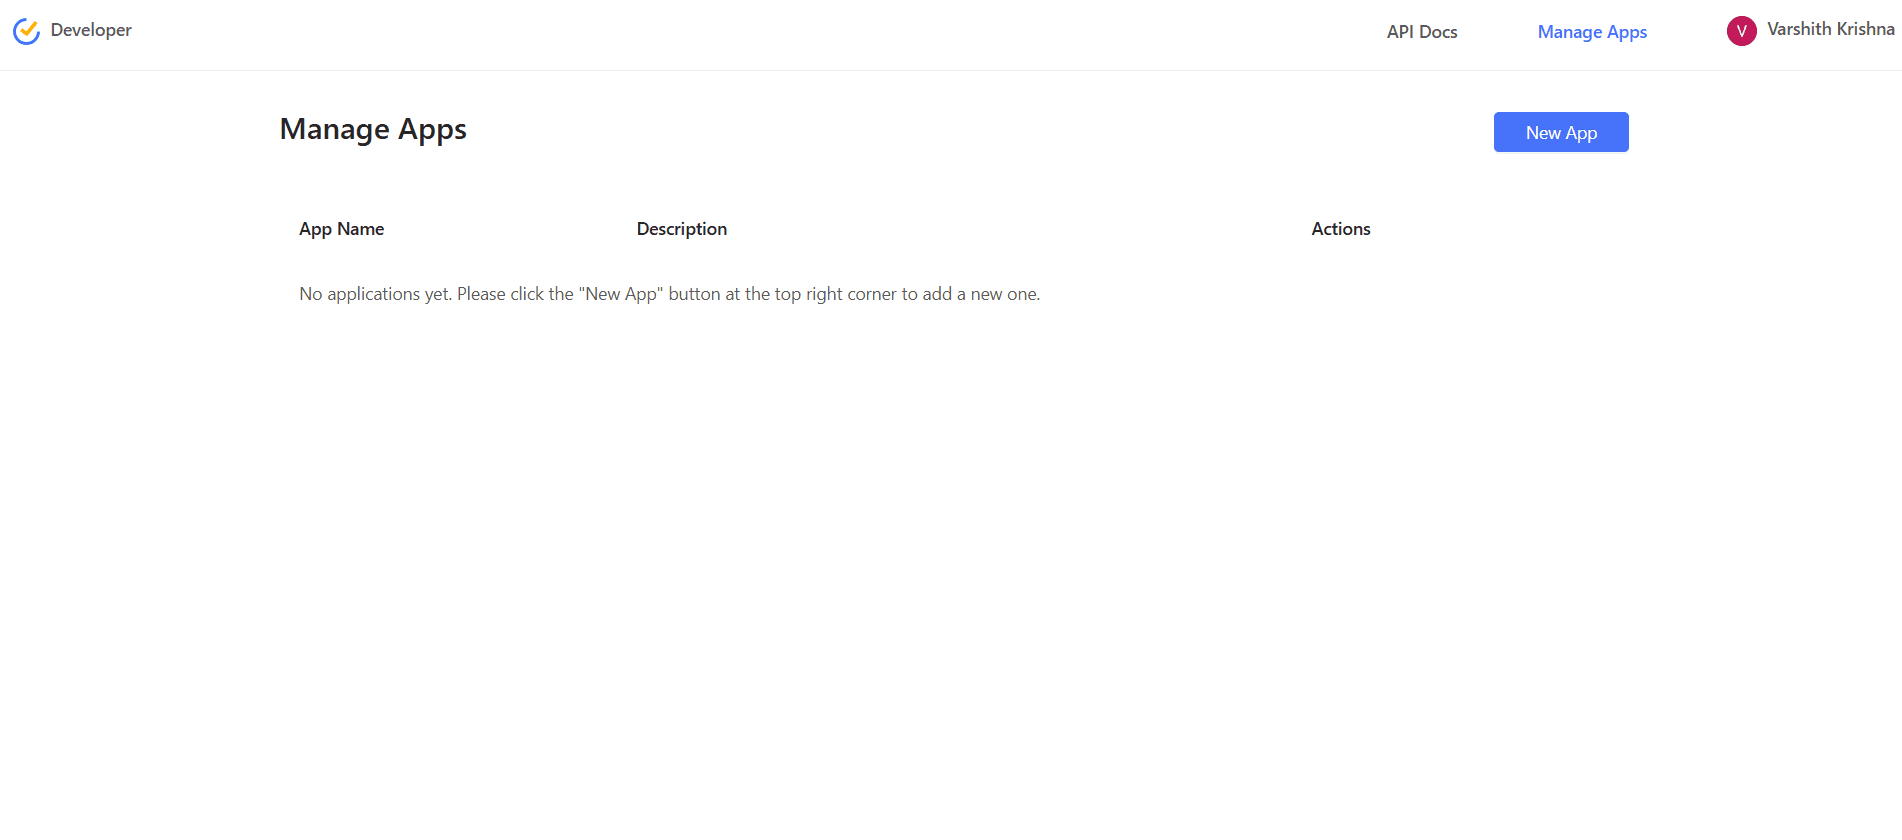
Navigate to My Apps.
Click Create App.
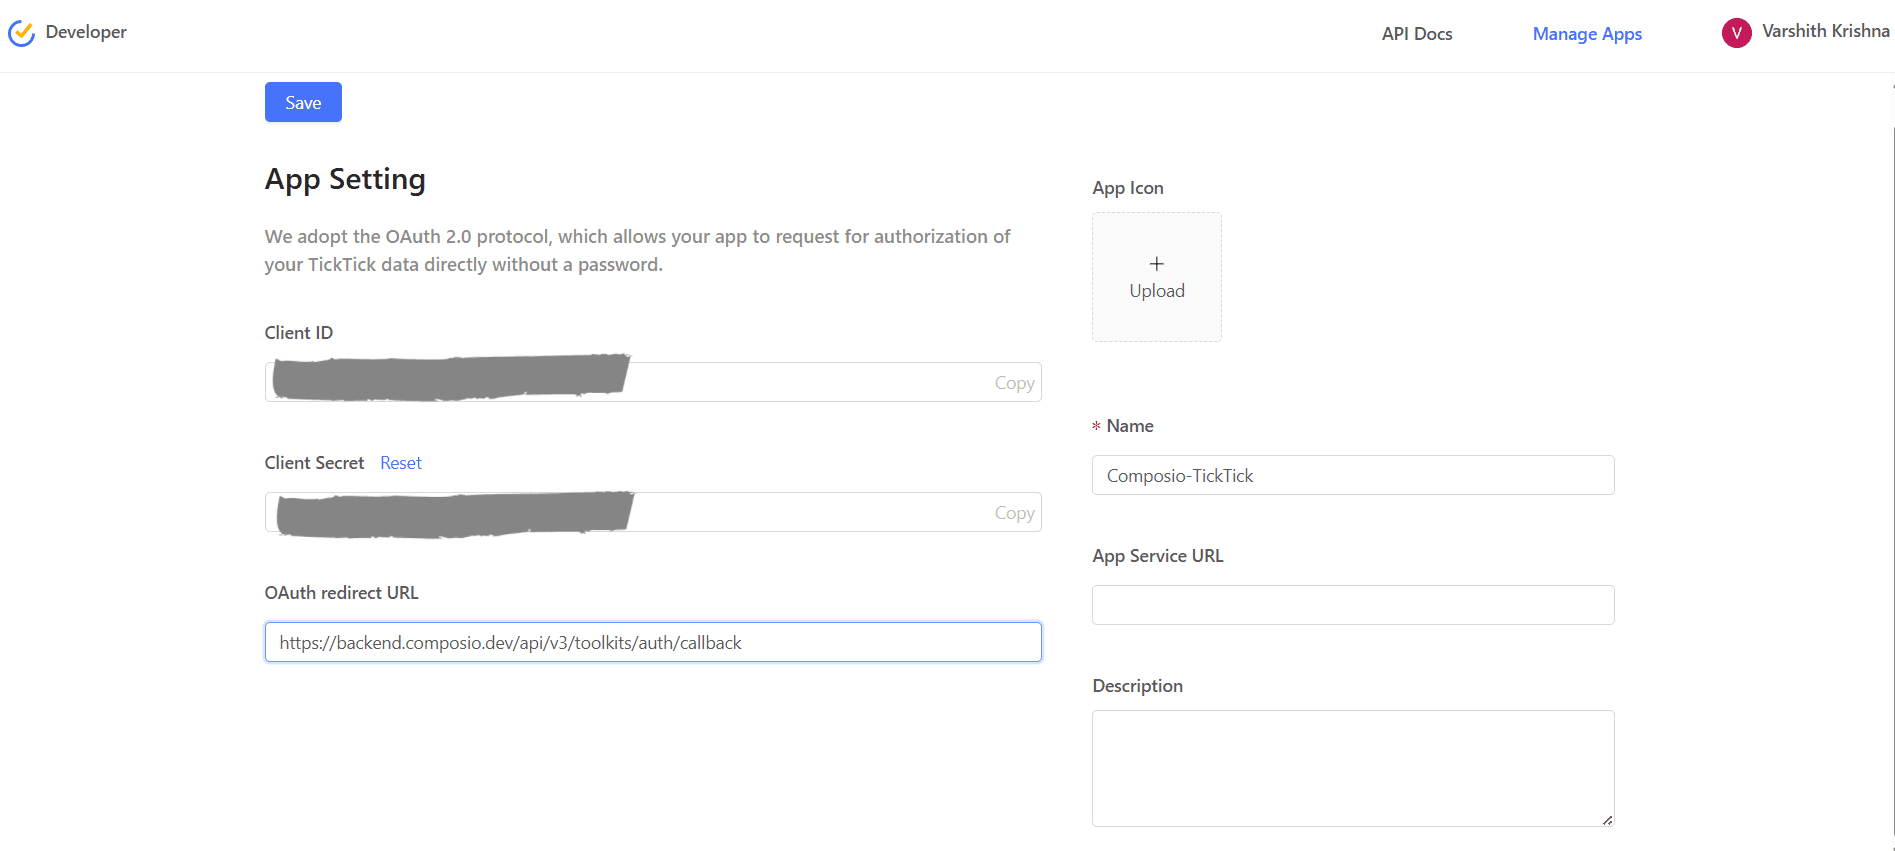
Step 2: Register Your OAuth App and Generate Credentials
While creating the app, fill in the following details:
App Name: Example:
Composio-TickTick
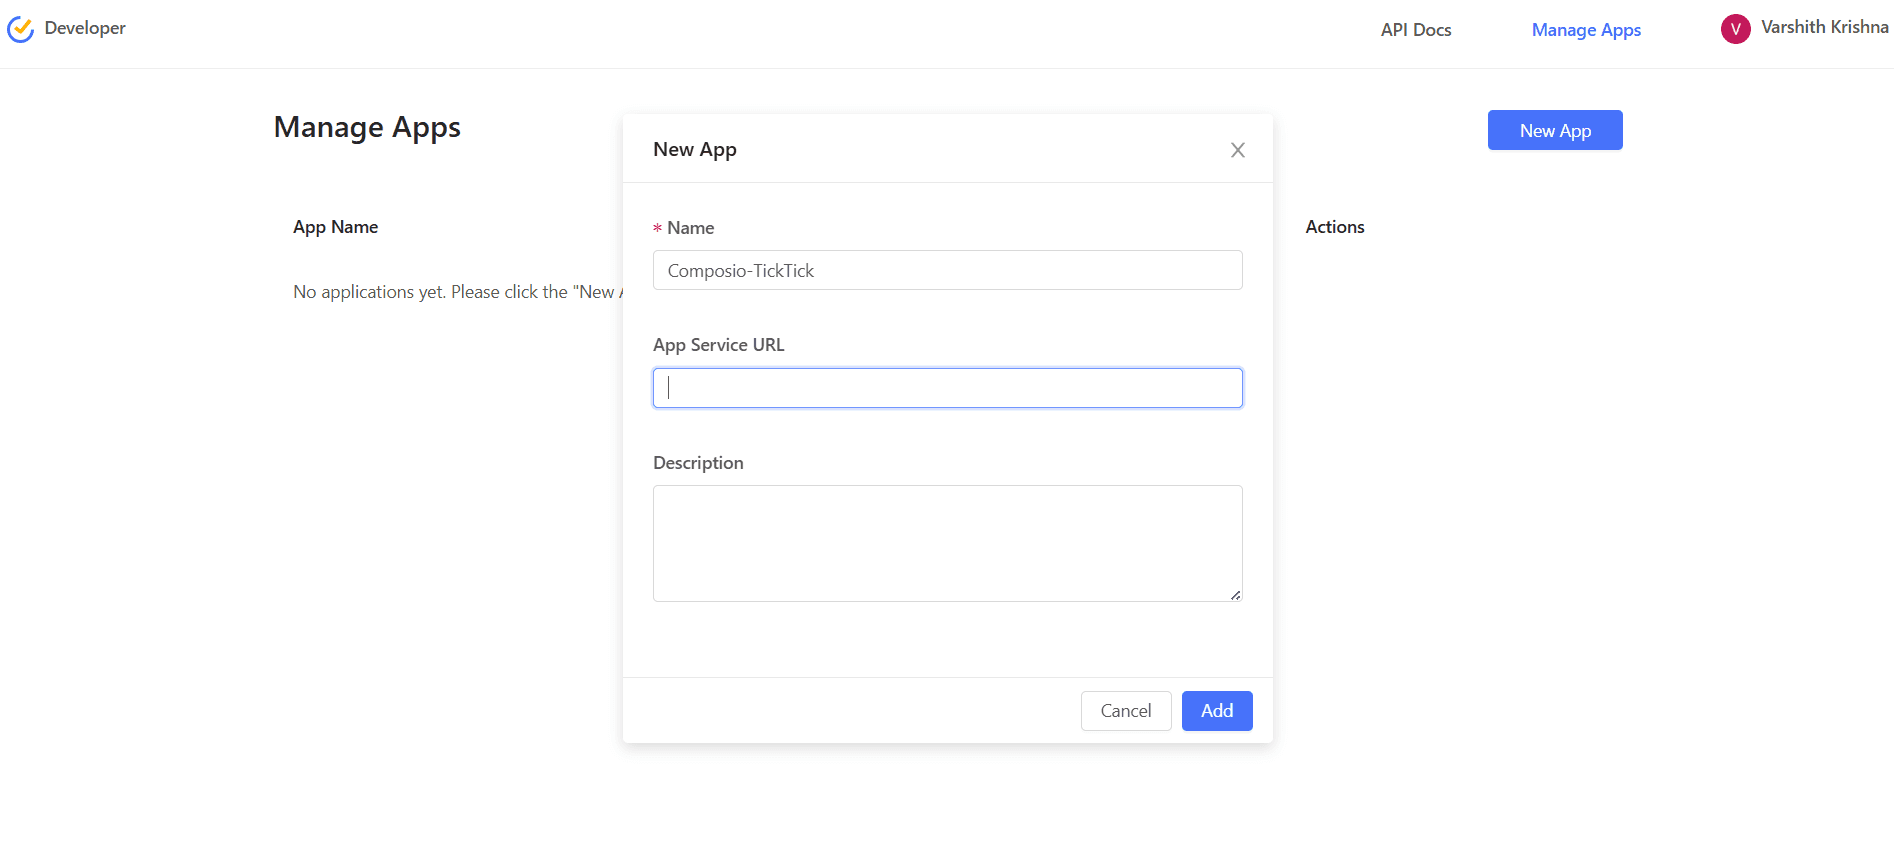
App Description: Short description of your integration
Redirect URI
https://backend.composio.dev/api/v3/toolkits/auth/callbackImportant:
Must be HTTPS
No trailing slash
Save the application.
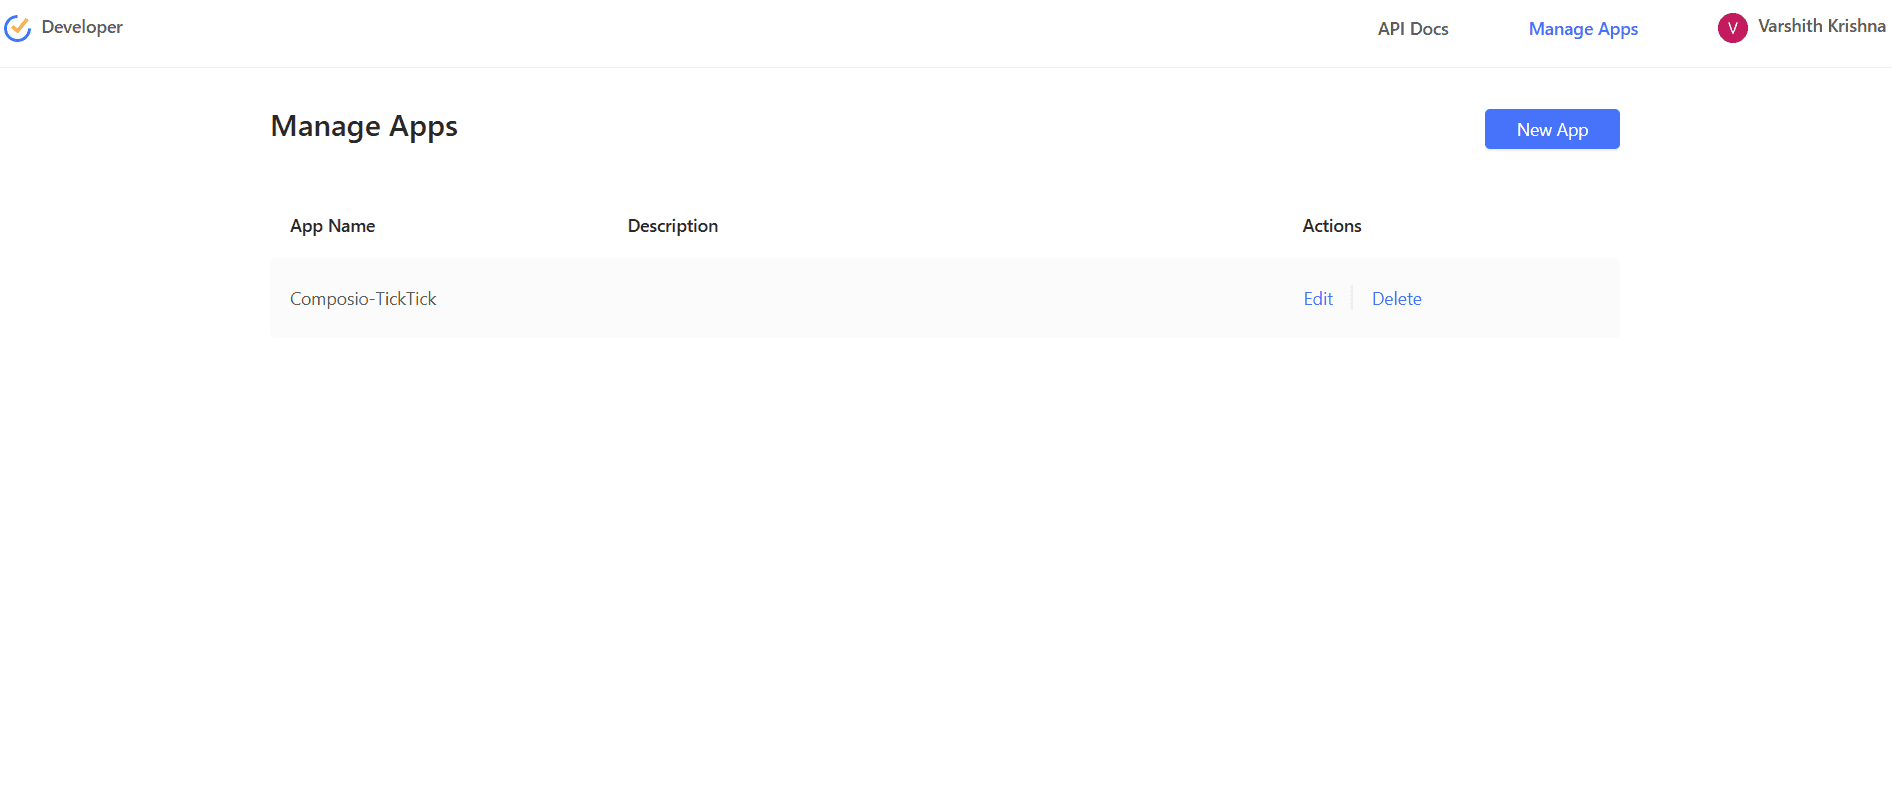
Once created, TickTick will generate:
Client ID
Client Secret
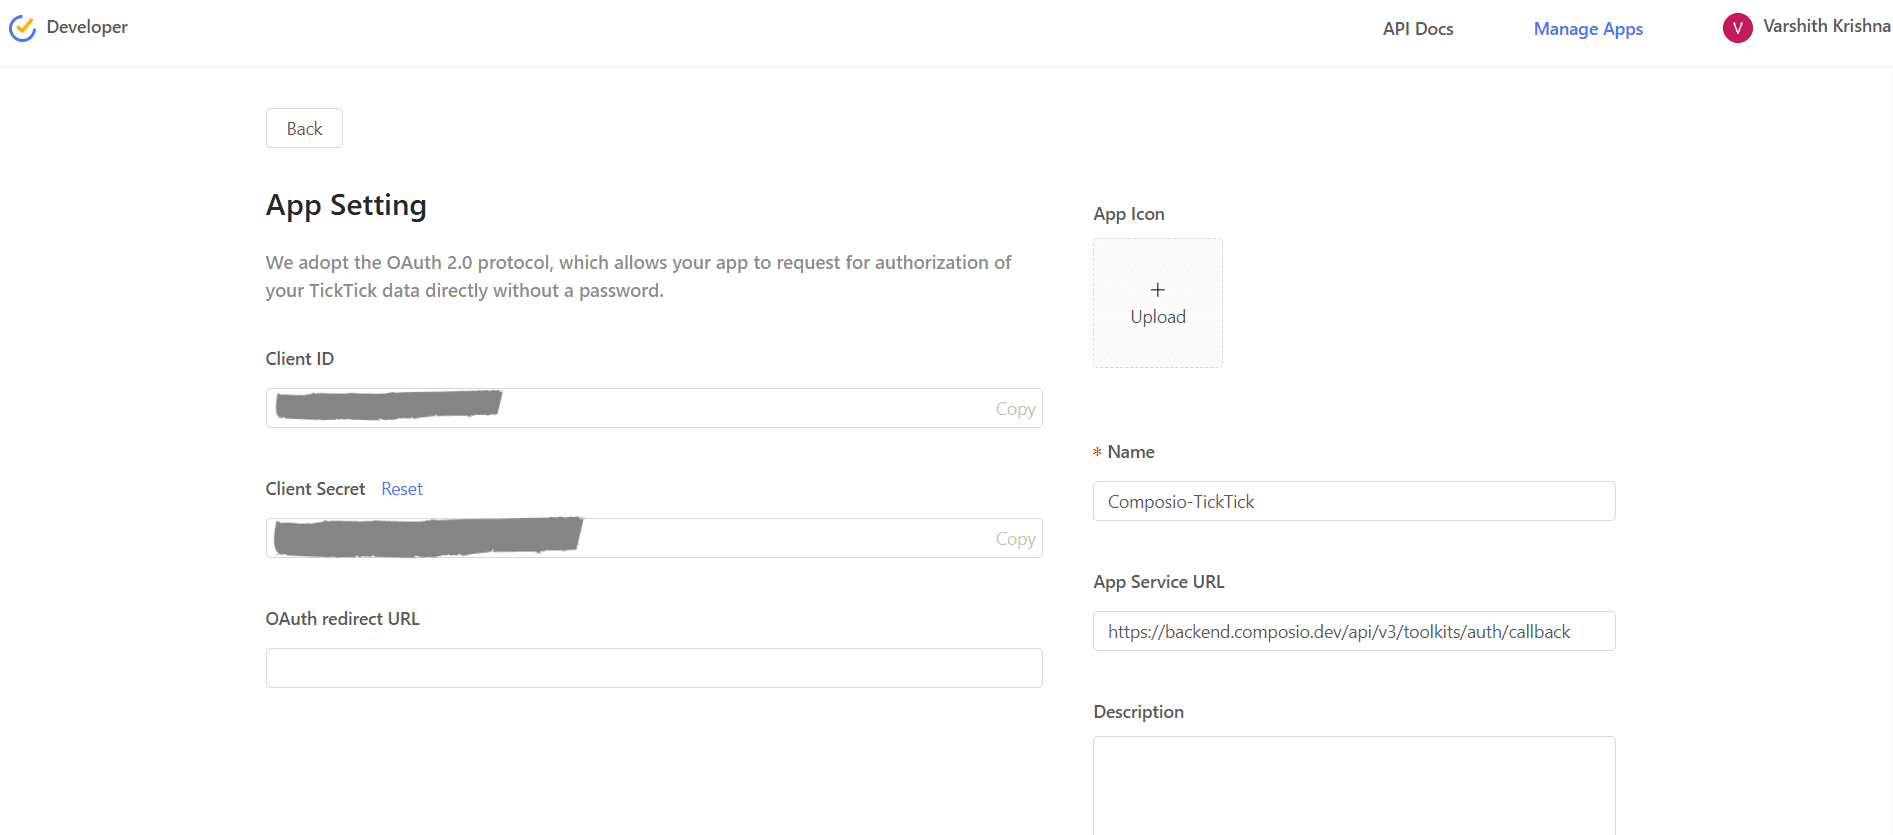
Copy both values and store them securely, you’ll need them shortly.
Step 3: Configure Redirect URI
Ensure the following redirect URI is configured in your TickTick app:
https://backend.composio.dev/api/v3/toolkits/auth/callbackOAuth Scopes in TickTick
TickTick uses OAuth2 with predefined API scopes.
Unlike some platforms:
TickTick does not provide a UI to manually select scopes per request
Scopes are implicitly granted based on the API endpoints accessed
When using Composio, scopes are handled automatically during the OAuth flow.
Common TickTick API Permissions
TickTick APIs typically cover access to:
Tasks
Projects (lists)
User profile information
You do not need to manually configure scopes inside the TickTick dashboard.
All required permissions are requested automatically during authorization.
Creating the Auth Config in Composio
With your OAuth credentials ready, head to the Composio dashboard:
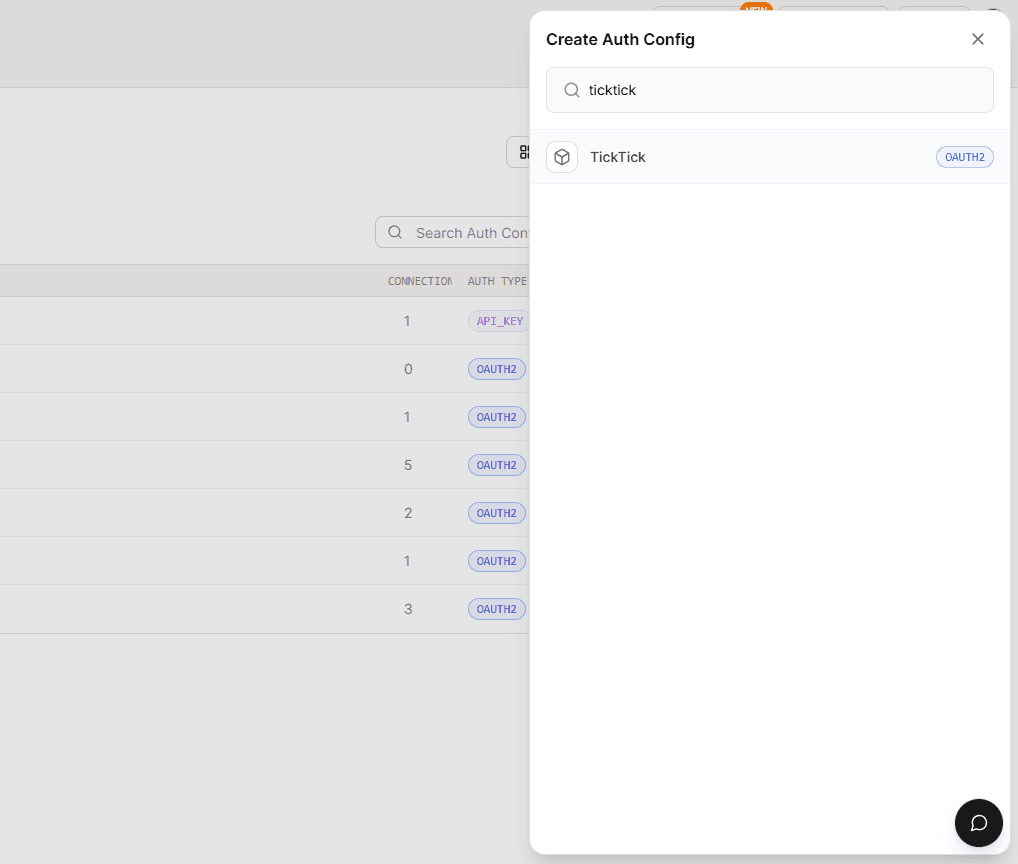
https://platform.composio.dev/Step 1: Create Auth Config
Click Create Auth Config

Select TickTick from the toolkit list
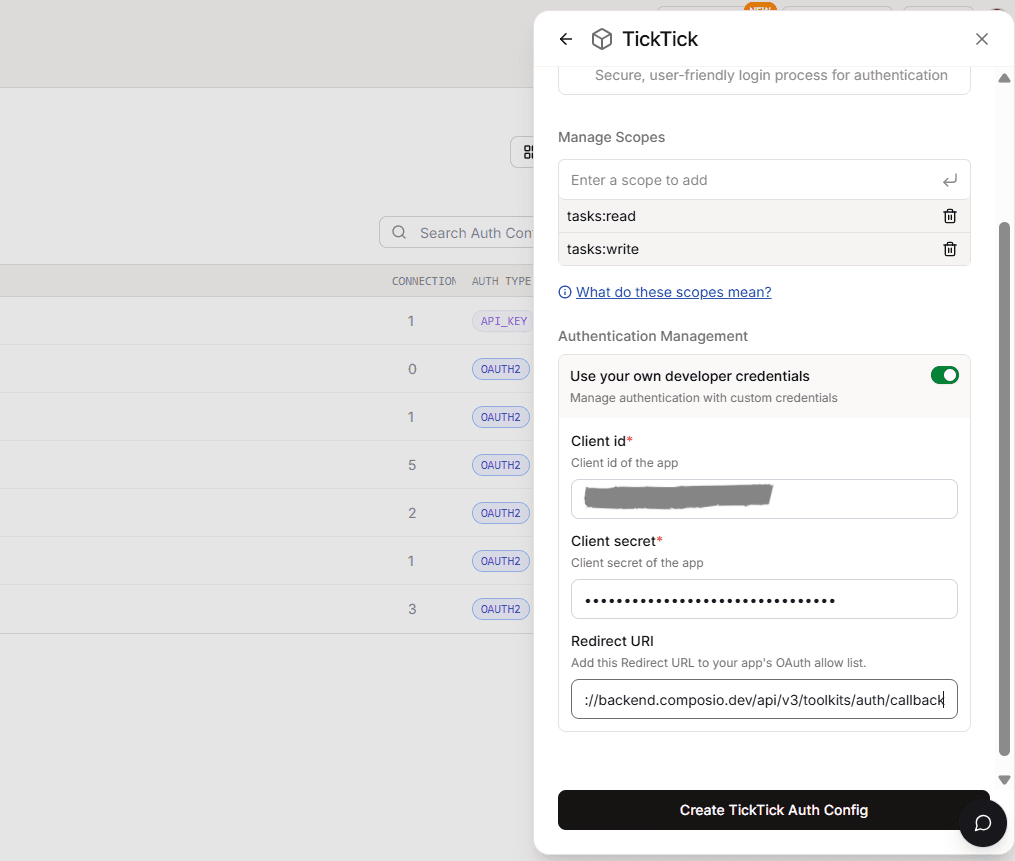
Step 2: Configure Authentication Type
Ensure authentication is set to OAuth2
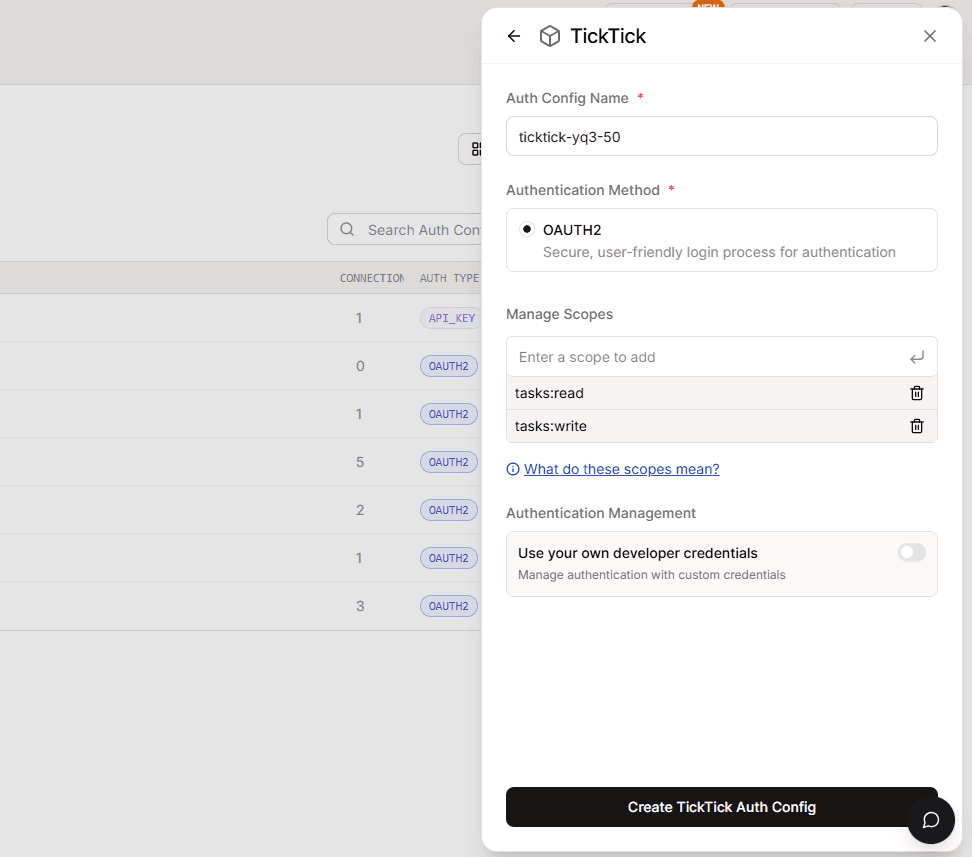
Enable Use your own developer authentication

Click Create TickTick Auth Config
Base URL for TickTick
All TickTick API requests are made through:
https://api.ticktick.com/open/v1/How OAuth Works with Composio
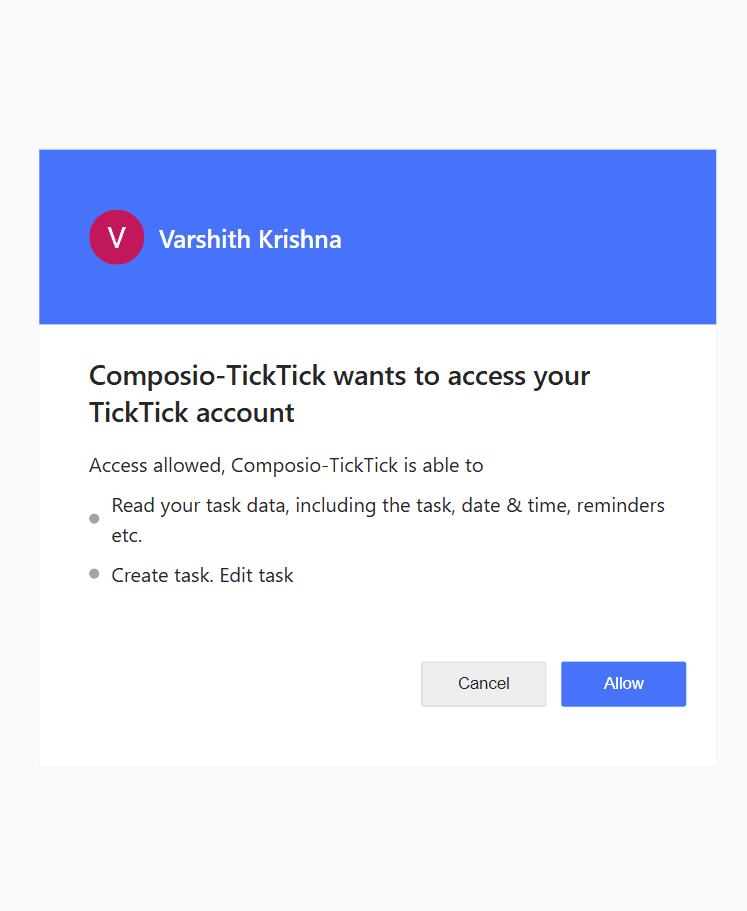
When a user connects their TickTick account:
Composio manages the OAuth authorisation flow
TickTick prompts the user to approve access
An access token is issued and securely stored by Composio
Composio automatically refreshes tokens when required
You do not need to manually construct authorization URLs.
Final Step
Once everything is set up:
Copy the Auth Config ID (starts with
ac_)
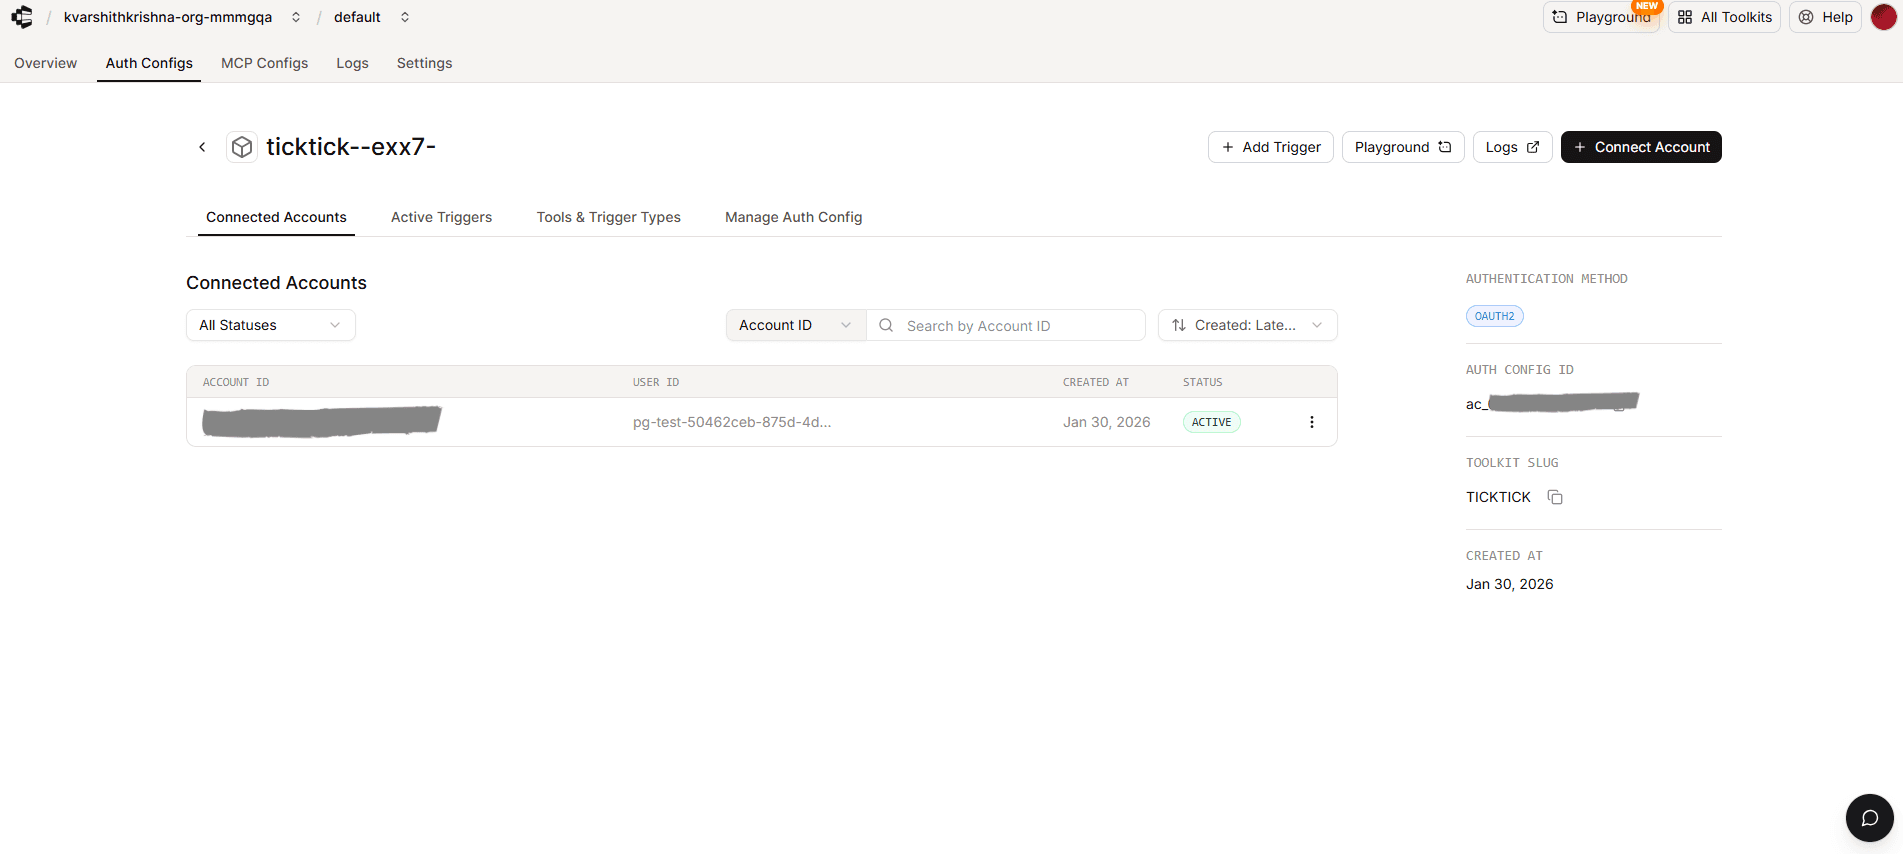
Store it securely using a secret manager
Use it in your application code to authenticate TickTick via Composio