In this guide, I will share the process for customizing the auth config for Stripe. So, let’s begin.
Setting up Stripe
In this section, we’ll go through the process of setting up Stripe and creating either an API Key or an OAuth application.
NOTE: If you already have a Stripe API Key or OAuth credentials (Client ID + Client Secret), you can skip directly to the Composio setup section.
Option 1: Using Stripe API Key (Simplest)
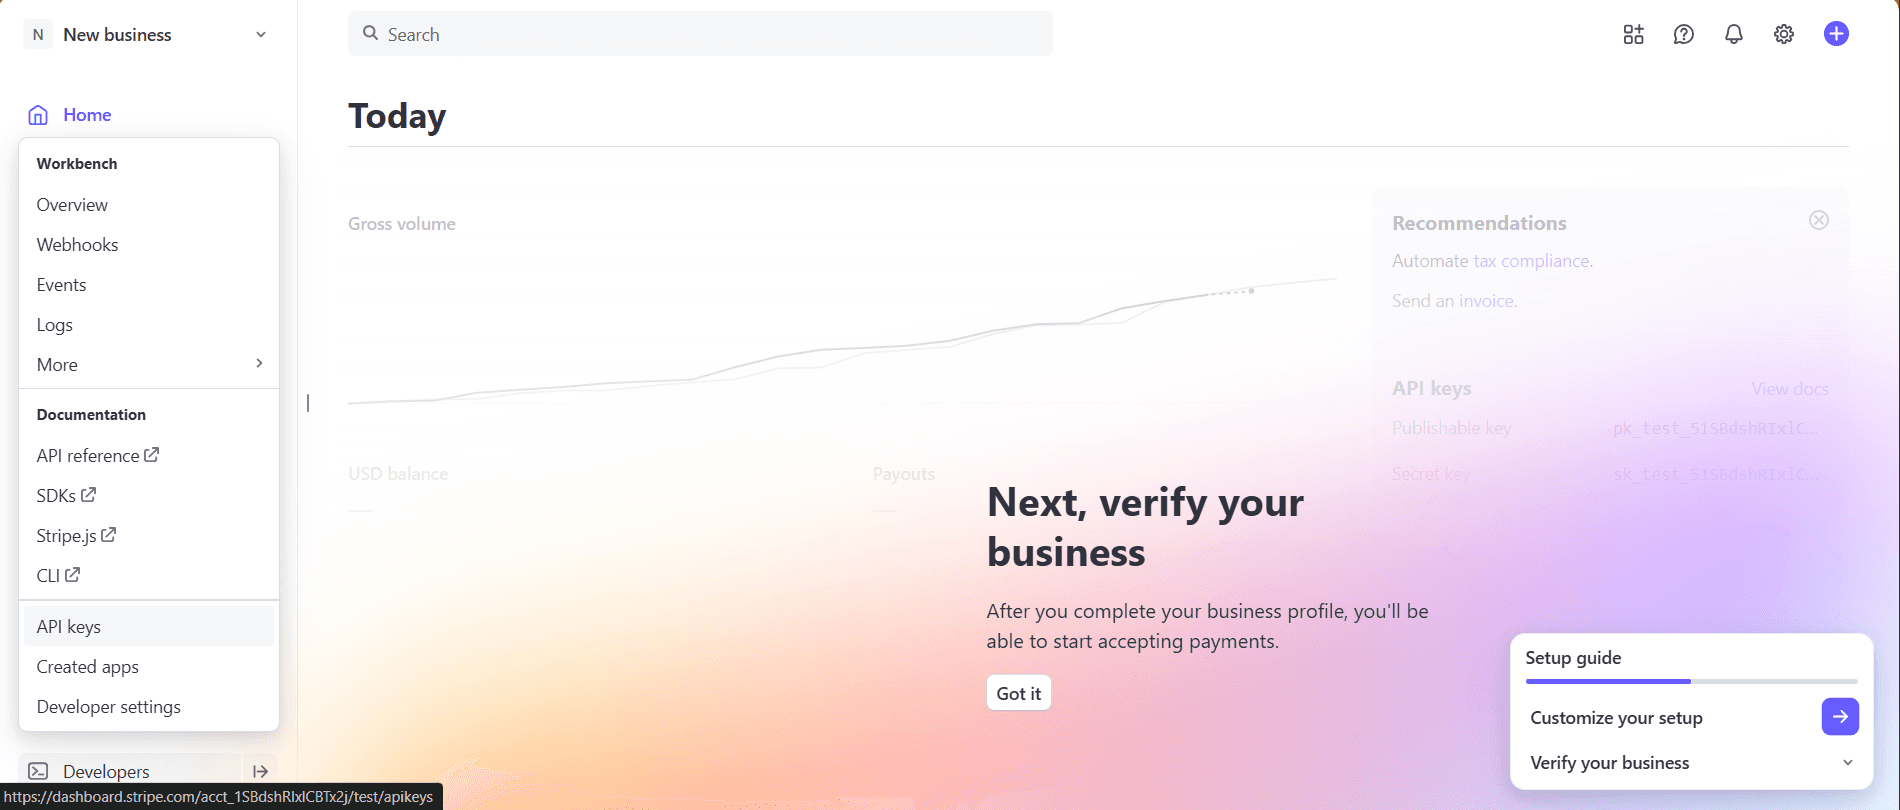
Step 1: Log in to Stripe Dashboard
Go to the Stripe Dashboard.
From the left-hand menu, click on Developers → API Keys.
Step 2: Copy Your Secret Key
Under Standard keys, you will see:
Publishable key (starts with
pk_...)Secret key (starts with
sk_test_...orsk_live_...)
Copy the Secret Key. This is what you’ll need for Composio.
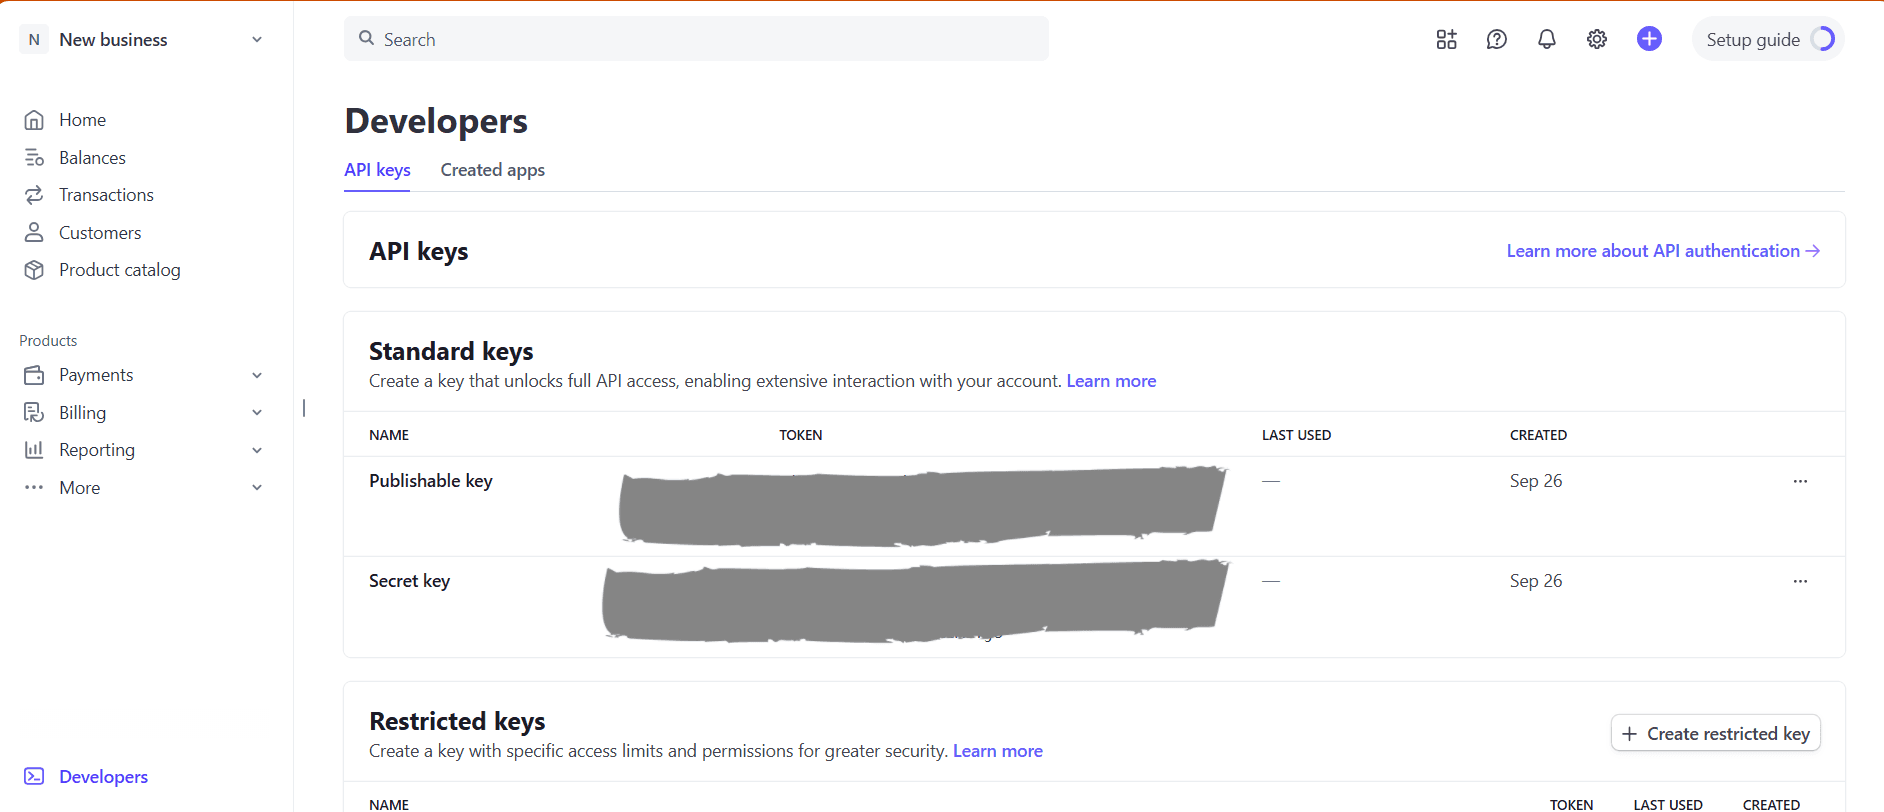
Keep this secret safe and never expose it in client-side code.
Option 2: Using Stripe OAuth2 (Recommended for SaaS / Multi-user Apps)
Step 1: Create a Stripe Connect Application
Go to your Stripe Dashboard → Settings → Connect.
Scroll to Integration settings and click + Add Integration.
Step 2: Register Your OAuth App
Fill in the details:
Name: Anything recognizable (e.g.,
Composio-Integration).Redirect URL:
https://backend.composio.dev/api/v3/toolkits/auth/callbackThis is required for Composio to complete the OAuth handshake.
Website / Privacy Policy / EULA: Optional.
Step 3: Copy OAuth Credentials
After saving, Stripe will generate:
Client ID (starts with
ca_...)Client Secret
Copy these credentials somewhere safe.
Step 4: Configure Authorized Redirect URI
Ensure your Stripe app has the following redirect URL added:
https://backend.composio.dev/api/v3/toolkits/auth/callbackNo trailing slash. Protocol must be https.
That’s all you need to set up on the Stripe side.
Creating the Auth Config in Composio
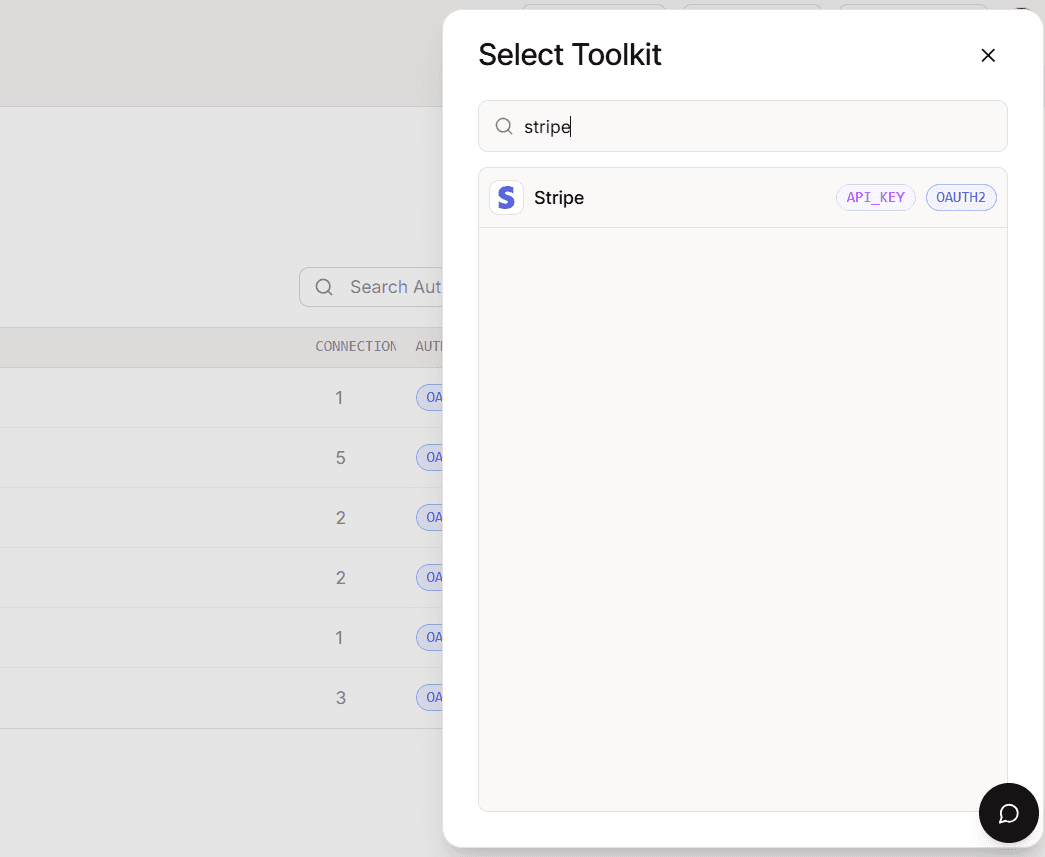
With your Stripe credentials ready, navigate to the Composio dashboard.
Click on Create Auth Config.

From the toolkit list, select Stripe.
For API Key auth → choose API Key.
For OAuth2 auth → choose OAuth2.
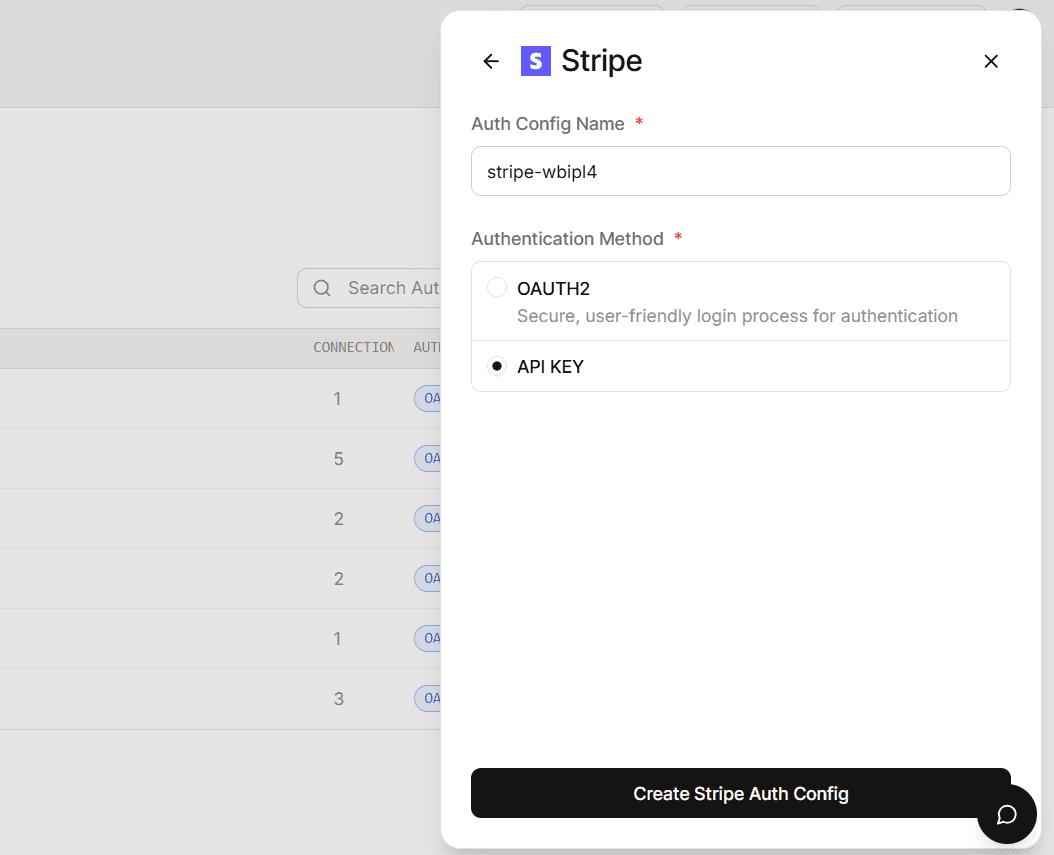
(Optional) Check Use your own developer authentication if you want to use your custom Stripe app instead of Composio’s default.
Step 4: Fill in Your Auth Details
On the Manage Auth Config page:
For API Key auth:
API Key → Paste the Stripe Secret Key (
sk_test_...orsk_live_...).
For OAuth2 auth:

Client ID → Paste from Stripe
Client Secret → Paste from Stripe
Redirect URI → Must match exactly:
https://backend.composio.dev/api/v3/toolkits/auth/callbackScopes → Keep defaults, unless you need custom access.
Scopes supported by Composio:
Below are all the scopes that Composio supports for Stripe. You should add these scopes based on your integration requirements:
read_only,read_writeThese scopes define the permissions your app can request during the OAuth authorization process. It’s essential to select only the scopes necessary for your application's functionality, adhering to the principle of least privilege.
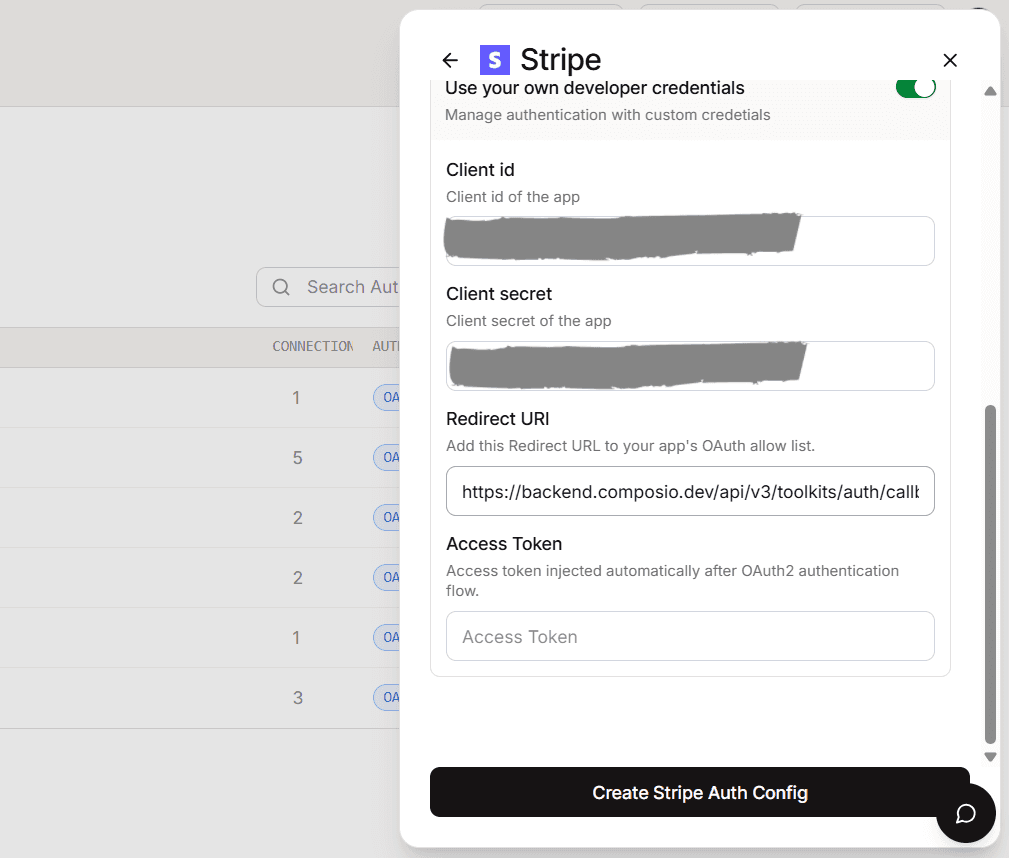
Click Create Stripe Auth Config.
Base URL for Stripe
All Stripe API requests go through:
https://api.stripe.com/v1Your custom Stripe auth config (API Key or OAuth2) is now ready to use! Copy the auth config ID (ac_...) and plug it into your application or workflow via a secret manager.