In this guide, I’ll share the process for creating OAuth2 credentials in Snowflake and connecting them to Composio. Let’s get started
Setting up Snowflake
Snowflake doesn’t give you a web UI for creating OAuth apps. Instead, you create an OAuth security integration using SQL commands.
NOTE: You need access to a Snowflake account with the ACCOUNTADMIN role (or a role that has the privilege to create integrations).
Step 1: Log in to Snowflake
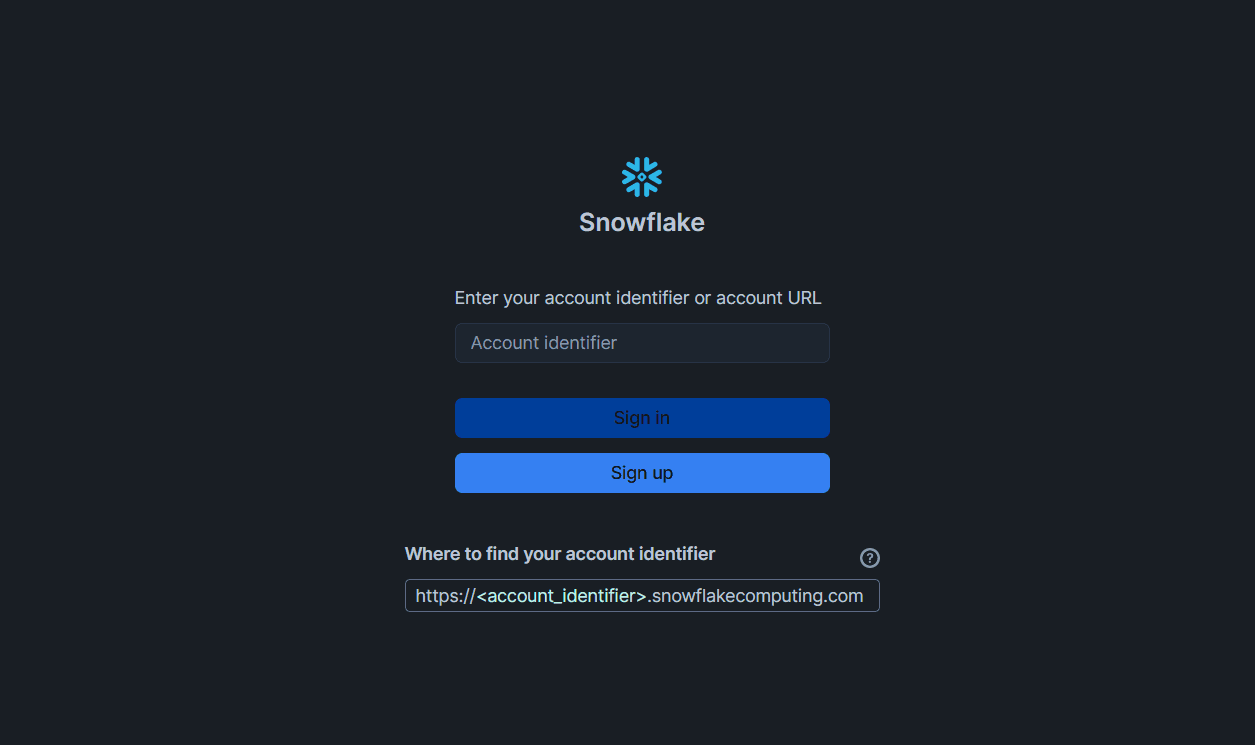
Go to Snowflake Web UI.
Log in with your Snowflake account credentials.
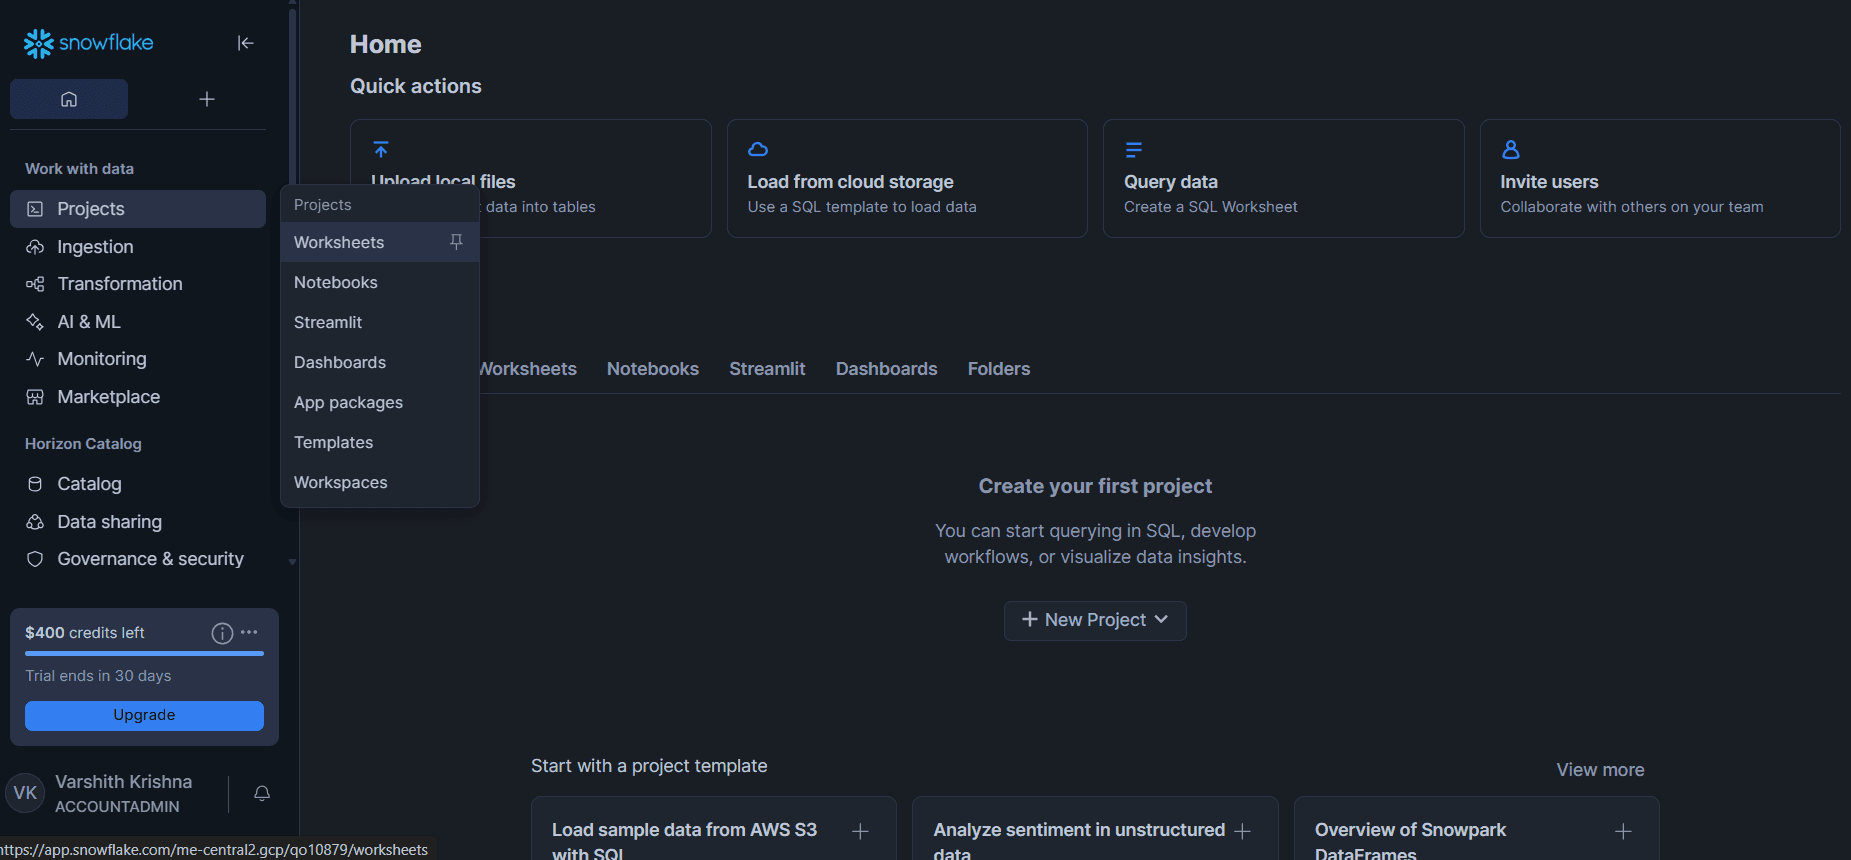
Once logged in, click on the Worksheet tab (this is where you can run SQL commands).
Step 2: Create a New OAuth Integration
Copy and paste the following SQL command into your worksheet:
CREATE SECURITY INTEGRATION oauth_custom_all_roles
  TYPE = oauth
  ENABLED = true
  OAUTH_CLIENT = custom
  OAUTH_CLIENT_TYPE = 'CONFIDENTIAL'
  OAUTH_REDIRECT_URI = 'https://backend.composio.dev/api/v1/auth-apps/add'
  OAUTH_ISSUE_REFRESH_TOKENS = TRUE
  OAUTH_REFRESH_TOKEN_VALIDITY = 7776000;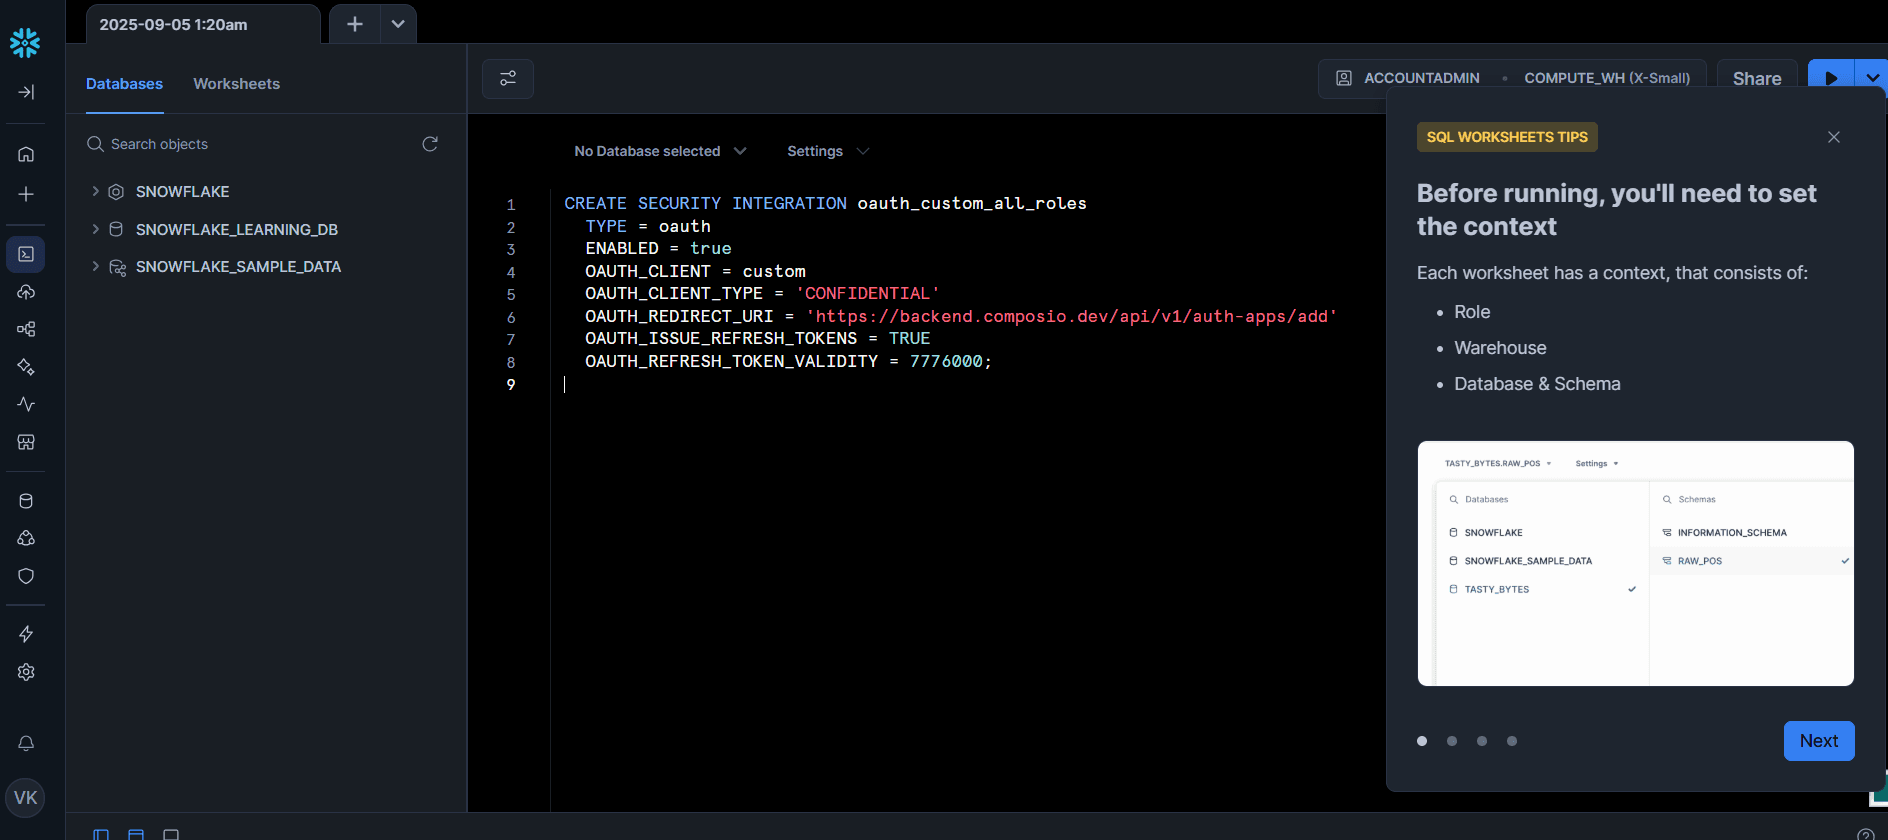
Then, click Run (▶️ button).
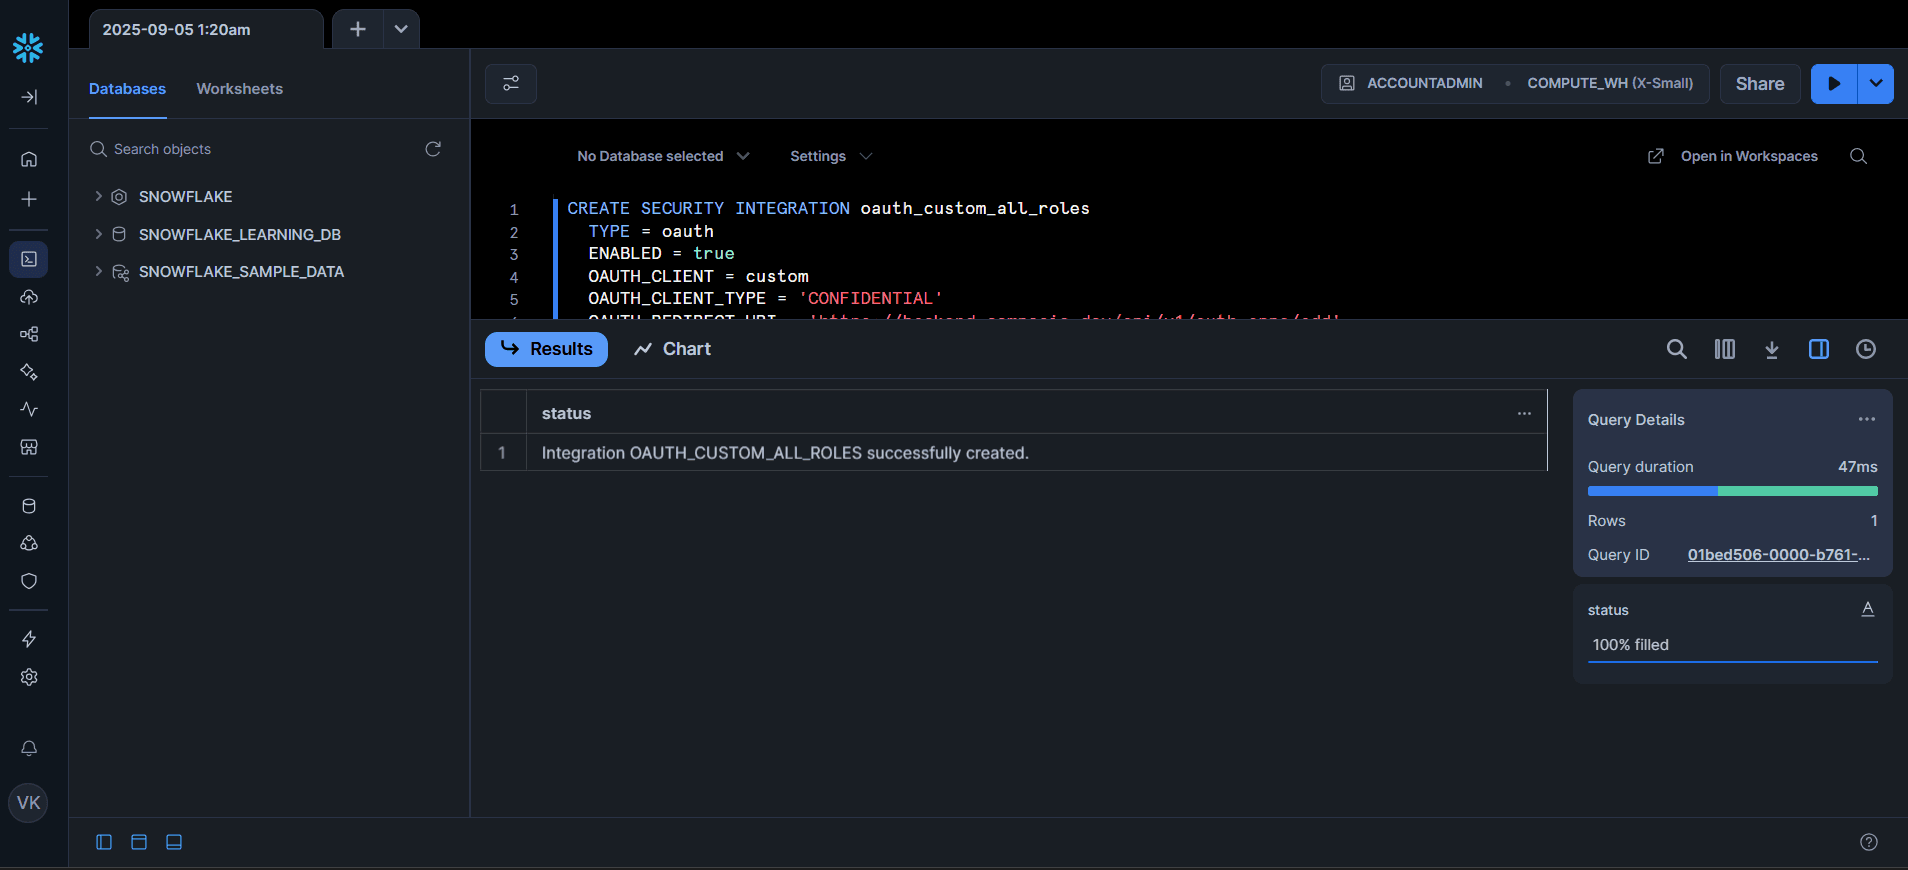
This creates a new OAuth client inside your Snowflake account.
Step 3: Retrieve Your Credentials
Now, run this command to get your Client ID and Client Secret:
DESC SECURITY INTEGRATION oauth_custom_all_roles;This will display a table of settings.
Look for these two fields in the output:
SELECT SYSTEM$SHOW_OAUTH_CLIENT_SECRETS('OAUTH_CUSTOM_ALL_ROLES') AS SECRETS;
Copy them somewhere safe. You’ll need them in Composio.
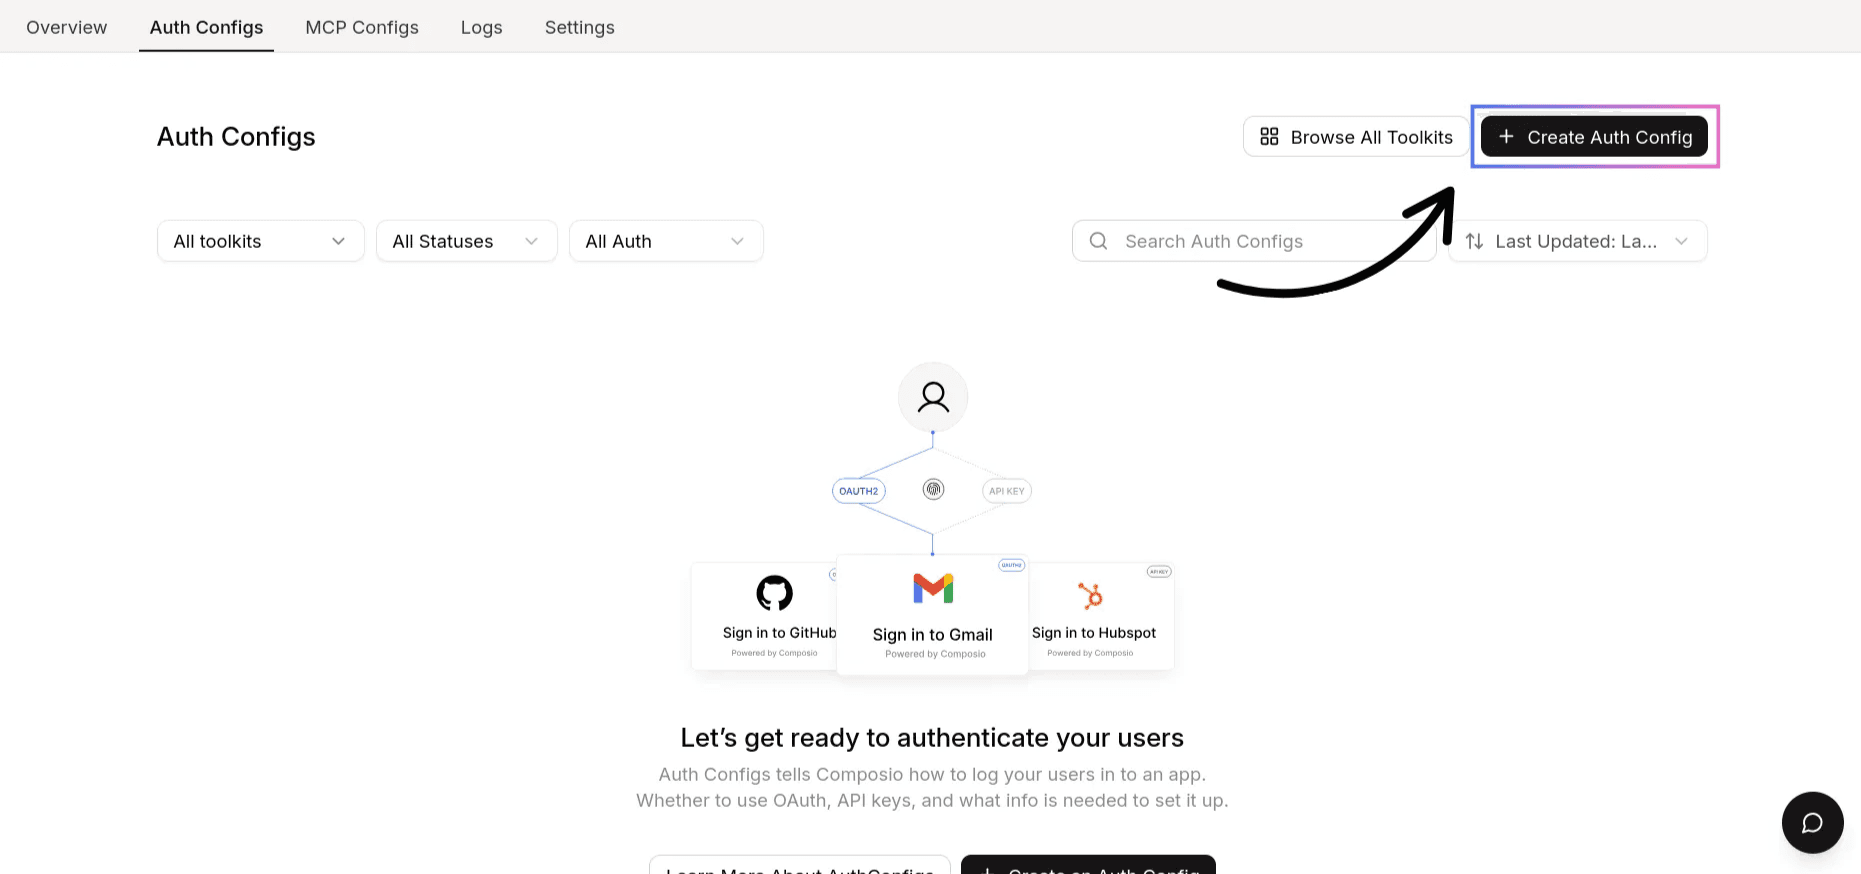
Creating the Auth Config in Composio
Now let’s move over to Composio.
Open the Composio Dashboard.
Click on Create Auth Config.
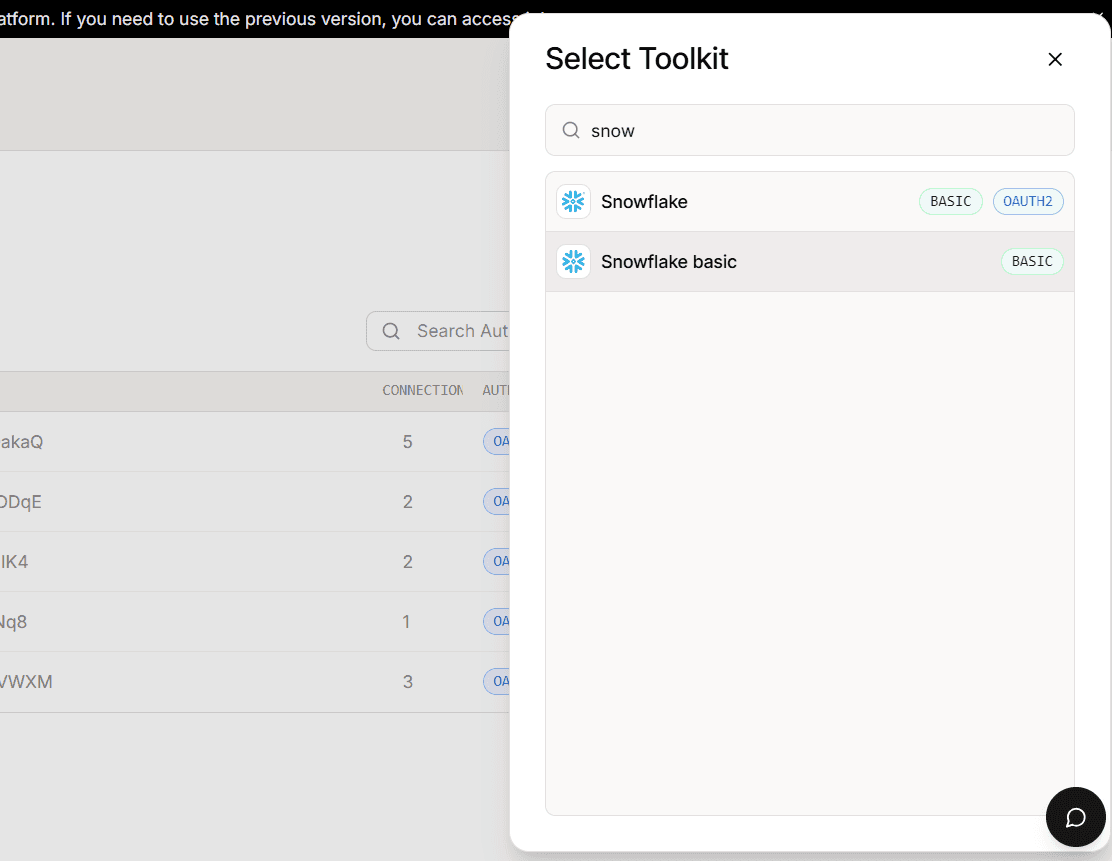
From the list of toolkits, select Snowflake.
Make sure the authentication type is set to OAuth2.

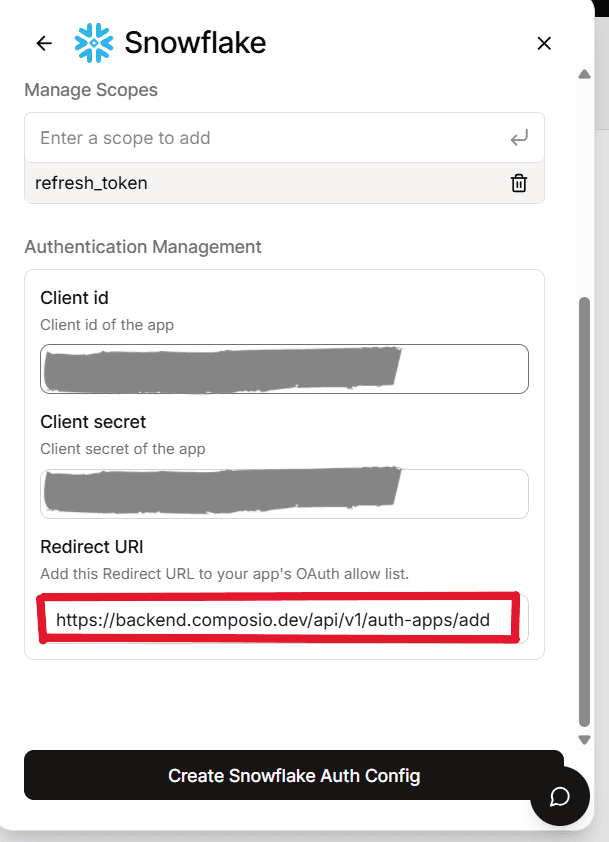
Step 4: Fill in Your OAuth Details
In the Manage Auth Config screen:
Client ID → Paste the
OAUTH_CLIENT_IDfrom Snowflake.Client Secret → Paste the
OAUTH_CLIENT_SECRETfrom Snowflake.Redirect URI → Must exactly match:
https://backend.composio.dev/api/v3/auth-apps/addScopes supported by Composio:
Below are all the scopes that Composio supports for Snowflake. You should add these scopes based on your integration requirements:
data.read,data.write,schemas.read,schemas.write,tables.read,tables.write,views.read,views.write,roles.read,roles.write,users.read,users.write,warehouses.read,warehouses.write,databases.read,databases.write,shares.read,shares.write,streams.read,streams.write,pipes.read,pipes.write,functions.read,functions.write,procedures.read,procedures.write,resources.read,resources.write,monitoring.read,monitoring.write,security.read,security.write,session.read,session.write,account.read,account.writeThese scopes define the permissions your app can request during the OAuth authorisation process. It’s essential to select only the scopes necessary for your application's functionality, adhering to the principle of least privilege.
Click Create Auth Config.
Snowflake requires you to specify API access scopes. Standard scopes define what actions your integration can perform on behalf of a user.
You can customise these scopes according to your integration needs.
Base URL for Snowflake
When using this auth config, API requests go through your Snowflake account URL:
https://<your_account>.snowflakecomputing.comReplace <your_account> with your actual Snowflake account name (you can find it in the login URL).
If you don’t have one, you can sign up for a free Snowflake trial.
OAUTH_CLIENT_IDOAUTH_CLIENT_SECRET
If you don’t find the desired client secret, run the following command: