In this guide, I’ll walk you through the complete process of setting up OAuth2 authentication flow for your Shopify app using Shopify’s Admin Dashboard. So let’s begin.
Setting up the Shopify App
Step 1: Create an Account on Shopify
You can skip this step if you already have an admin dashboard for Shopify. Navigate to shopify.com, and click “Start for Free”. Enter the details and verify your Email Address. Complete your profile setup.
Step 2: Access the App Development Dashboard
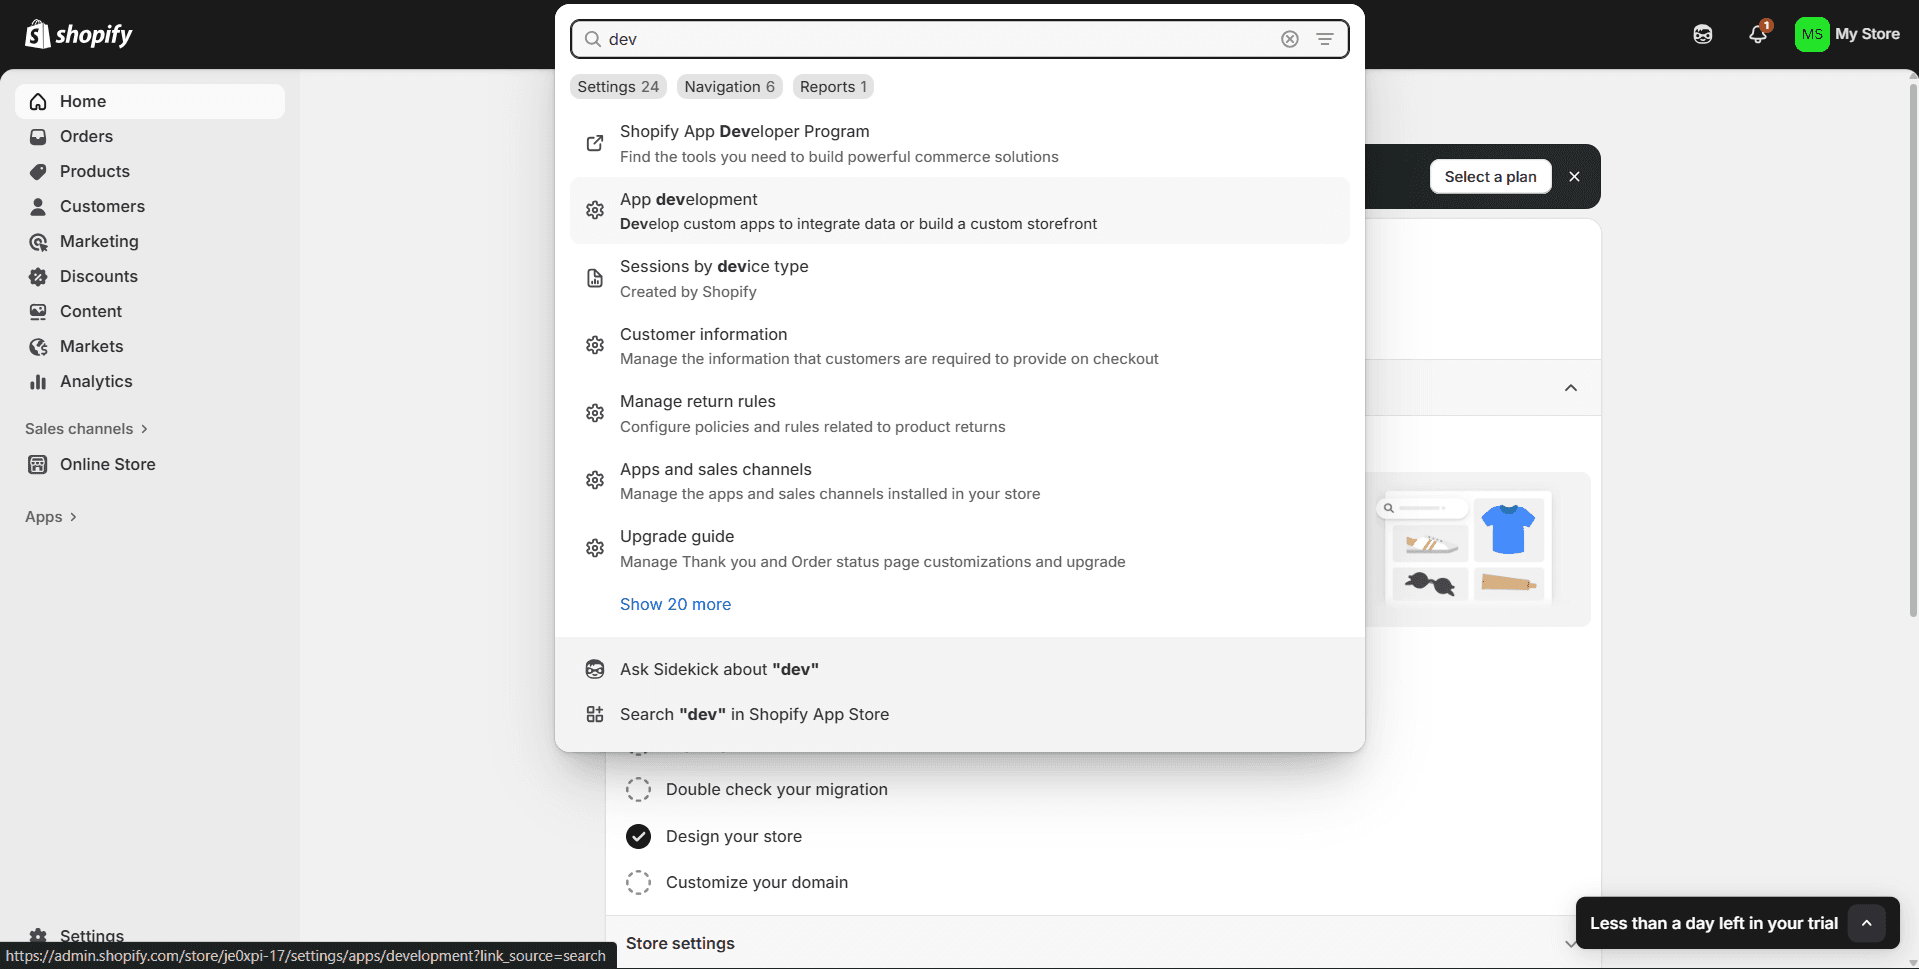
Log in to your Shopify Admin Dashboard
In the search bar, type “App Development” and select it. This will take you to the main app development page, where you can manage all your Shopify applications.
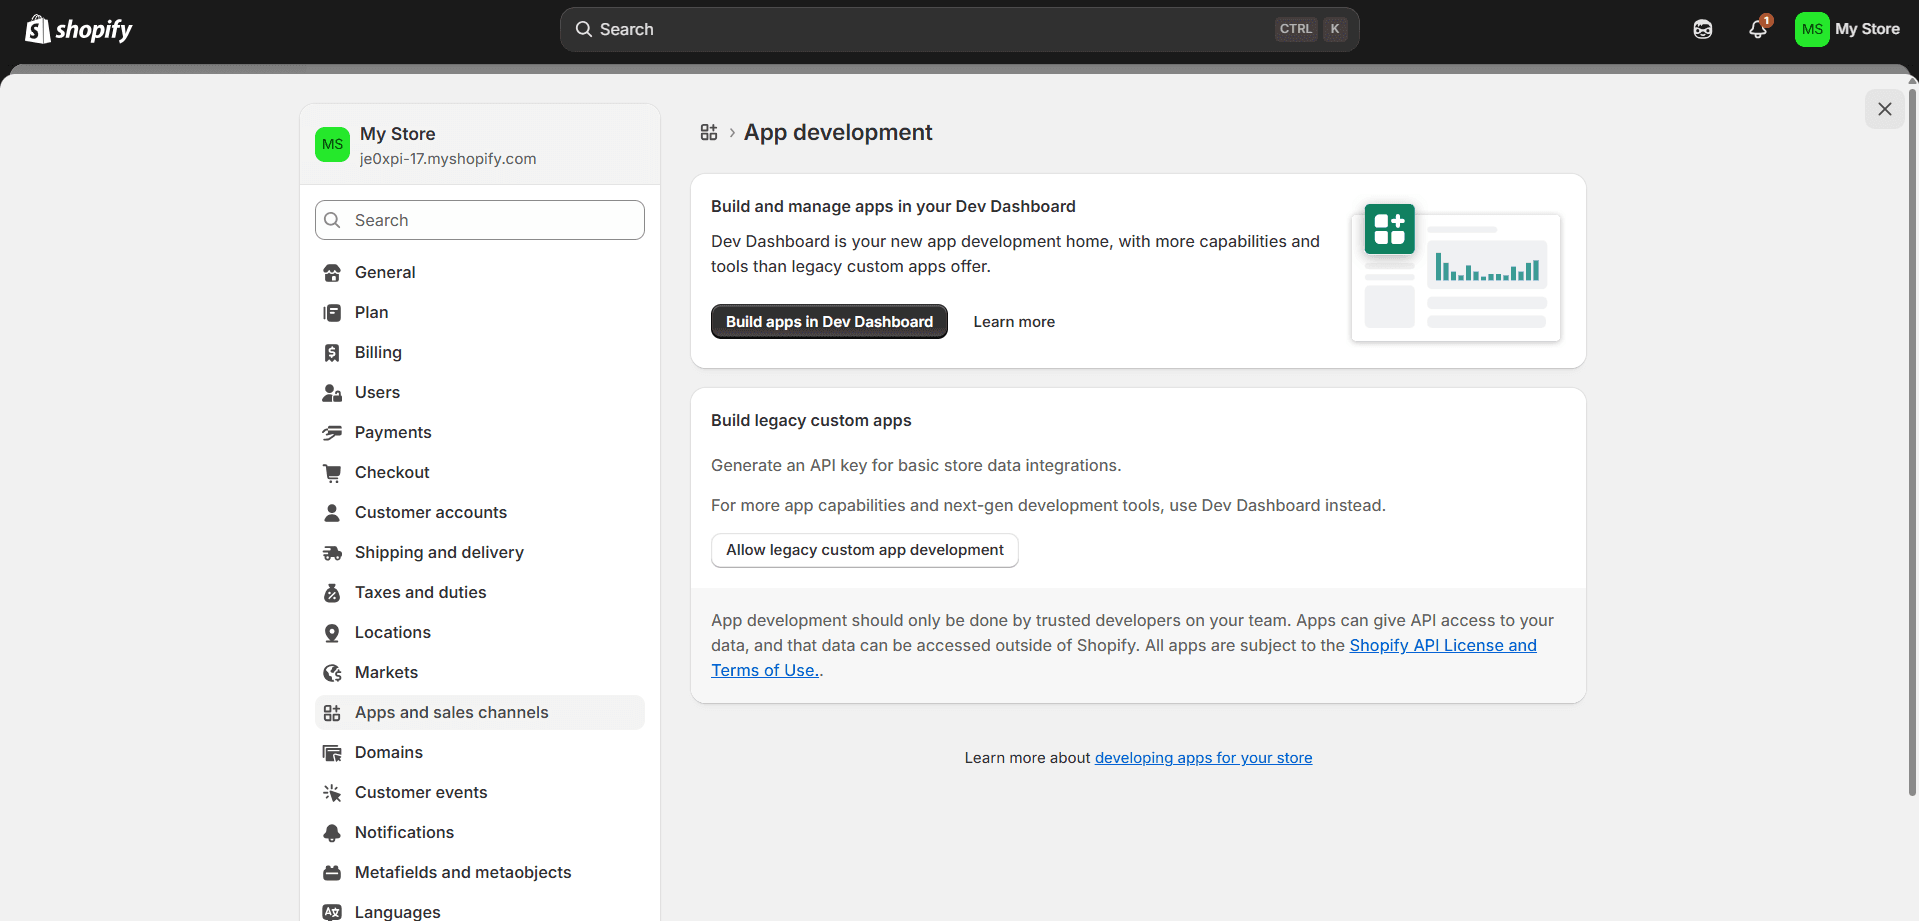
On the development page, click “Build apps in Dev Dashboard”. This opens a dedicated development environment where you can create and configure your Shopify applications.
Step 3: Create Your First App Version
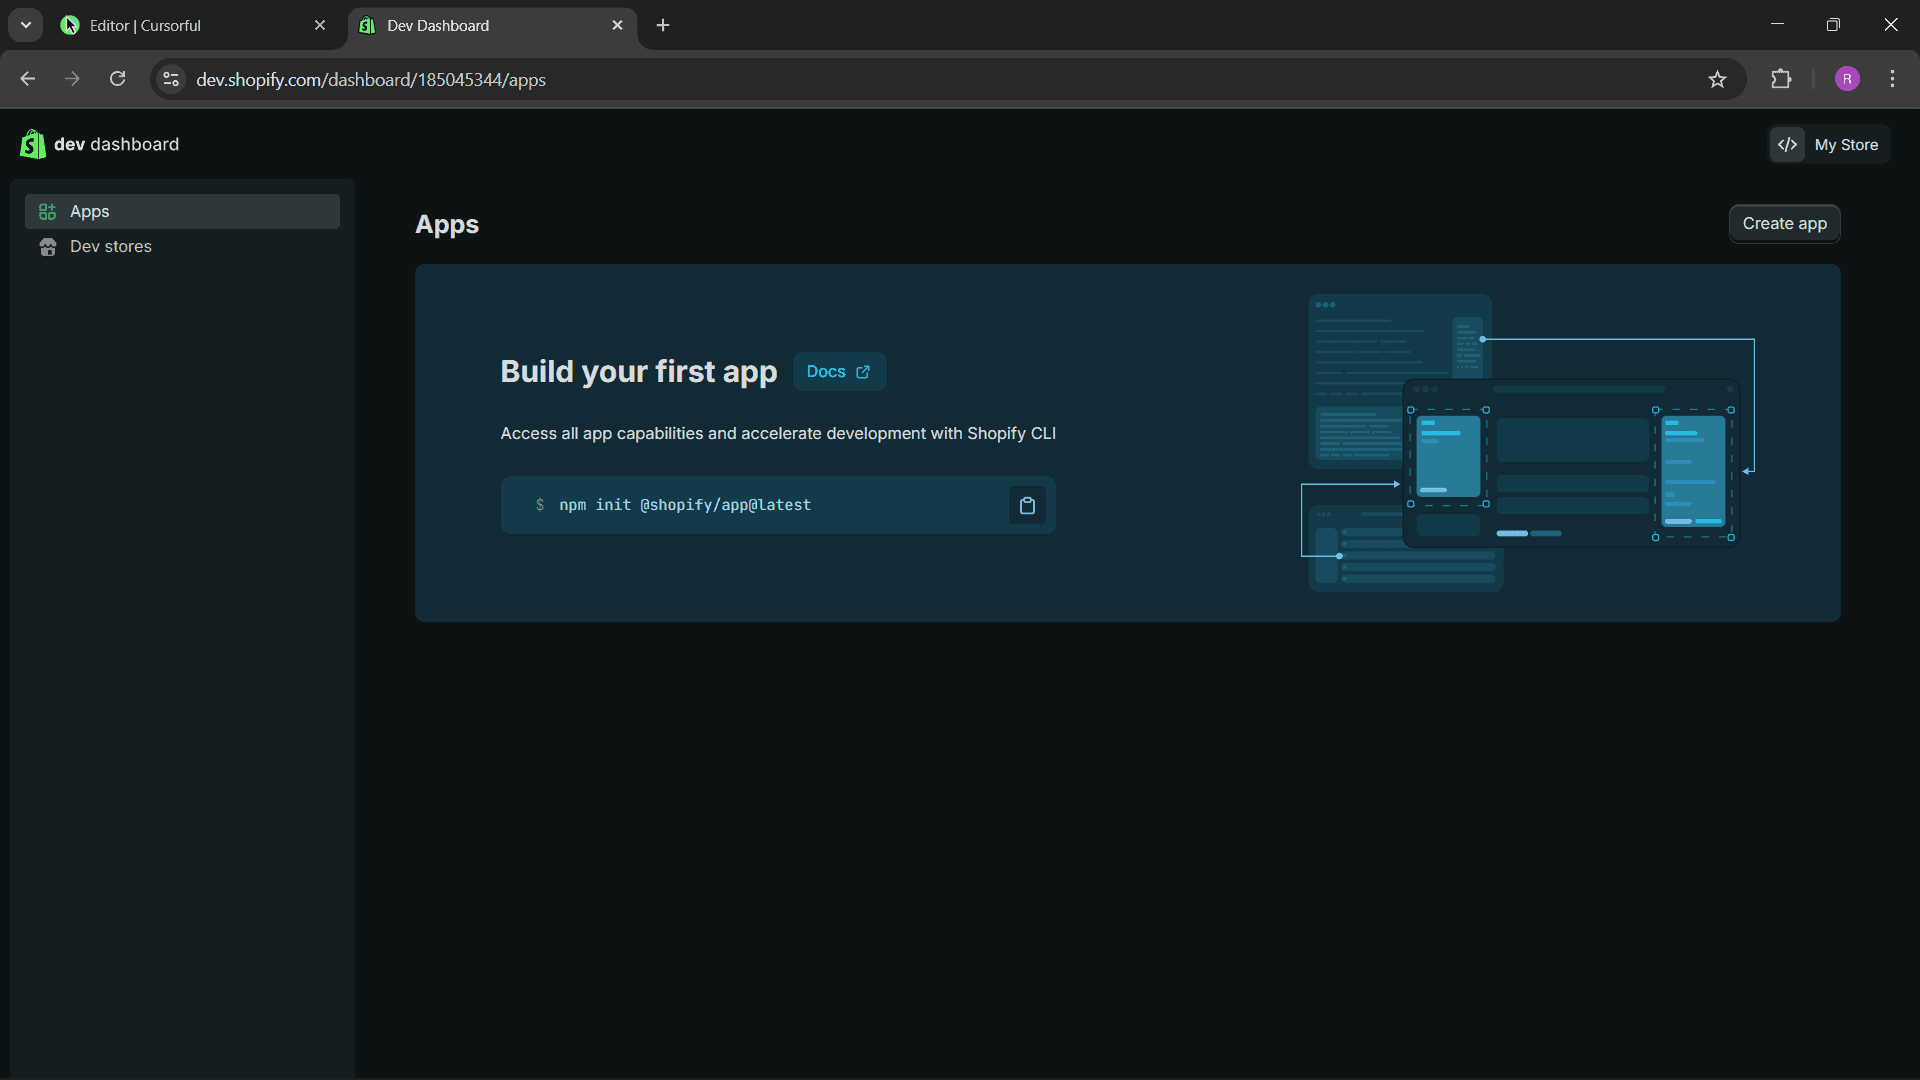
In the development dashboard, click the “Create App” button in the top-right corner. You’ll be redirected to the app creation page
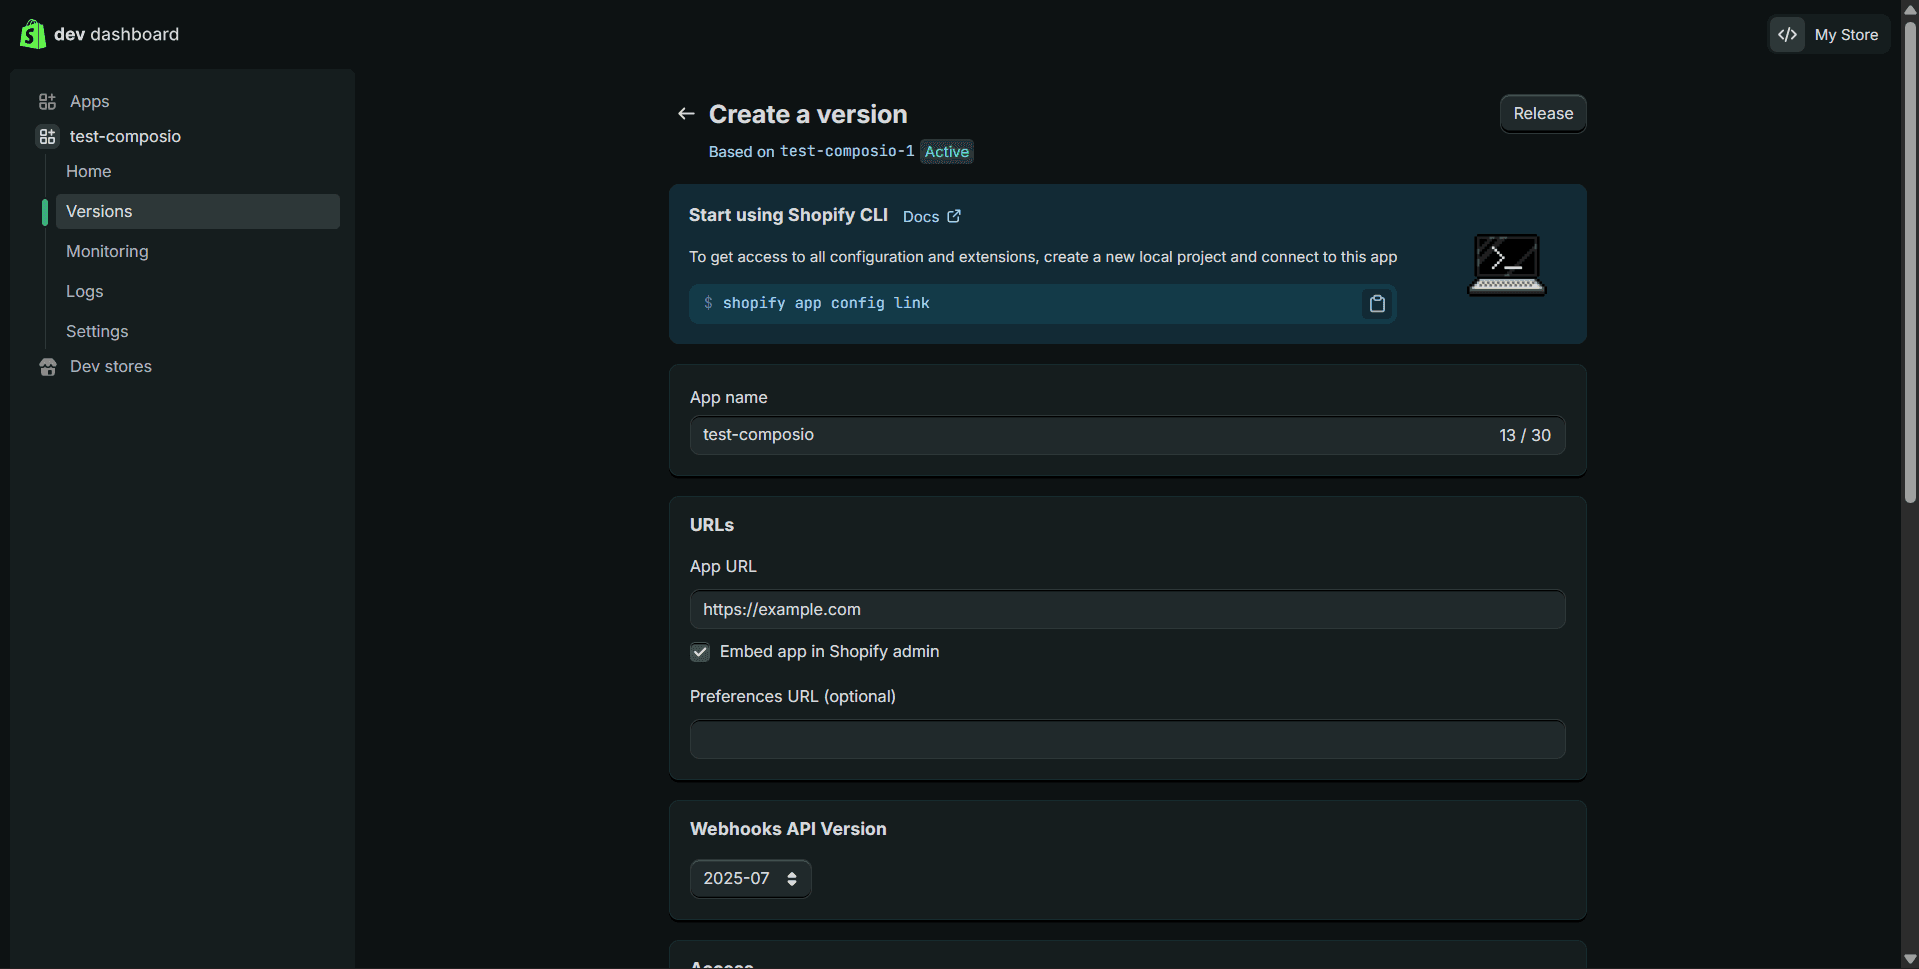
Configure your Basic App Information
App Name: Enter a descriptive name for your application
For this example, we’ll use
test-composio
Click “Create” to proceed

It’ll again redirect you to the version configuration page.
Here, you can configure all your core settings:
App URL: Paste your application's main URL.
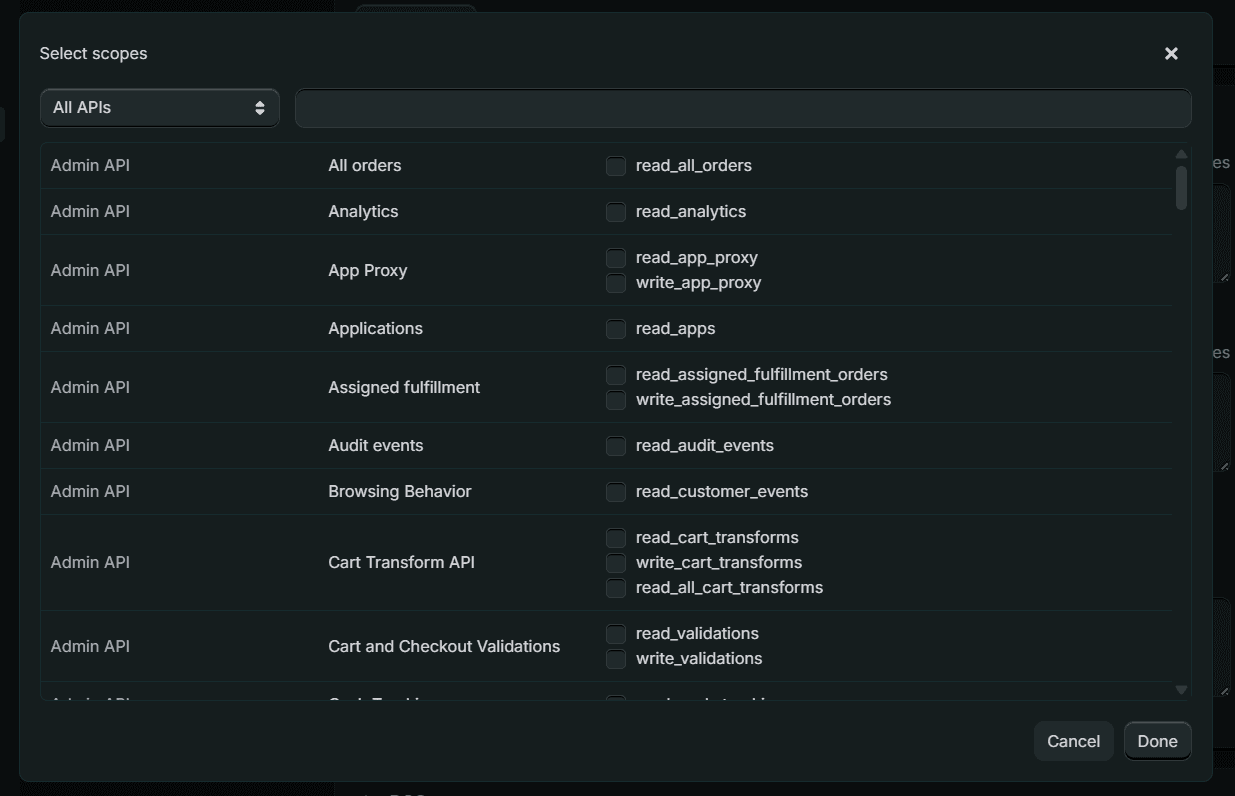
Scope Selections: Select the appropriate API scopes based on your needs. For most applications, you’ll need:
Essential Scopes:
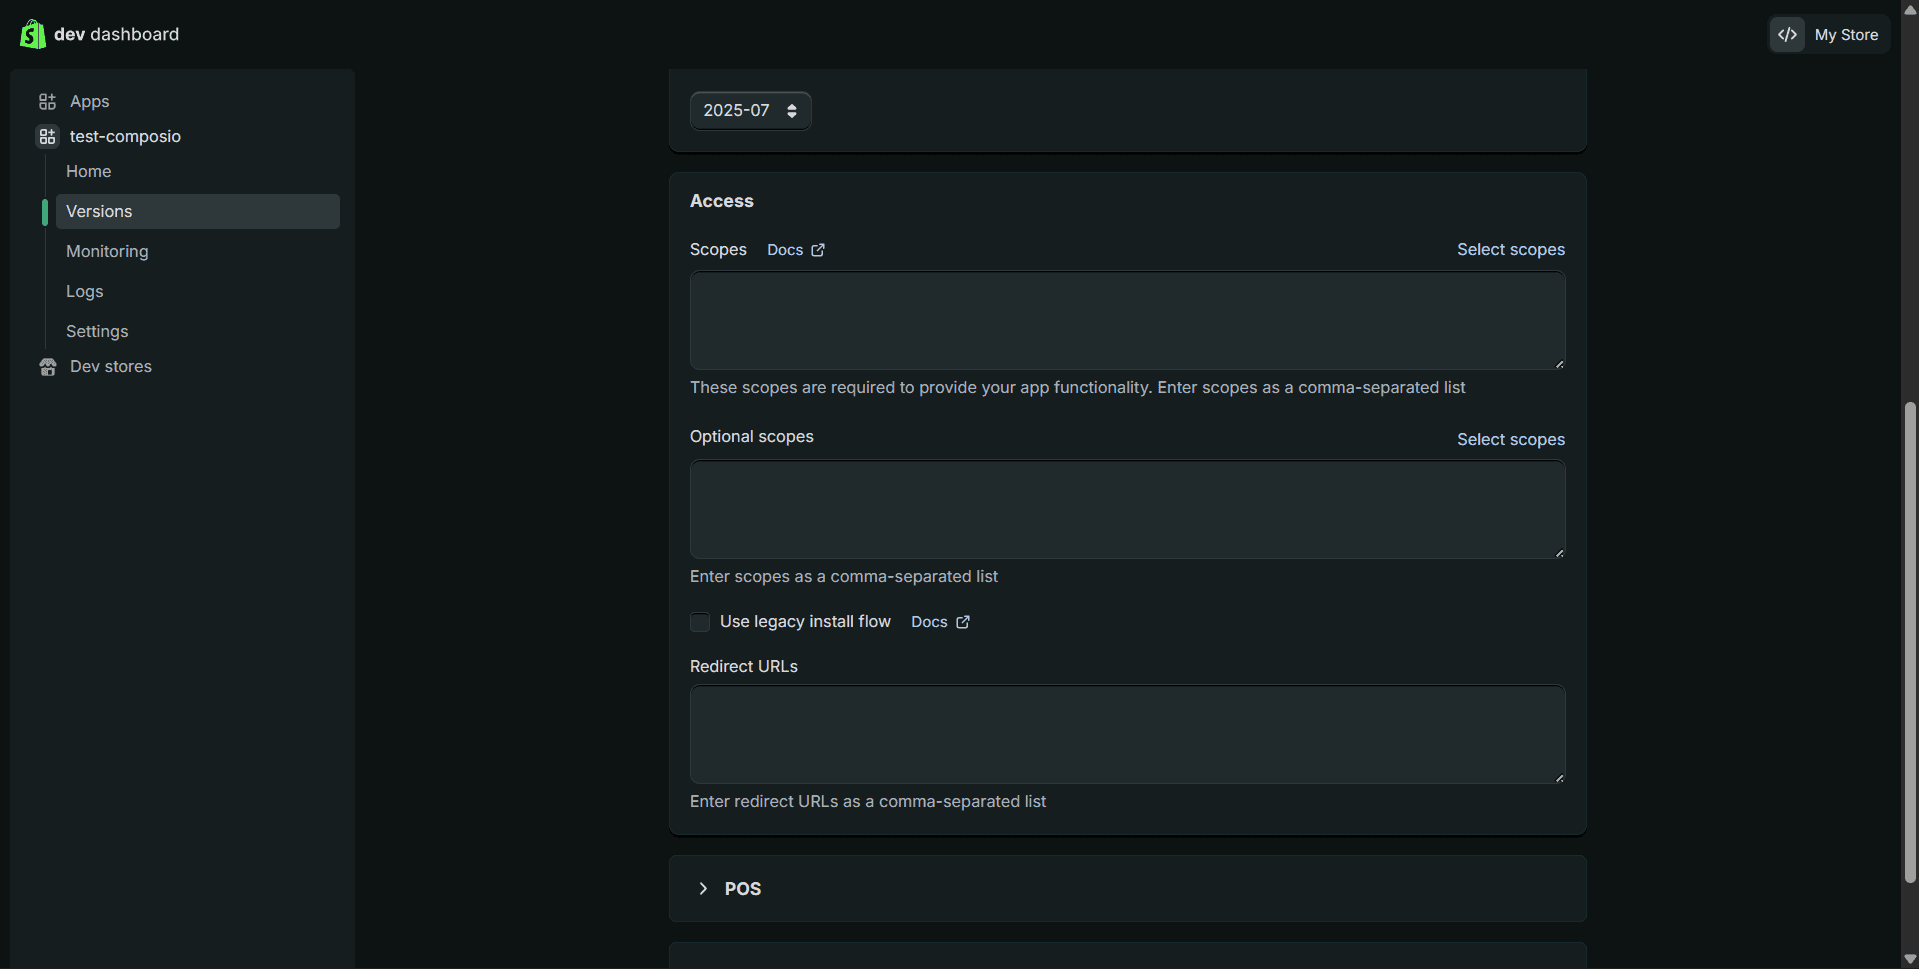
read_orders- Read order informationwrite_orders- Modify order dataread_products- Access product informationwrite_products- Modify product data
Additional Scopes (select as needed):
read_customers- Access customer datawrite_customers- Modify customer informationread_inventory- Read inventory levelswrite_inventory- Update inventory
Redirect URL: This is where Shopify sends users after they authorize your app:
https://backend.composio.dev/api/v3/toolkits/auth/callbackor the one provided by default in the config option on the Composio dashboard
Click “Release” at the bottom of the page. In the modal that appears, include some optional data like Version Name and Version Message.
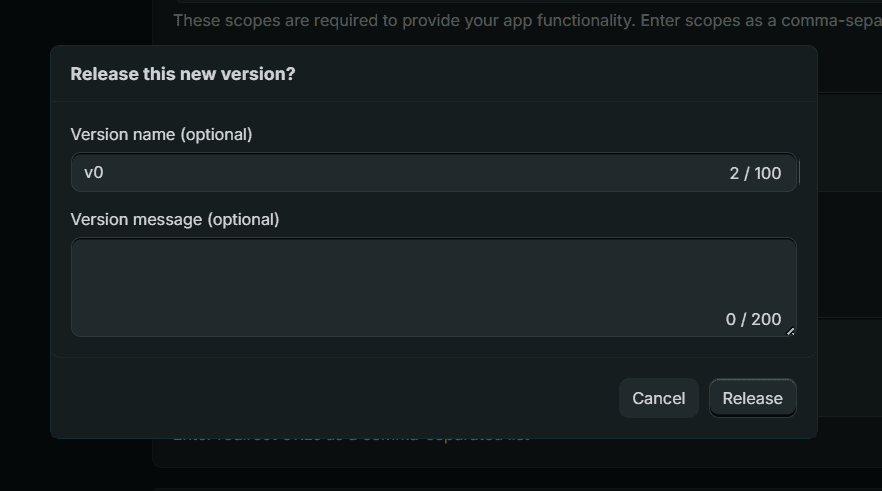
Click “Release” to finalize

Retrieving OAuth Credentials
Step 4: Access OAuth Credentials
Navigate to the Settings page from the left sidebar. This page contains your OAuth credentials
You’ll find both the:
Client ID: Your app’s unique identifier
Client Secret: Your app’s secret key (keep this secure!)
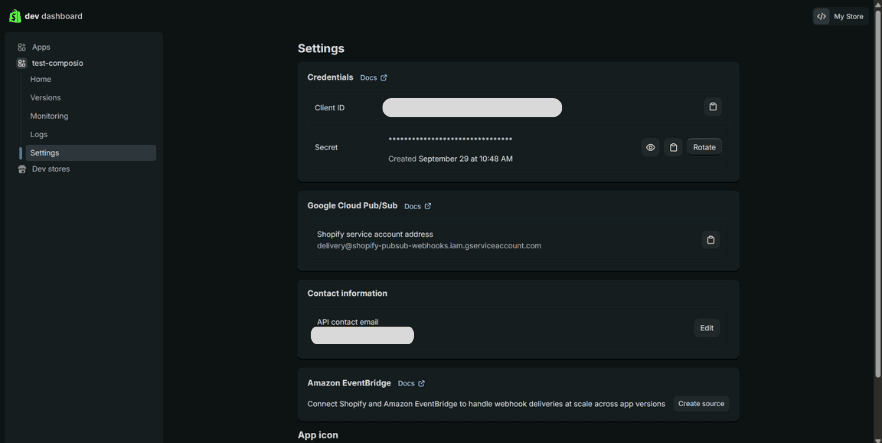
Copy both values - you’ll need them for your application configuration.
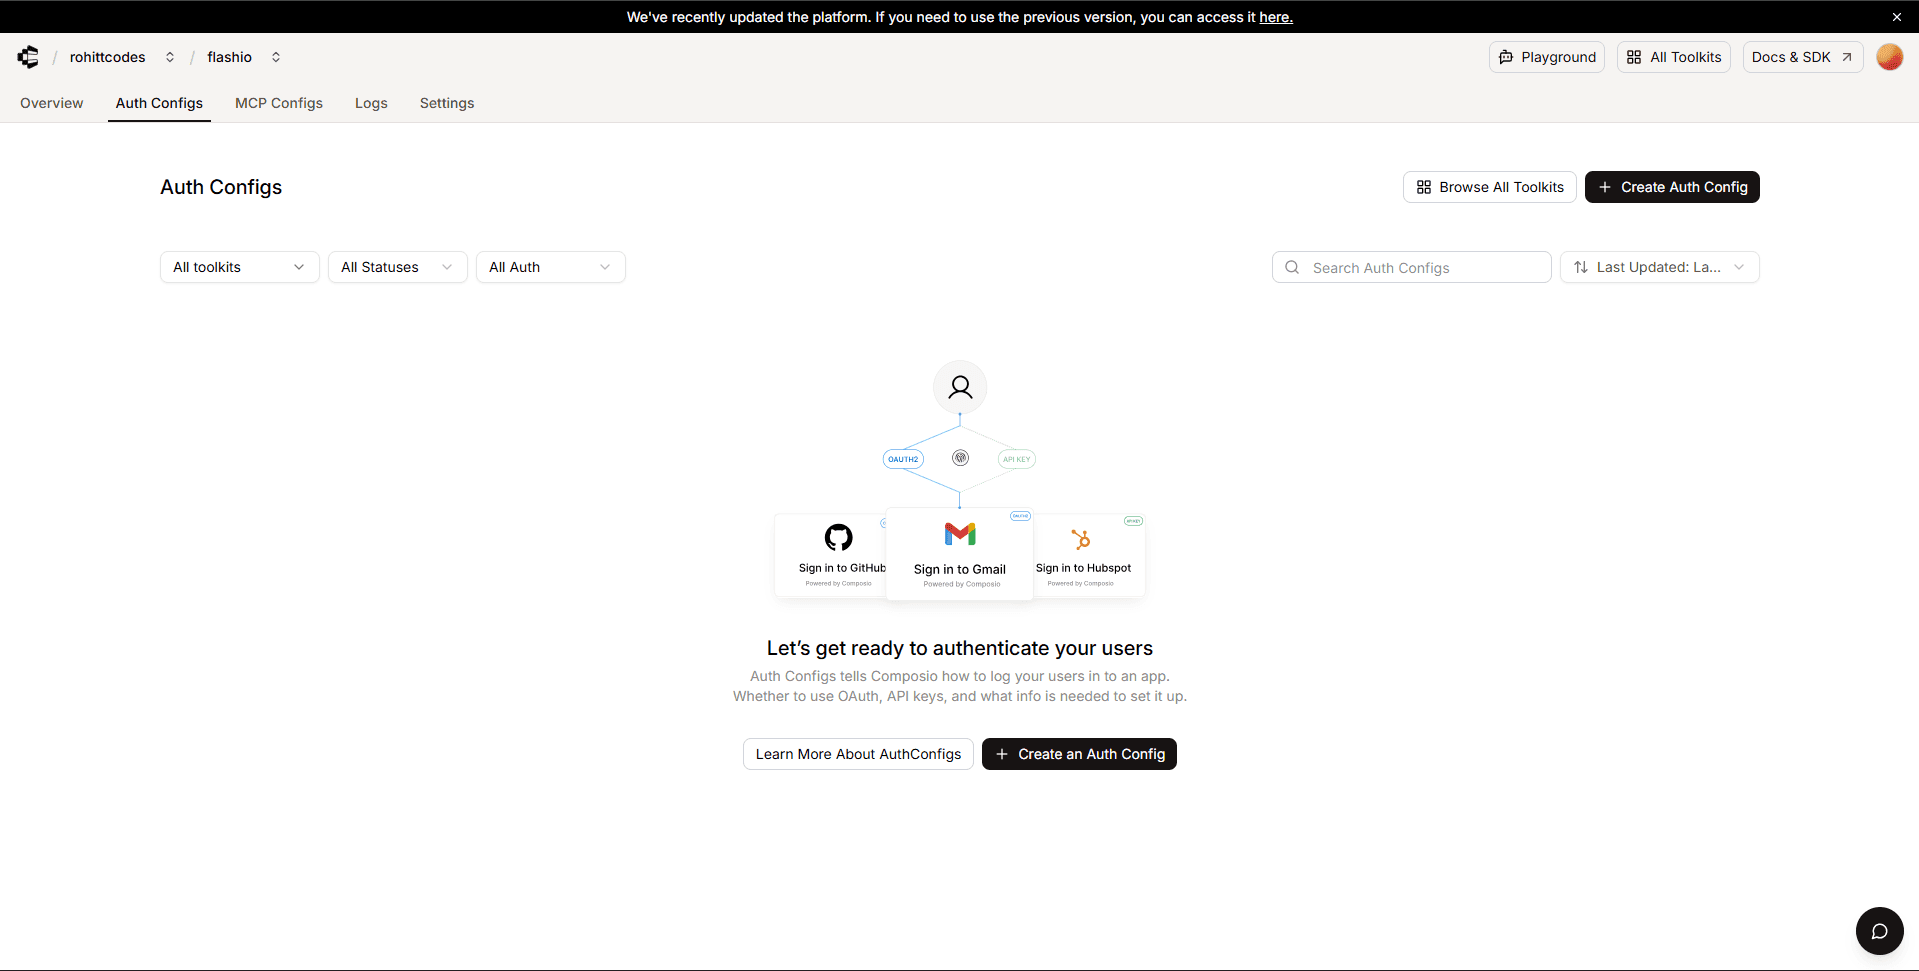
Configuring Authentication in Composio
Step 5: Configure OAuth Settings
Navigate to your Composio Dashboard → Click “Create Auth Config” → Select Shopify from the available integrations.
Choose “OAuth2” as the authentication method, and check “Use your own developer credentials”
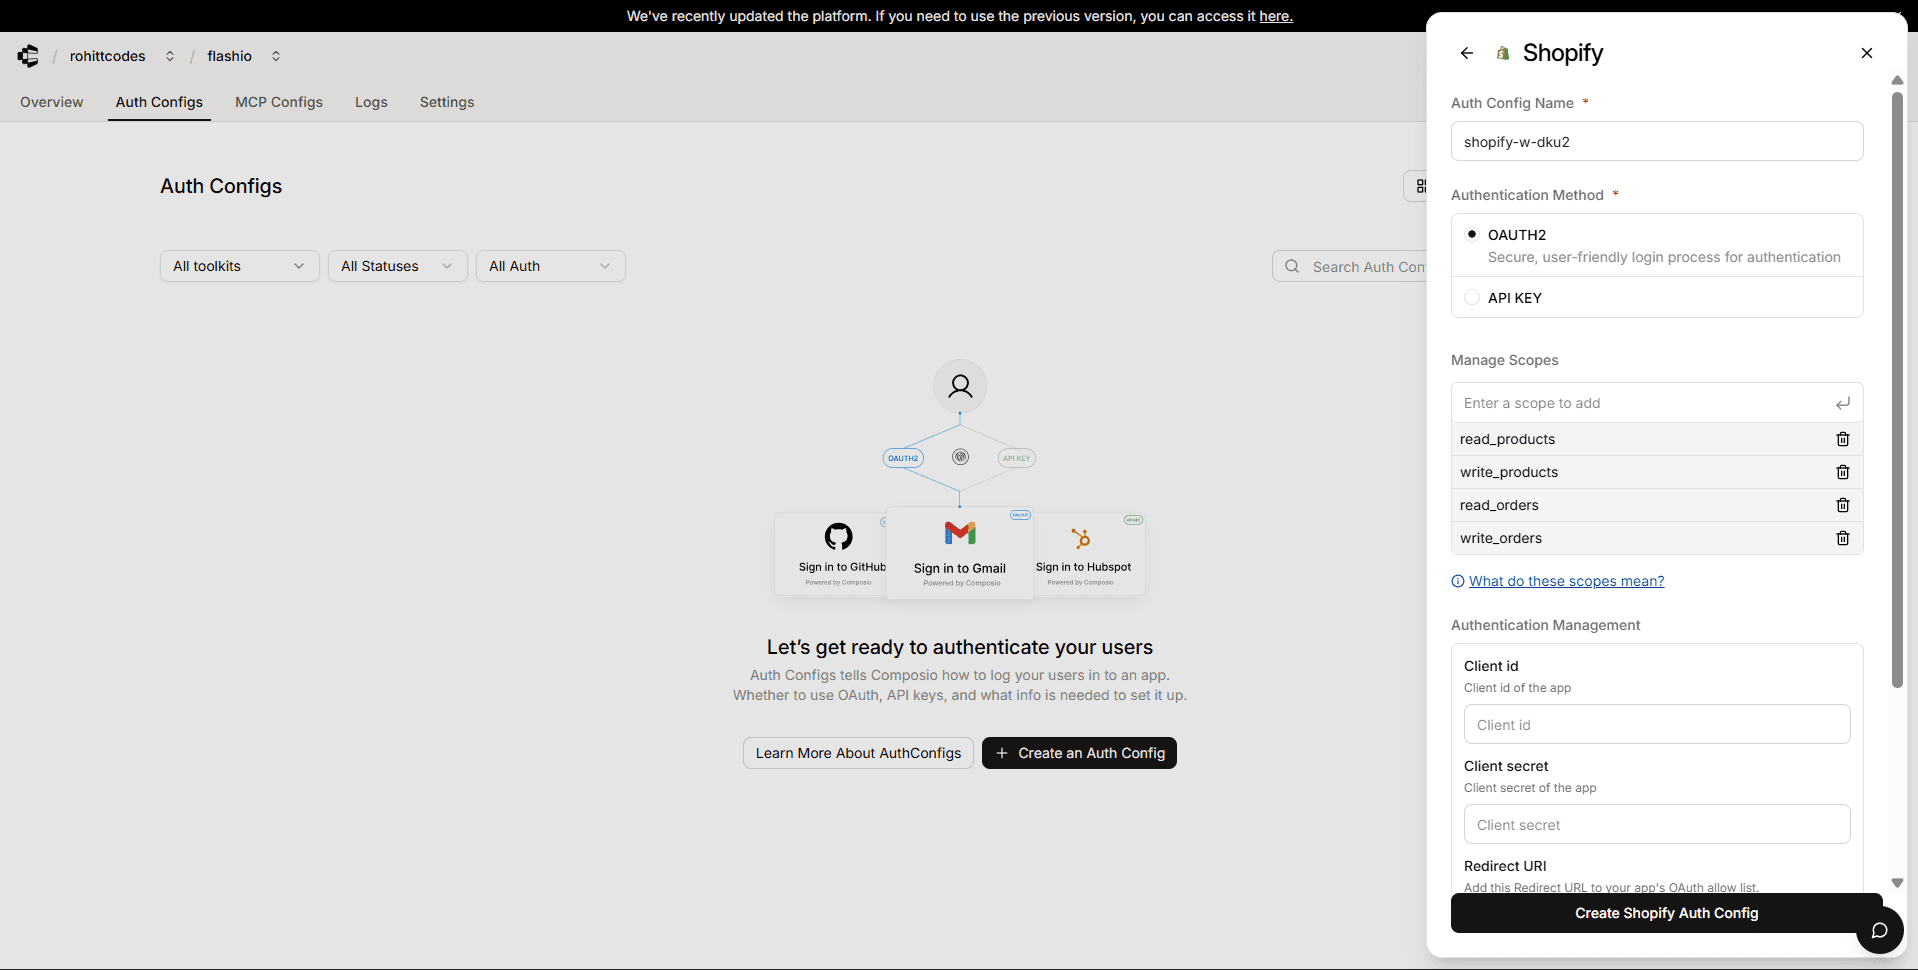
At the bottom, you’ll see a section for managing auth config with required fields like:
Client ID: Paste the Client ID from your Shopify Dev Dashboard
Client Secret: Paste the Client Secret from the Shopify Dev Dashboard
Redirect URI: It must match exactly with your Shopify app configuration

https://backend.composio.dev/api/v3/toolkits/auth/callbackFinalize your Configuration: Click “Create Auth Config” to complete the setup. You’ll see a Config ID (format:
ac_...) that you can use in your application code.
Step 6: Testing your OAuth Integration
In Composio, click “Connect Account”, A modal will open for connection to initialize:
External User ID: Enter any identifier (e.g.,
test-user-001)Store subdomain: Enter your Shopify store’s subdomain. If your store URL is
https://je0xpi-12.myshopify.com, enterje0xpi-12
Click “Connect Account”
A new window will open for Shopify authorization. Install the app, and grant permissions.

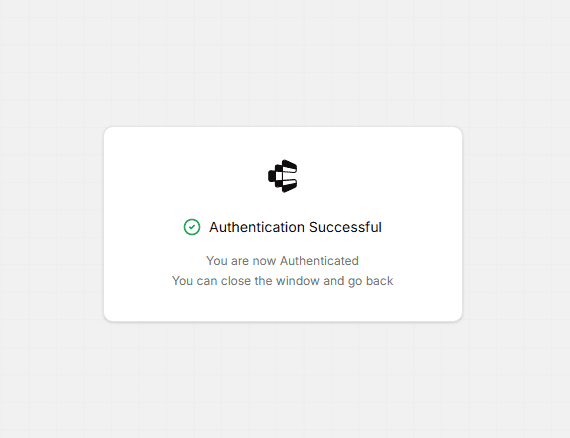
You’ll see the “Authentication Successful” message, close the window, and verify the connection where the user config shows “Active” status.
