In this guide, I will share the process for customizing the auth config for PostHog. So, let's begin.
Setting Up PostHog
In this section, we’ll go through the process of setting up PostHog and mainly creating a personal API key that you can use inside of Composio.
Step 1: Create a PostHog account
Visit PostHog and create a new account if you don't already have one.
NOTE: The API key that we will generate will be tied to this PostHog account.
Step 2: Create a Personal API Key
Once you have a PostHog account, you can create a personal API key.
Navigate to your PostHog account.
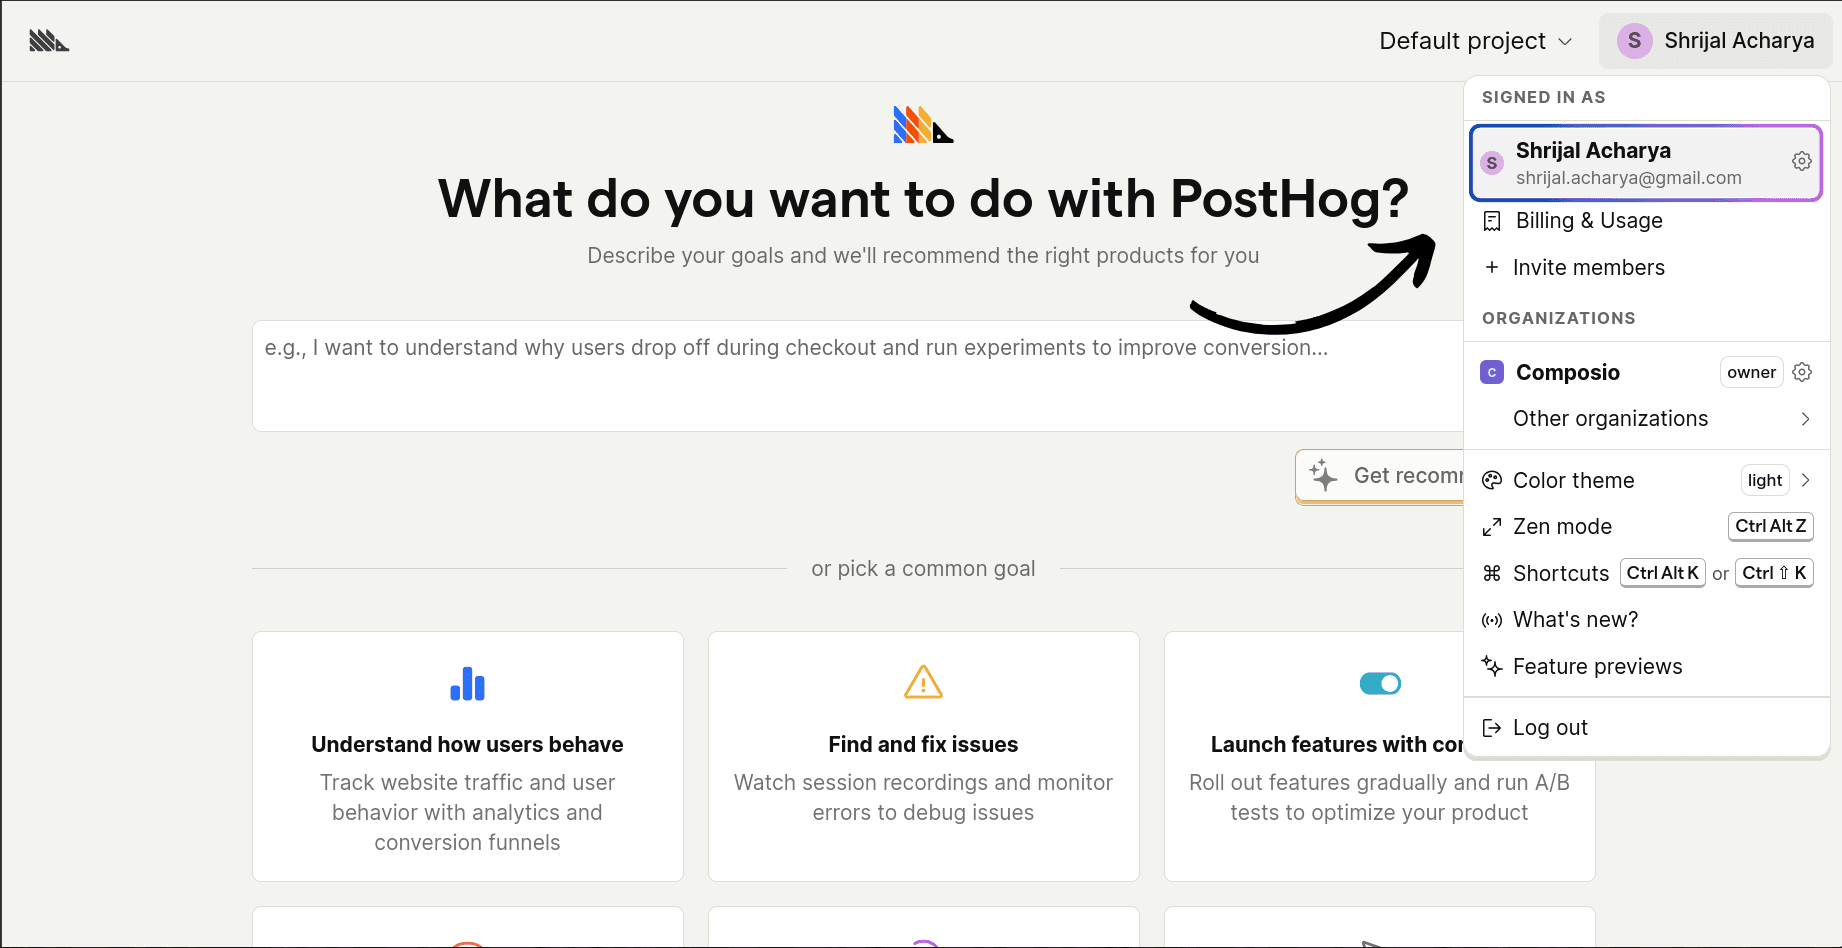
In the top-right corner, click Settings.
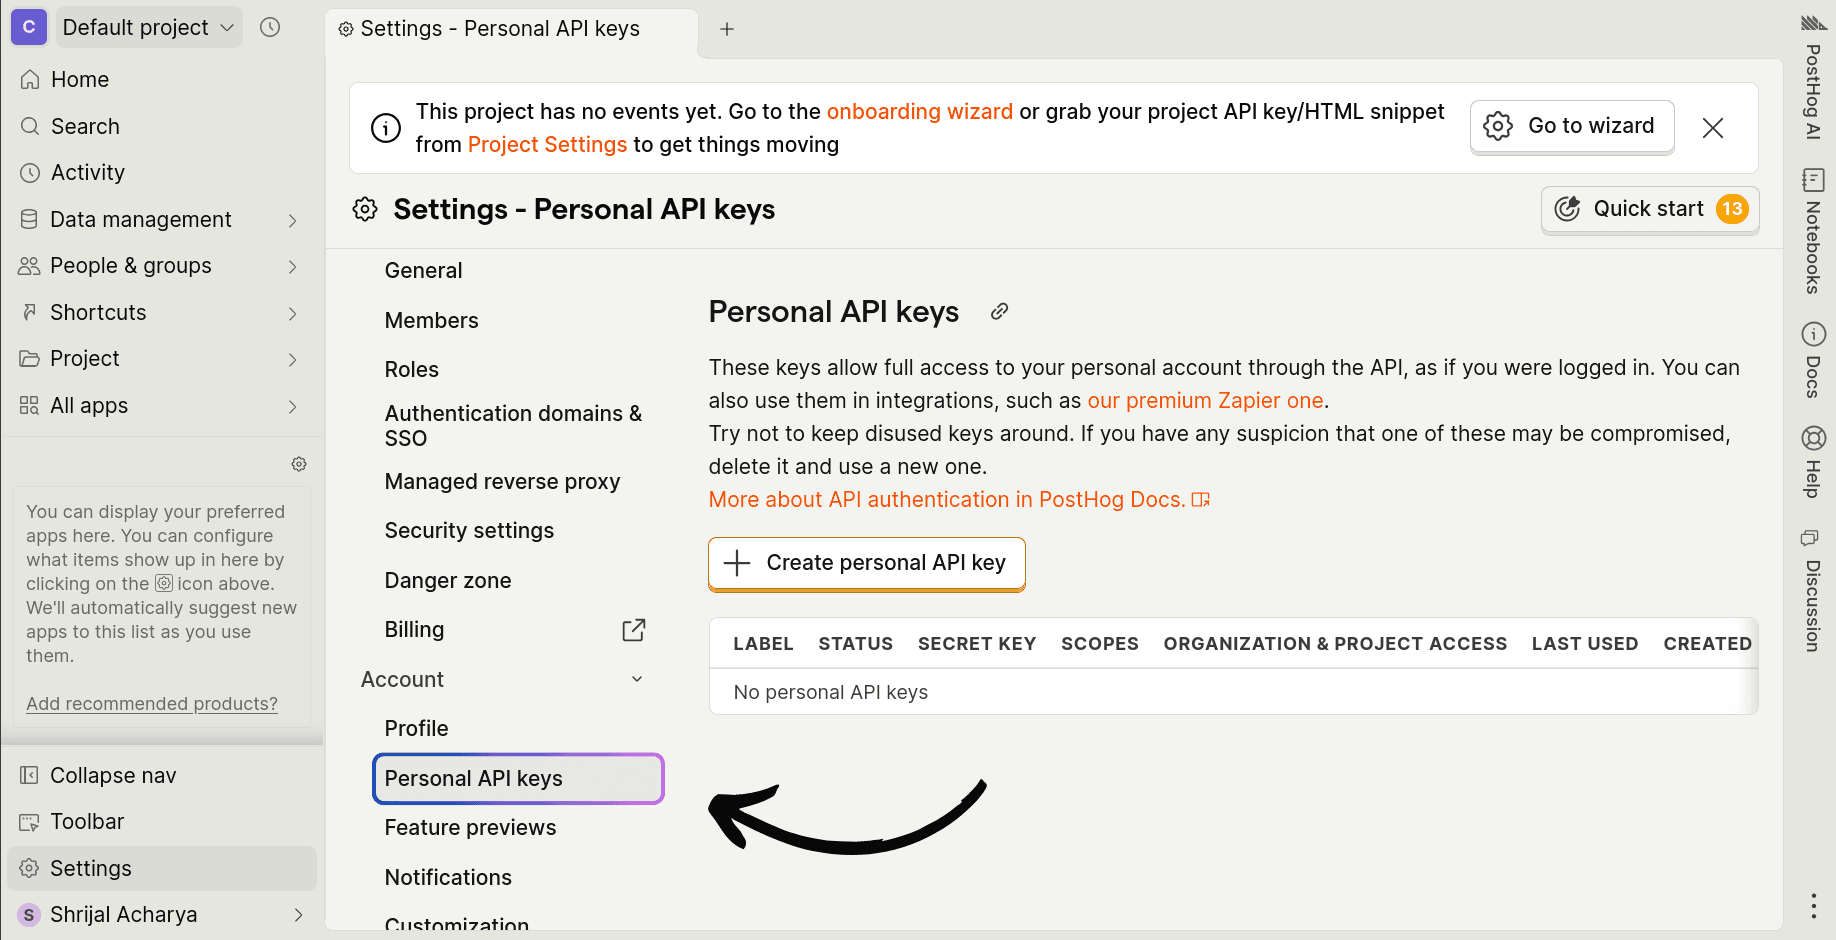
Scroll down to the Personal API Keys section.
Give your API key a descriptive label and click Create.
But first, you need to configure the API key's scopes.
Step 3: Configure Scopes
Scopes define which API methods the app can call. You can restrict it to resources like a specific project, organization, or integration like Zapier or n8n, or give it full access.
NOTE: Giving it full access is not recommended for security reasons. But just for this demo, I will be using it. Make sure that you give it only the required scopes in your actual use case.
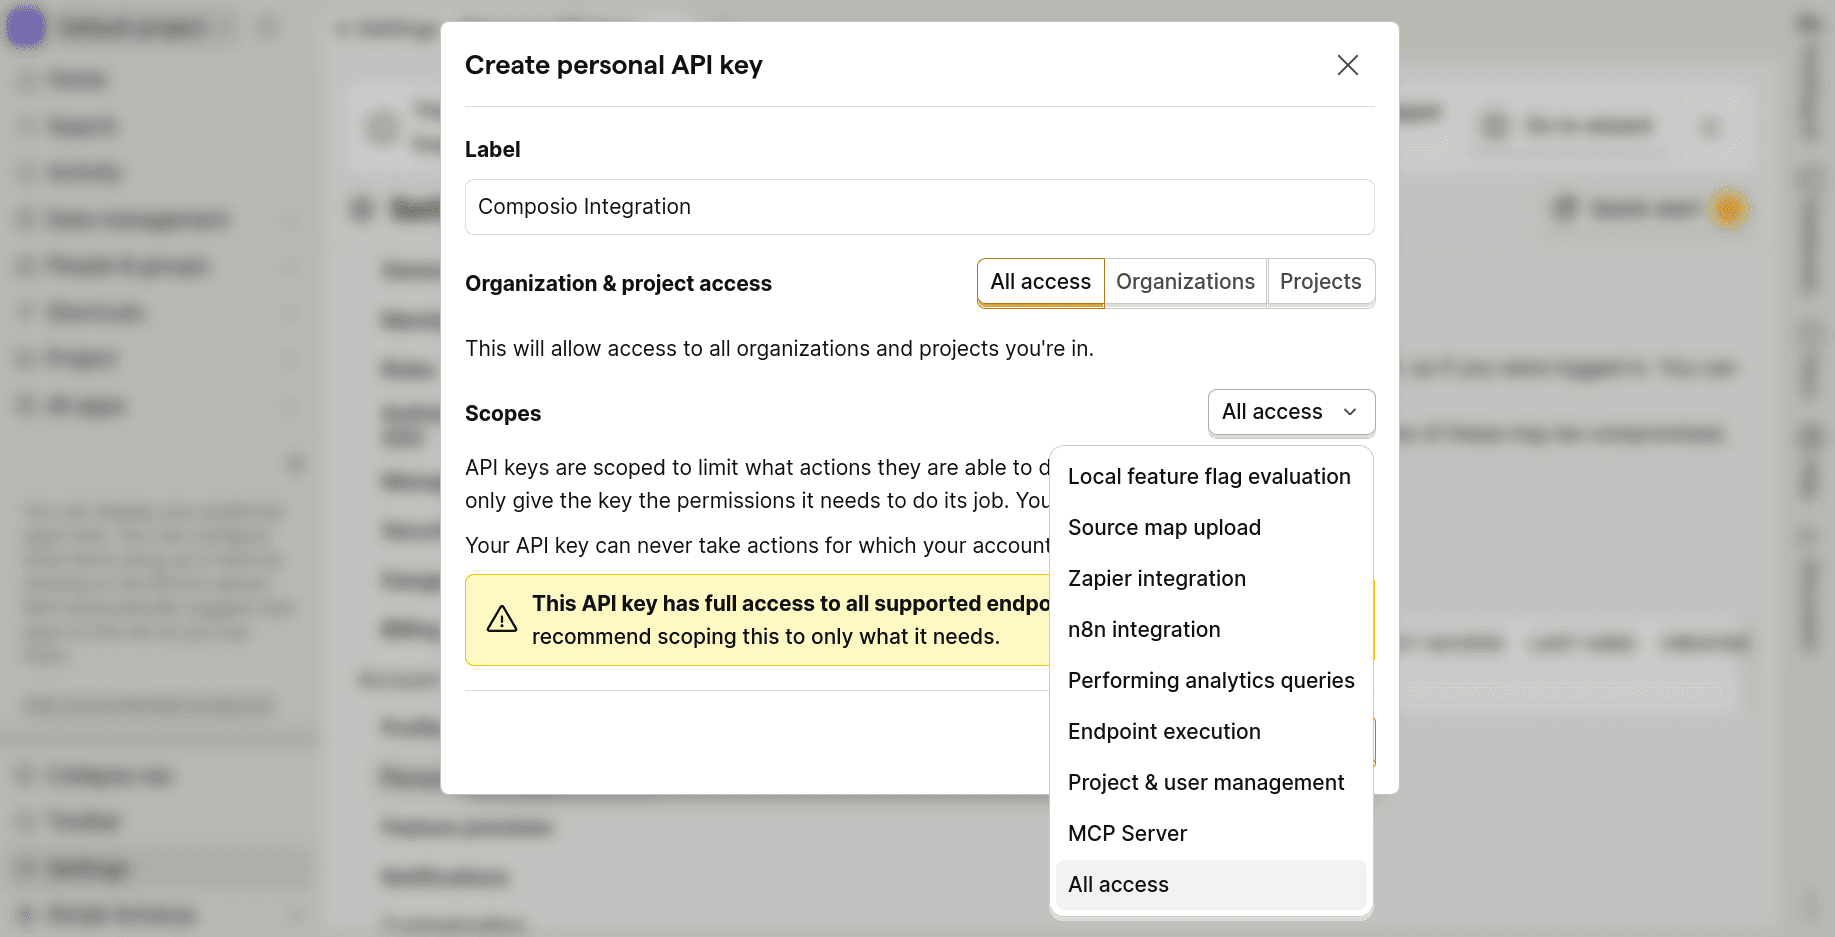
Once you configure the scopes, click Create.
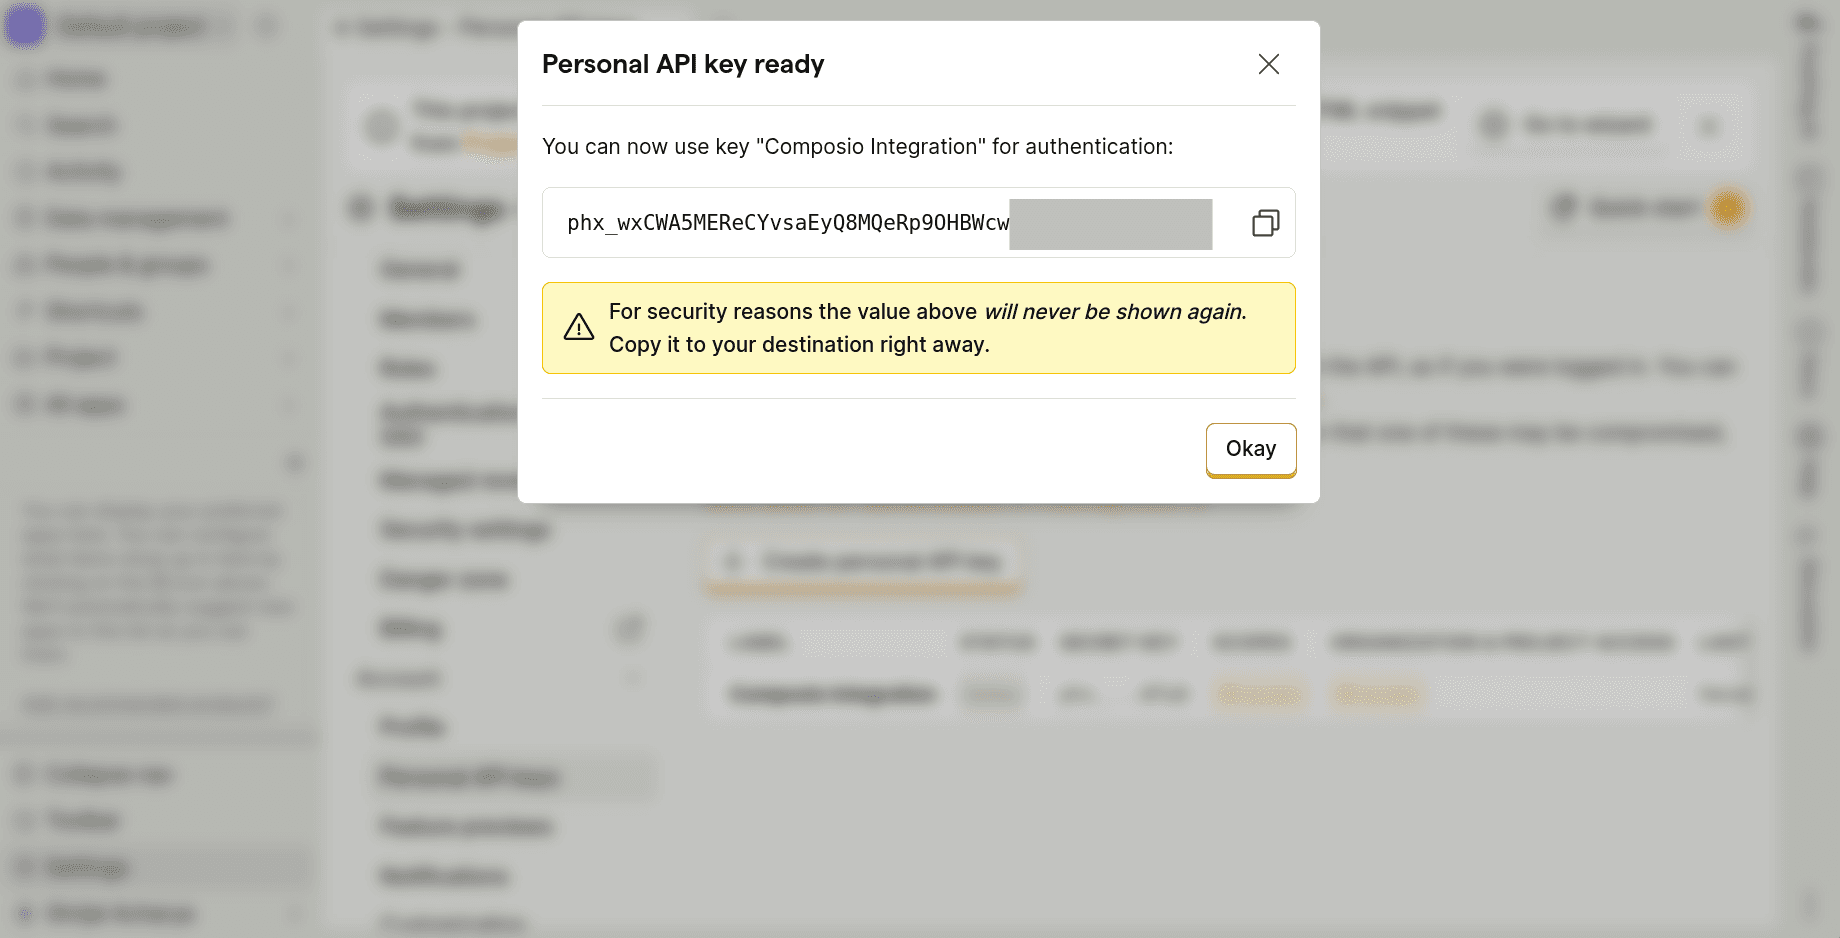
Now you'll receive the API key you can use in Composio. Make sure to note it, as it's only shown once.
That's it. That’s all you need to set up on the PostHog side.
Create the Auth Config in Composio
With your API key ready, navigate to the Composio dashboard for your project to configure PostHog authentication settings.
Click on the Create Auth Config button to get a list of all the toolkits available.

In the sidebar that opens, choose PostHog for the toolkit. Ensure the authentication is set to API Key. There is no support for OAuth2 with PostHog.
Now, for the Sub Domain in the Authentication Management, you need to know your PostHog Region.
To access this, visit your PostHog account. If you open PostHog and, based on what the URL says, here's your region:
us.ifor the USA (Public)usfor the USA (Private)eu.ifor Europe (Public)eufor Europe (Private)And, if you're self-hosting PostHog, use your custom subdomain.
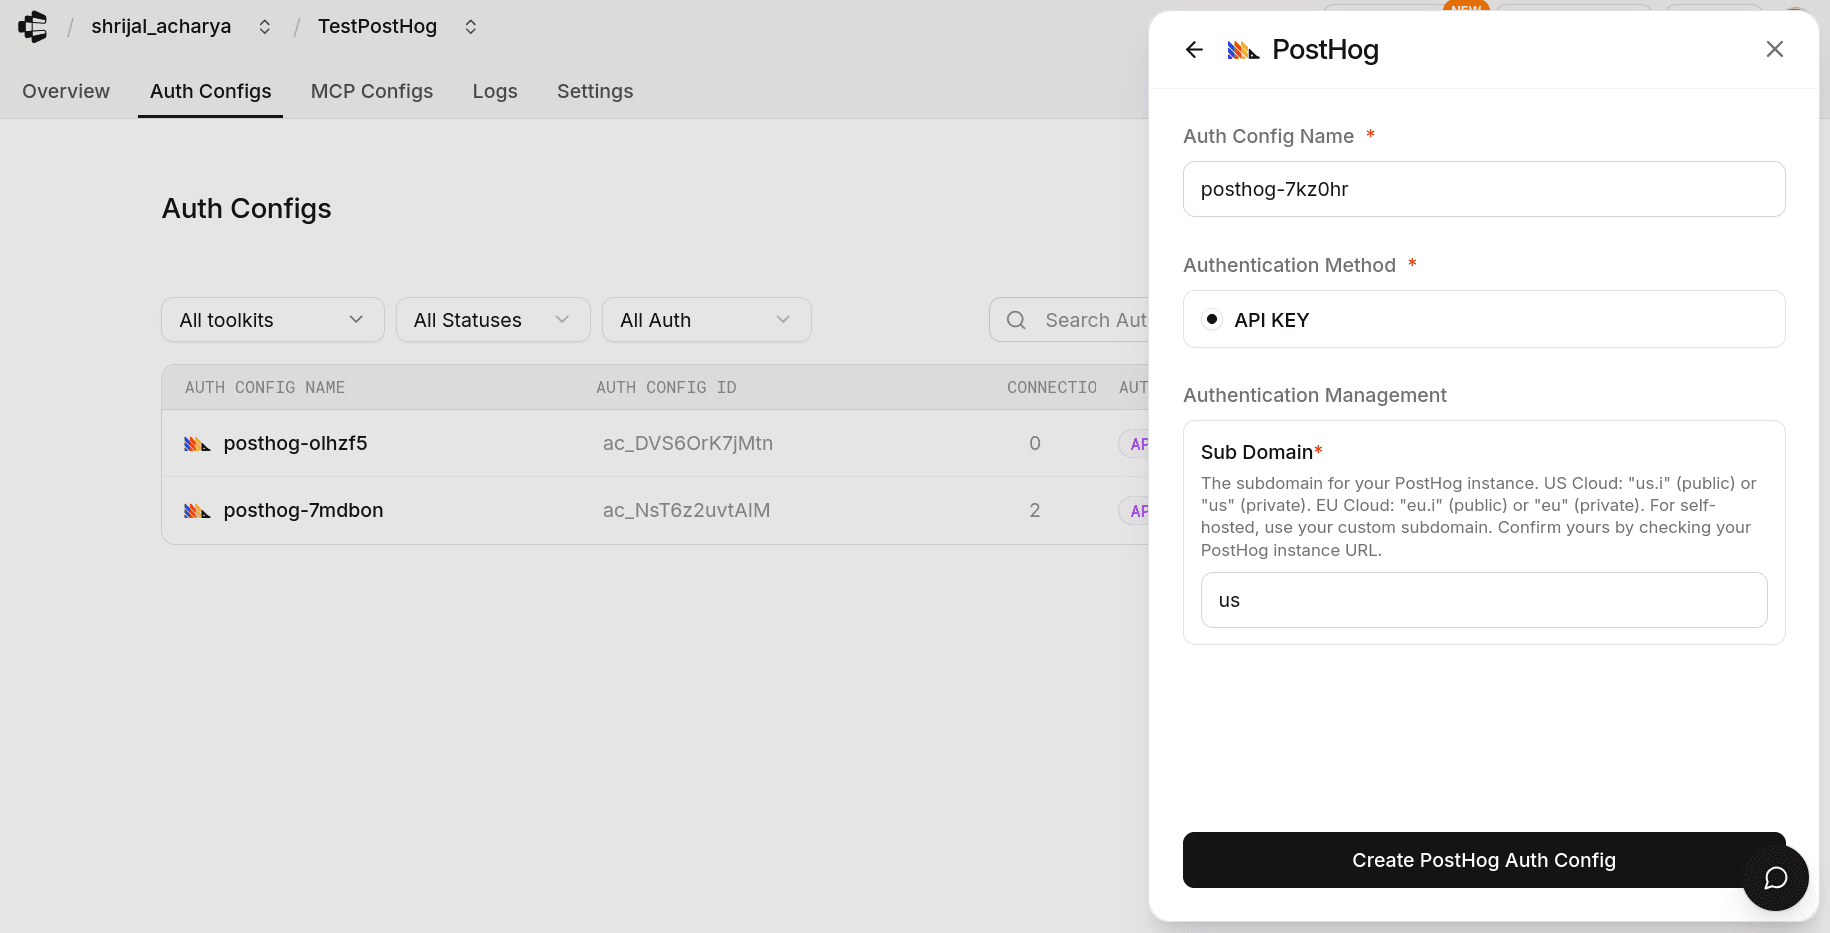
Click Create PostHog Auth Config, and the auth config should be created successfully.
Once that's done, click Connect Account and, in the API key prompt, paste in the API key you just generated from PostHog.
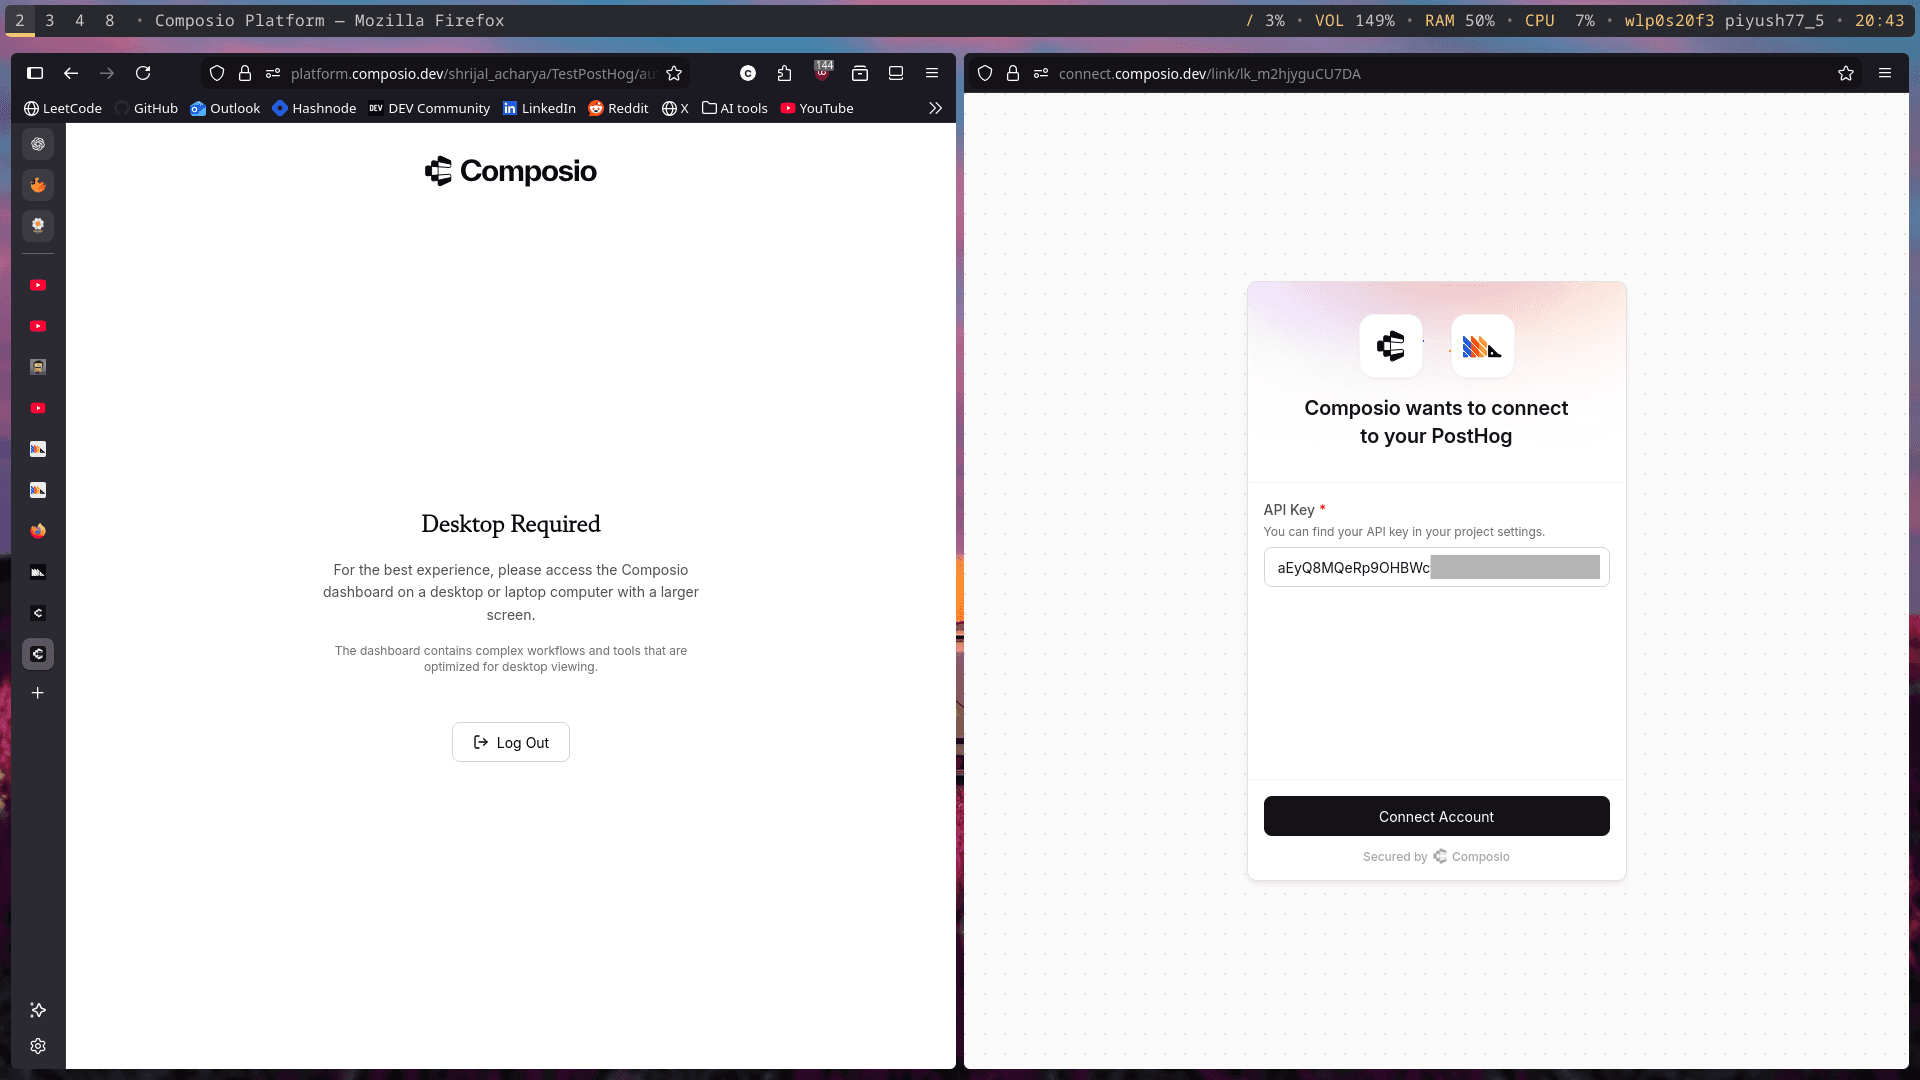
With that, Composio can now access your PostHog account and everything you've configured in the PostHog scopes.
If you want to limit the scopes from the Composio side, you can do that too. Go to the Tools and Trigger Types tab. There, you'll find a list of all the tools you can restrict.

Copy the tool name, and in the Manage Auth Config tab, paste it into the Tools Available for Execution input box. This way, you can limit the use of tools within the Composio scope.
Unless you specifically need to do it, don't touch it, as it could lead to unnecessary complexity. But make sure you set the PostHog scope to just the required scope when generating the key.
Once done, copy the auth config ID (which starts with ac_) and use it in your application code via a secret manager.
Your custom PostHog auth config is now ready to go! 🚀
Test PostHog Connection (Optional)
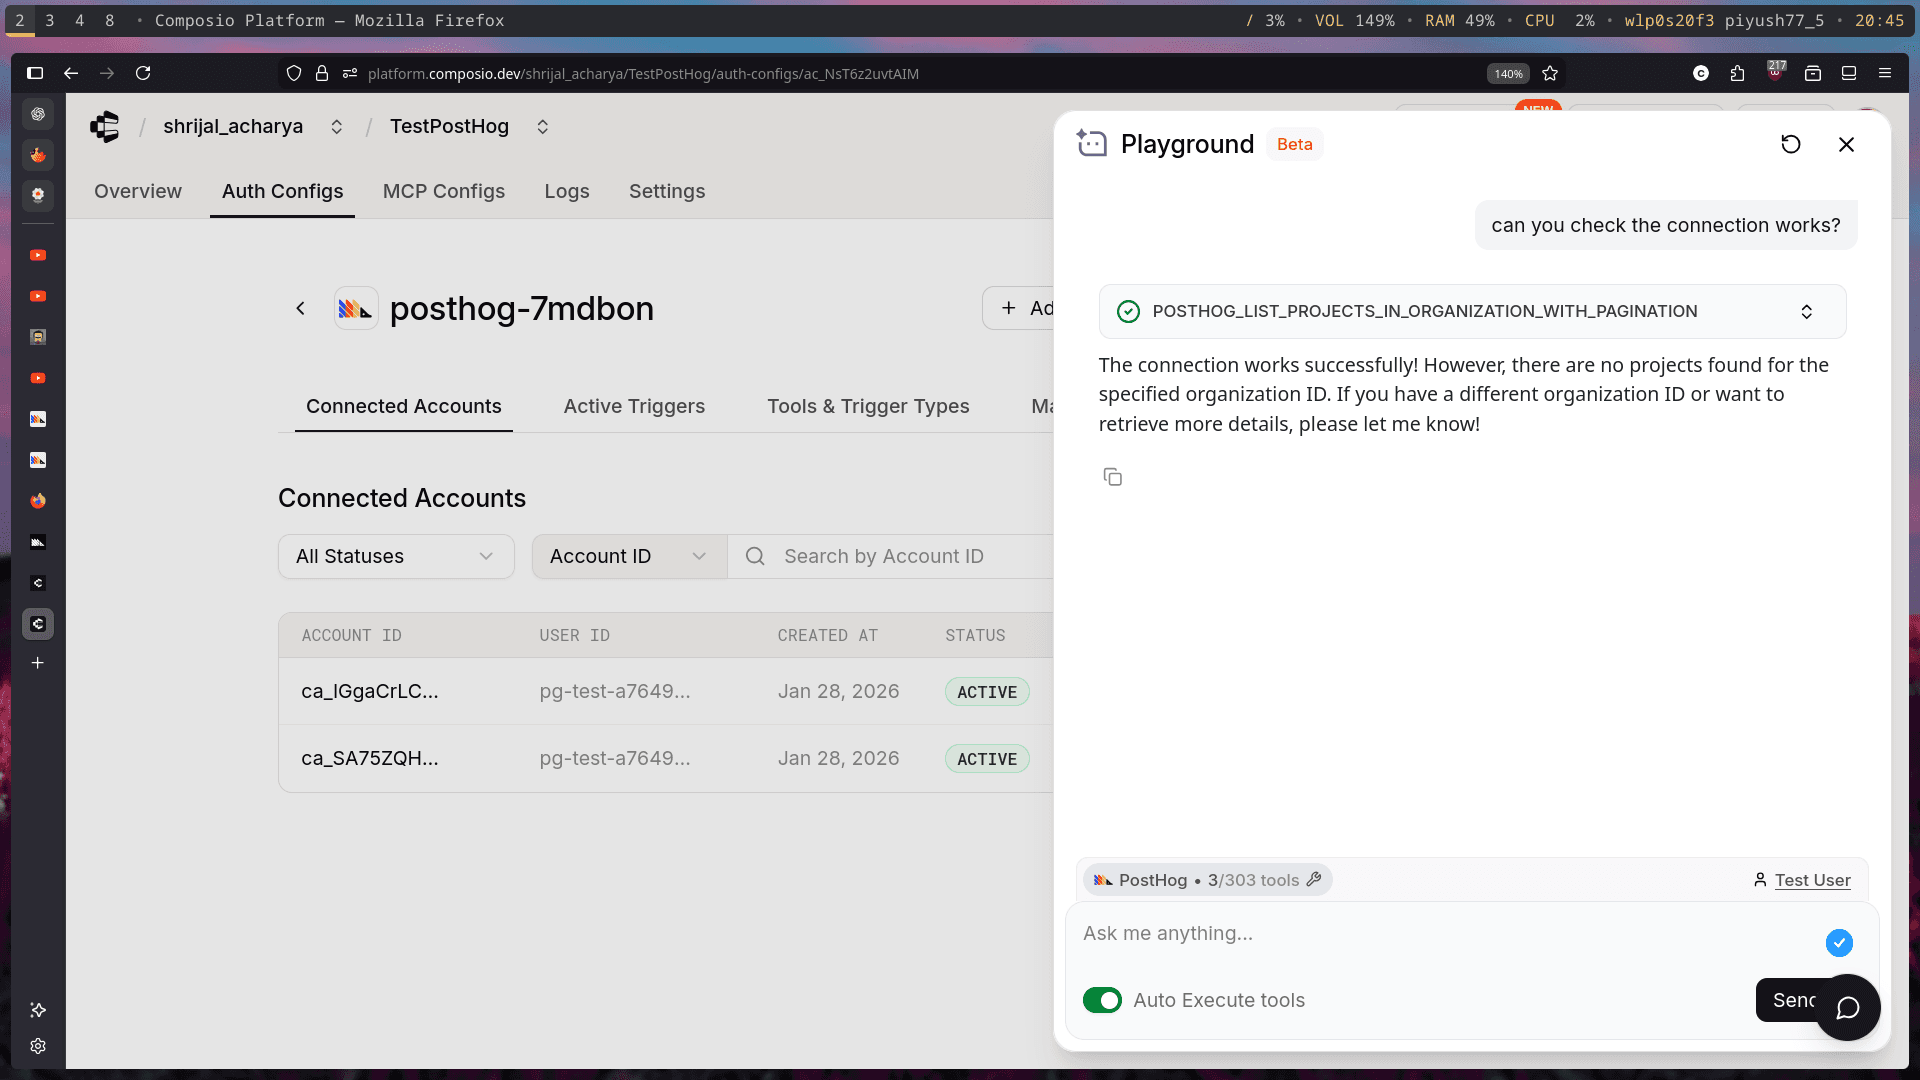
Composio recently added support for Playground, where you can test the connection and see how the tools work when used with an agent directly from a chat window.
Navigate to your PostHog Auth Config.
Click on the Playground.
Once you're there, try asking some related prompts, and if you did everything correctly, Composio should be able to access the details.
And that's it! You're all set to go with PostHog! 🎉