In this guide, I will share the process for customizing the auth config for Pipedrive. So, let's begin.
Setting up Pipedrive
In this section, we’ll walk through creating an application and setting up Pipedrive to obtain the Client ID and Client Secret.
NOTE: If you already have an application in Pipedrive and can access the Client ID and Client Secret, you can skip to the next section.
Step 1: Create an application
Visit the Pipedrive Developer Hub on your developer sandbox account and create a new application by clicking the Create an app button.
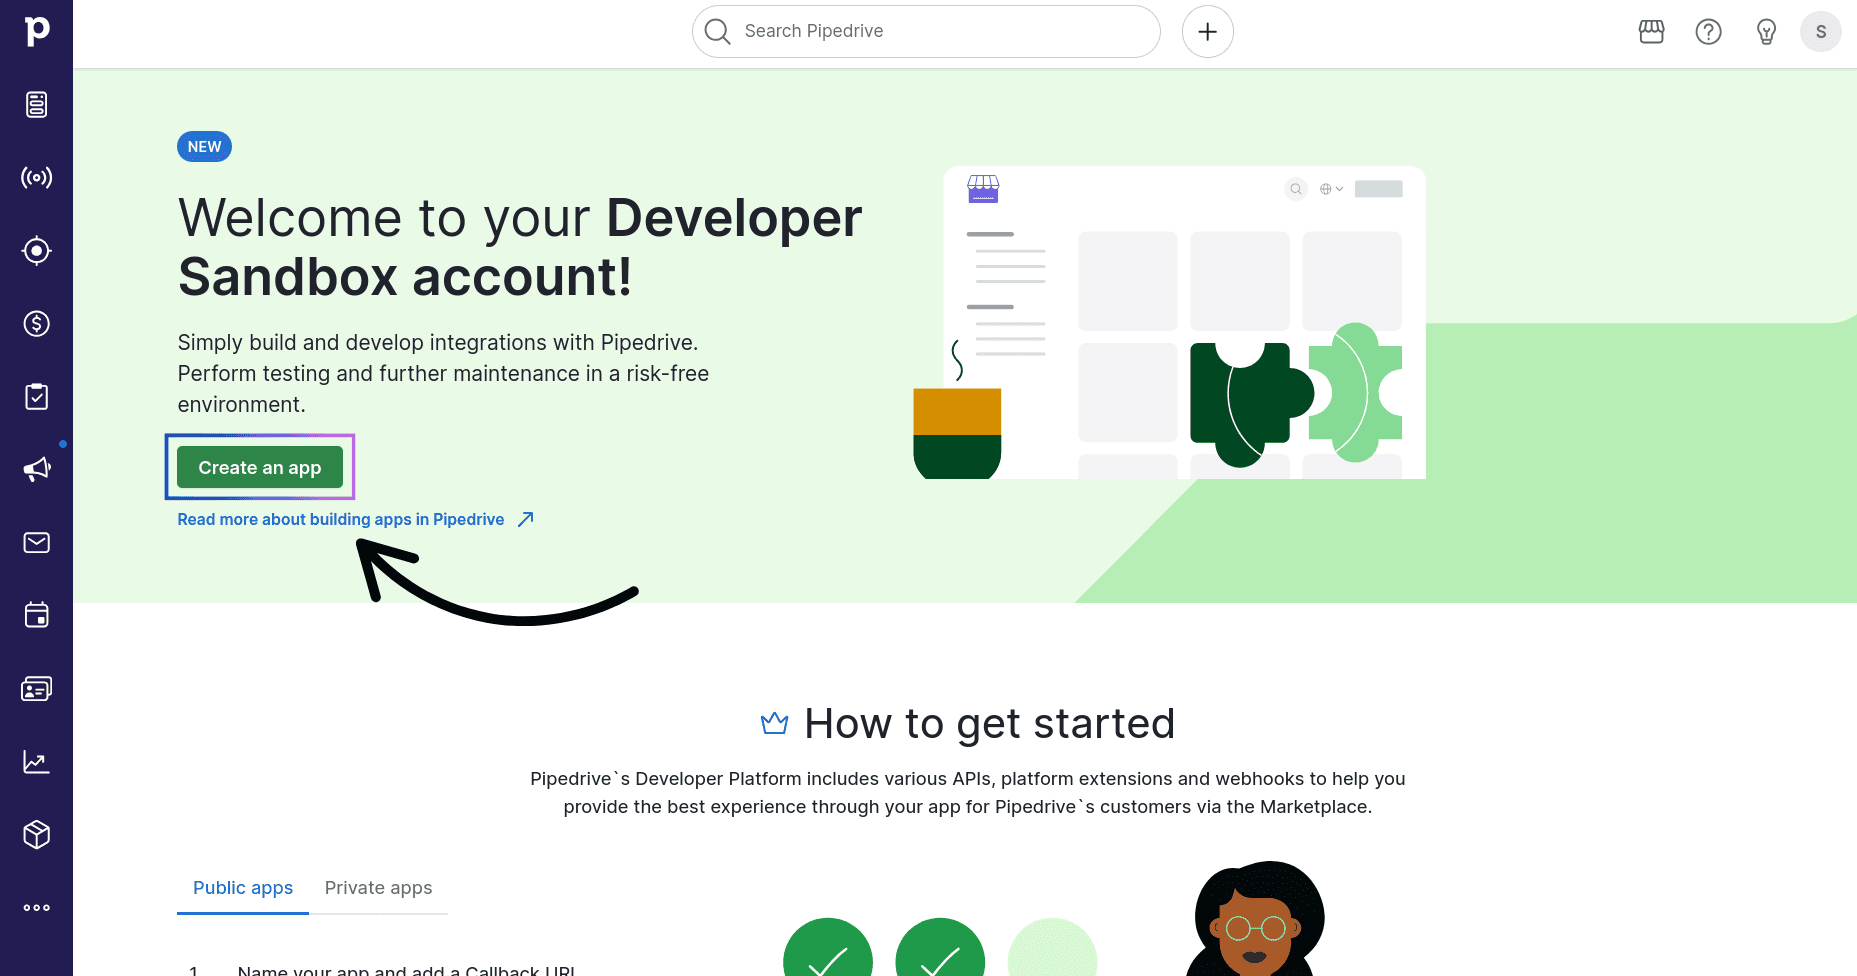
You need to create an application to get the Client ID and Client Secret.
You can create two different types of applications:
Public Application: This is public and can be used by anyone who uses Pipedrive. It needs to be approved by the Pipedrive team before you start using it.
Private Application: This is private and can only be used by selected users. You don't need to go through the application approval process.
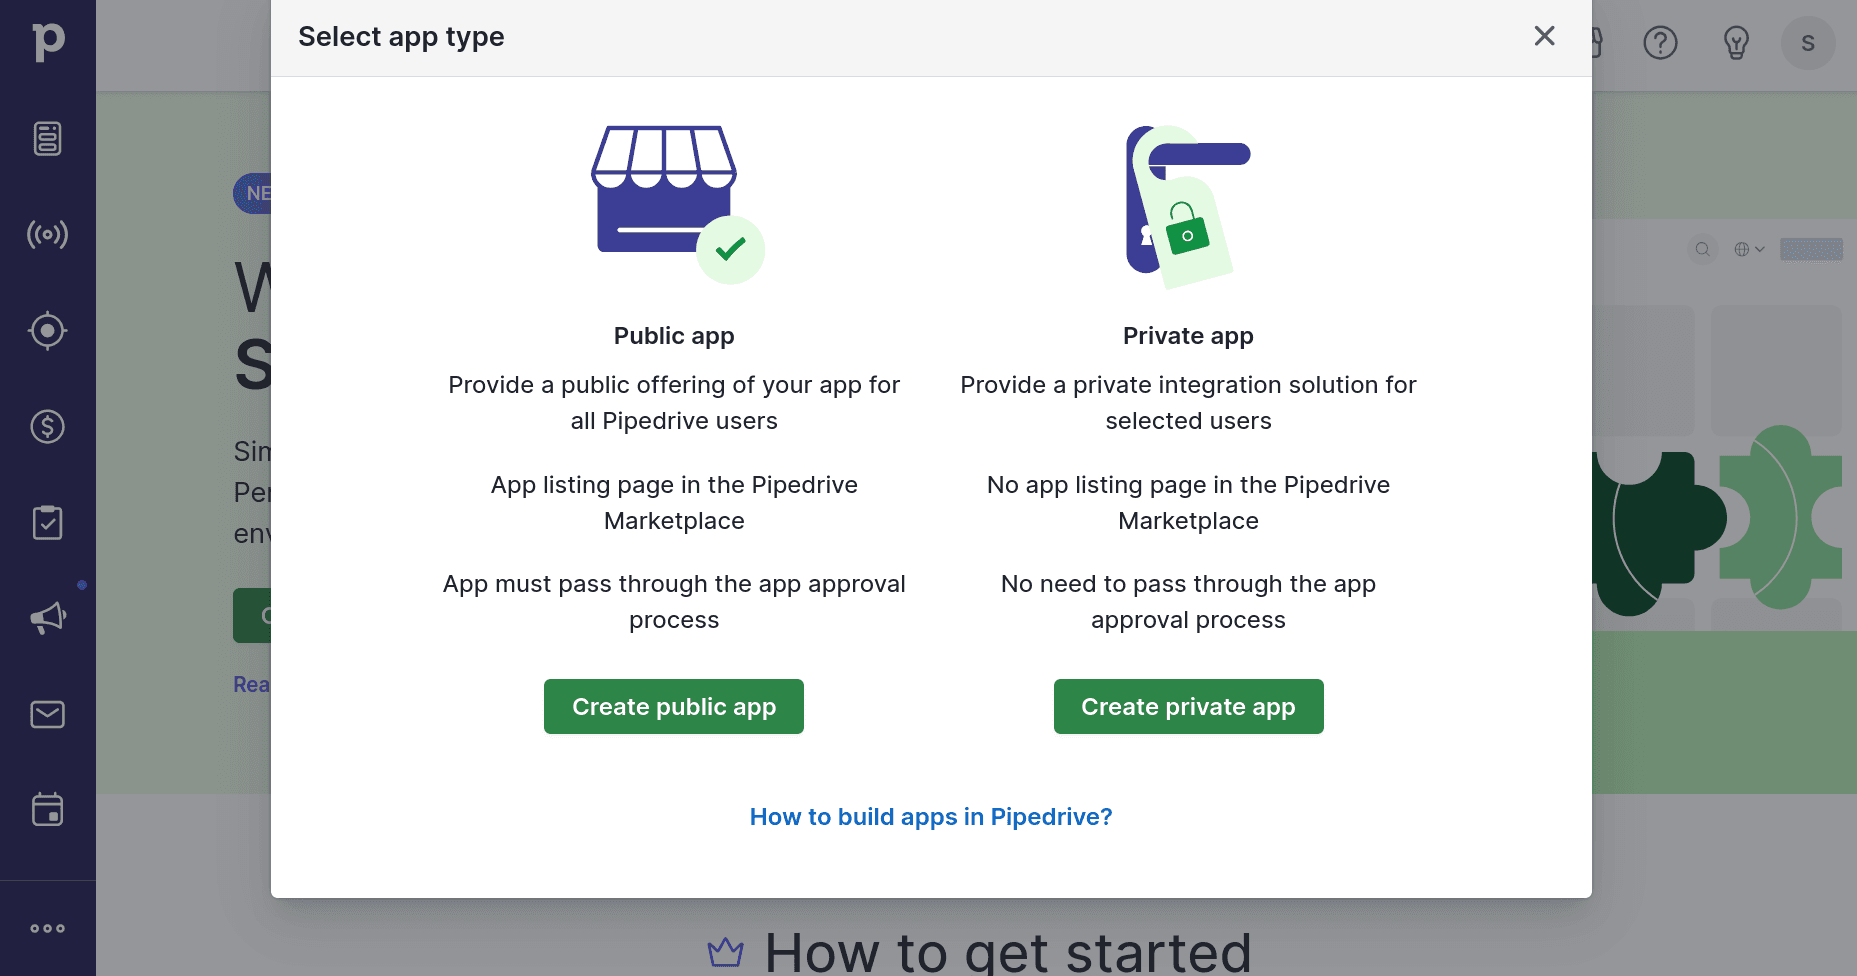
First, decide whether you want to create a public or private application. For this guide, we’ll use a public application, but you can choose private if your use case requires it.
Next, go to the Basic Info tab of the application in the Developer Hub. Here, you’ll need to fill out two required fields:
App name
Callback URL
Start by giving your application a name. Since this is a public app, the name must be unique across all applications, so choose something specific to your project.
Next, set up the OAuth Callback URL. This tells the system where to send users after they authorize your app. Here, we configure it to point to Composio’s callback URL.
In the Callback URL field, enter the following:
https://backend.composio.dev/api/v3/toolkits/auth/callback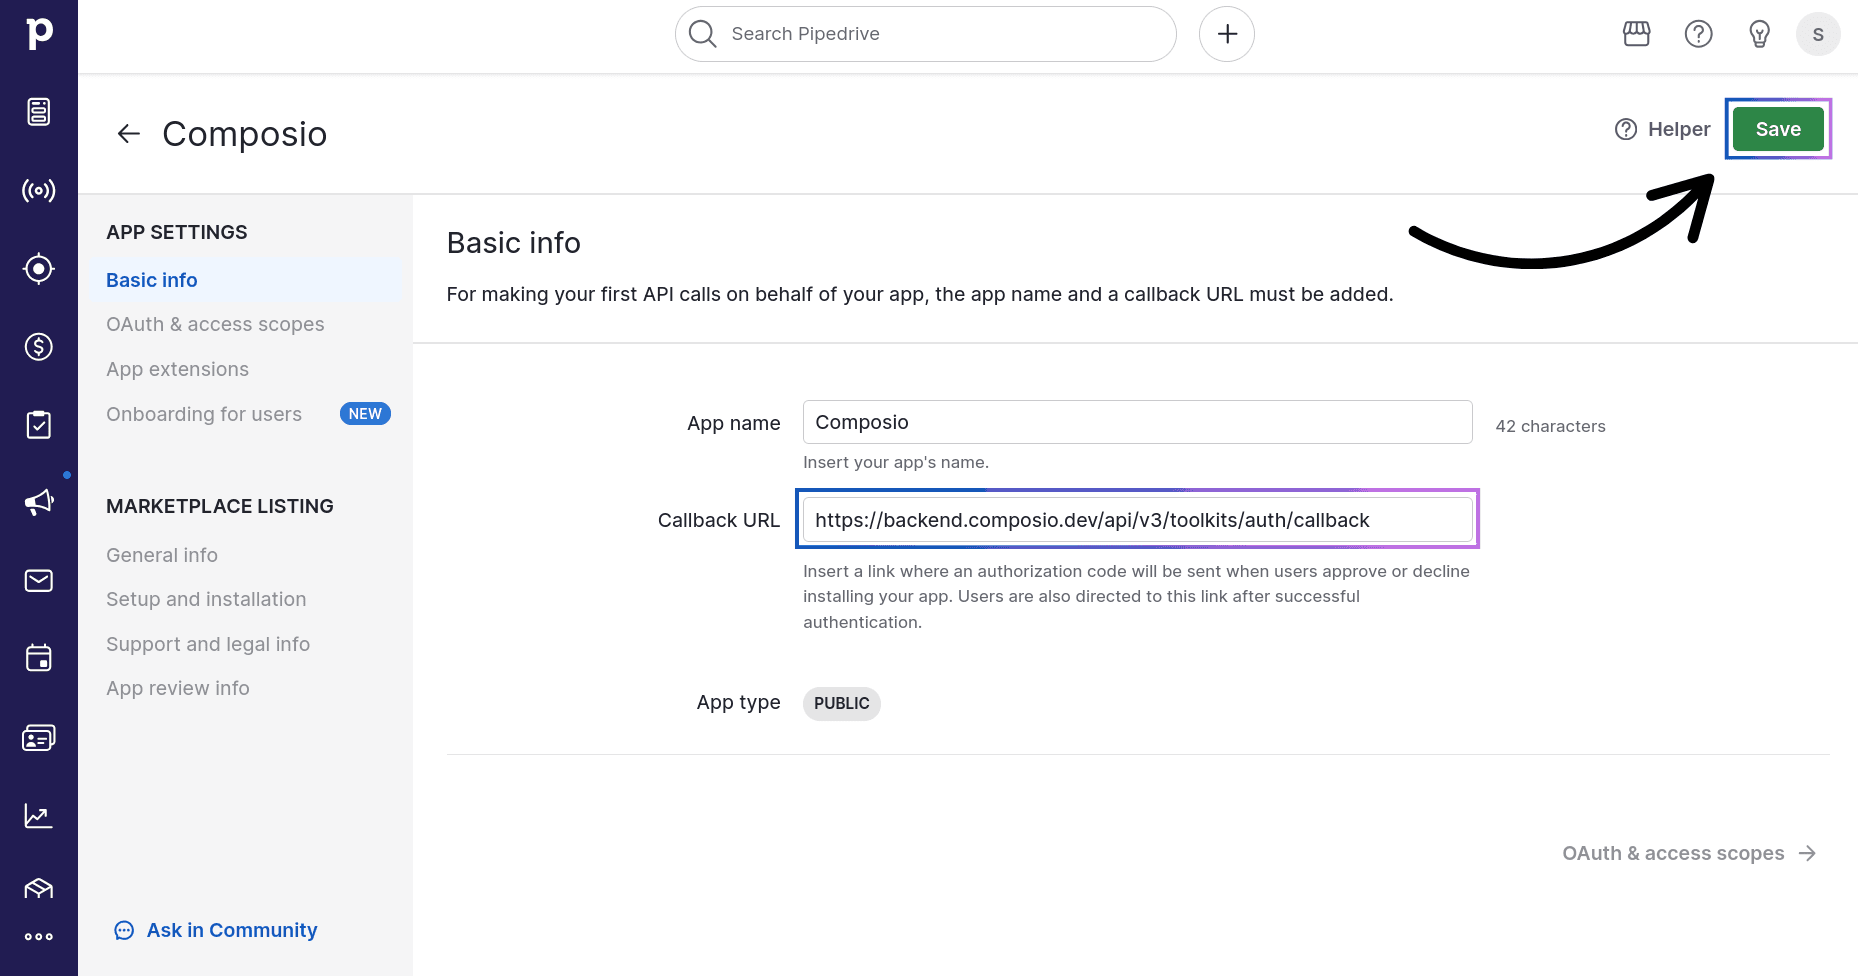
Once done, click Save.
Step 2: Copy the OAuth Credentials
Once your application is created, you will be redirected to the OAuth and access scopes tab, where you can configure the Access Scopes of the application.
Scroll down and you'll find the OAuth credentials: Client ID and Client Secret.
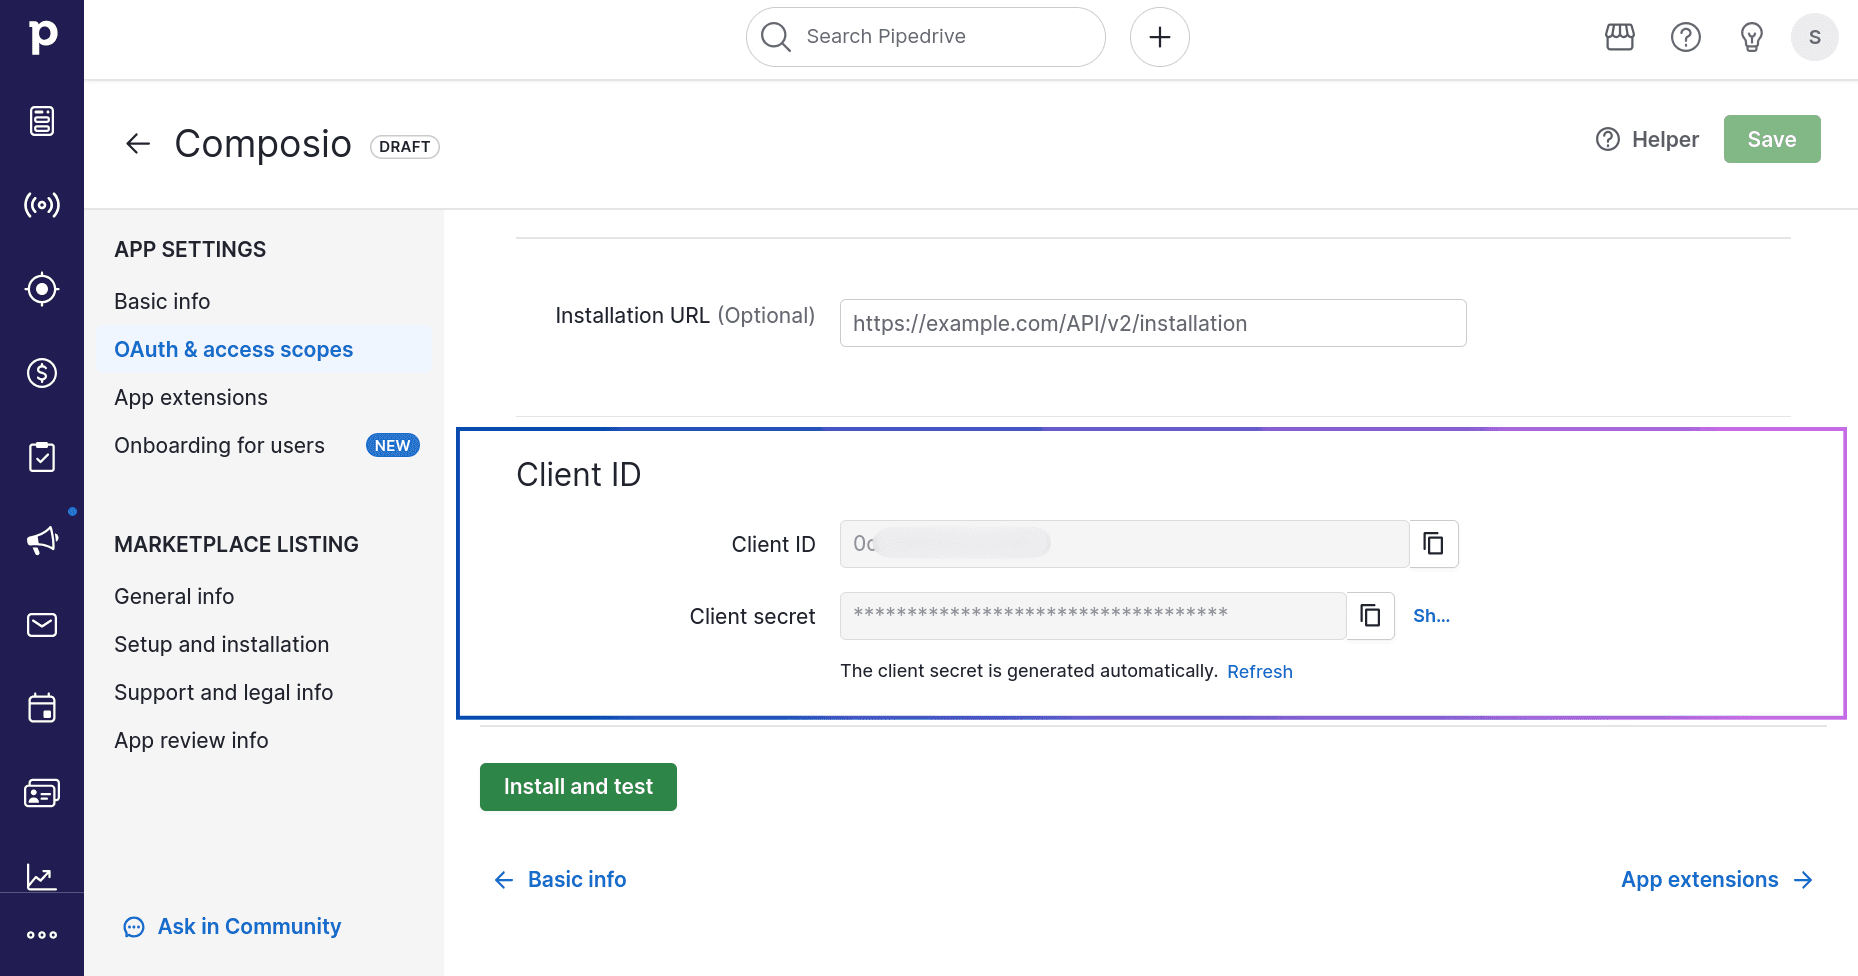
Note these somewhere because you’ll need them when configuring Composio.
You can also configure other fields if you want. Finally, go to the App review info tab to submit the application for review. If everything goes well, it will be accepted, and you'll be all set.
NOTE: If you’re using a private application, there’s no need to submit it for review.
Step 3: Configure Scopes (Optional)
Scopes define which API methods the app can call. You can restrict it to access only specific fields like Activities, Project, Leads, etc., and that too on two different levels: Read-only and Full access.
Read only: This scope allows the app to read data from Pipedrive, but not to make changes.
Full access: This scope allows the app to read and write data in Pipedrive.
Right above the Client ID and Client Secret, you will find the Access Scopes section. Here, you can configure the scopes for your application.
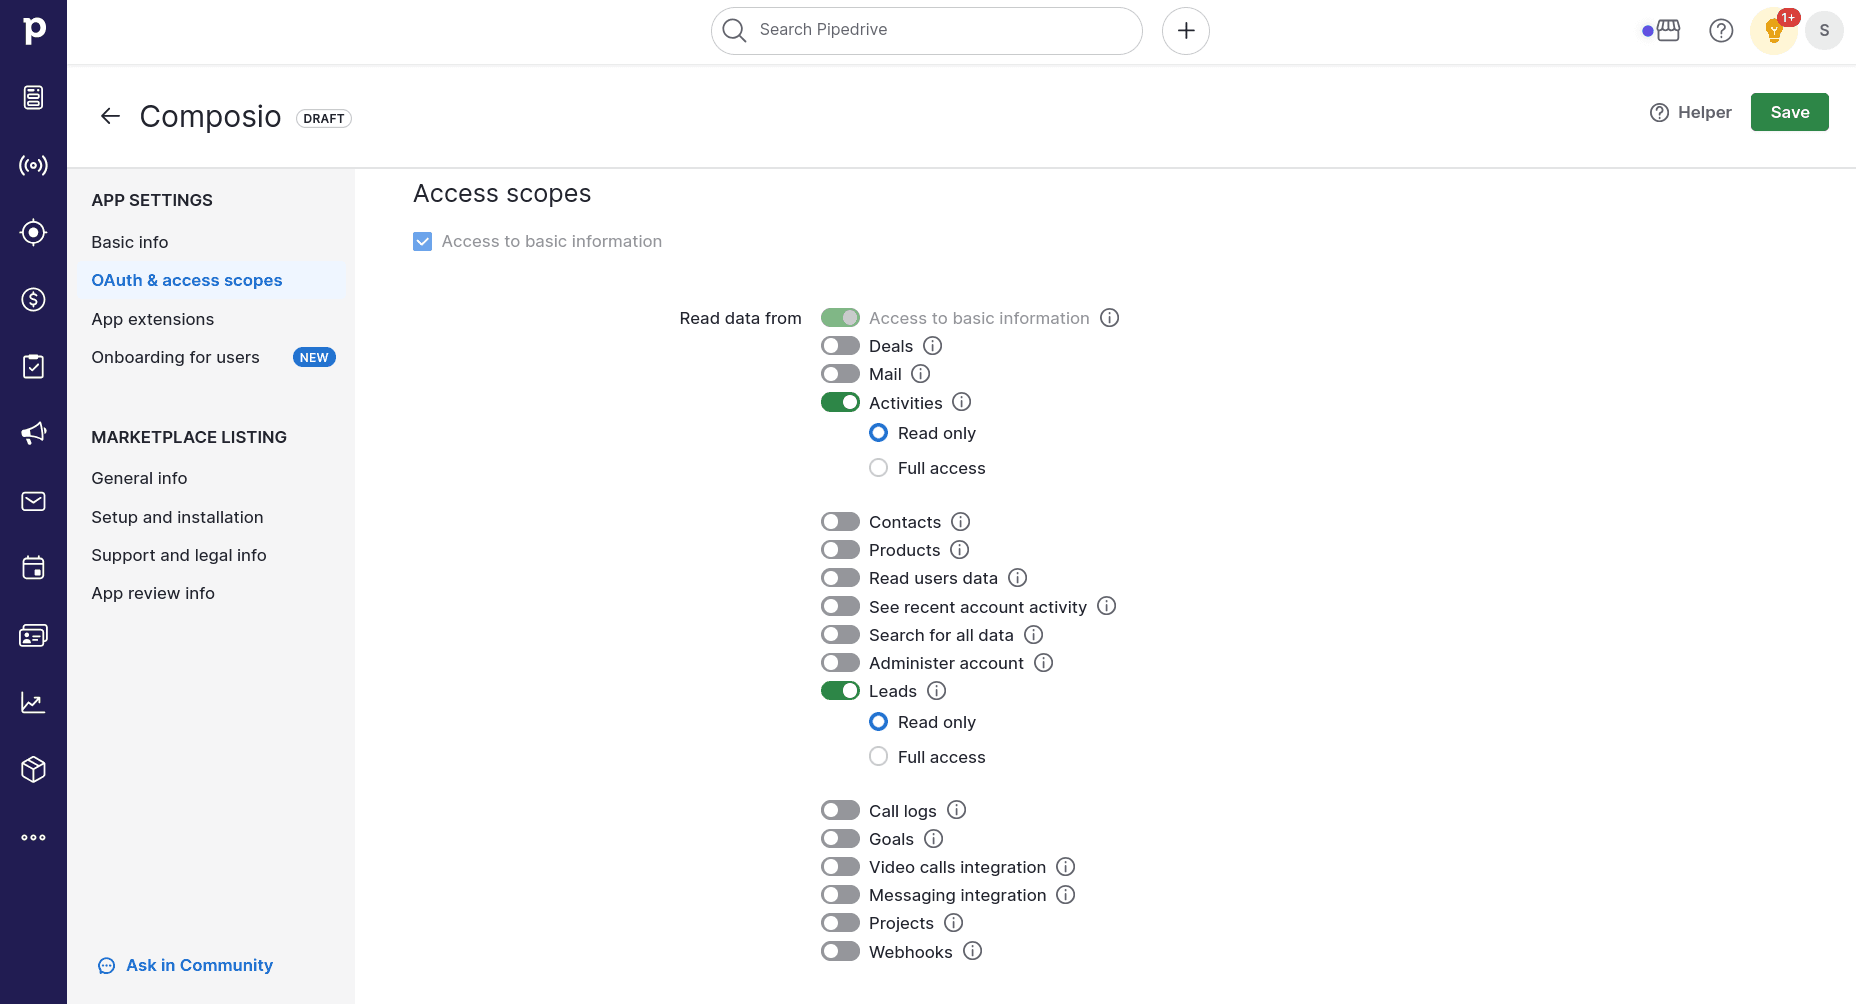
By default, Pipedrive only provides access to basic information, allowing you to read the settings of the authorized user, which might not be enough for your needs. Depending on your requirements, you can choose either Read only or Full access from the available options.
These are the default scopes supported by Composio:
contacts:full leads:full mail:full activities:full products:full projects:fullBy default, Composio will request full access to the listed scopes, but you can choose the ones you need and remove the others in the Manage Auth Config tab, which we'll discuss later when configuring Composio.
That’s all you need to do to complete the setup on the Pipedrive side.
Creating the Auth Config in Composio
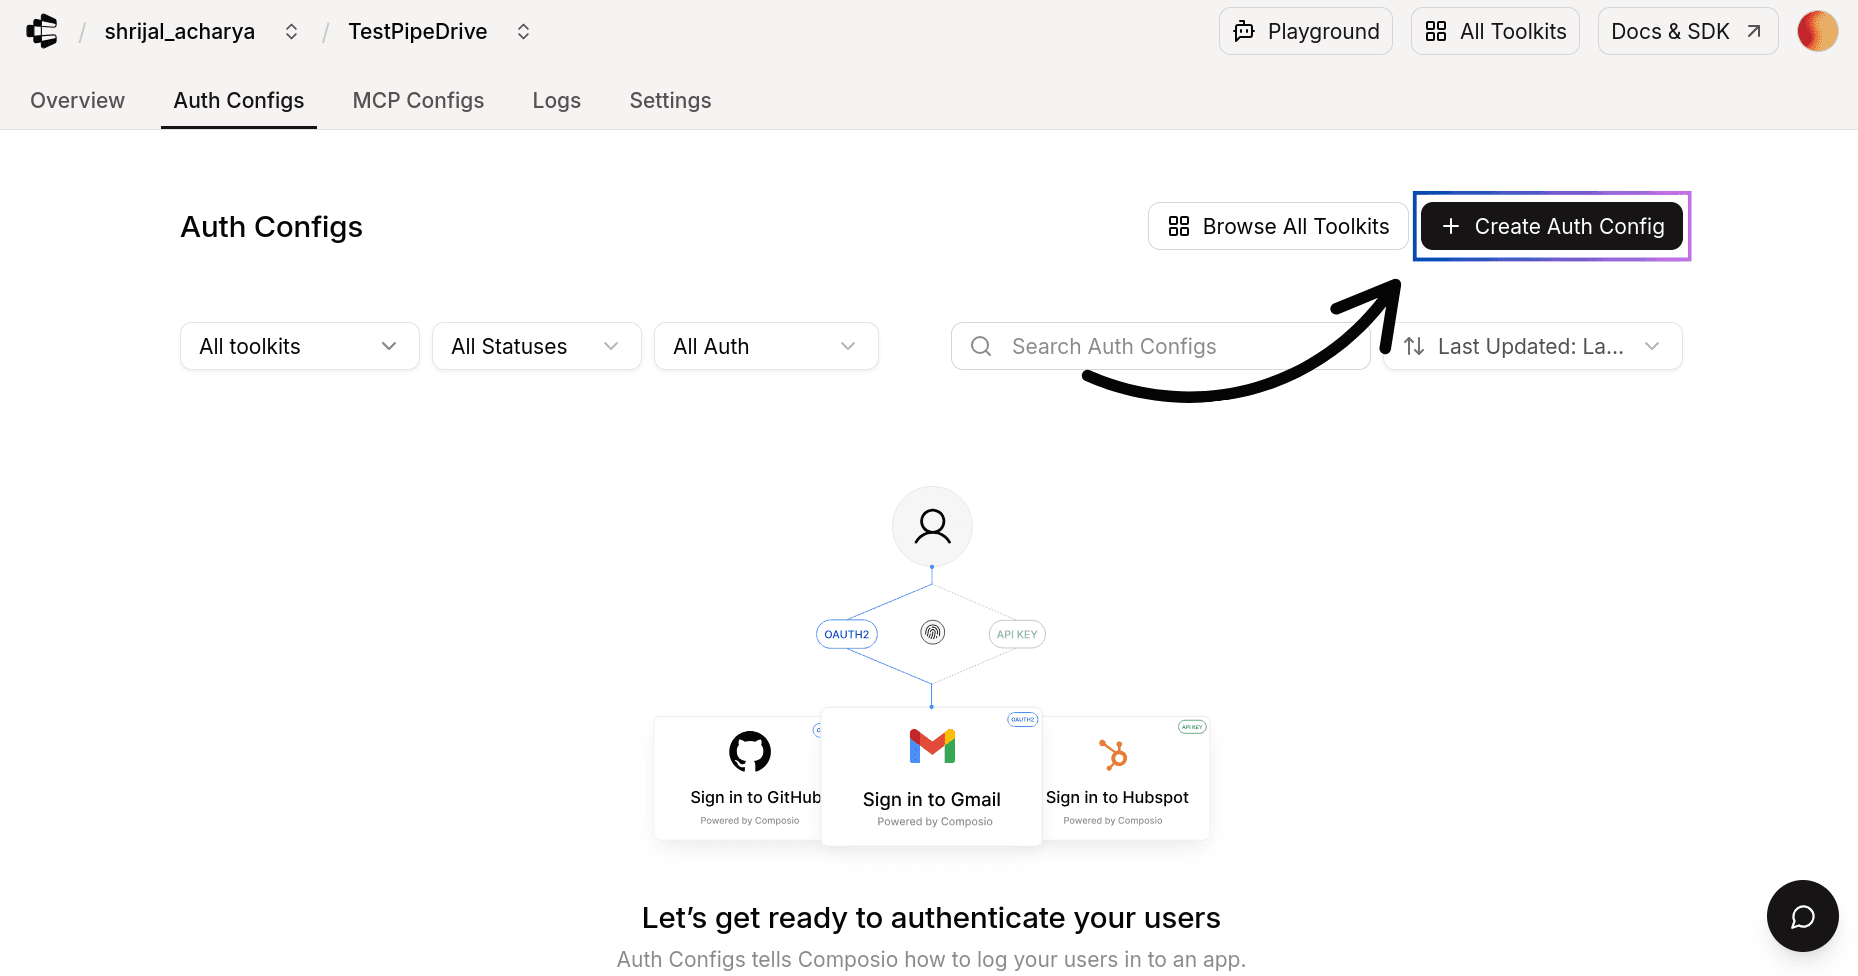
With your OAuth credentials ready, go to the Composio dashboard for your project to configure Pipedrive authentication.
Click the Create Auth Config button to see a list of all available toolkits.
In the sidebar that opens, choose Pipedrive for the toolkit. Make sure the authentication method is set to OAuth2.
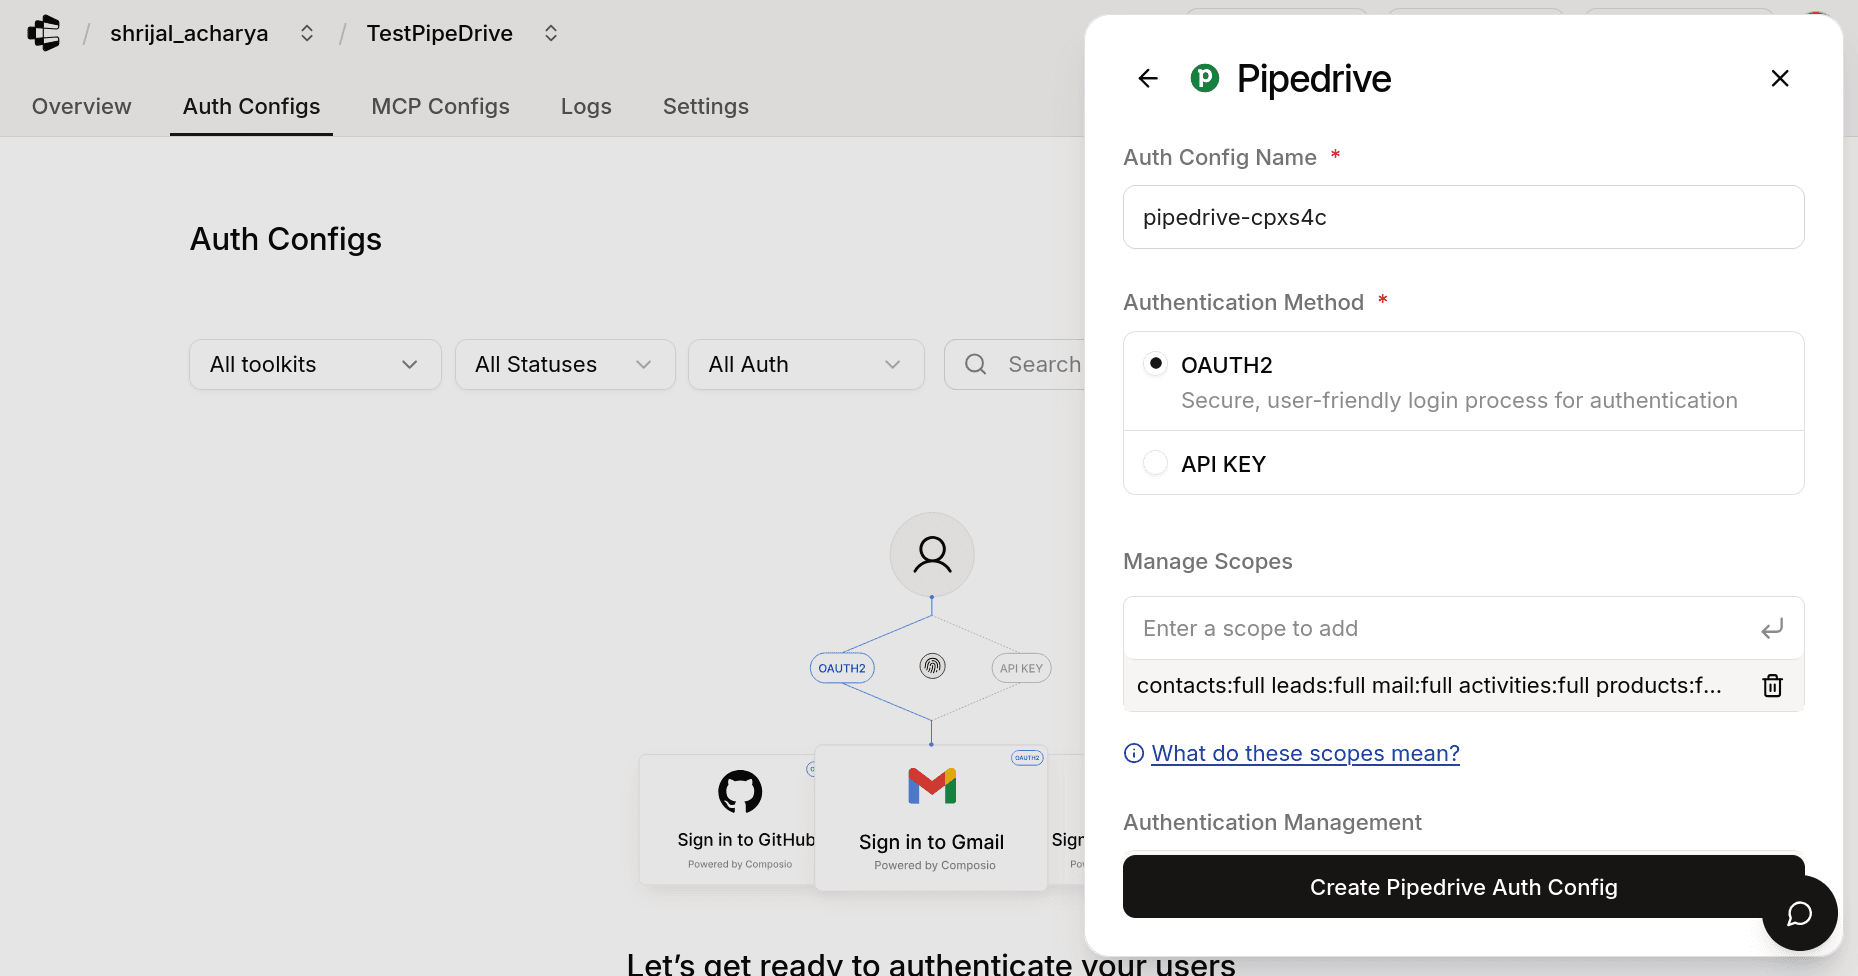
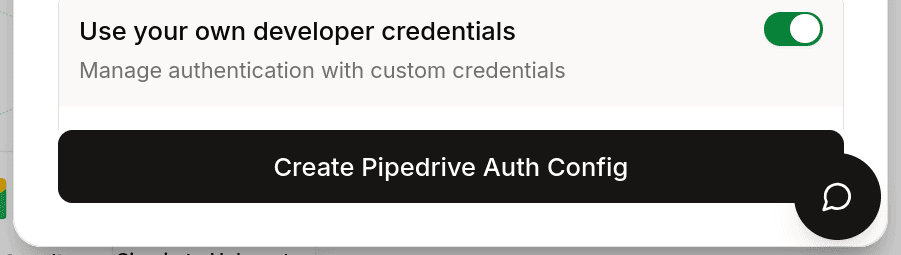
Also, check Use your own developer authentication, since that’s the main purpose here.
Paste the Client ID and Client Secret you copied from Pipedrive into their respective fields.
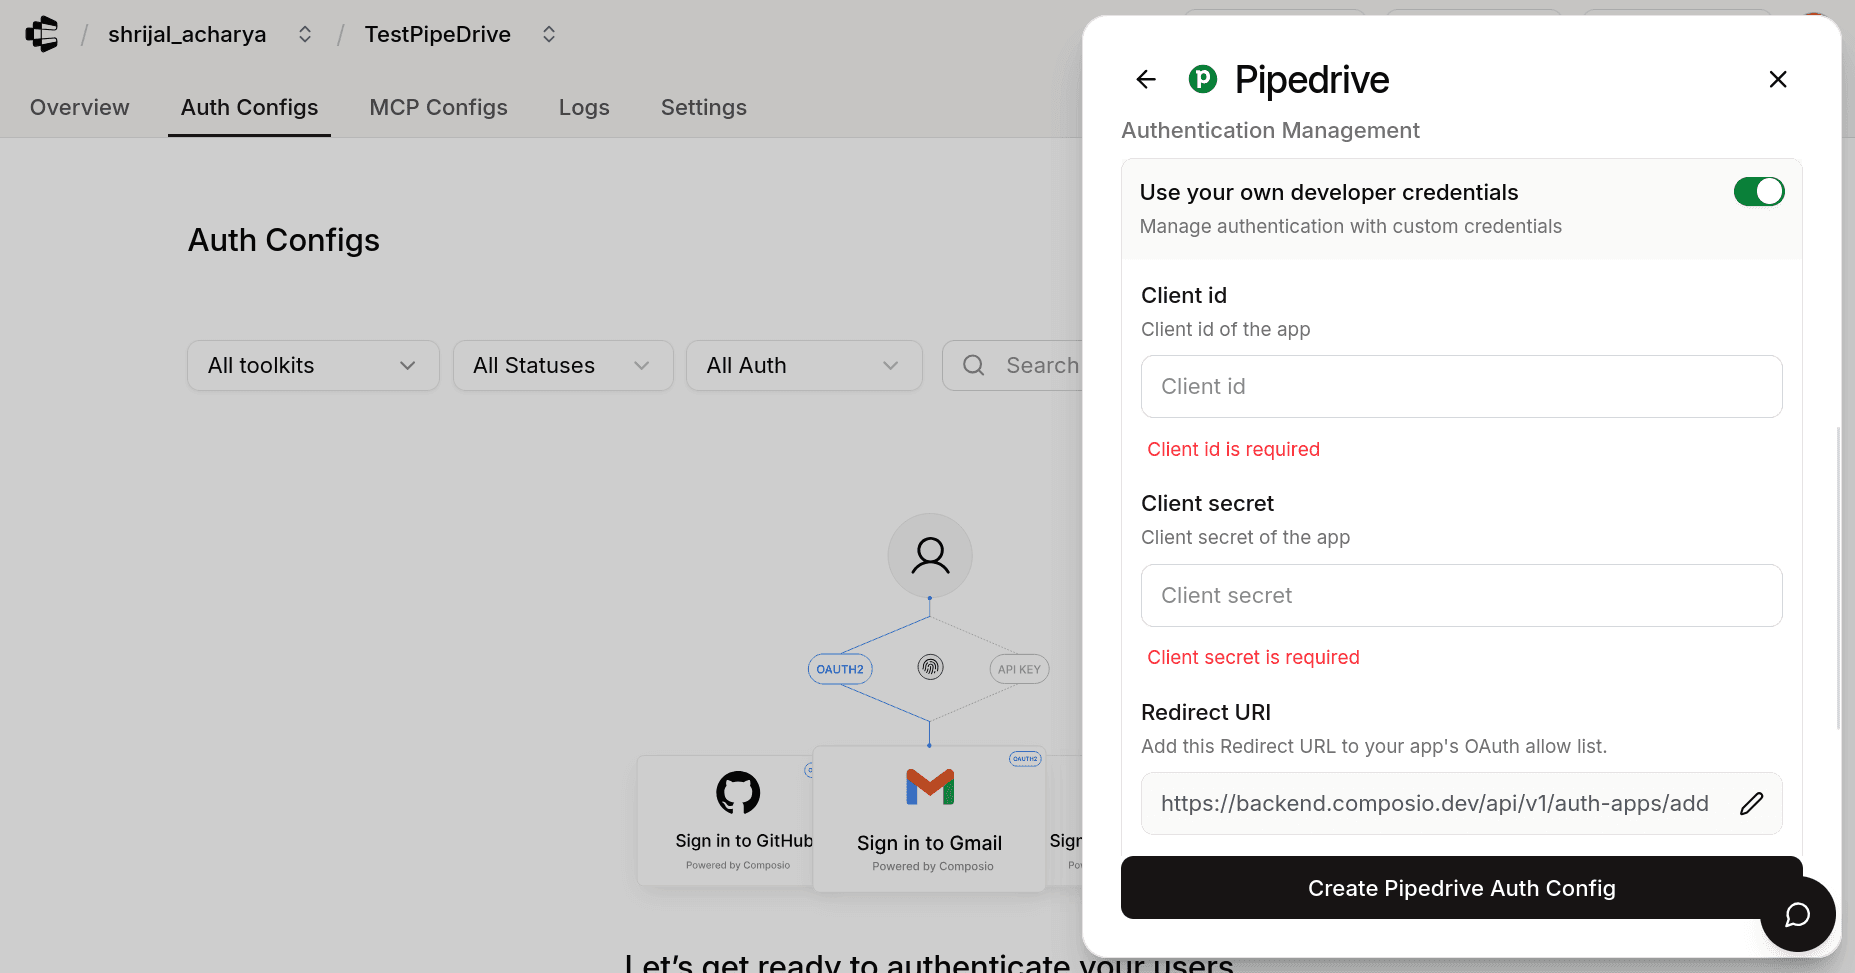
Then, click Create Pipedrive Auth Config.
Once you’ve set up the auth config for Pipedrive, you can optionally go to the Manage Auth Config tab to make changes to any auth config fields. Here, you can also customize the auth scopes if needed. Default scopes are already pre-filled for most apps.
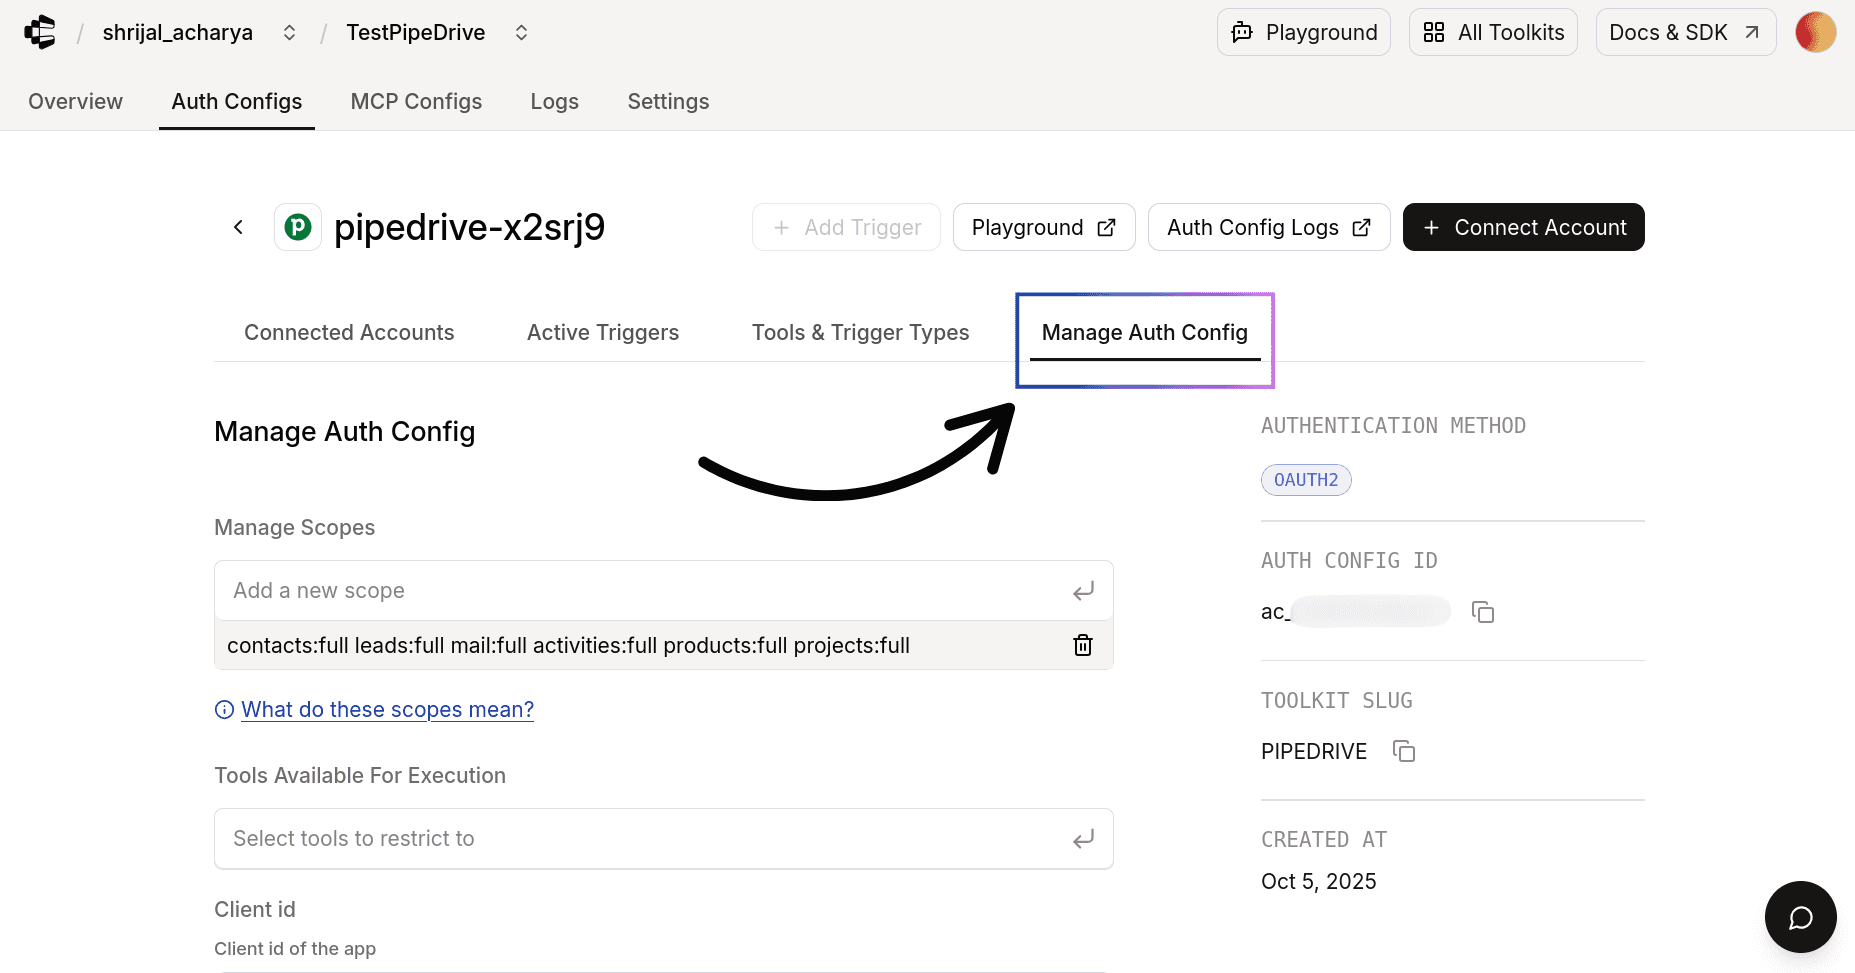
When you’re done, copy the Auth Config ID (which starts with ac_) and use it in your application code through your secret manager.
Your custom Pipedrive auth config is now ready to go! 🚀