In this guide, I will share the process for customizing the auth config for Monday.com. So, let's begin.
Setting up Monday.com
In this section, we'll walk through setting up Monday.com and creating an OAuth application.
NOTE: If you already have a Monday.com OAuth app and access to the Client ID and Client Secret, you can skip this section.
Step 1: Create a Monday.com Developer App
Head over to the Monday.com Developers page and create a new app.
Log in with your Monday.com account.
Click Create App in the developer console.

Step 2: Register Your OAuth App and Generate Credentials
Once you've created the app, you'll need to configure OAuth settings and generate credentials.
Give your app a name (e.g.,
Composio-Monday).
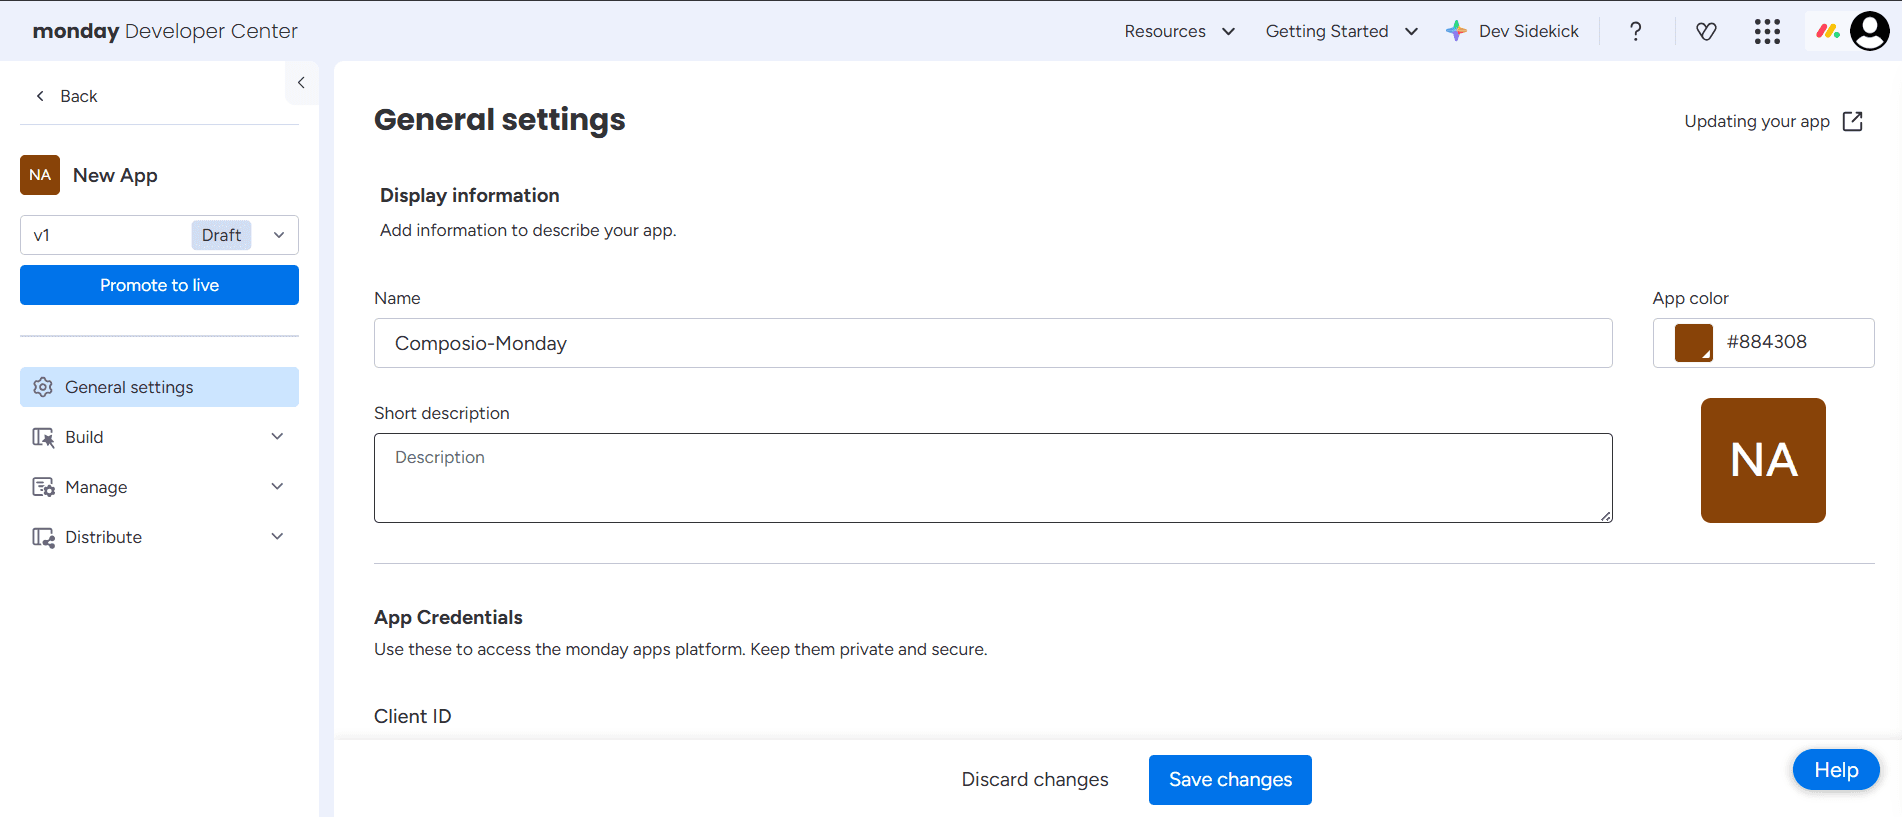
After creating the app, Monday.com will automatically generate the Client ID, Client Secret, and Signing Secret at the bottom of the page.
Copy the Client ID and Client Secret somewhere safe, as you'll need them shortly.
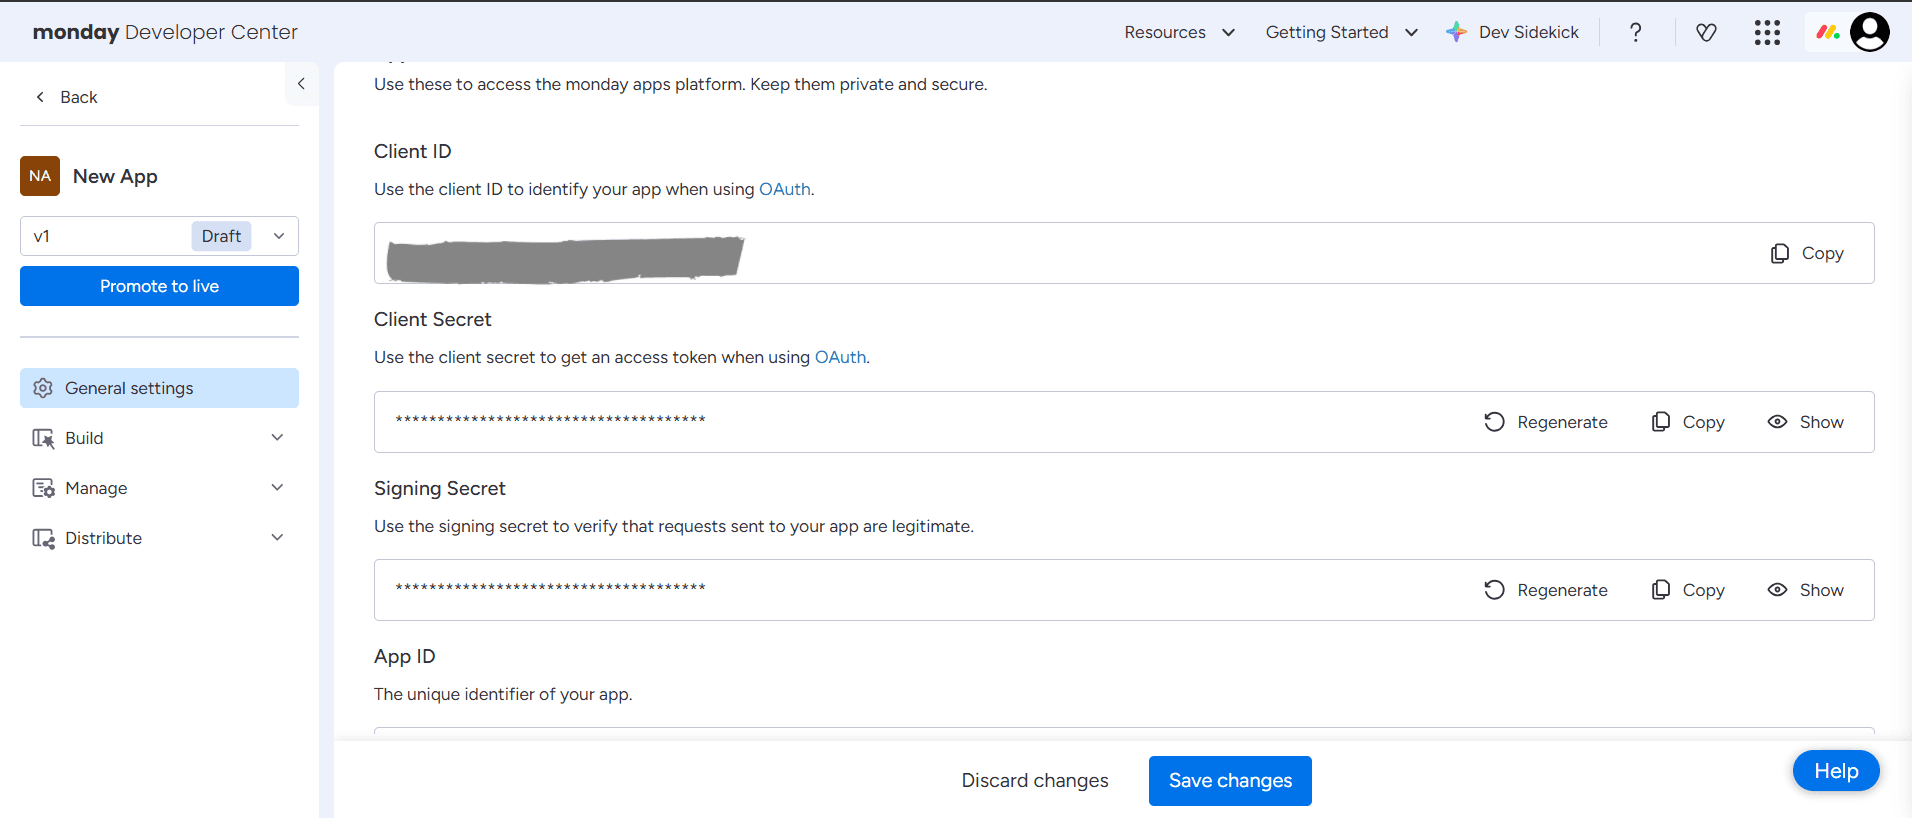
Now, you'll need the OAuth credentials. After saving, Monday.com will show the Client ID and Client Secret. Copy them somewhere safe.
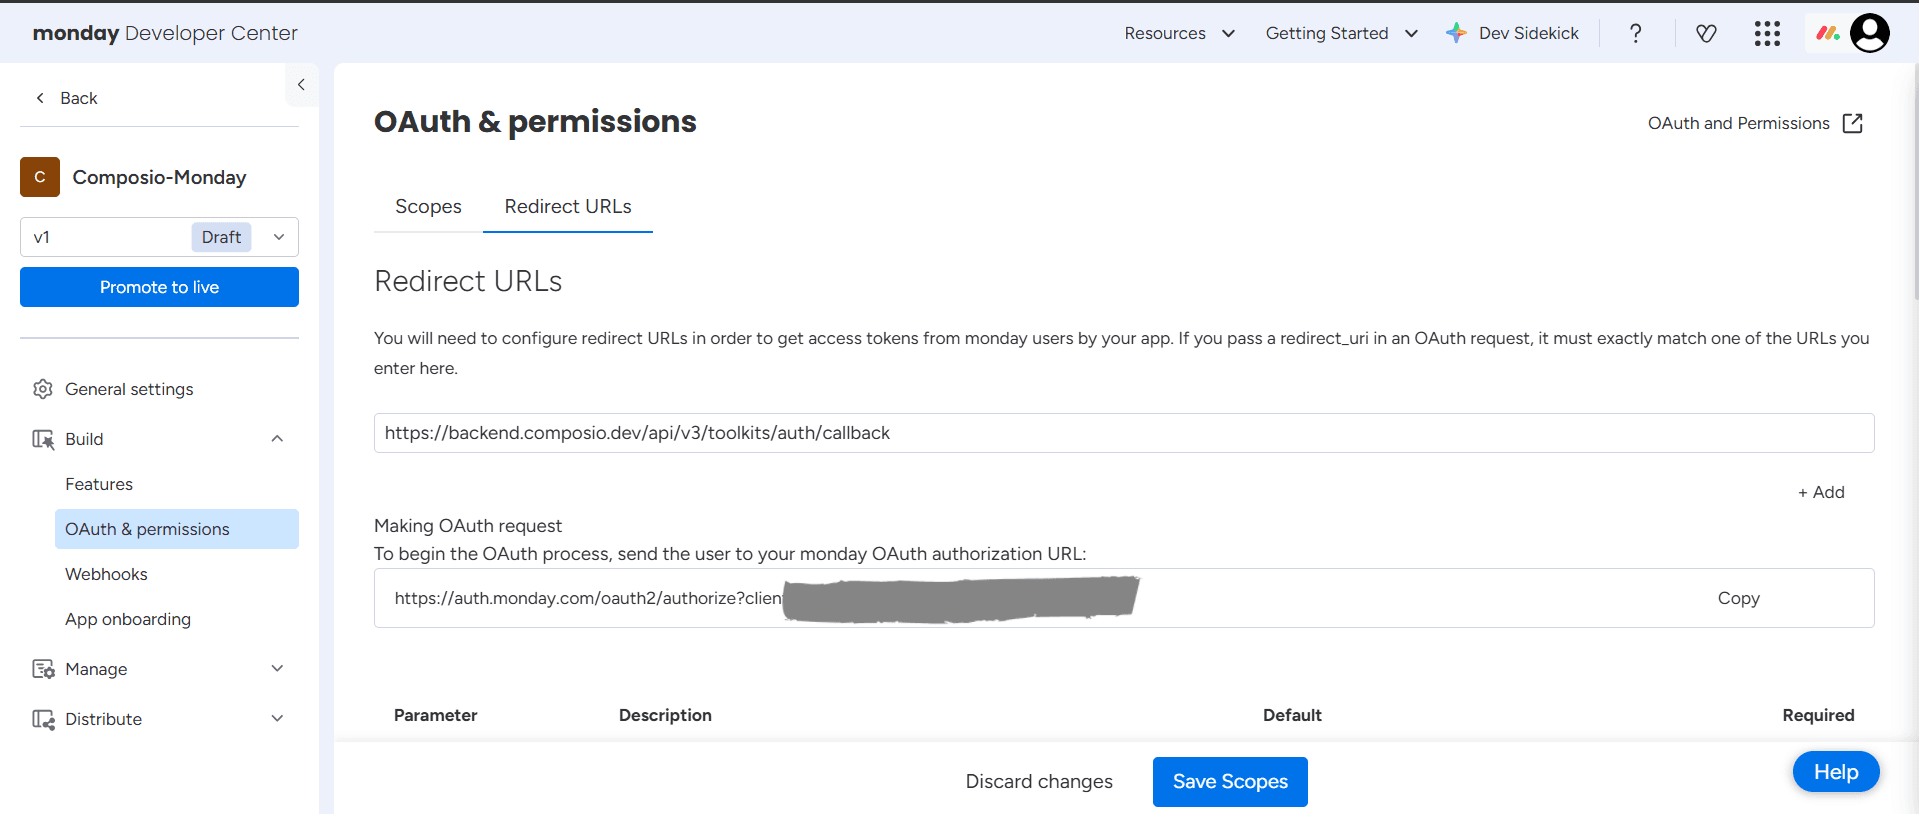
Step 3: Set the Redirect URI
You'll also need to configure the Redirect URI to point to Composio's callback URL.
In the Redirect URLs section of your Monday.com OAuth app, add the following URL:
https://backend.composio.dev/api/v3/toolkits/auth/callbackMake sure there's no trailing slash, and the protocol is https.
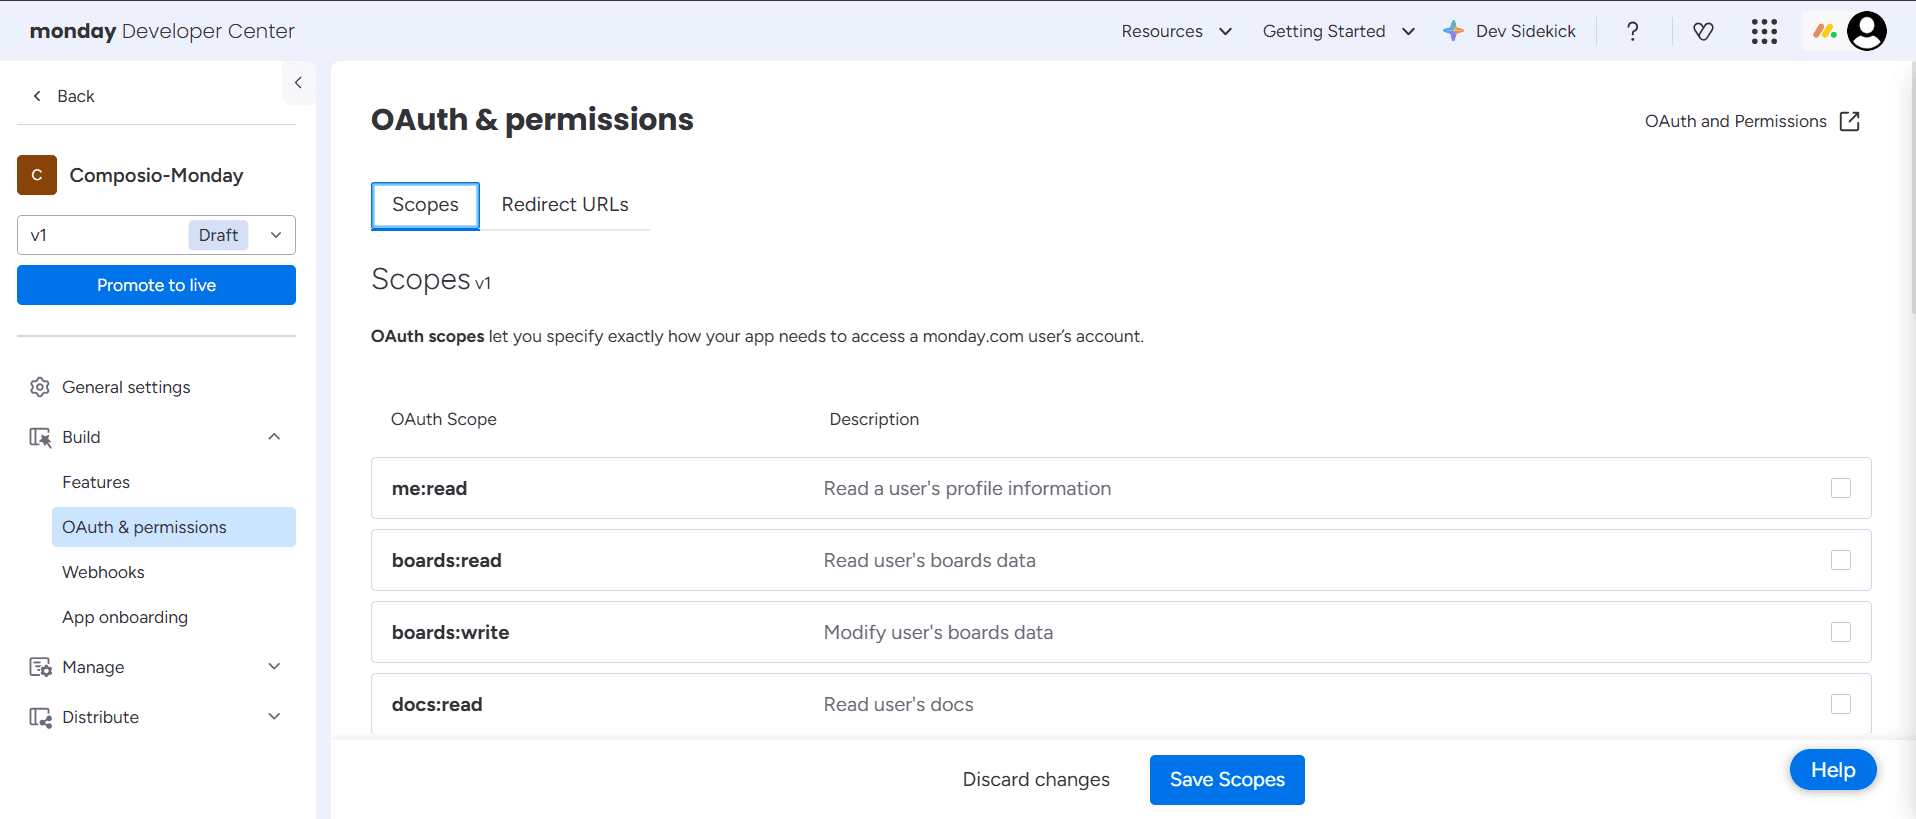
Step 4: Configure OAuth Scopes
Monday.com requires you to specify scopes for API access. Common scopes include:
boards:read→ Read board databoards:write→ Create and modify boardsworkspaces:read→ Read workspace informationusers:read→ Read user datame:read→ Read current user information
Scopes supported by Composio:
Below are all the scopes that Composio supports for Monday.com. You should add these scopes based on your integration requirements:
account:read,assets:read,boards:read,boards:write,docs:read,docs:write,me:read,notifications:write,tags:read,teams:read,teams:write,updates:read,updates:write,users:read,users:write,webhooks:read,webhooks:write,workspaces:read,workspaces:writeThese scopes define the permissions your app can request during the OAuth authorization process. It's essential to select only the scopes necessary for your application's functionality to adhere to the principle of least privilege.
Note: The actual scopes you should request depend on your specific integration requirements. For example, if your app needs to read and write board data, you would include boards:read and boards:write in your OAuth configuration.
You can customize these based on your integration needs.
That's all you need to set up on the Monday.com side.
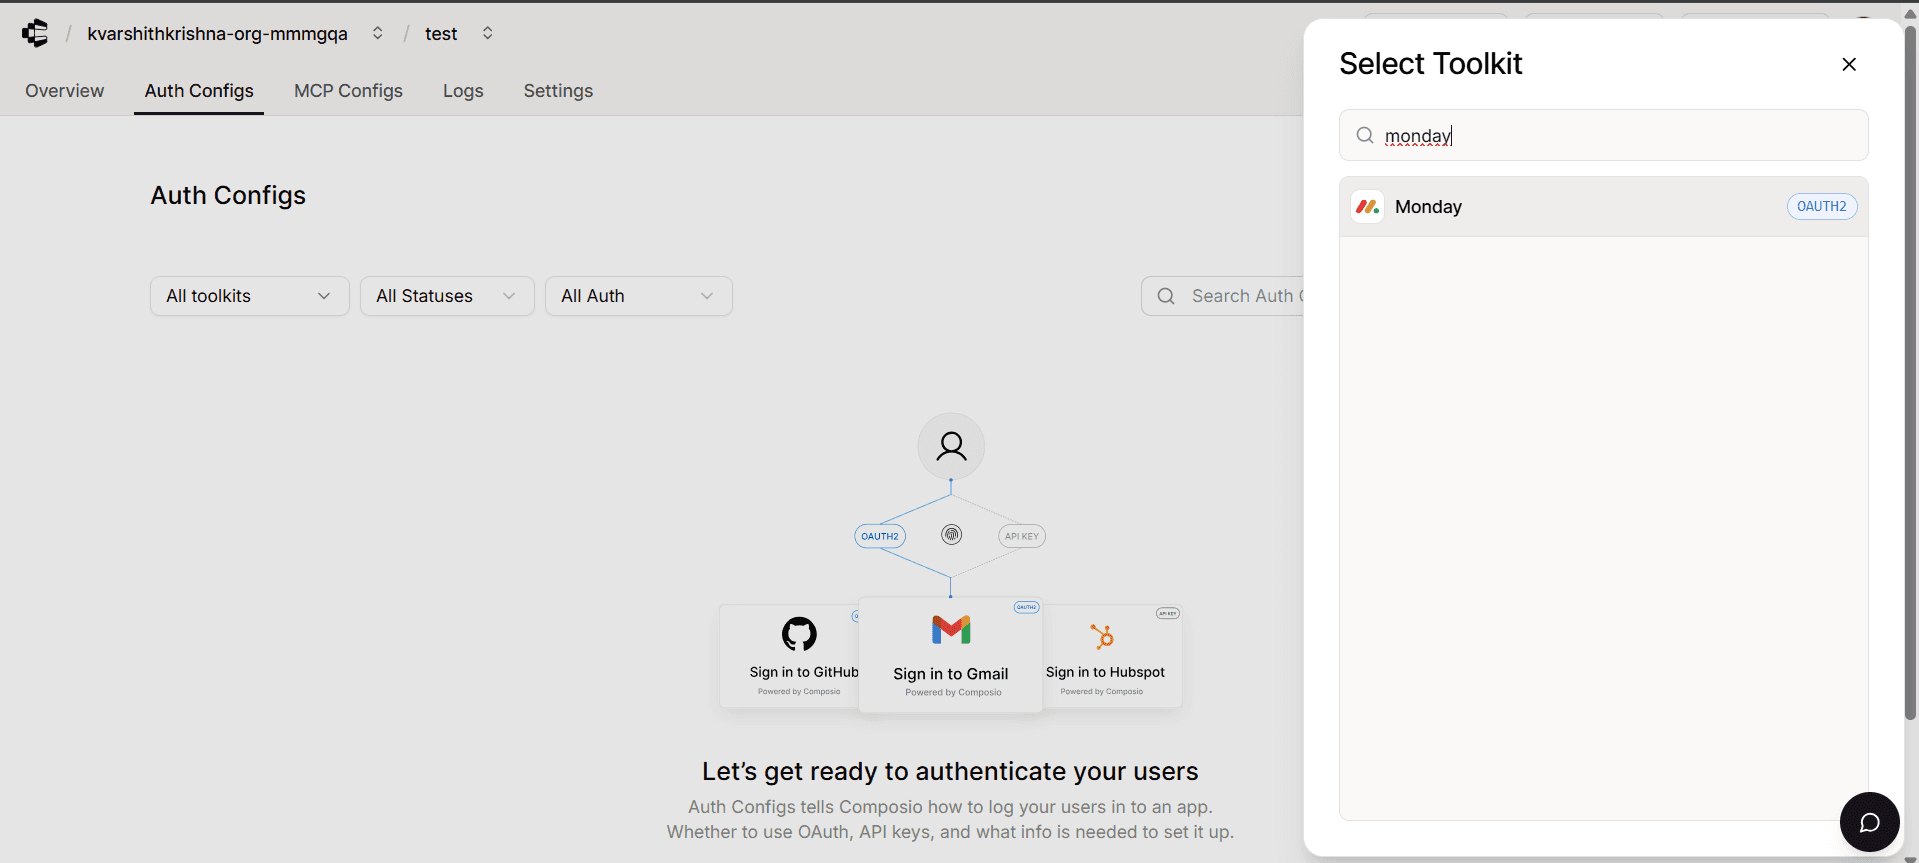
Creating the Auth Config in Composio
With your OAuth credentials ready, navigate to the Composio dashboard to configure Monday.com authentication settings.
Click on the Create Auth Config button to get a list of all the toolkits available.

In the sidebar that opens, choose Monday.com for the toolkit. Stick with the default settings for now; we'll configure it shortly.
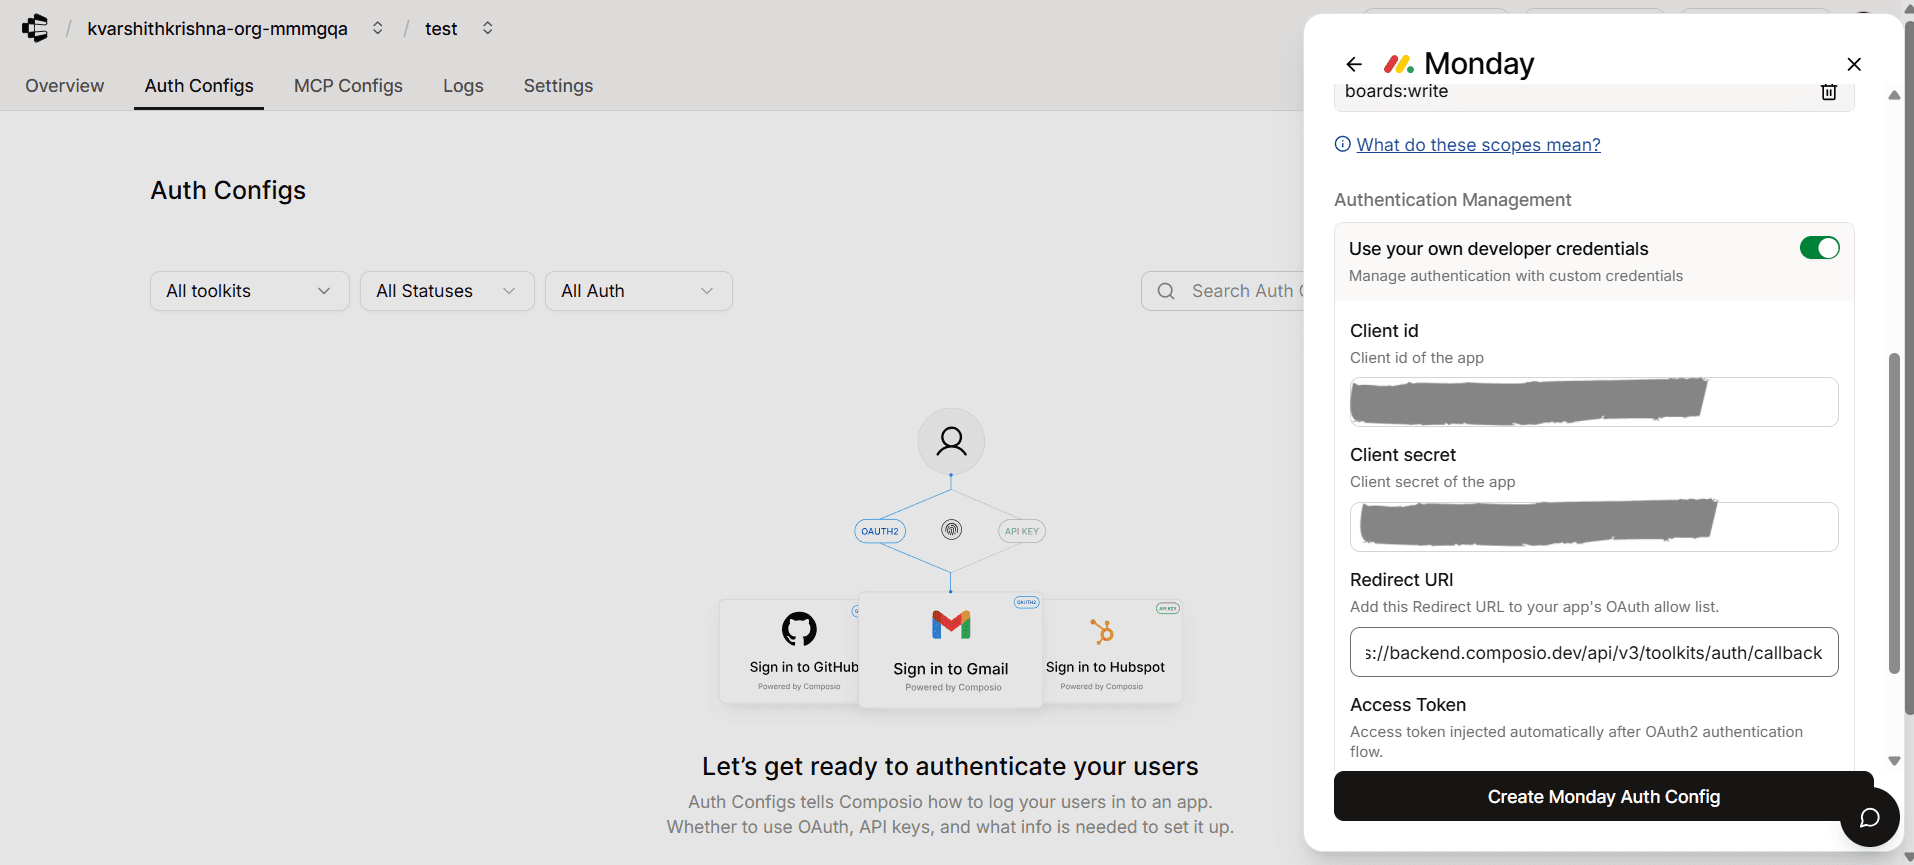
Ensure the authentication is set to OAuth2 and not Bearer Token.

Also, make sure to check "Use your own developer authentication"
Then, click Create Monday Auth Config.
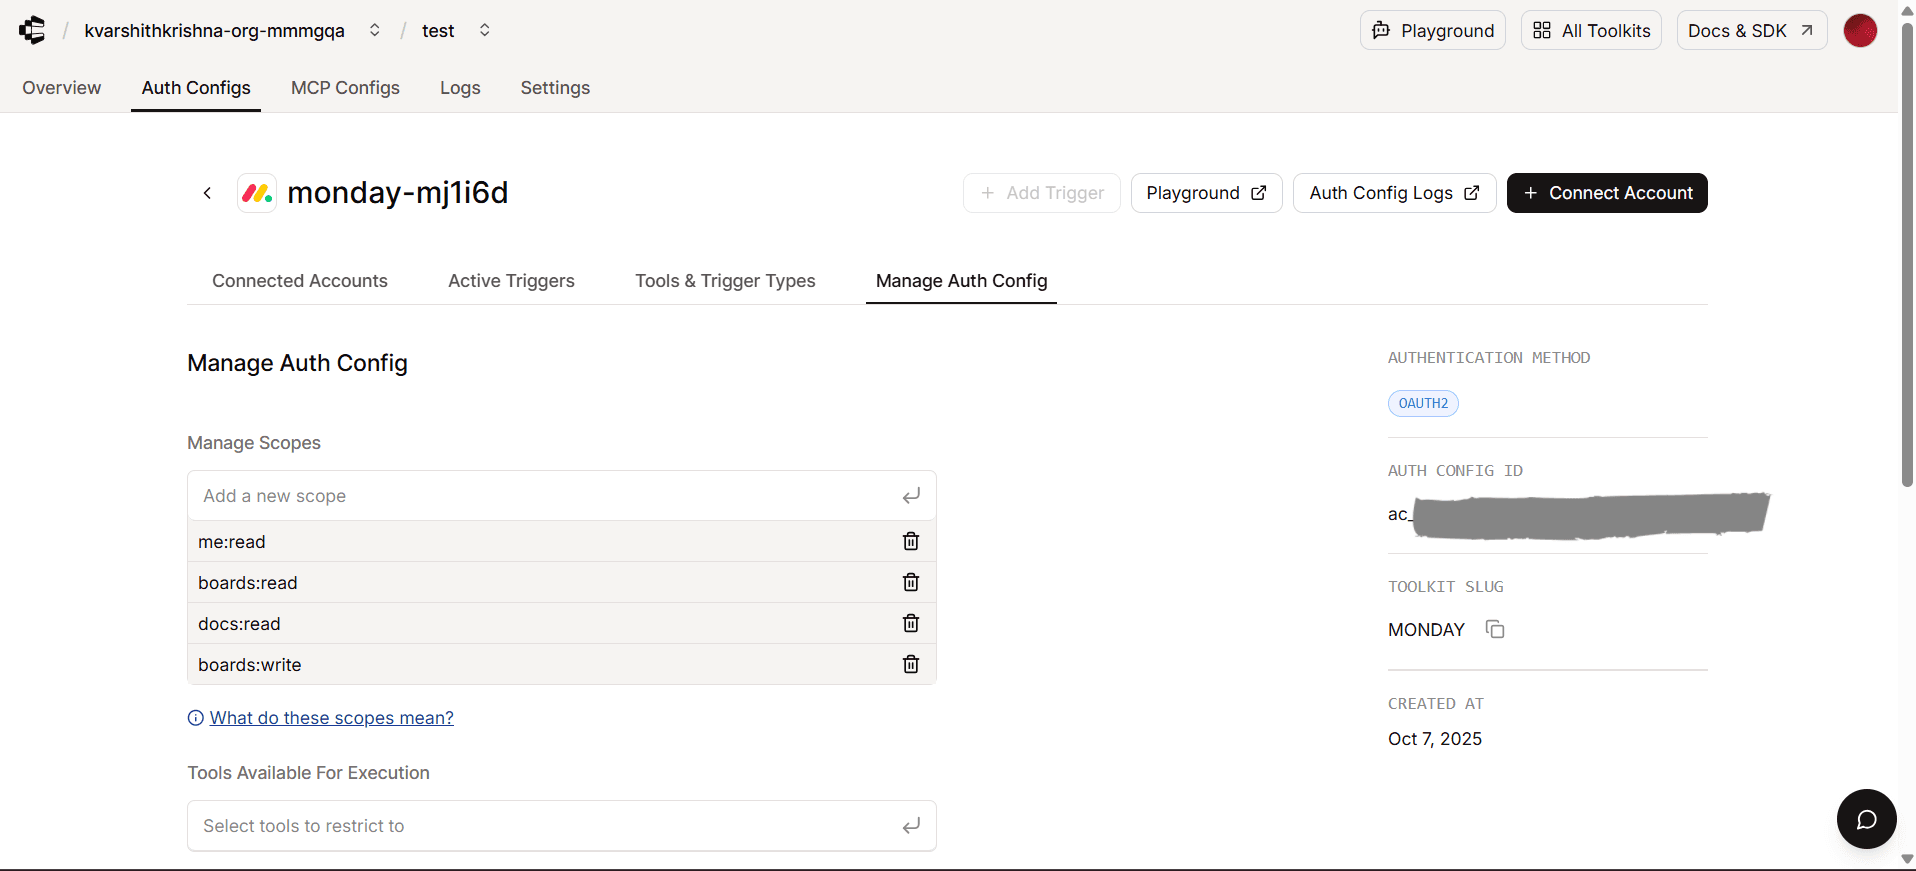
Once you have the auth config for Monday.com set up, go to the Manage Auth Config tab to fill in the auth config fields.
Paste the Client ID and Client Secret you just copied from Monday.com into their respective fields.
Instead of manually selecting scopes from Monday.com, use the scopes that Composio supports for Monday.com.
Base URL for Monday
All Bitbucket API requests go through:
https://api.monday.com/v2This is the endpoint for all Monday.com API calls.
Once done, copy the auth config ID (which starts with ac_) and use it in your application code via a secret manager.
Your custom Monday.com auth config is now ready to go!