In this guide, we’ll walk through how to configure authentication for Instantly using API Token–based authentication with Composio.
Instantly does not support OAuth or public app registration. Instead, it uses API keys (Bearer tokens) for authentication.
Setting Up Instantly
In this section, we’ll generate an API key from Instantly that will be used to authenticate requests via Composio.
Step 1: Generate an API Key in Instantly
Log in to your Instantly Dashboard

Navigate to Settings
Open the Integrations or API section (label may vary by account)
Click Generate API Key
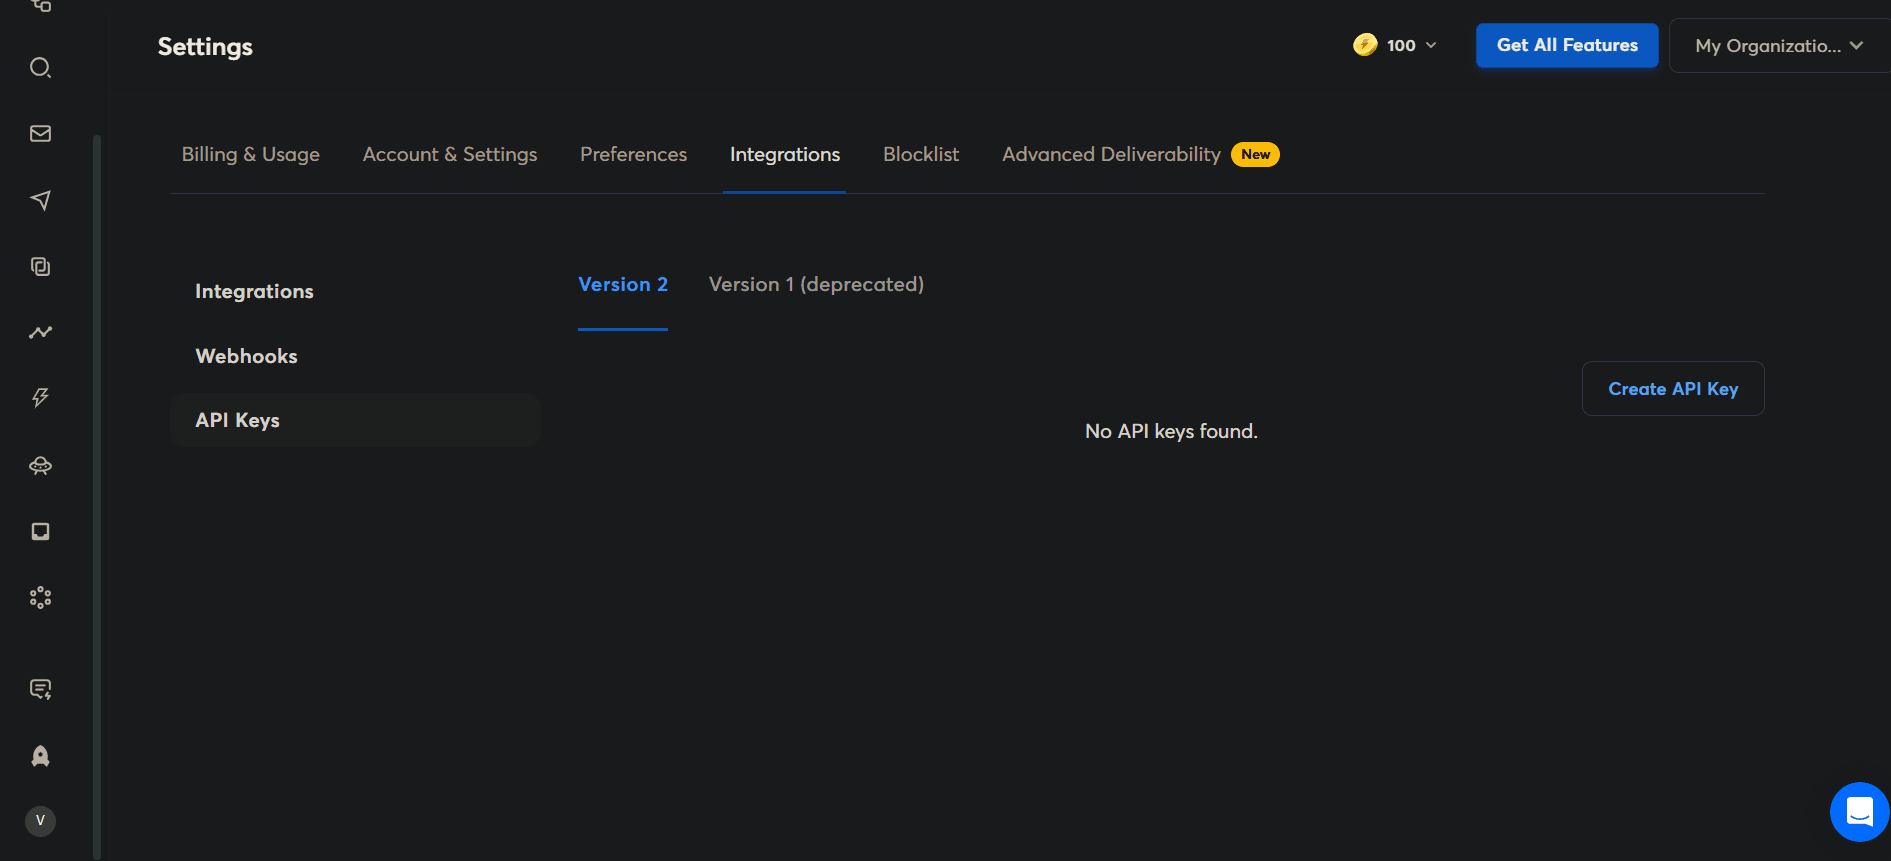
Copy the generated API key and store it securely
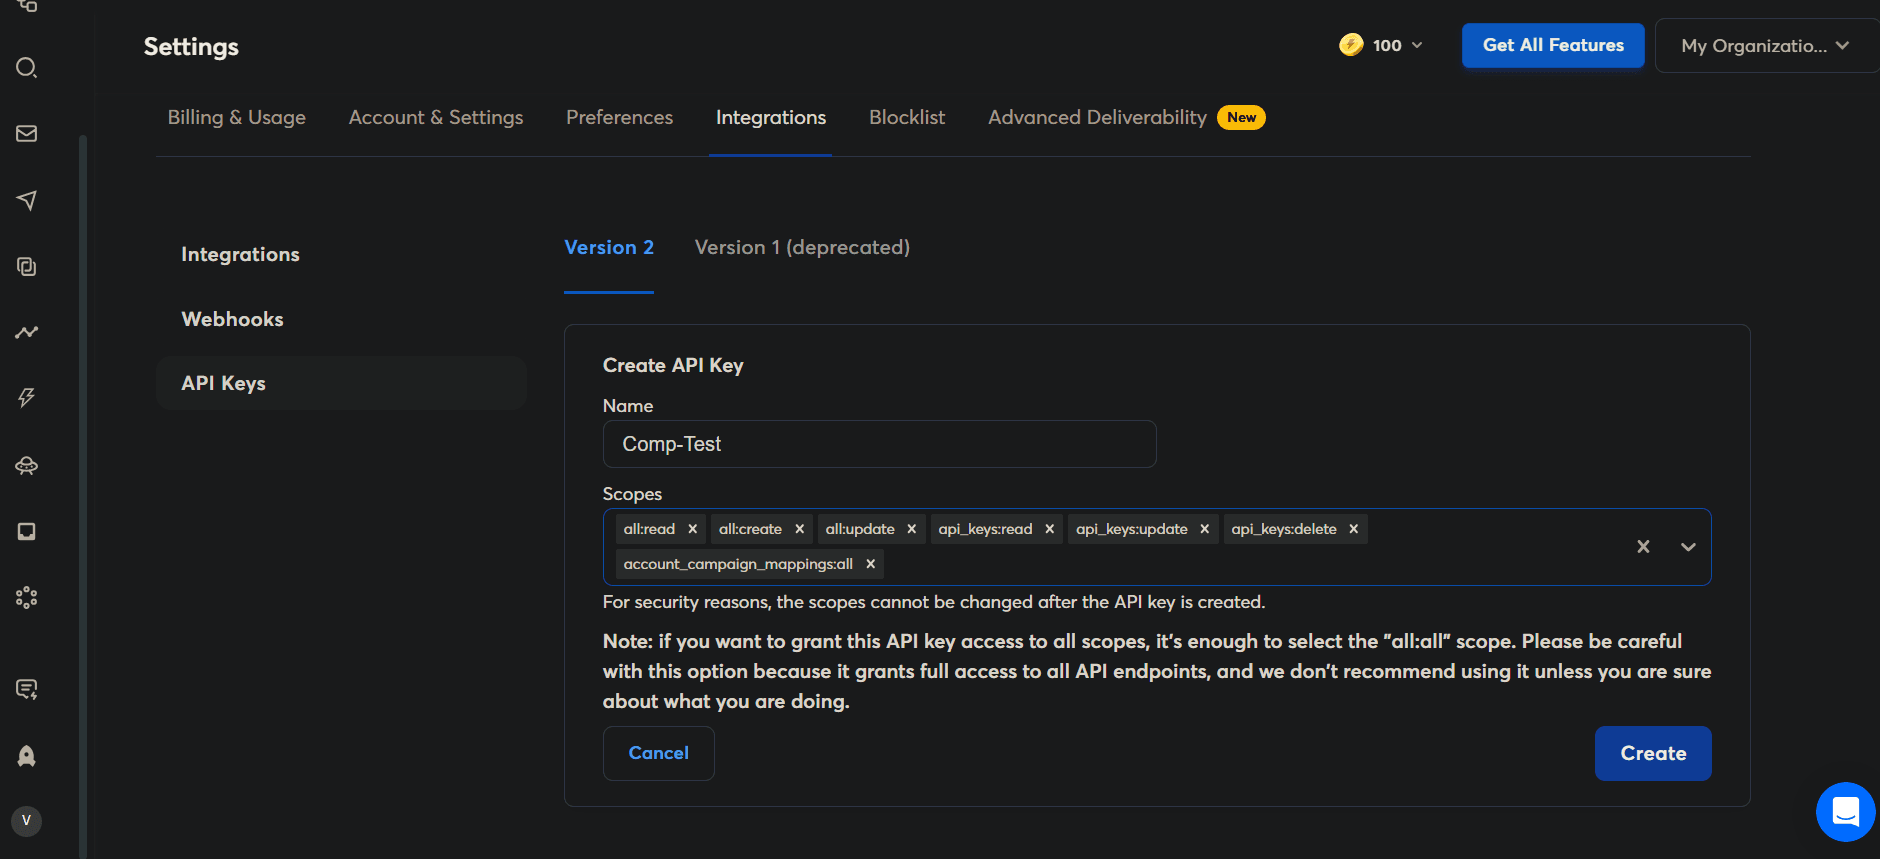
API Key Scopes in Instantly
Instantly controls API access using scoped API keys.
When generating an API key in Instantly, you must explicitly select the scopes that determine which resources and actions the key can access.
Important
Scopes are fixed at the time of creation
Scopes cannot be modified later
To change permissions, you must create a new API key
Full-Access Scope
Instantly provides a single full-permission scope:
all:allGrants unrestricted access to all Instantly API endpoints
Includes read, create, update, and delete permissions across all resources
Not recommended unless your integration genuinely requires full access
Use this scope with caution.
All Available Instantly API Scopes
Below is the list of API scopes available in Instantly, as selectable when creating an API key:
all:all | all:create | all:read | all:update | all:delete

ai_agents:all | ai_agents:create | ai_agents:read | ai_agents:update | ai_agents:delete

campaigns:all | campaigns:create | campaigns:read | campaigns:update | campaigns:delete

leads:all | leads:create | leads:read | leads:update | leads:delete

lead_lists:all | lead_lists:create | lead_lists:read | lead_lists:update | lead_lists:delete

analytics:read

accounts:all | accounts:create | accounts:read | accounts:update | accounts:delete

inbox_tests:all | inbox_tests:create | inbox_tests:read | inbox_tests:update | inbox_tests:delete

webhooks:all | webhooks:create | webhooks:read | webhooks:update | webhooks:delete

api_keys:all | api_keys:create | api_keys:read | api_keys:update | api_keys:delete
Best Practices for Scopes
Select only the scopes required for your integration
Prefer resource-level scopes over global scopes
Avoid using
all:allunless absolutely necessaryTreat scoped API keys as sensitive credentials
Store API keys securely using a secret manager
Creating the Auth Config in Composio
Once you have your Instantly API key, you can configure authentication in Composio.
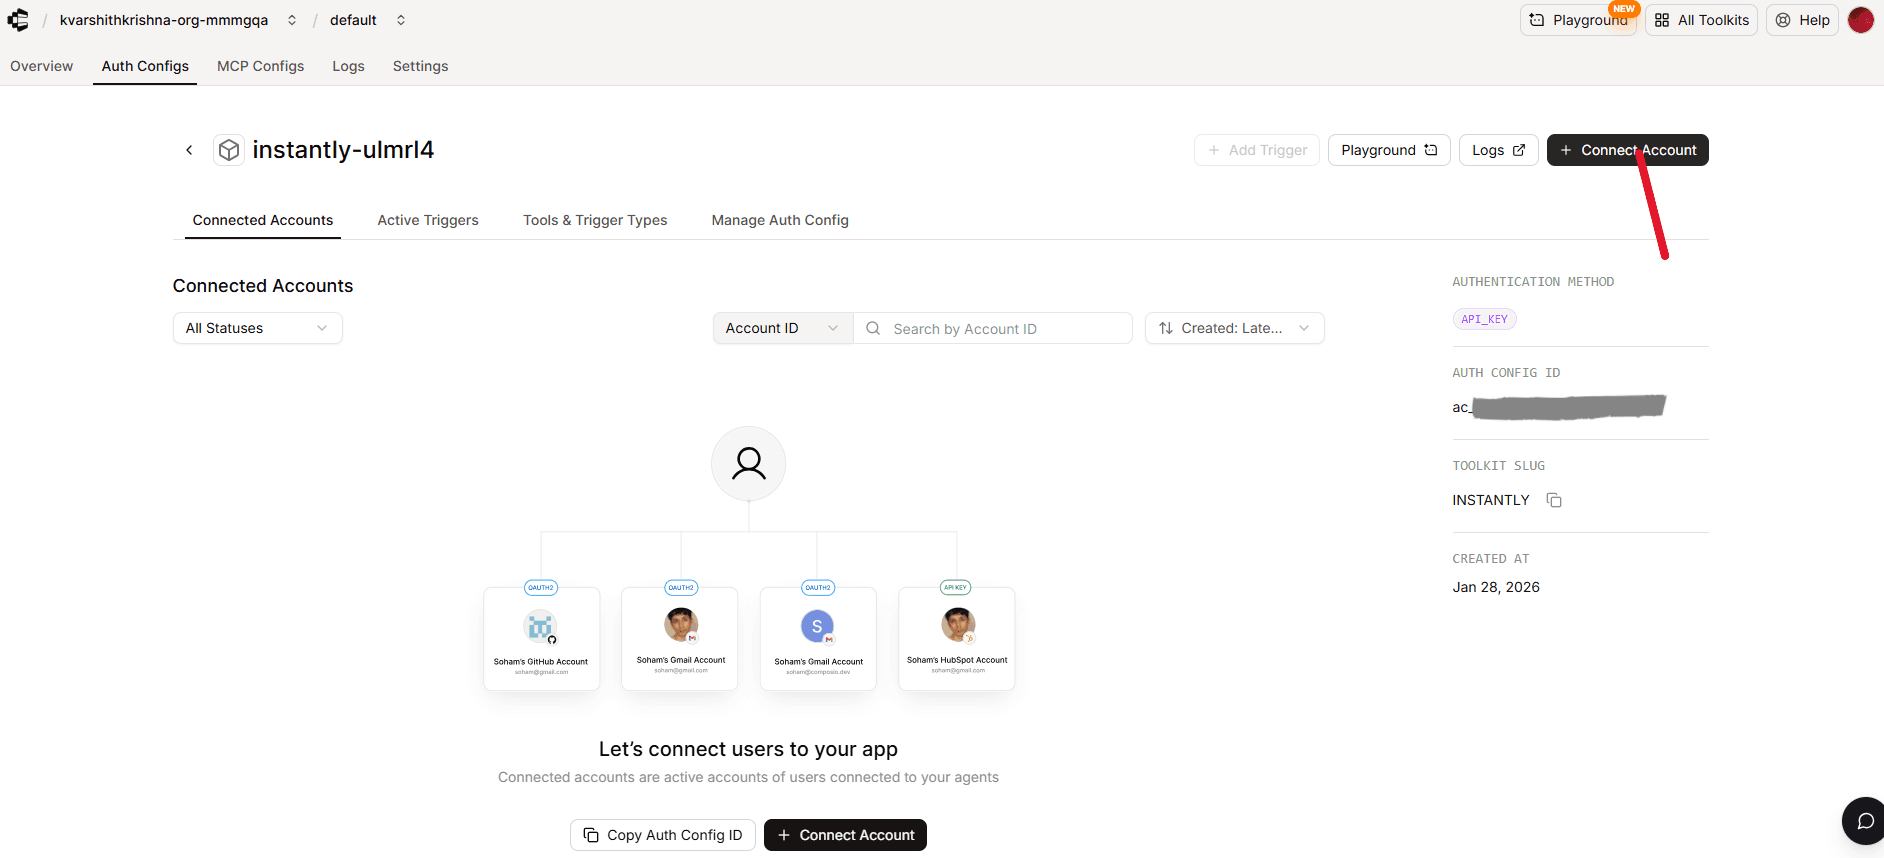
Step 2: Create a New Auth Config
Go to the Composio Dashboard
Click on the Create Auth Config button to get a list of all the toolkits available.

Search for and select instantly from the list of toolkits
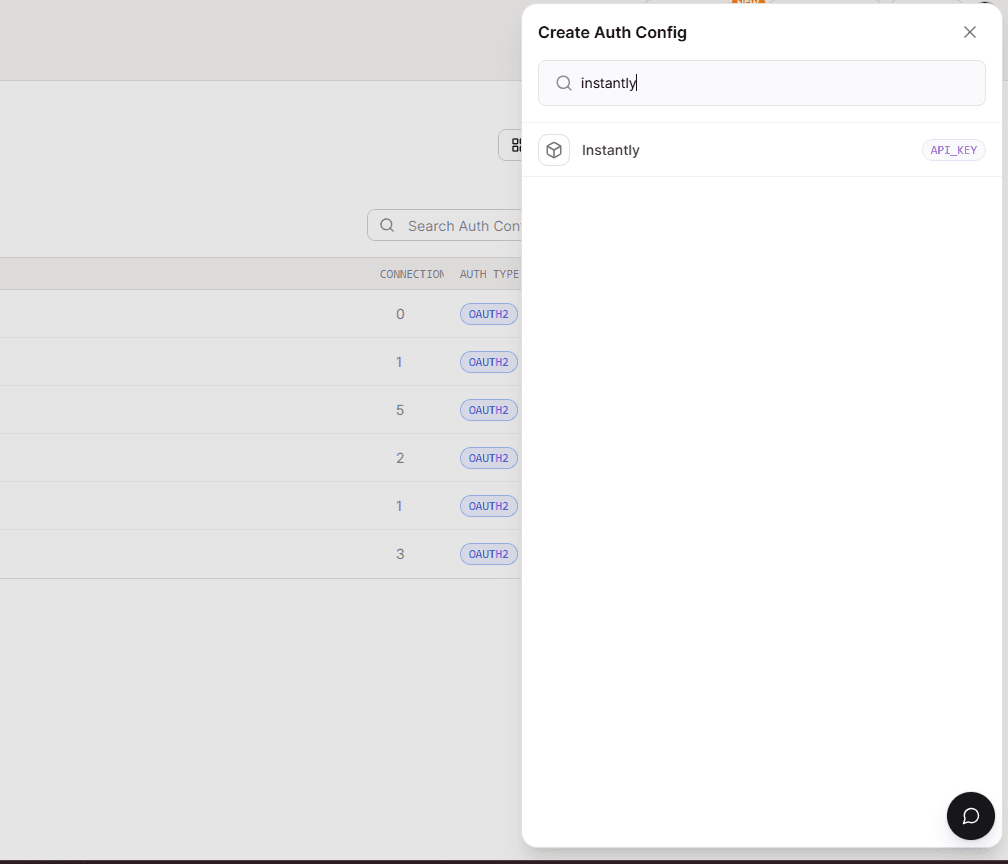
Ensure the authentication is API KEY.
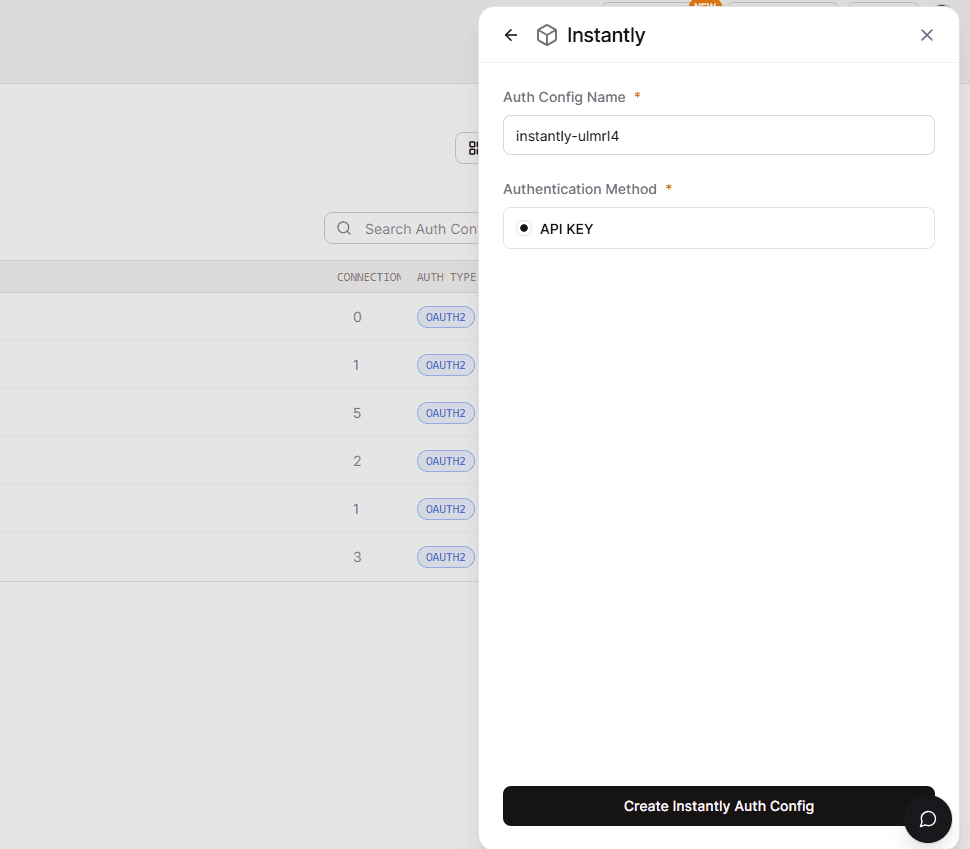
Step 3: Configure Authentication Type
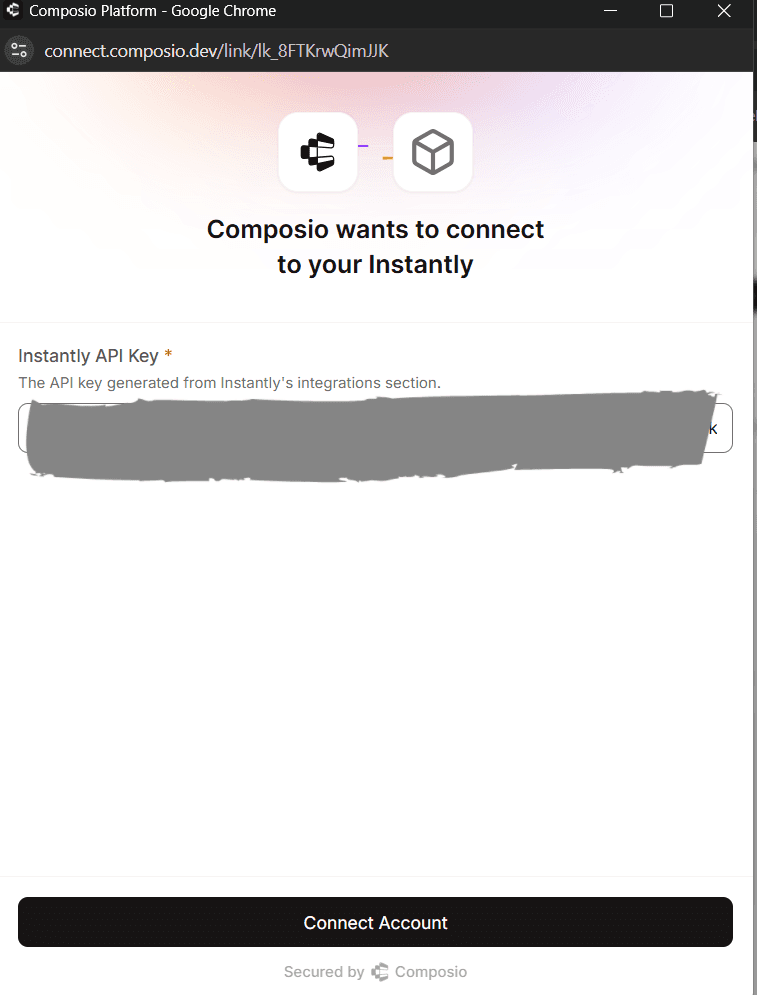
Click on the Connect Account and
Set Authentication Type to Bearer Token
Paste your Instantly API Key into the token field
Leave all other fields as default
Instantly does not require:
Client ID
Client Secret
Redirect URLs
OAuth scopes
Scopes Supported by Composio for Instantly
Instantly uses a single API key with account-level permissions.
There are no configurable OAuth scopes.
When using Composio:
Permission control is handled entirely by Instantly
Composio forwards the API key as a Bearer token in requests
Example Authorization header:
Authorization: Bearer <YOUR_INSTANTLY_API_KEYBase URL for Instantly
All Instantly API requests are sent to:
https://api.instantly.aiHow Authentication Works
When using Instantly with Composio:
The API key is stored securely in the Auth Config
Composio injects the key as a Bearer token
No OAuth consent screen is involved
No redirect flow is required
This makes Instantly one of the simplest integrations to set up.
Final Step
Once the Auth Config is created:
Copy the Auth Config ID (starts with
ac_)
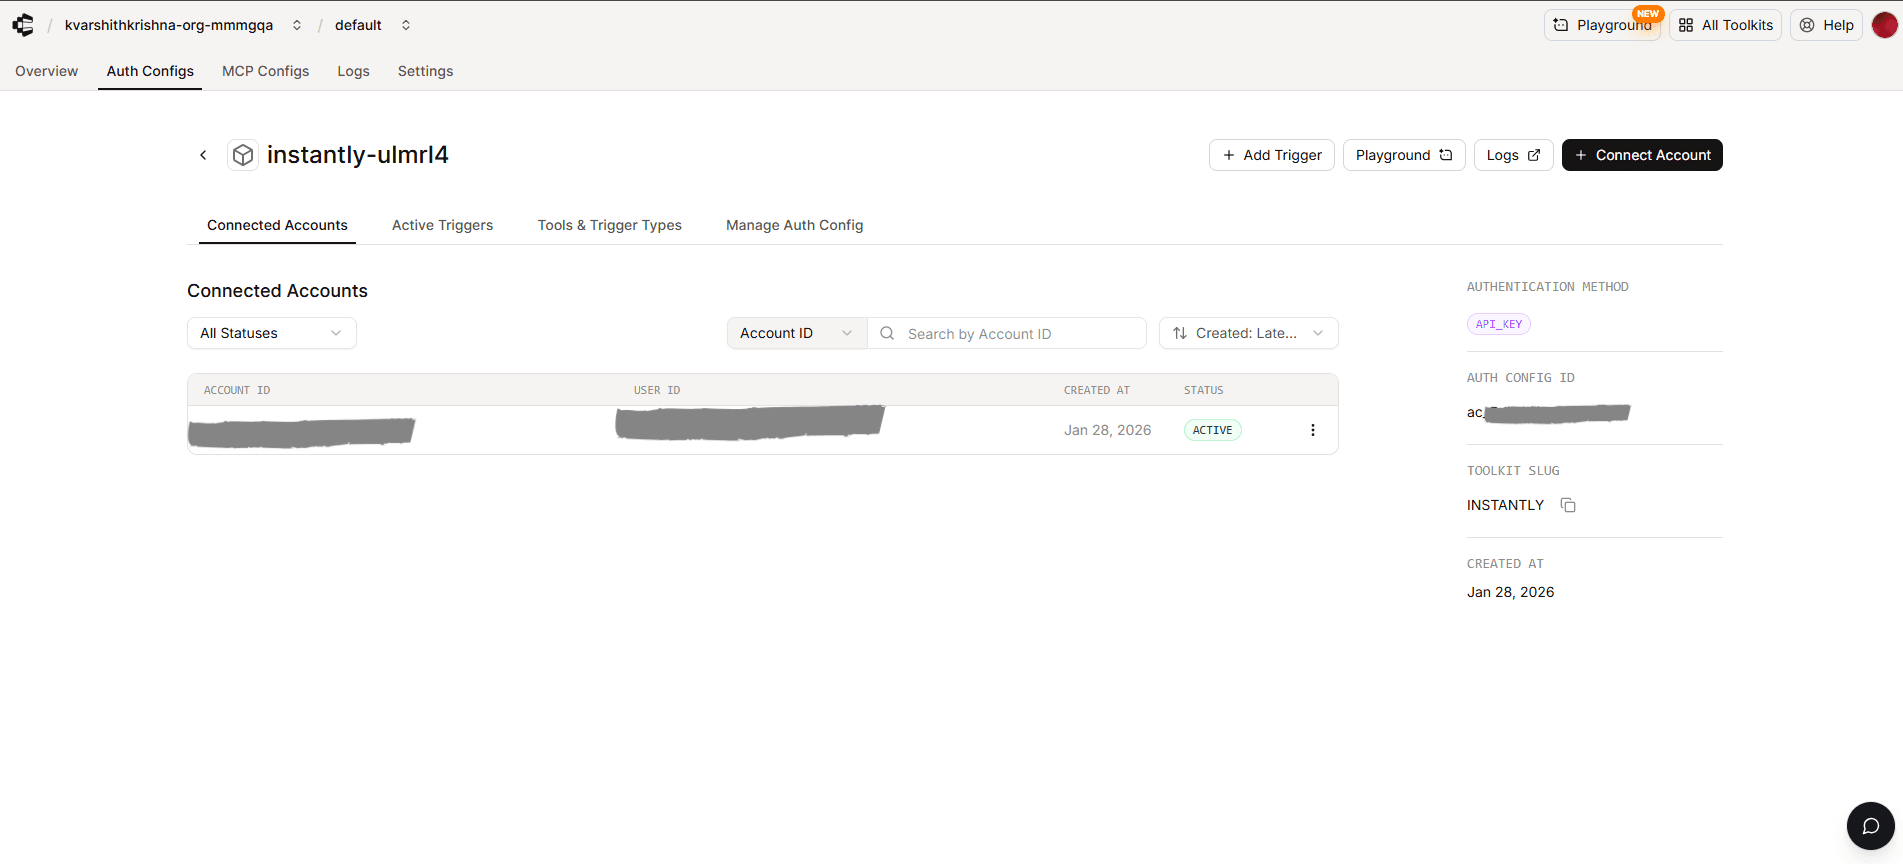
Store it securely using your secret manager
Use it in your application code to authenticate Instantly via Composio