In this guide, I’ll share the process for customising the auth config for Dropbox. So, let’s begin.
Setting up Dropbox
In this section, we’ll walk through setting up a Dropbox developer app and obtaining OAuth credentials.
NOTE: If you already have a Dropbox developer app and access to its Client ID and Client Secret, you can skip this section.
Step 1: Create a Dropbox App
Log in to your Dropbox account.
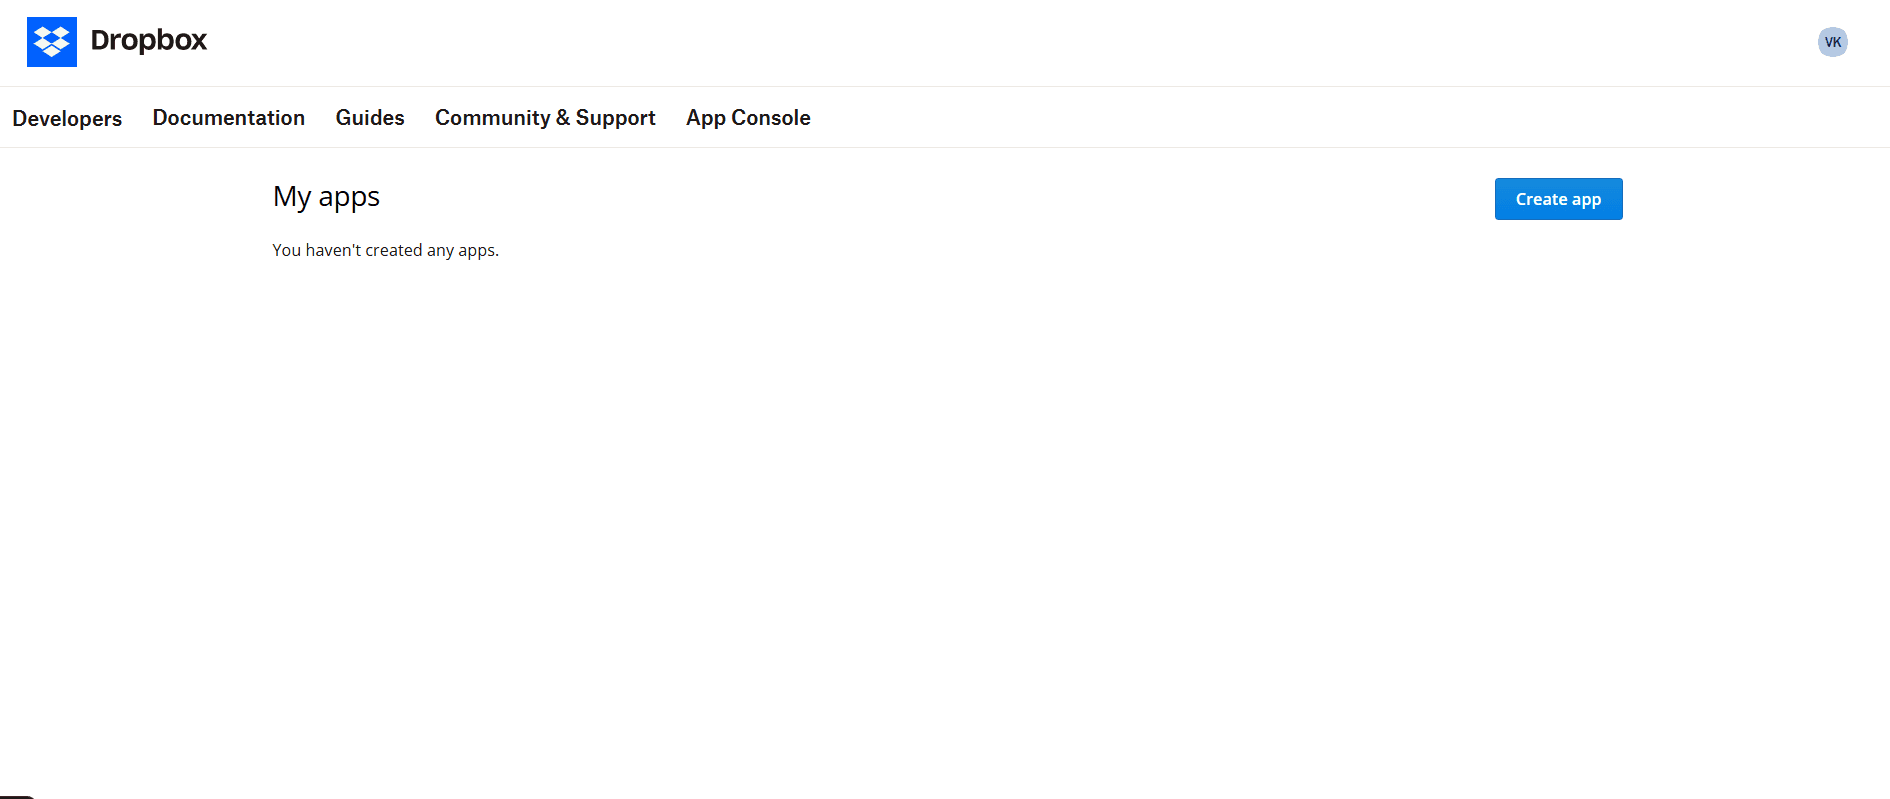
Visit the Dropbox App Console: https://www.dropbox.com/developers/apps
Click Create app.
For Choose an API, select Scoped access.
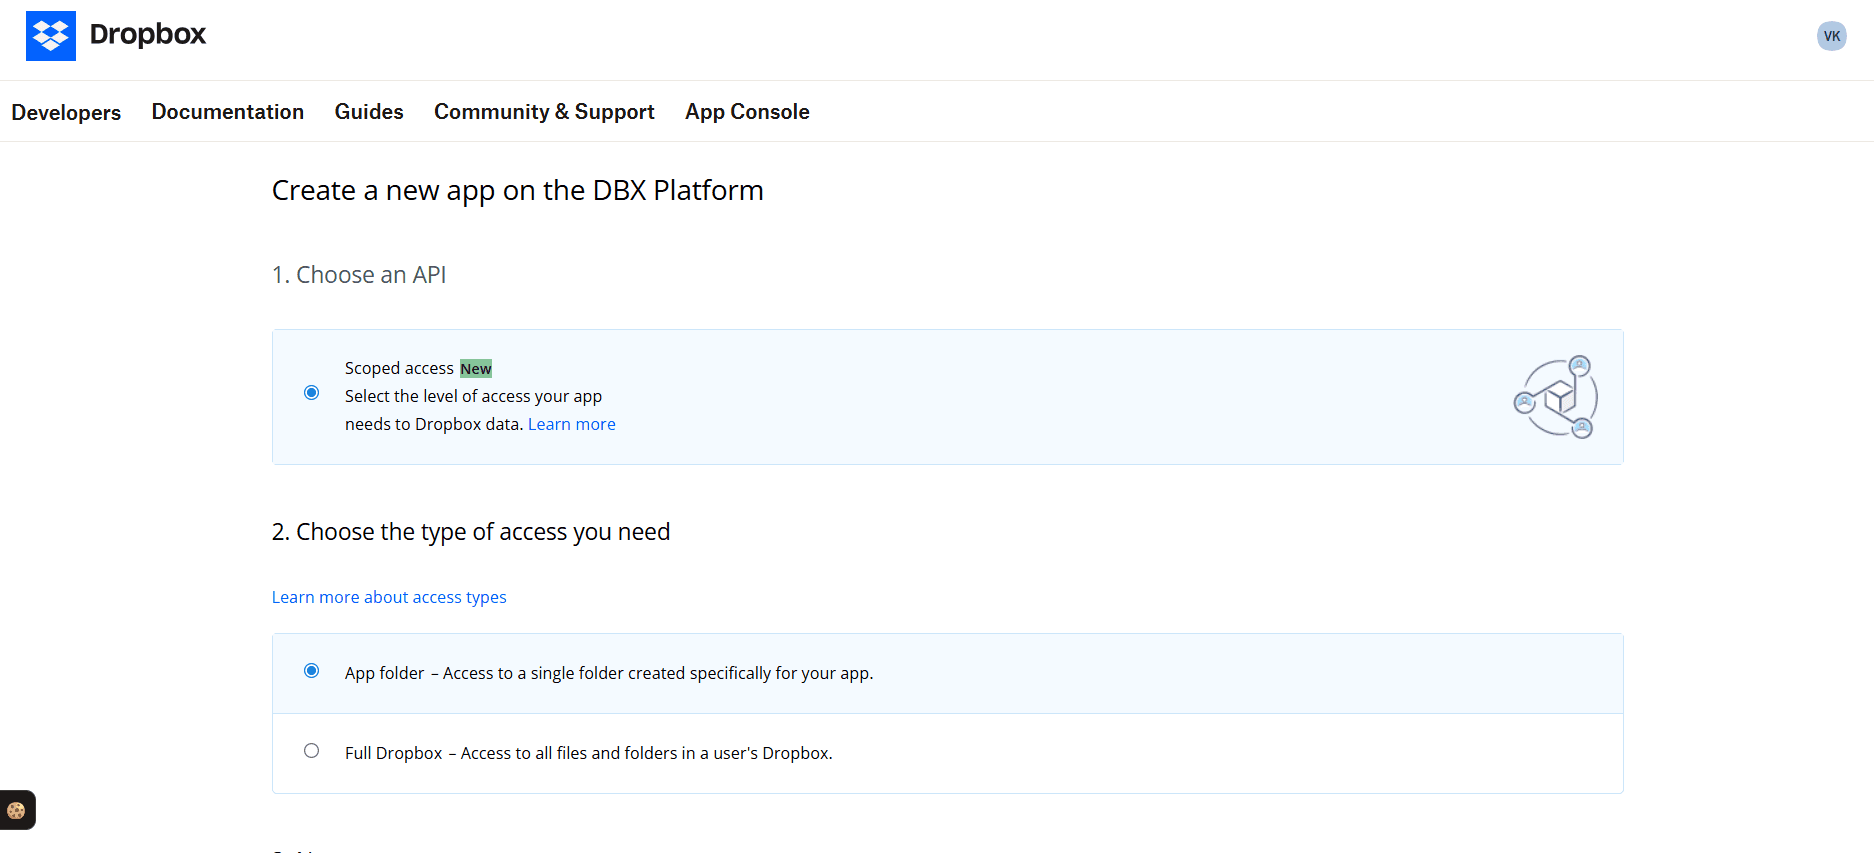
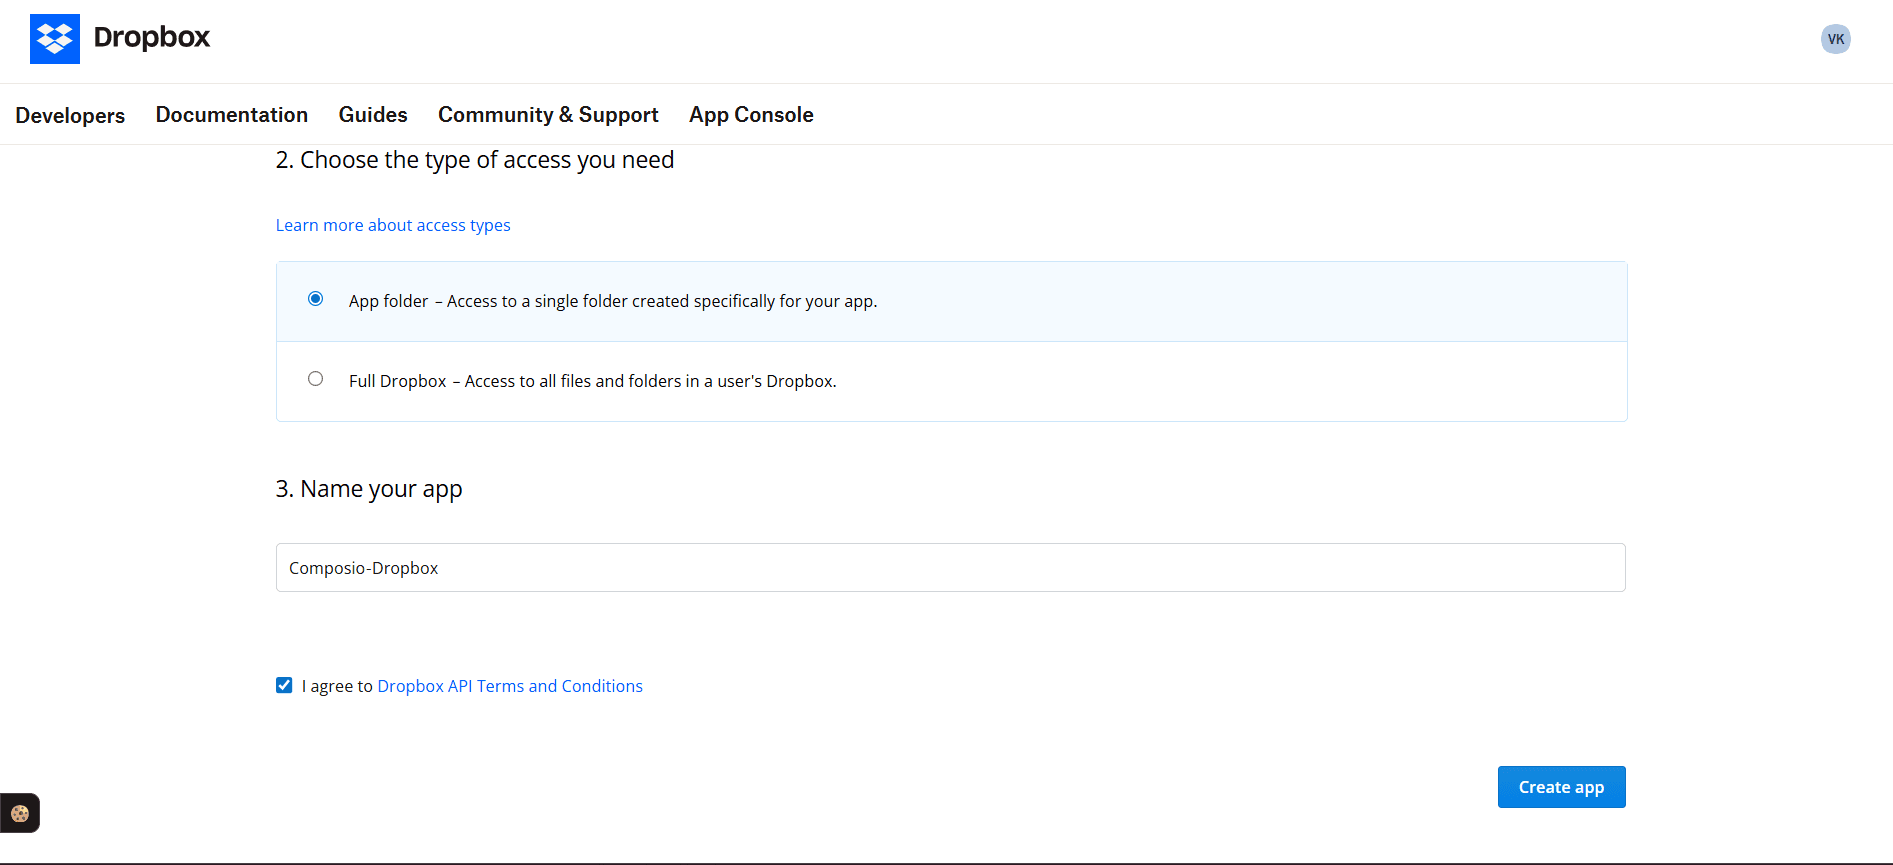
Choose the type of access you need, select:
App folder (access only to a specific folder), or
Full Dropbox (access to all files)
Depending on your use case.
Enter an app name (e.g.,
Composio‑Dropbox), and click Create app.
Step 2: Client ID and Client Secret
Once the app is created:
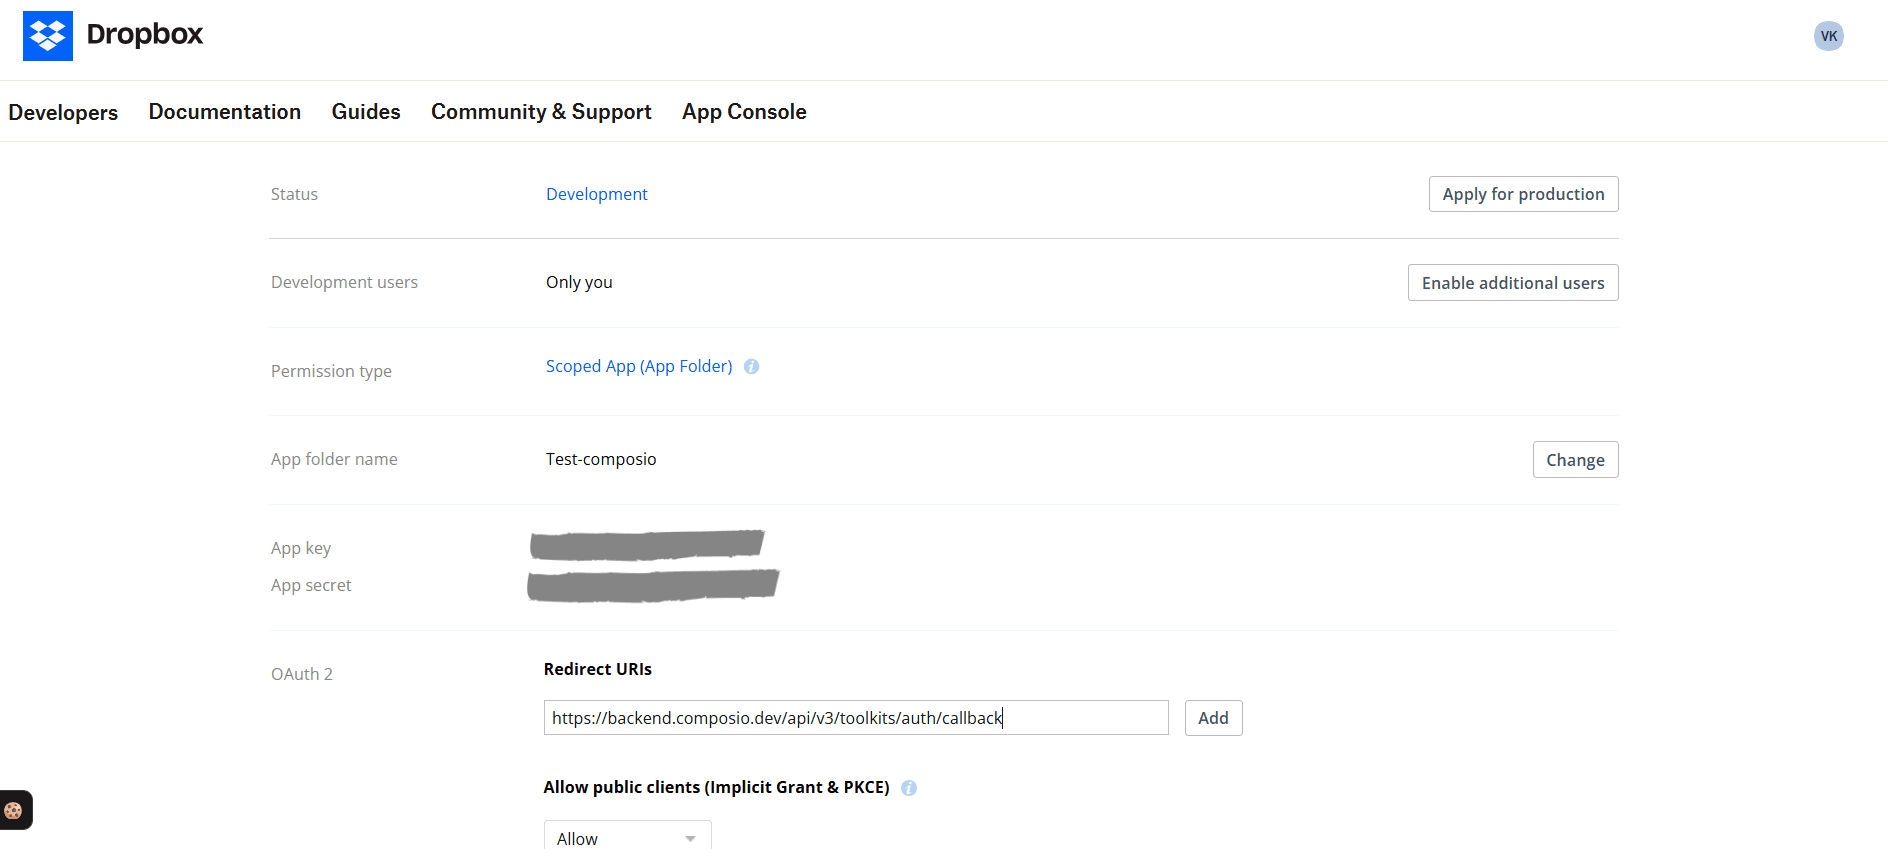
You’ll be taken to the app’s settings page.
Under the App key and App secret fields, you’ll see your Client ID and Client Secret.
App key → Client ID
App secret → Client Secret
Copy both values and save them securely — you’ll need them in Composio.
Step 3: Configure Redirect URI
In the Dropbox developer app settings:
Scroll to the OAuth 2 section.
Under Redirect URIs, click Add and enter:
https://backend.composio.dev/api/v3/toolkits/auth/callbackMake sure the redirect URI matches exactly , otherwise Dropbox will reject the OAuth flow.
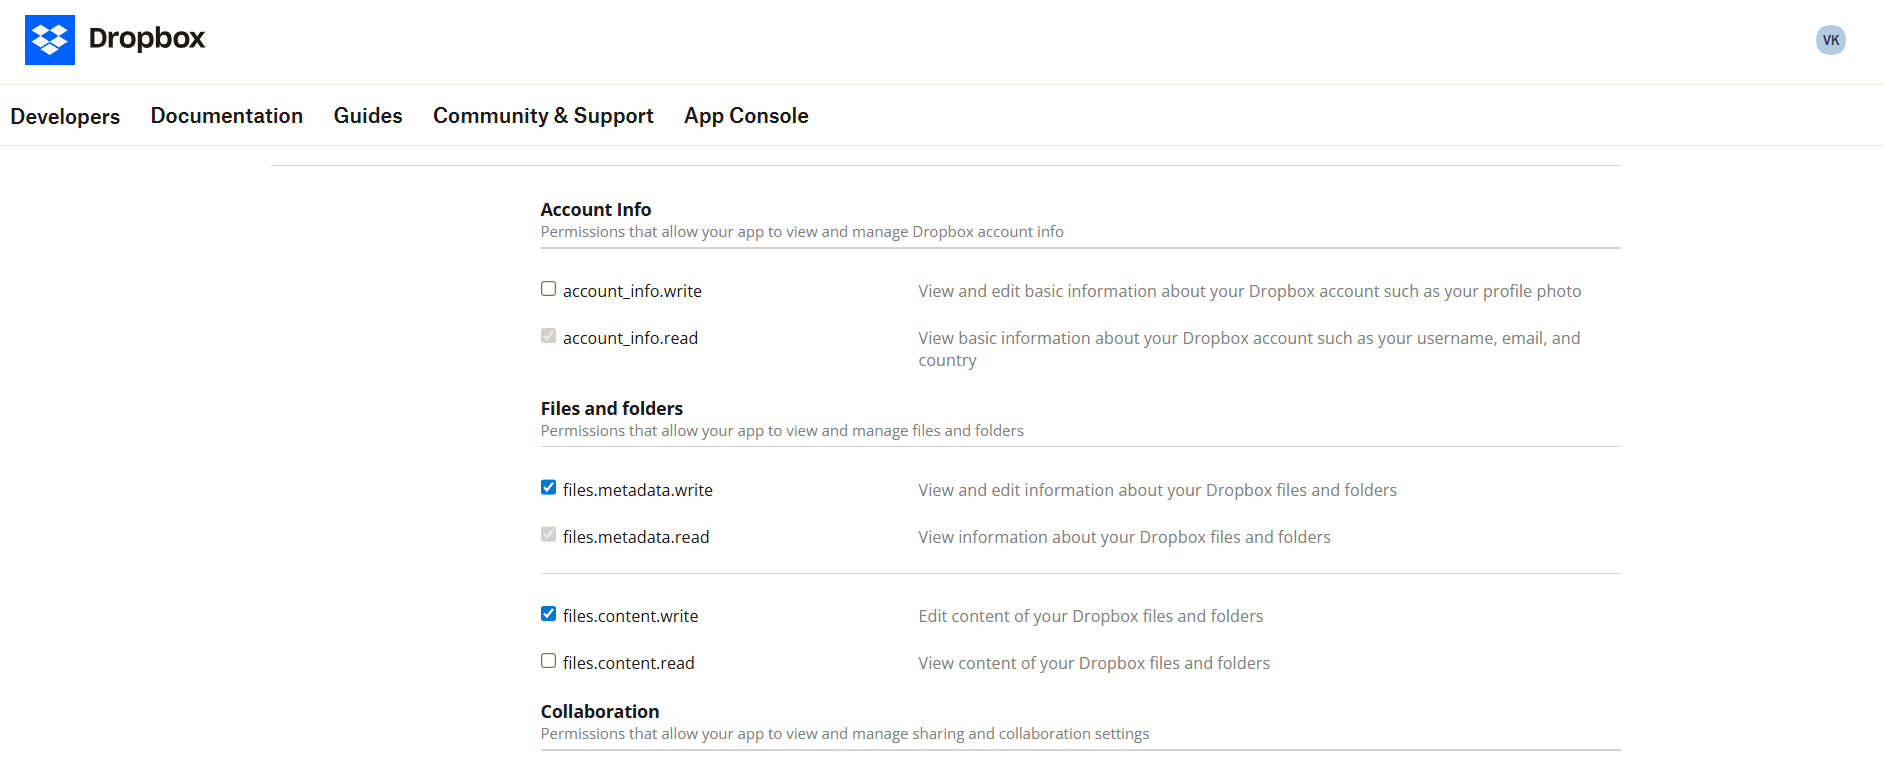
Step 4: Configure OAuth Scopes (Permissions)
Dropbox lets you choose scopes that control what your app can access.
In your app settings, go to the Permissions tab.
Check the permissions your integration needs, for example:
files.metadata.read→ Read file metadatafiles.content.read→ Read file contentsfiles.content.write→ Modify uploaded files
You should only request permissions required by your integration. Below are the scopes supported by Composio.
email
profile
account_info.write
account_info.read
files.metadata.write
files.metadata.read
files.content.write
files.content.read
openid
file_requests.write
file_requests.read
sharing.write
sharing.read
contacts.write
contacts.read
Creating the Auth Config in Composio
With your Dropbox credentials ready, navigate to the Composio dashboard at https://platform.composio.dev/ to configure Dropbox authentication settings.
Click on the Create Auth Config button to get a list of all the toolkits available.

In the sidebar, choose Dropbox for the toolkit.
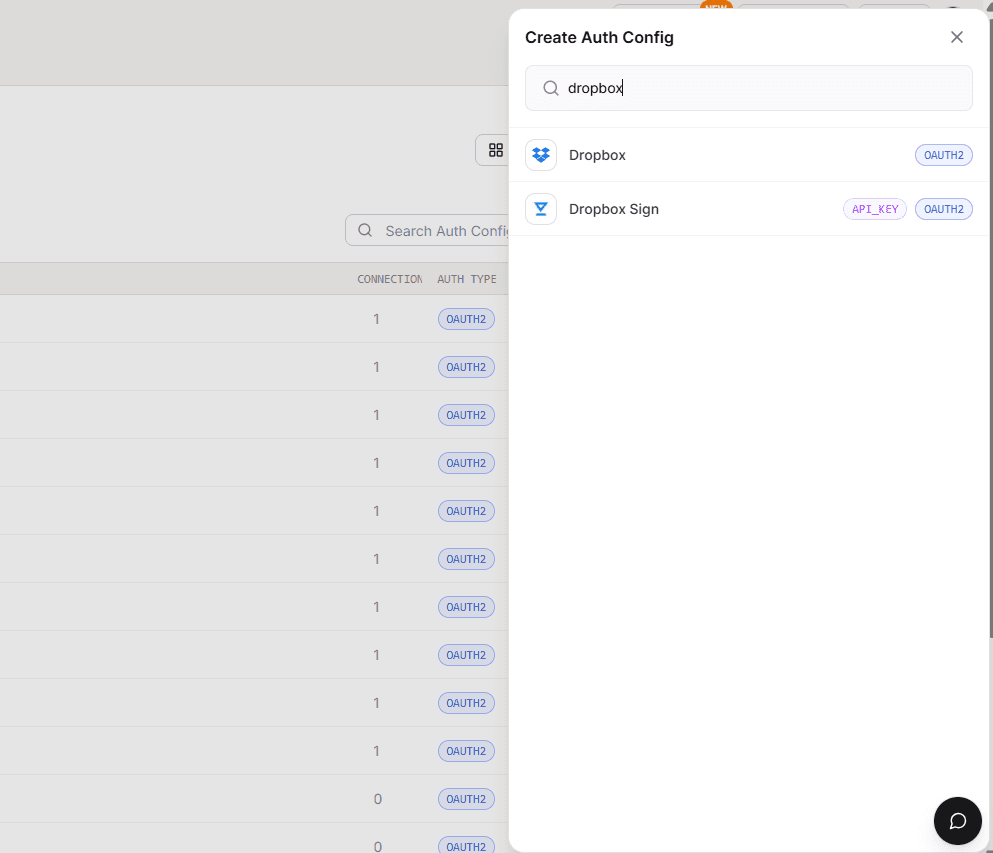
Ensure authentication is set to OAuth2 (not API Key).
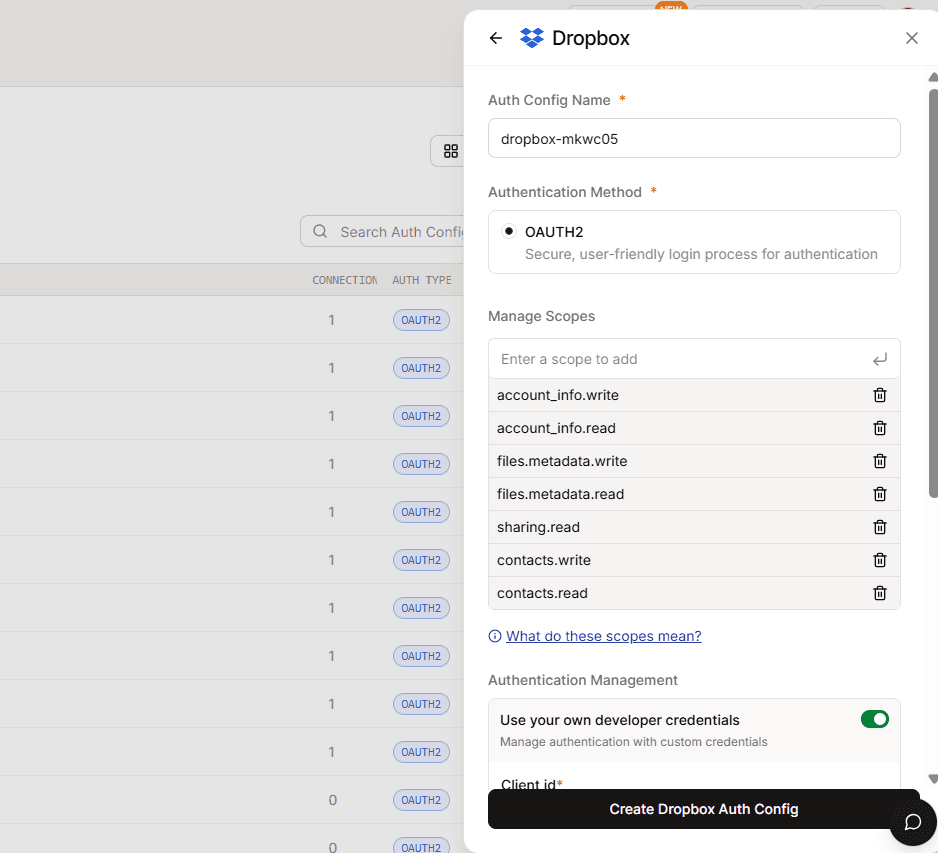
Enable Use your own developer authentication.

Click Create Dropbox Auth Config.
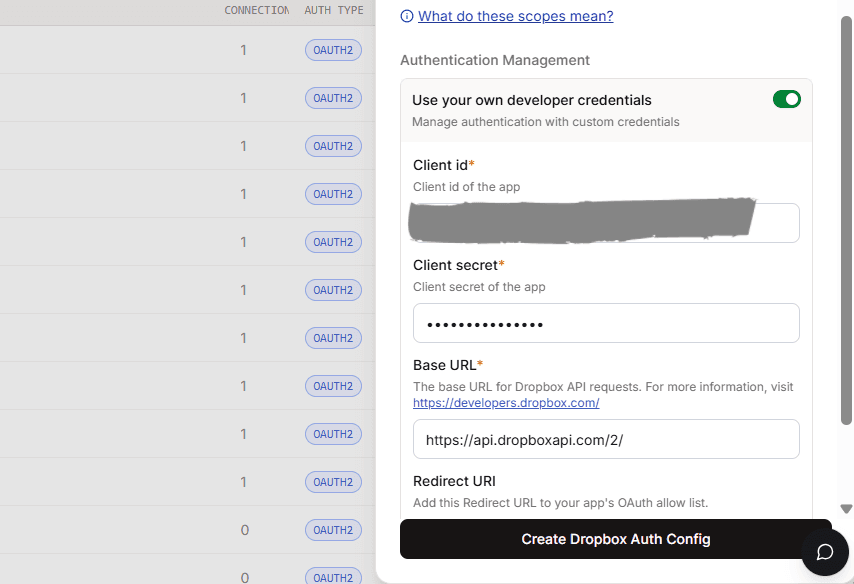
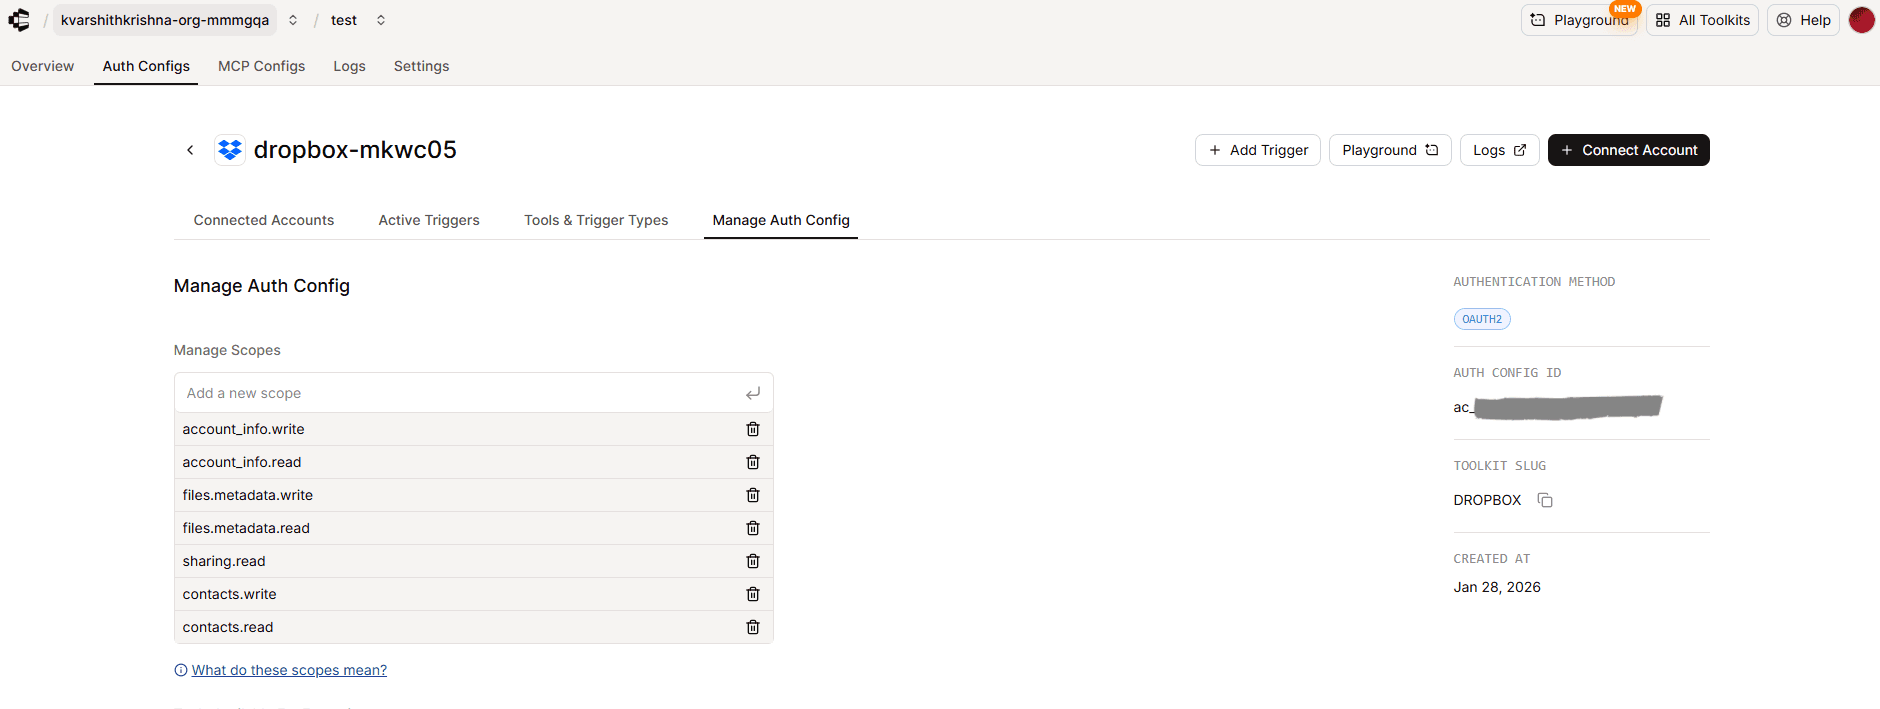
Once created, go to the Manage Auth Config tab and fill in the fields:
Client ID → Paste the App key from Dropbox
Client Secret → Paste the App secret
Scopes Supported by Composio
Below are the resource‑level scopes Composio supports for Dropbox. Add only the ones your integration requires:
email
profile
account_info.write
account_info.read
files.metadata.write
files.metadata.read
files.content.write
files.content.read
openid
file_requests.write
file_requests.read
sharing.write
sharing.read
contacts.write
contacts.read
Note: Composio will map these to the Dropbox scopes you enabled in the Dropbox app settings.
Base URL for Dropbox
All Dropbox API requests go through:
https://api.dropboxapi.com/2/For file content operations, use:
https://content.dropboxapi.com/2/These are the endpoints for Dropbox API calls.
Final Step
Once done:
Copy the Auth Config ID (which starts with
ac_)
Store it securely using your secret manager
Use it in your application code to authenticate Dropbox via Composio