In this guide, I will share the process for customising the Confluence auth config. So, let's begin.
Setting Up Confluence
In this section, we’ll walk through setting up Confluence and creating a developer account.
💁 NOTE: If you already have a developer account and access to the Client ID and Client Secret, you can skip this section.
Step 1: Create an Atlassian Developer Account
Visit the Atlassian developer portal and create a new developer account.
A developer account is required because you’ll need to create a new app, which must be linked to a developer account in order to work with the Confluence API.
💁 NOTE: If you don't plan to use your own custom developer credentials, you can skip this entire section.
Step 2: Create an Atlassian Application
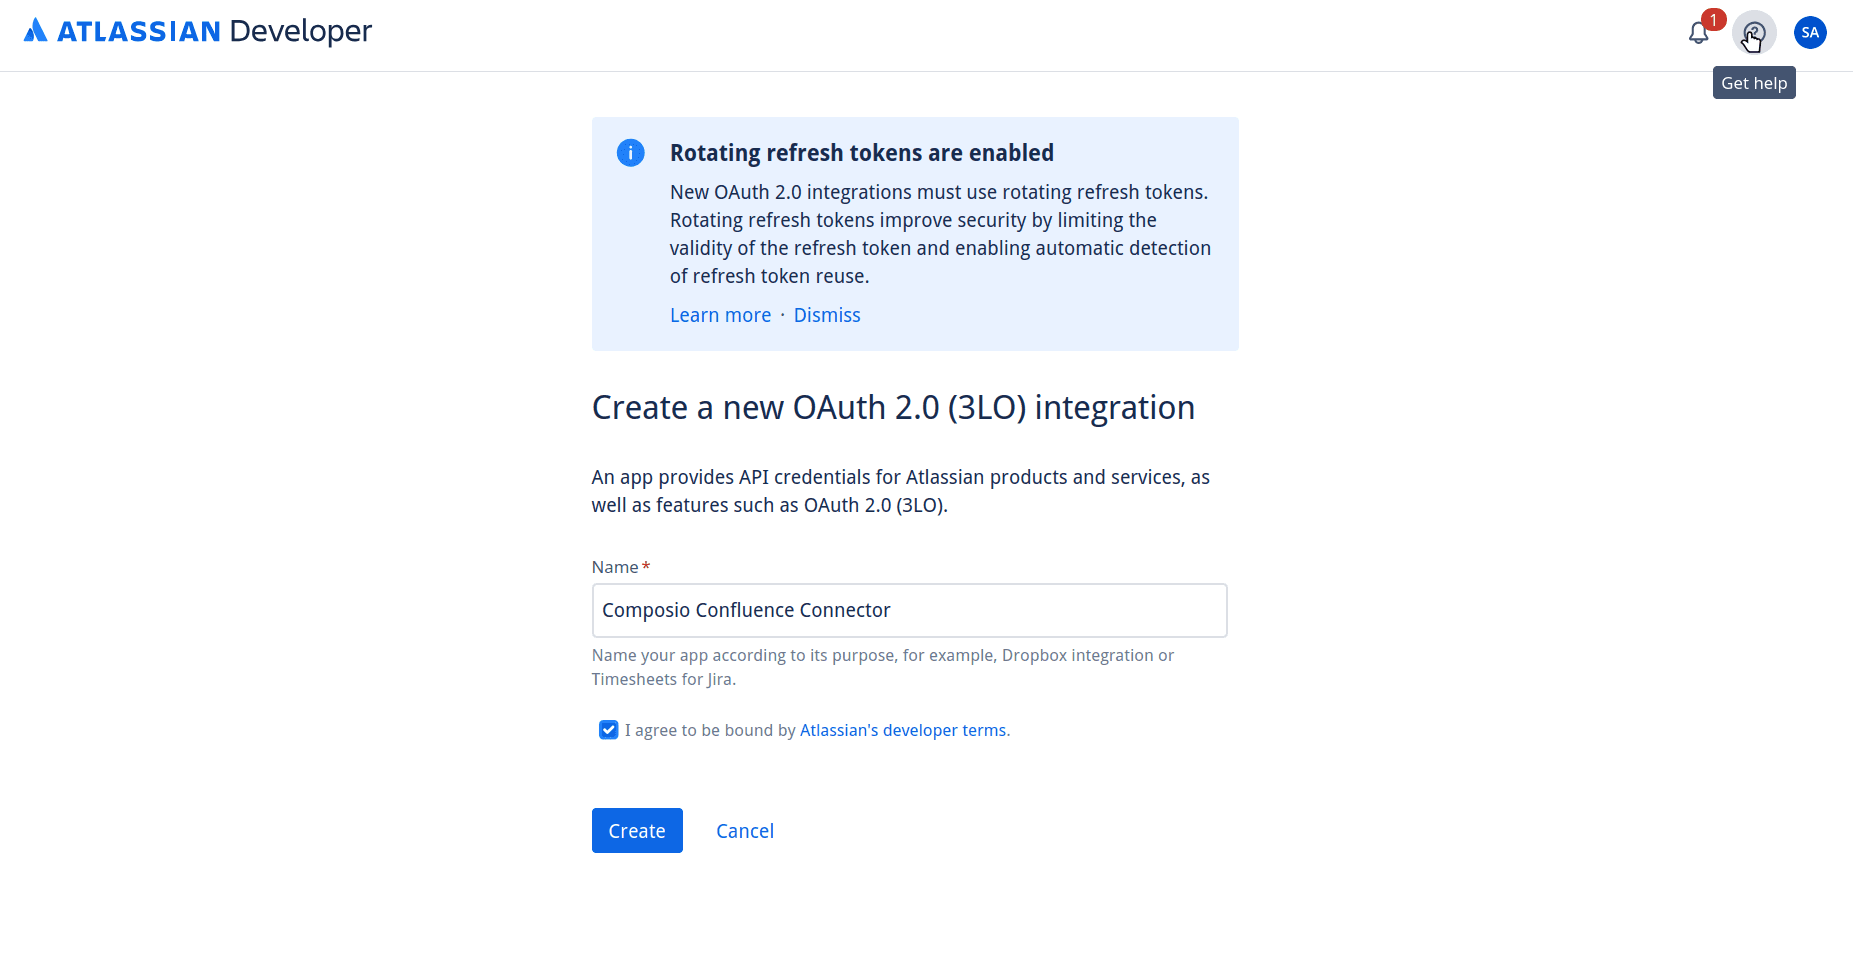
Now, head over to the Atlassian Apps Console and create an application of the OAuth 2.0 Integration type.

In the next section, name your application as you want and click Create.
Step 3: Configure Authorization with Callback URL
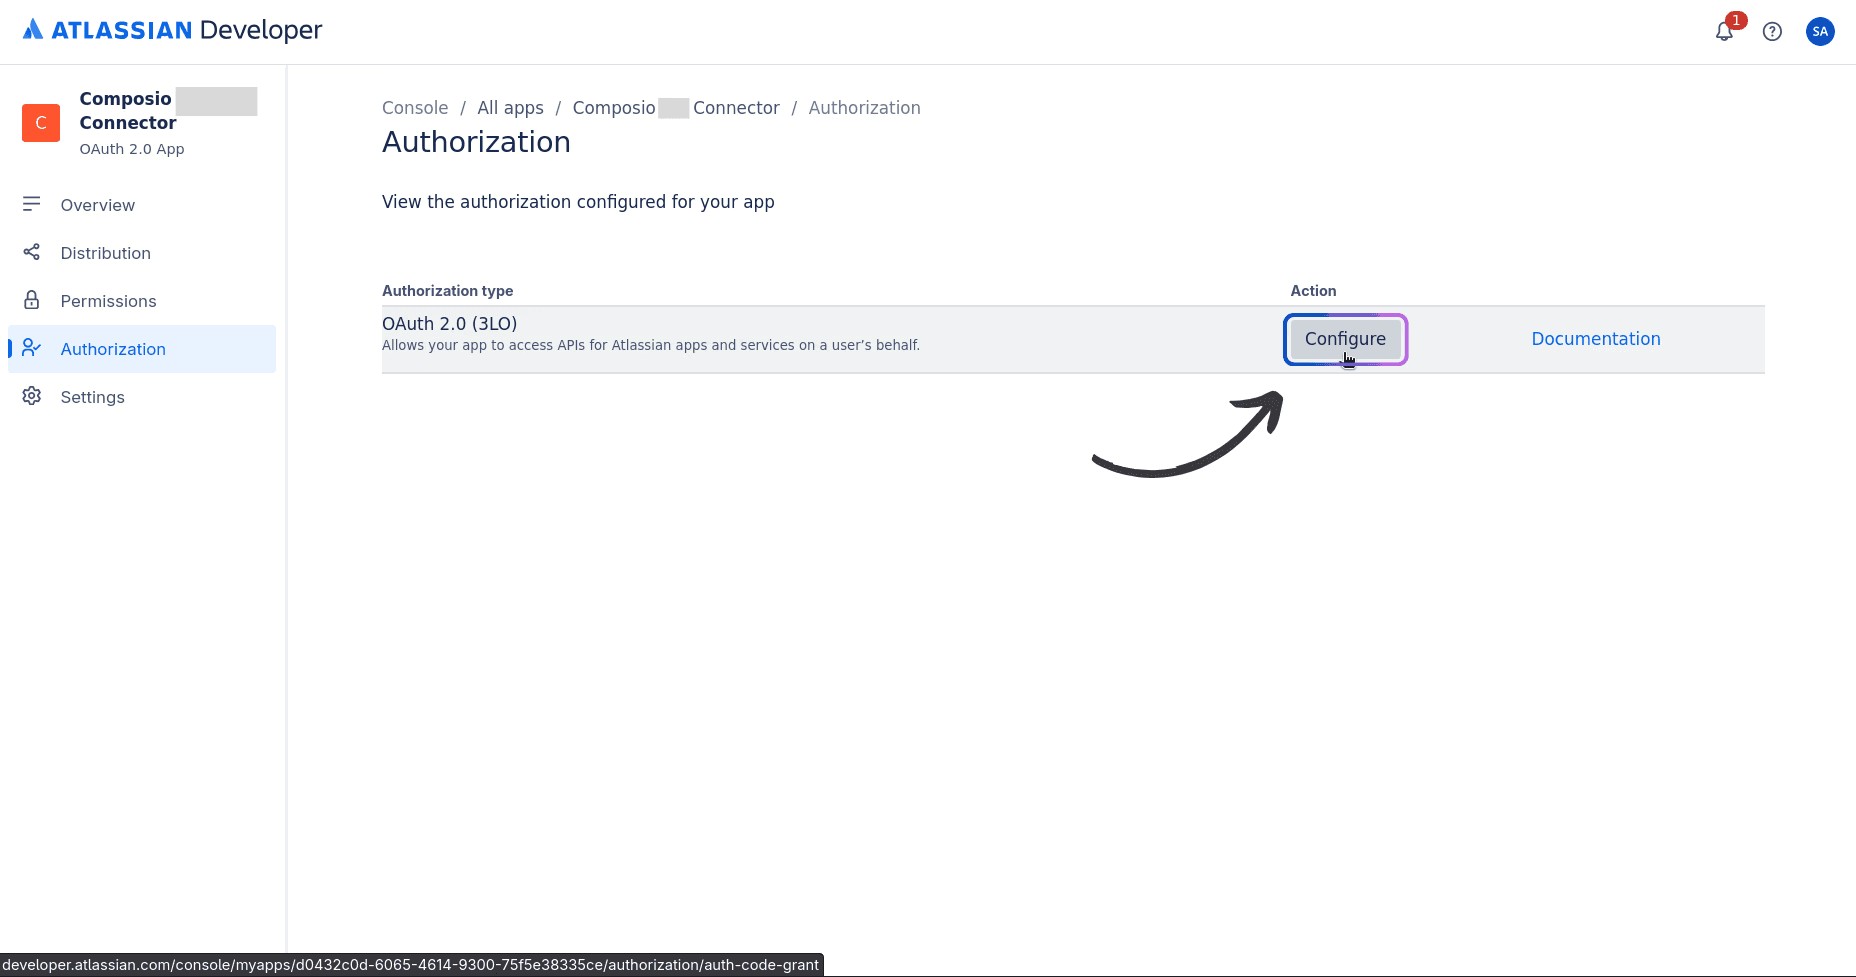
Next, go to the Authorization tab in the left sidebar and click Configure. This will allow us to set up the Callback URL, which, in our case, will be Composio's.
There, you'll see an input field to add Composio's Callback URL. Enter the following URL and click on
”save changes”:
https://backend.composio.dev/api/v1/auth-apps/add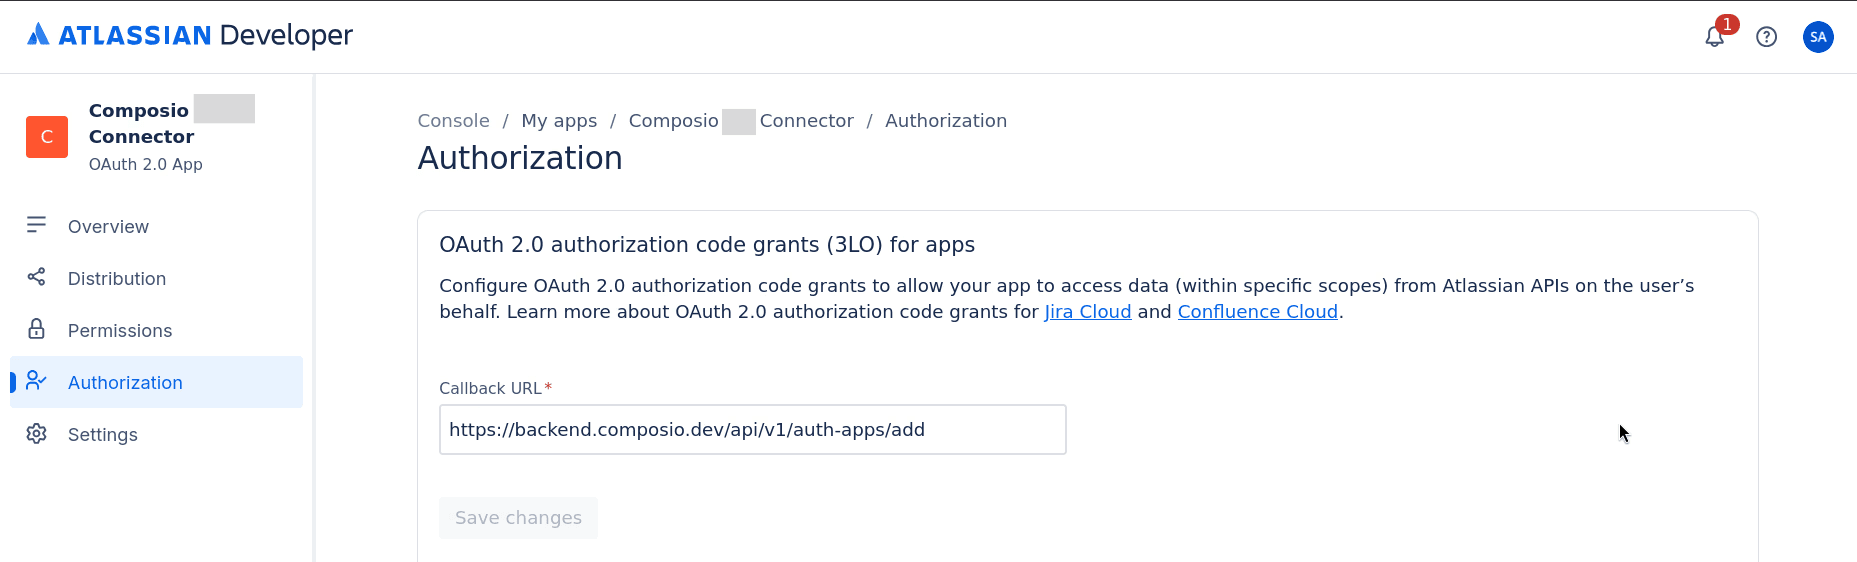
That's all the setup needed for the Authorization tab. Now, we just need to configure the application's scopes.
Step 4: Configure Scopes
Configuring scopes in Confluence can be a bit tricky. To identify the exact names of the scopes you'll be working with, I suggest this method to make it easier to select each one.
Here are all the default scopes Composio supports for Confluence:
read:content:confluence, read:content-details:confluence, write:content:confluence, delete:content:confluence, read:space-details:confluence, read:analytics.content:confluence, read:audit-log:confluence, write:audit-log:confluence, read:configuration:confluence, write:configuration:confluence, read:page:confluence, write:page:confluence, delete:page:confluence, read:blogpost:confluence, write:blogpost:confluence, delete:blogpost:confluence, read:whiteboard:confluence, write:whiteboard:confluence, delete:whiteboard:confluence, read:database:confluence, write:database:confluence, delete:database:confluence, read:embed:confluence, write:embed:confluence, delete:embed:confluence, read:folder:confluence, write:folder:confluence, delete:folder:confluence, read:custom-content:confluence, write:custom-content:confluence, delete:custom-content:confluence, read:attachment:confluence, write:attachment:confluence, delete:attachment:confluence, read:comment:confluence, write:comment:confluence, delete:comment:confluence, read:template:confluence, write:template:confluence, read:label:confluence, write:label:confluence, read:content.permission:confluence, read:content.property:confluence, write:content.property:confluence, read:content.restriction:confluence, write:content.restriction:confluence, read:content.metadata:confluence, read:watcher:confluence, write:watcher:confluence, read:group:confluence, write:group:confluence, read:inlinetask:confluence, write:inlinetask:confluence, read:relation:confluence, write:relation:confluence, read:space:confluence, write:space:confluence, delete:space:confluence, read:space.permission:confluence, write:space.permission:confluence, read:space.property:confluence, write:space.property:confluence, read:user.property:confluence, write:user.property:confluence, read:space.setting:confluence, write:space.setting:confluence, read:user:confluence, read:task:confluence, write:task:confluence, offline_accessThis is a lot to look at in one line. I suggest you check out the scopes properly in the Manage Auth Config tab once we set up the auth config for Confluence inside Composio in the next section.
Identify all the scopes you'll need in your workflow and keep a note of them.
Now, head back to the Atlassian Apps Console and click on the Permissions tab in the left sidebar.
Then you will see a page listing all the Atlassian APIs, as shown in the image below. From there, click the “Add” button next to the Confluence API, and then proceed to configure the required scopes.
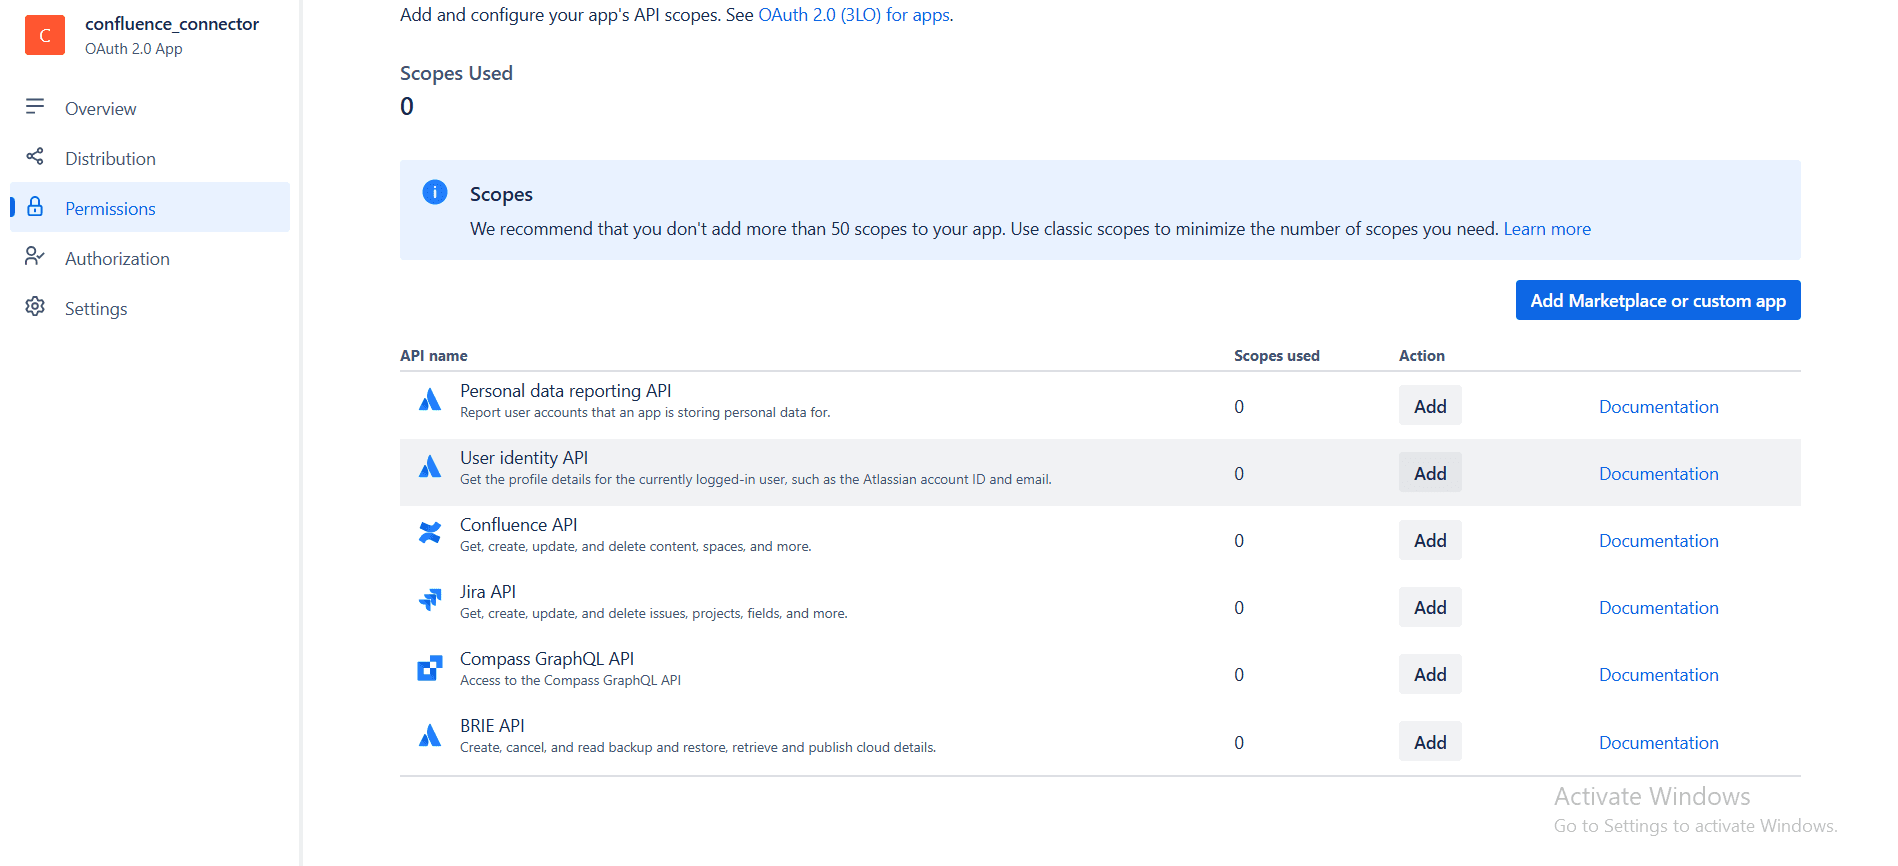
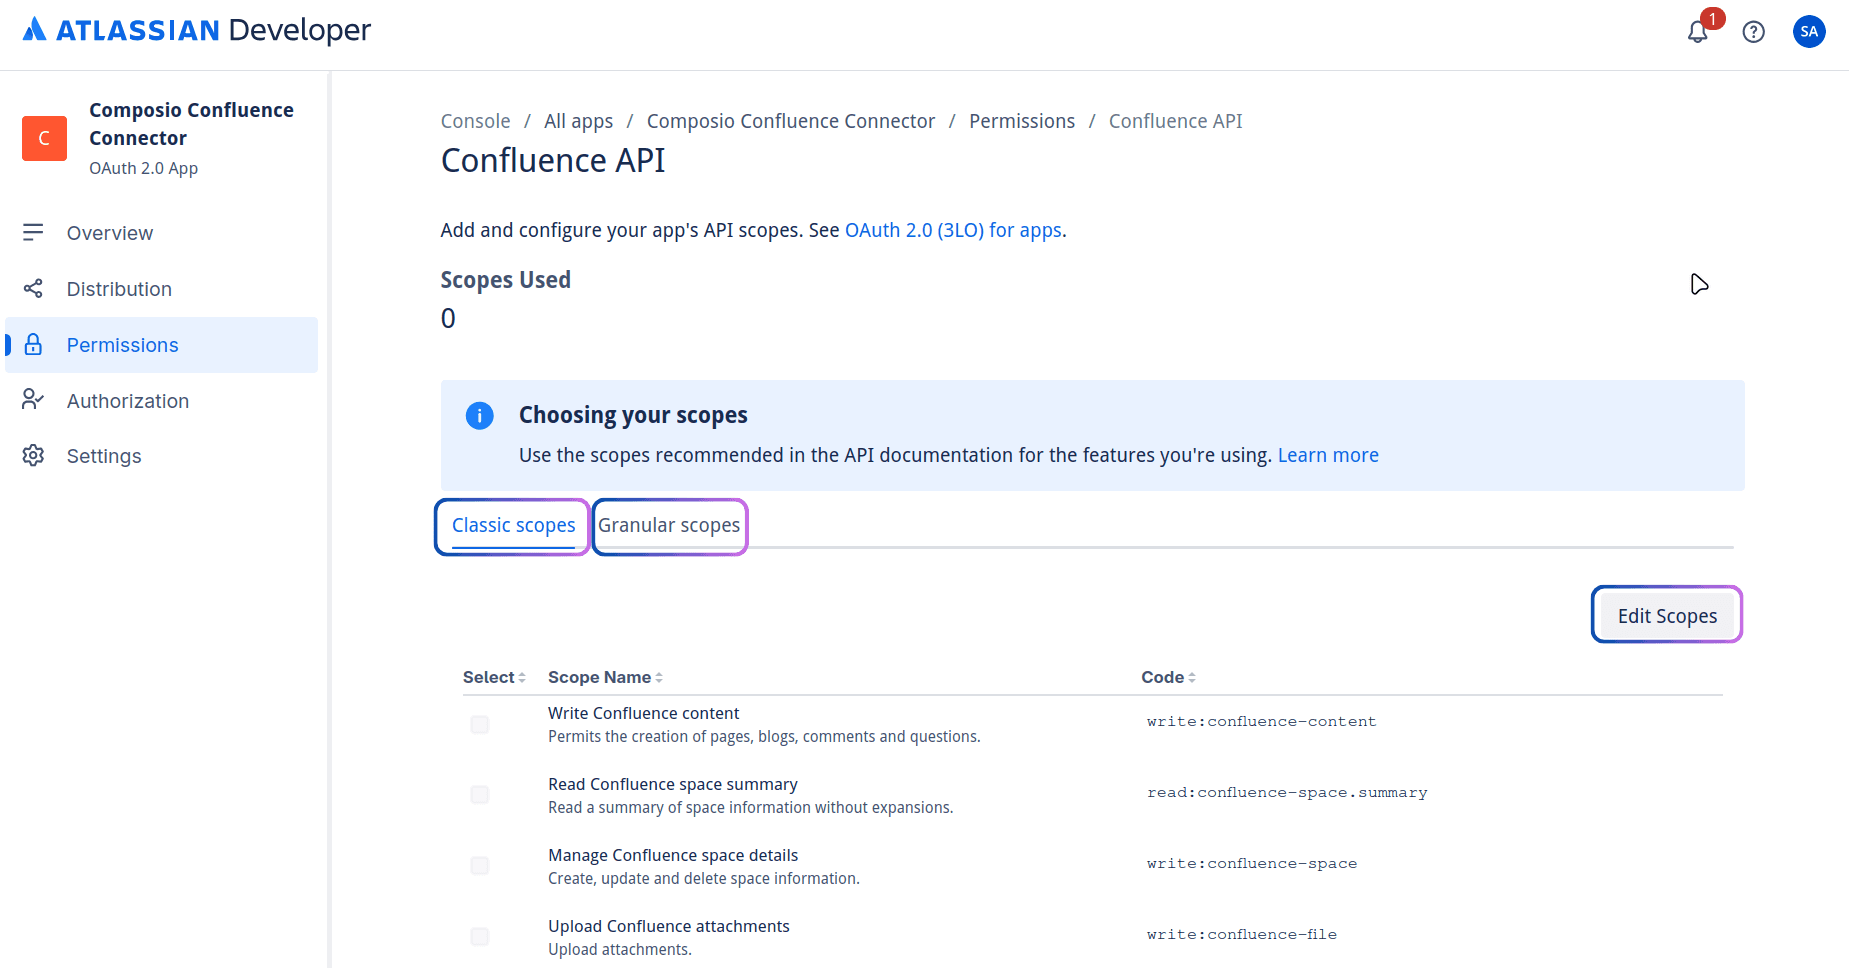
You'll mostly be configuring these scopes inside the User Identity API and the Confluence API. Click configure and tick the Classic or the Granular scopes that you plan on using from above.
Check the ones you need and click Save.
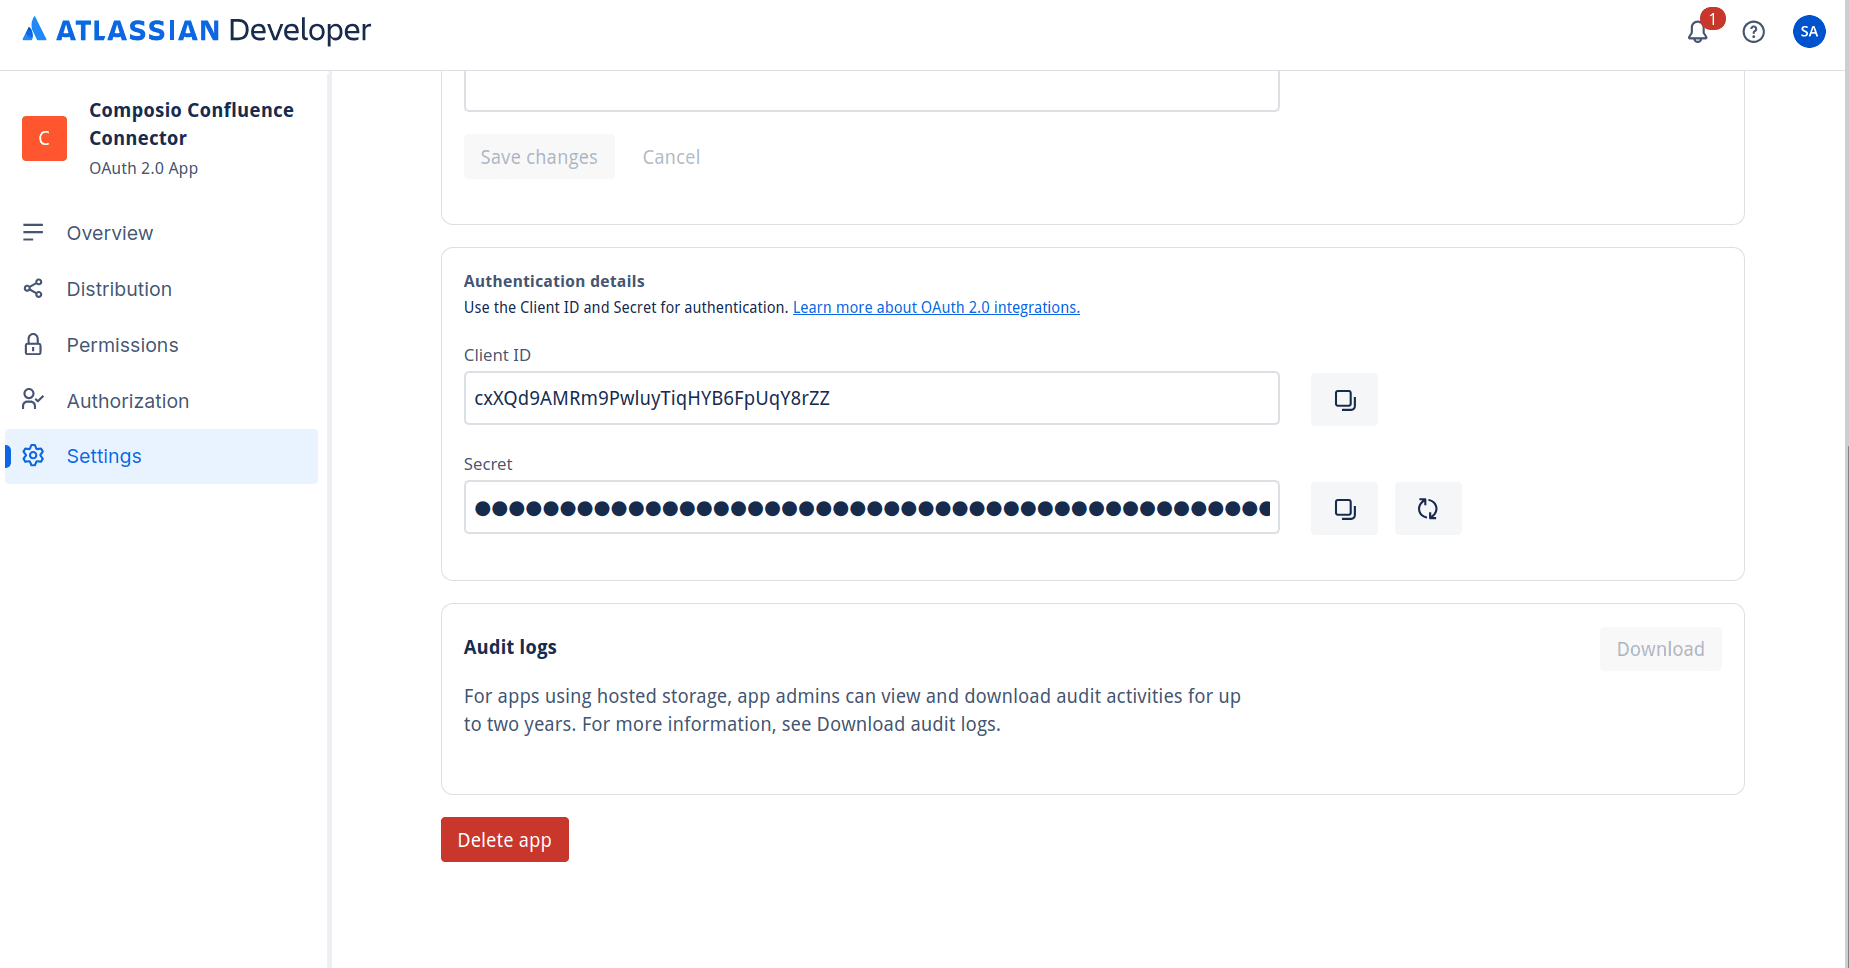
Step 5: Copy the OAuth Credentials
Finally, head over to the Settings tab, and just a little below, you'll find the Client ID and Client Secret in the Authentication Details section.
Copy these as we will need them when setting up Composio (with custom developer credentials).
Create the auth config in Composio
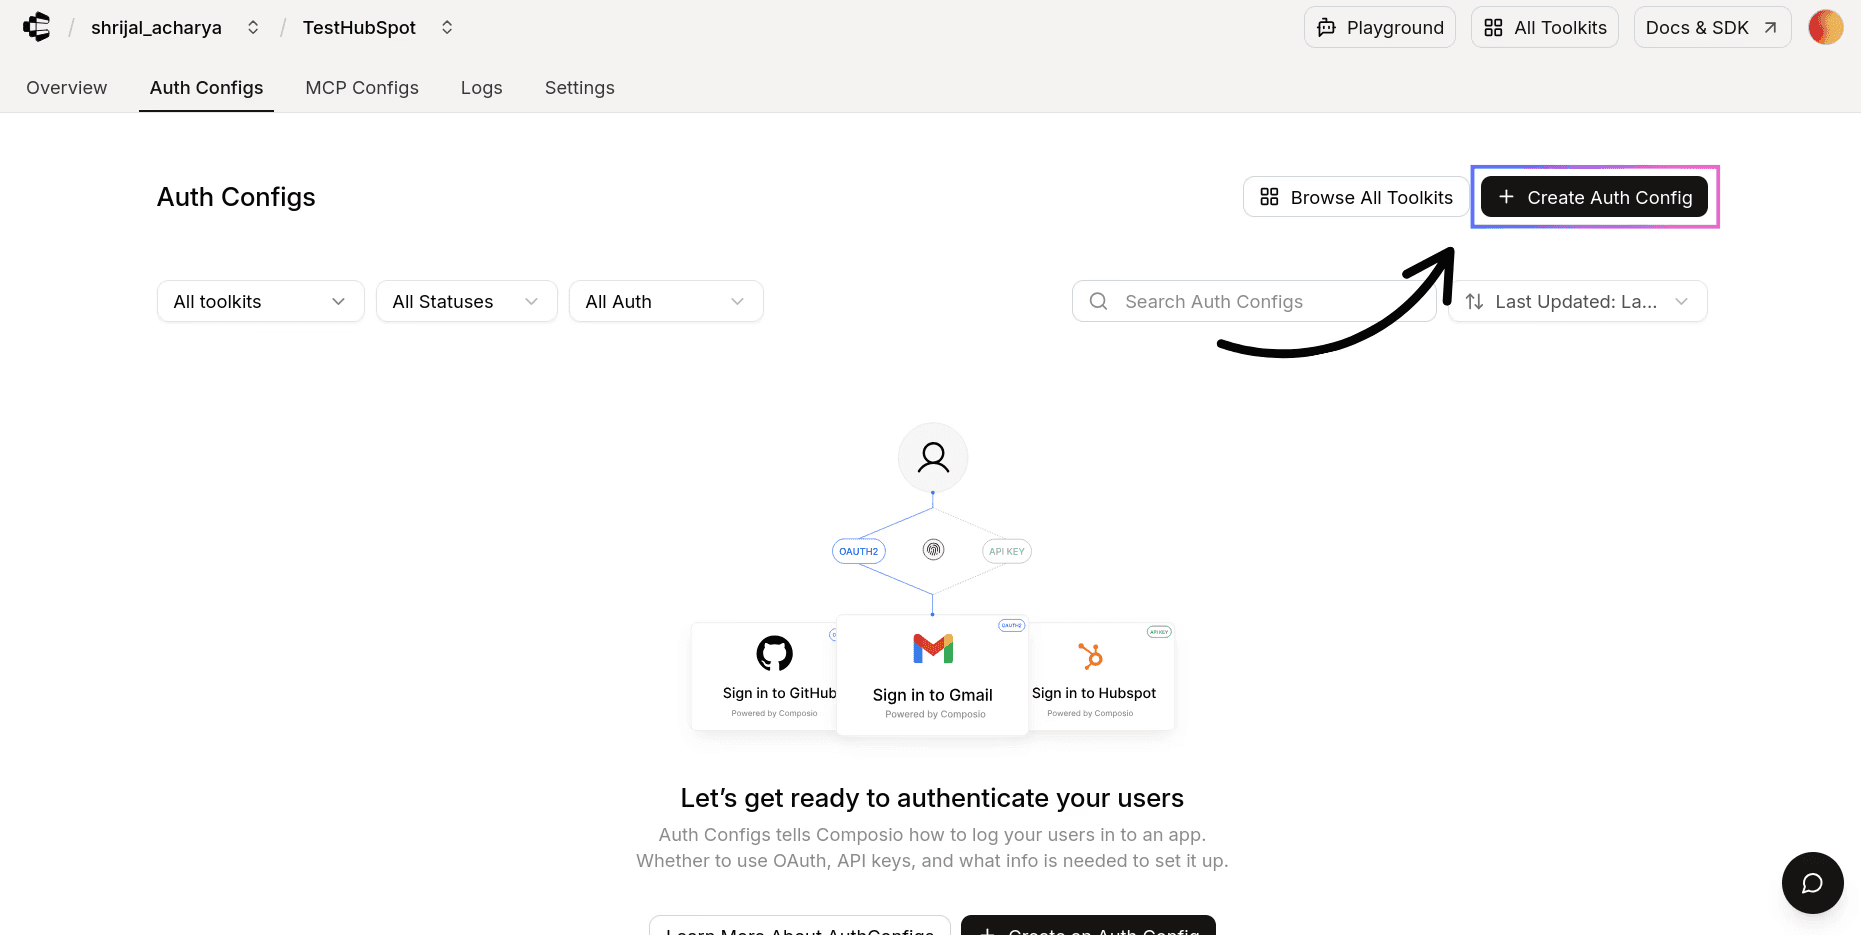
With your OAuth2 credentials ready, navigate to the Composio dashboard for your project to configure Confluence authentication settings.
Click on the Create Auth Config button to get a list of all the toolkits available.
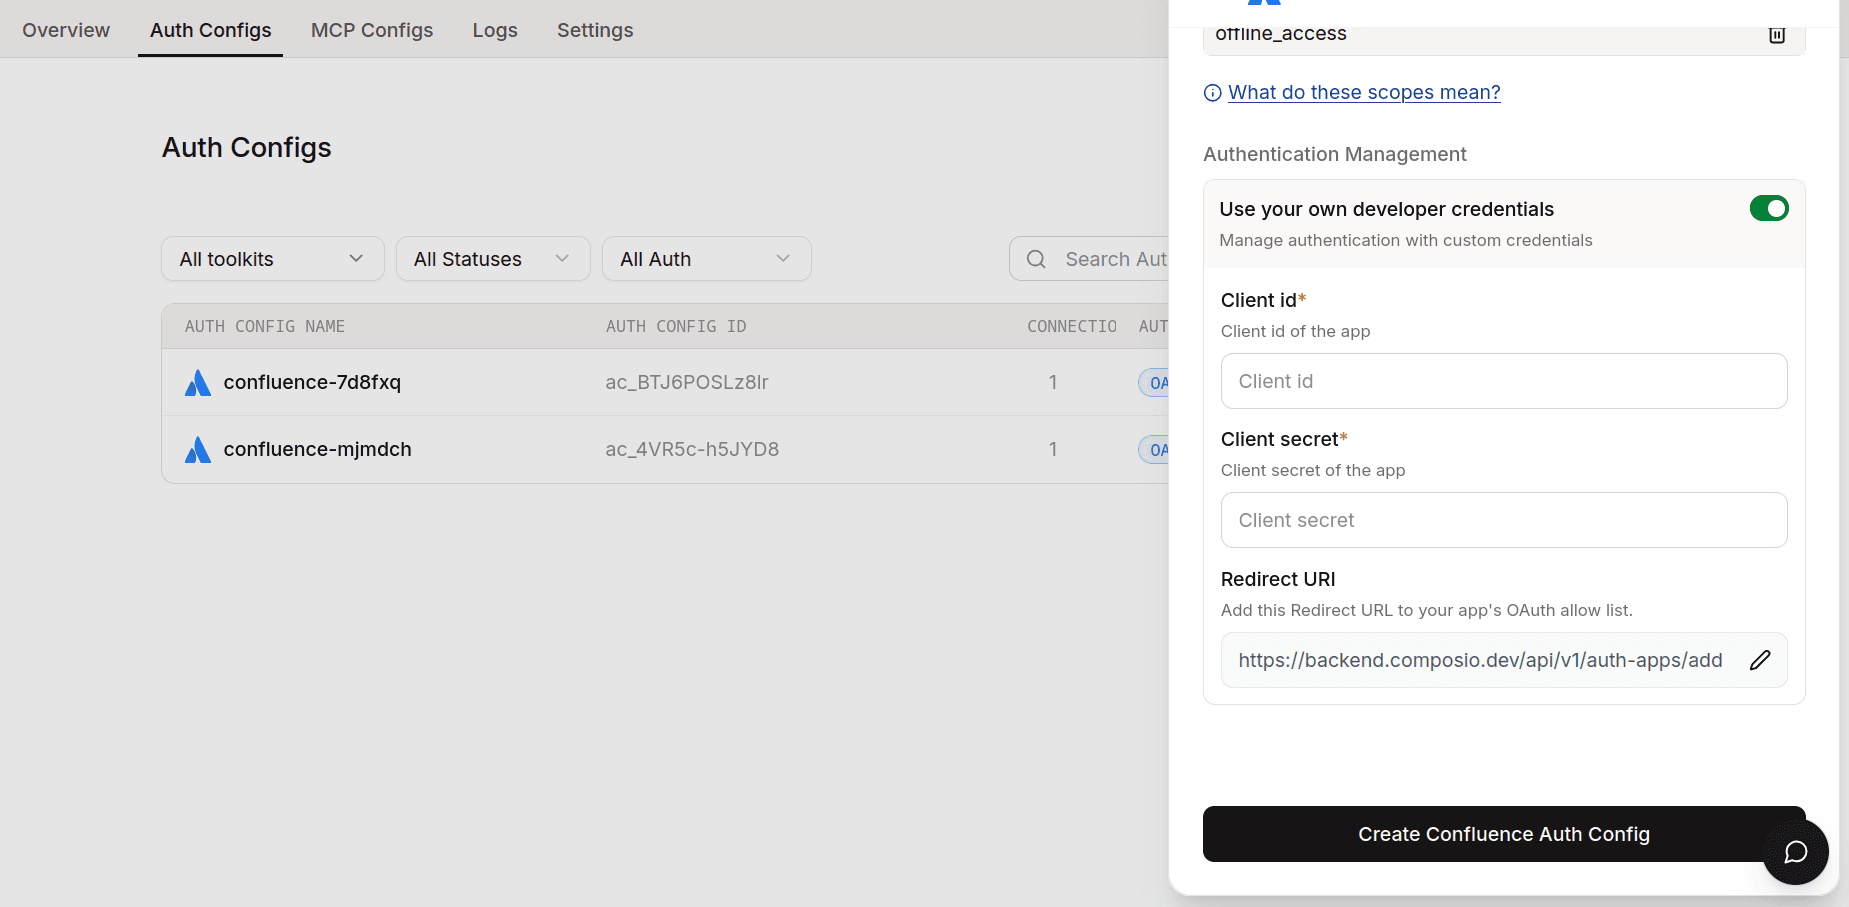
In the sidebar that opens, choose Confluence for the toolkit. Ensure that the authentication method is set to OAuth2, as Confluence also supports another authentication method (API Key).
Here we are interested in setting up our own custom developer credentials with our defined scopes, so to do that, enable Use your own developer credentials.
Now, in the respective fields, paste in the credentials you just copied from the Atlassian dashboard.
💁 NOTE: If you don't care about setting up your own credentials and are fine with the defaults, just continue auth config creation without turning on Use your own developer credentials.
Click Create Confluence Auth Config, and the auth config should be created successfully.
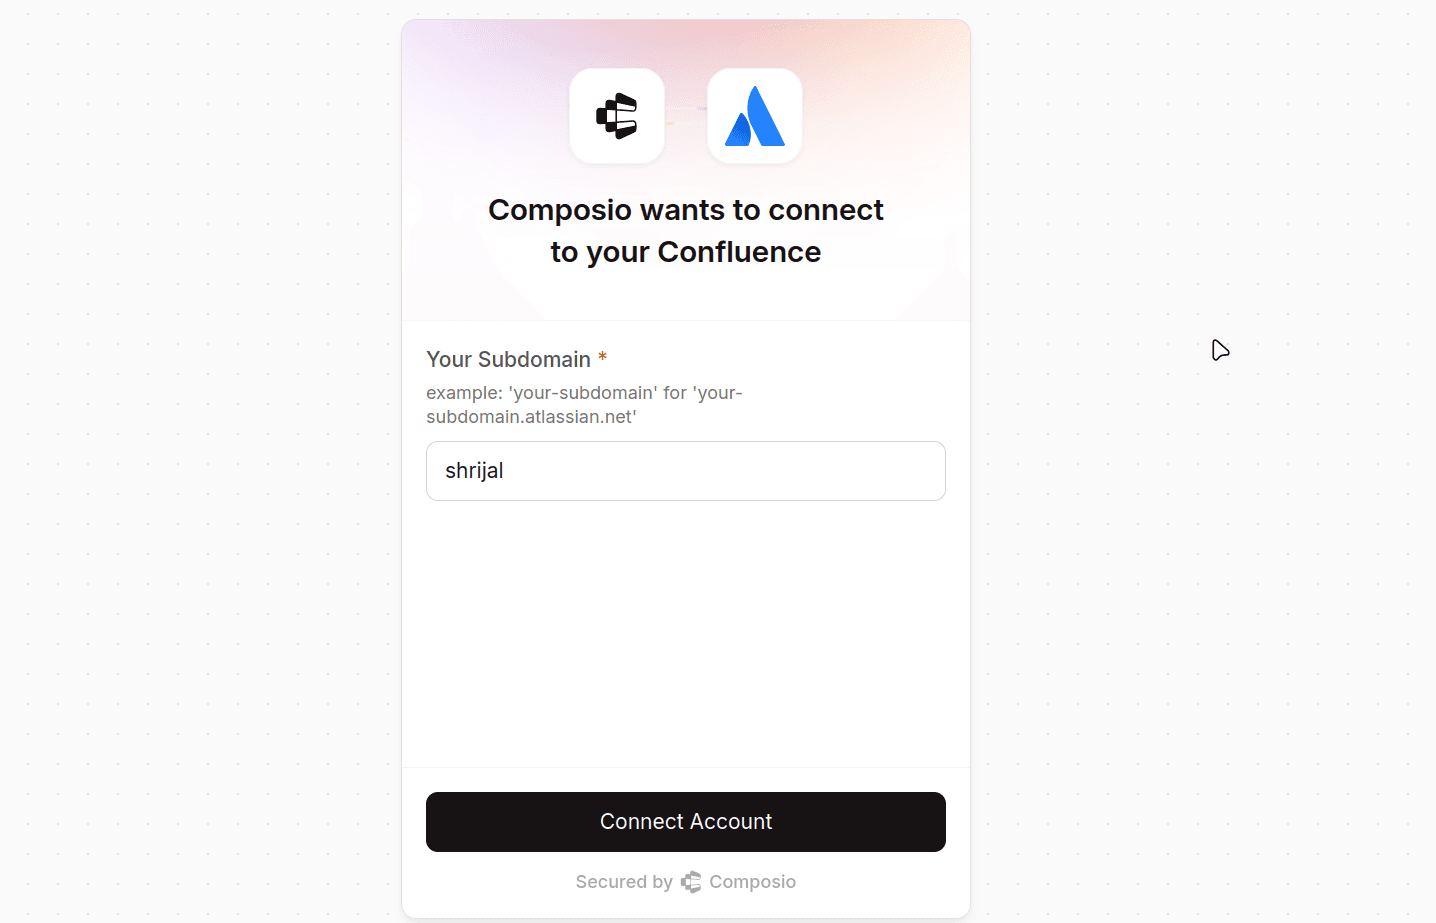
Once that's done, click Connect Account, and it will prompt you for your Confluence subdomain.
For this, visit your Confluence profile, and the URL should look something like this:
https://<subdomain>.atlassian.netThe subdomain is what you'll need to enter here.
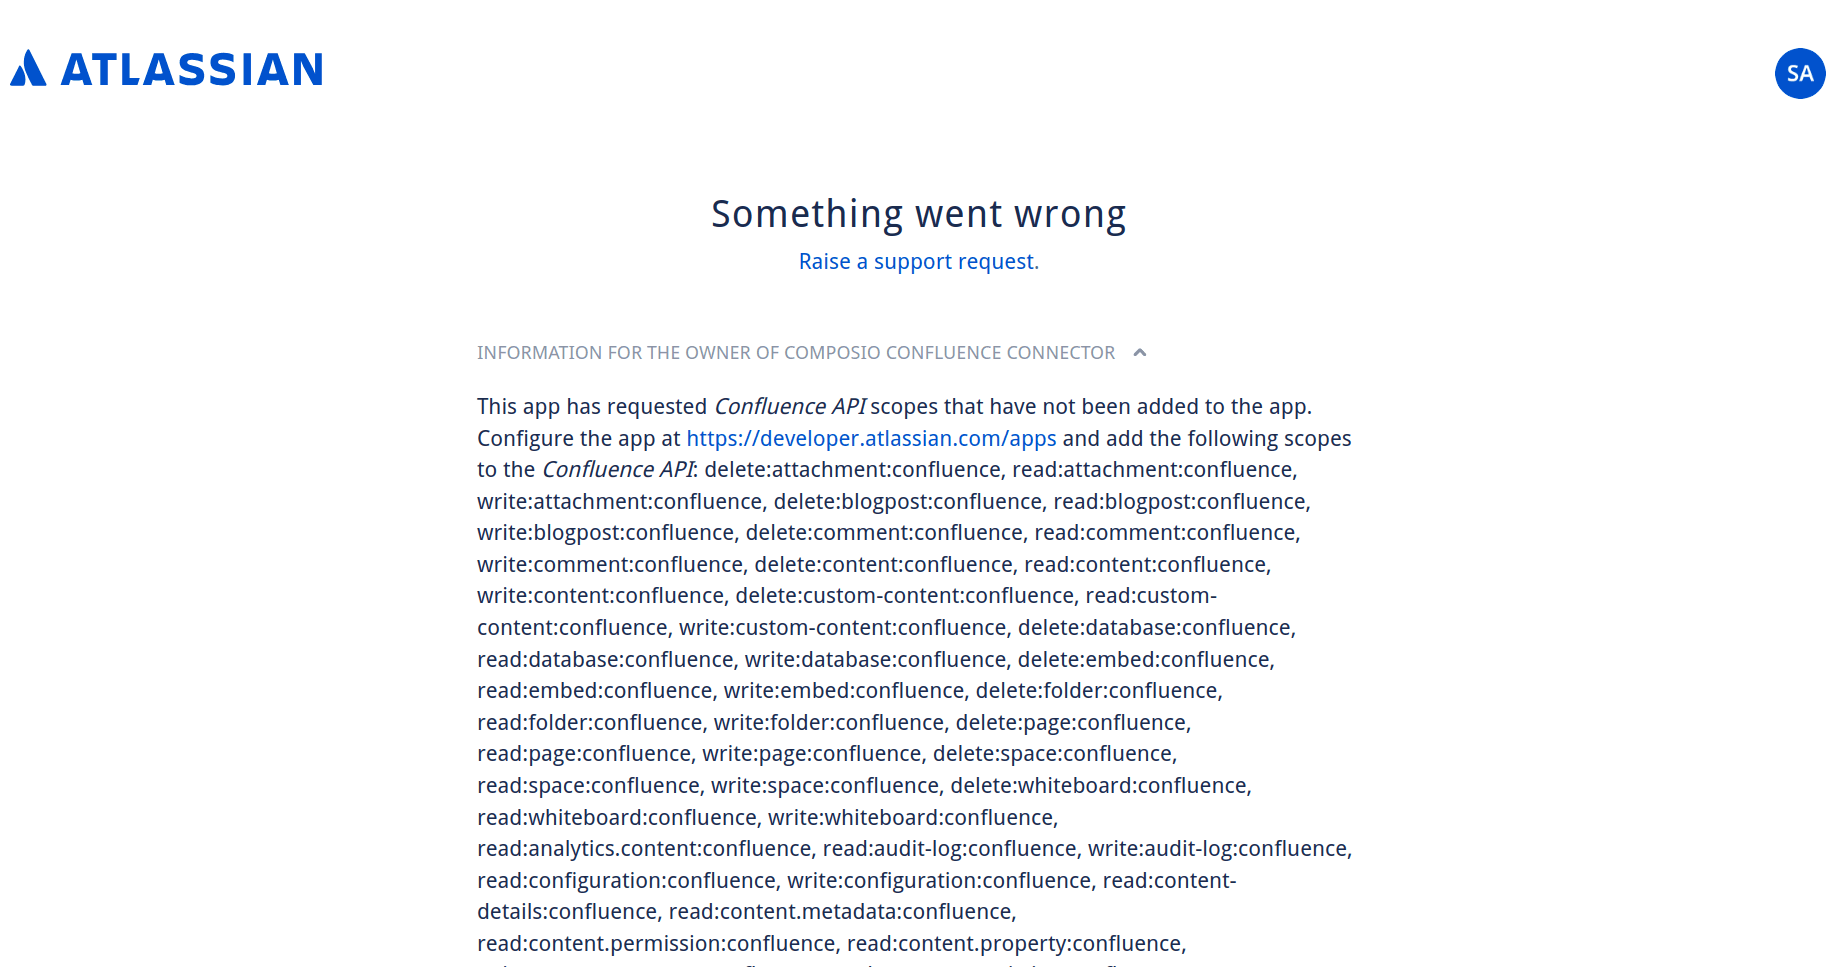
If you chose to use custom credentials but didn't specify the relevant scopes, you will encounter this Something went wrong error.
If everything goes well, Composio can access your Confluence account and the configurations you've set up in the Confluence scopes.
If you want to limit the scopes from the Composio end, you can do so by heading over to the Manage Auth Config tab and removing all the scopes that you don't need.
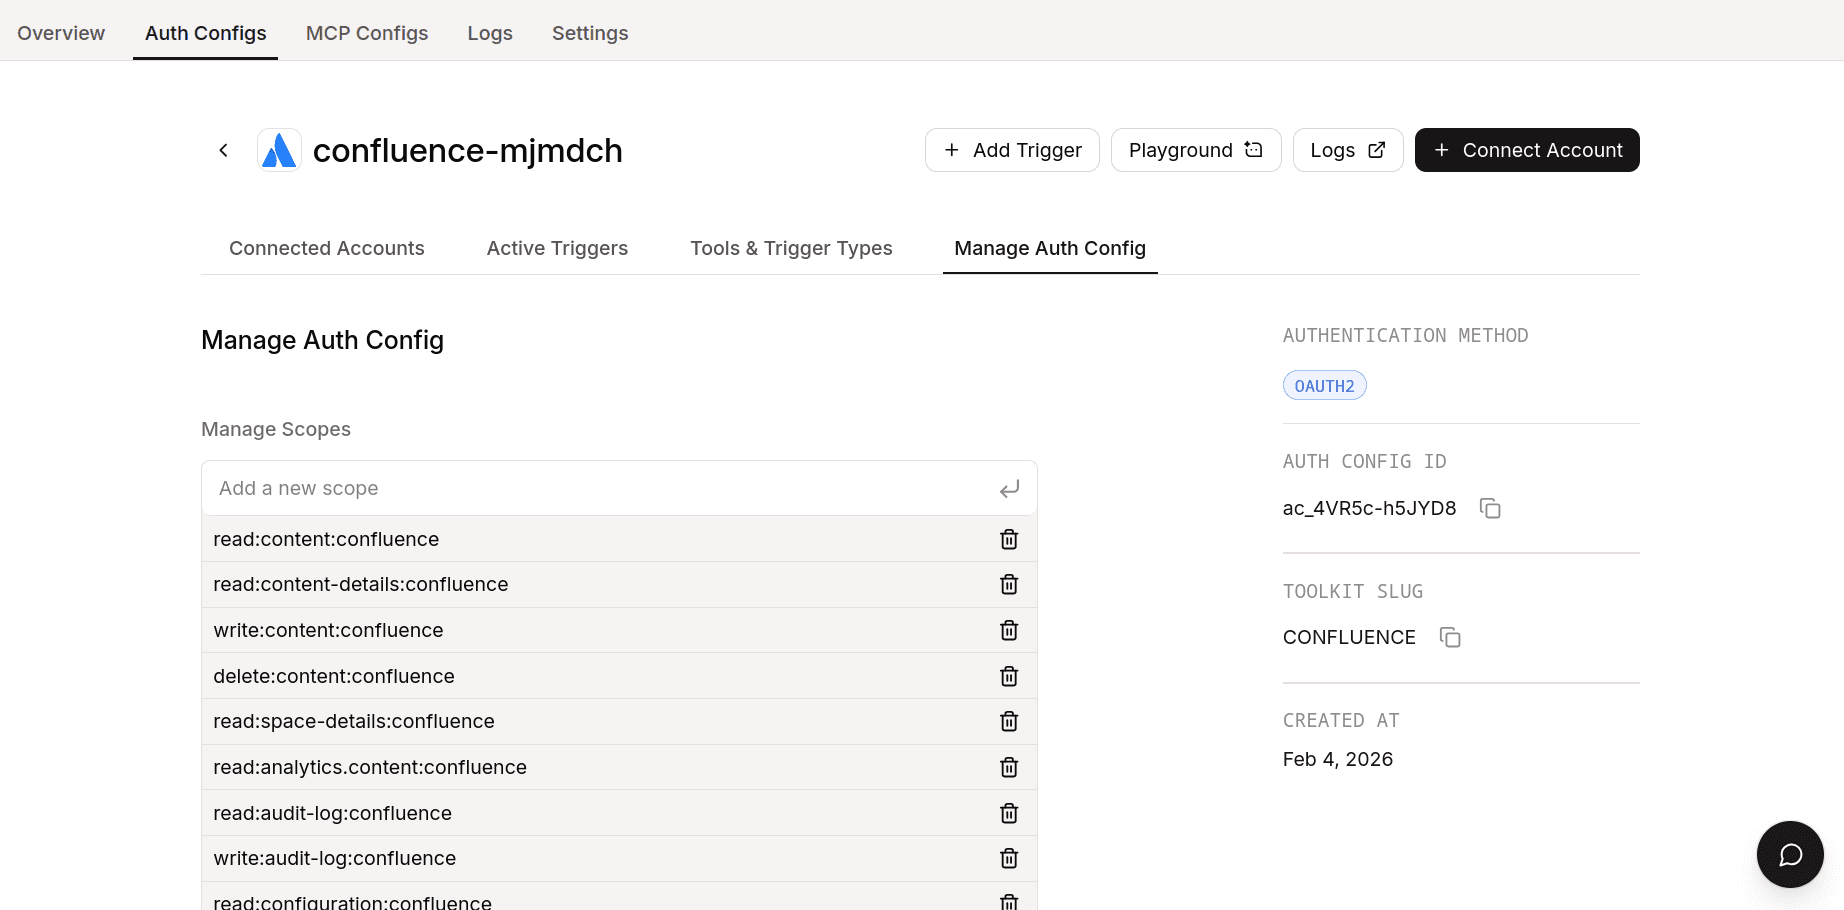
Once done, copy the auth config ID (which starts with ac_) and use it in your application code via a secret manager.
Your custom Confluence auth config is now ready to go! 🚀
Test Confluence Connection (Optional)
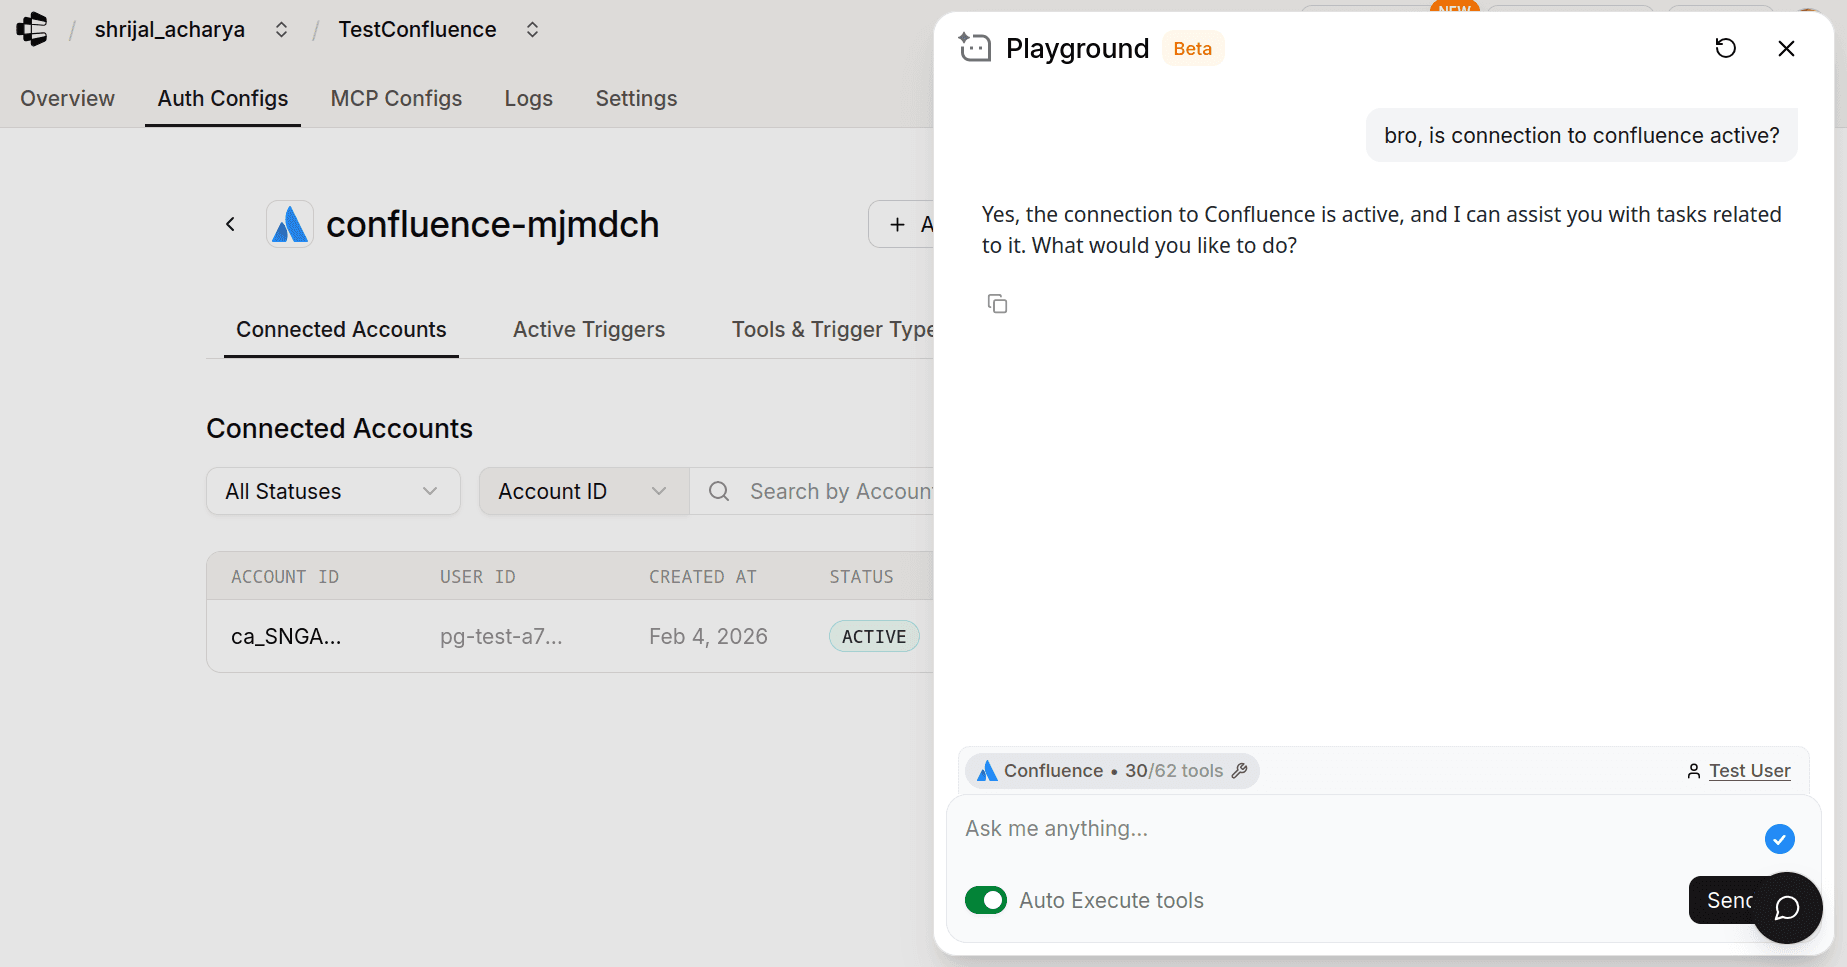
Composio recently added support for Playground, where you can test the connection and how the tools would work with an agent.
Navigate to your Confluence Auth Config.
Click on the Playground.
Once you're there, try asking some related prompts, and if you did everything correctly, Composio should be able to access the details.
And that's it! You're all set to go with Confluence! 🎉