In this guide, I’ll walk you through the process of customizing the auth config for Calendly. Let’s get started.
Setting up Calendly
In this section, we’ll go through the process of creating a Calendly OAuth application.
NOTE: If you already have a Calendly OAuth app and access to the Client ID and Client Secret, you can skip this section.
Step 1: Create a Calendly Developer App
Log in to your Calendly account.
Navigate to the Calendly Developer Portal:
https://developer.calendly.com/Click My Apps.
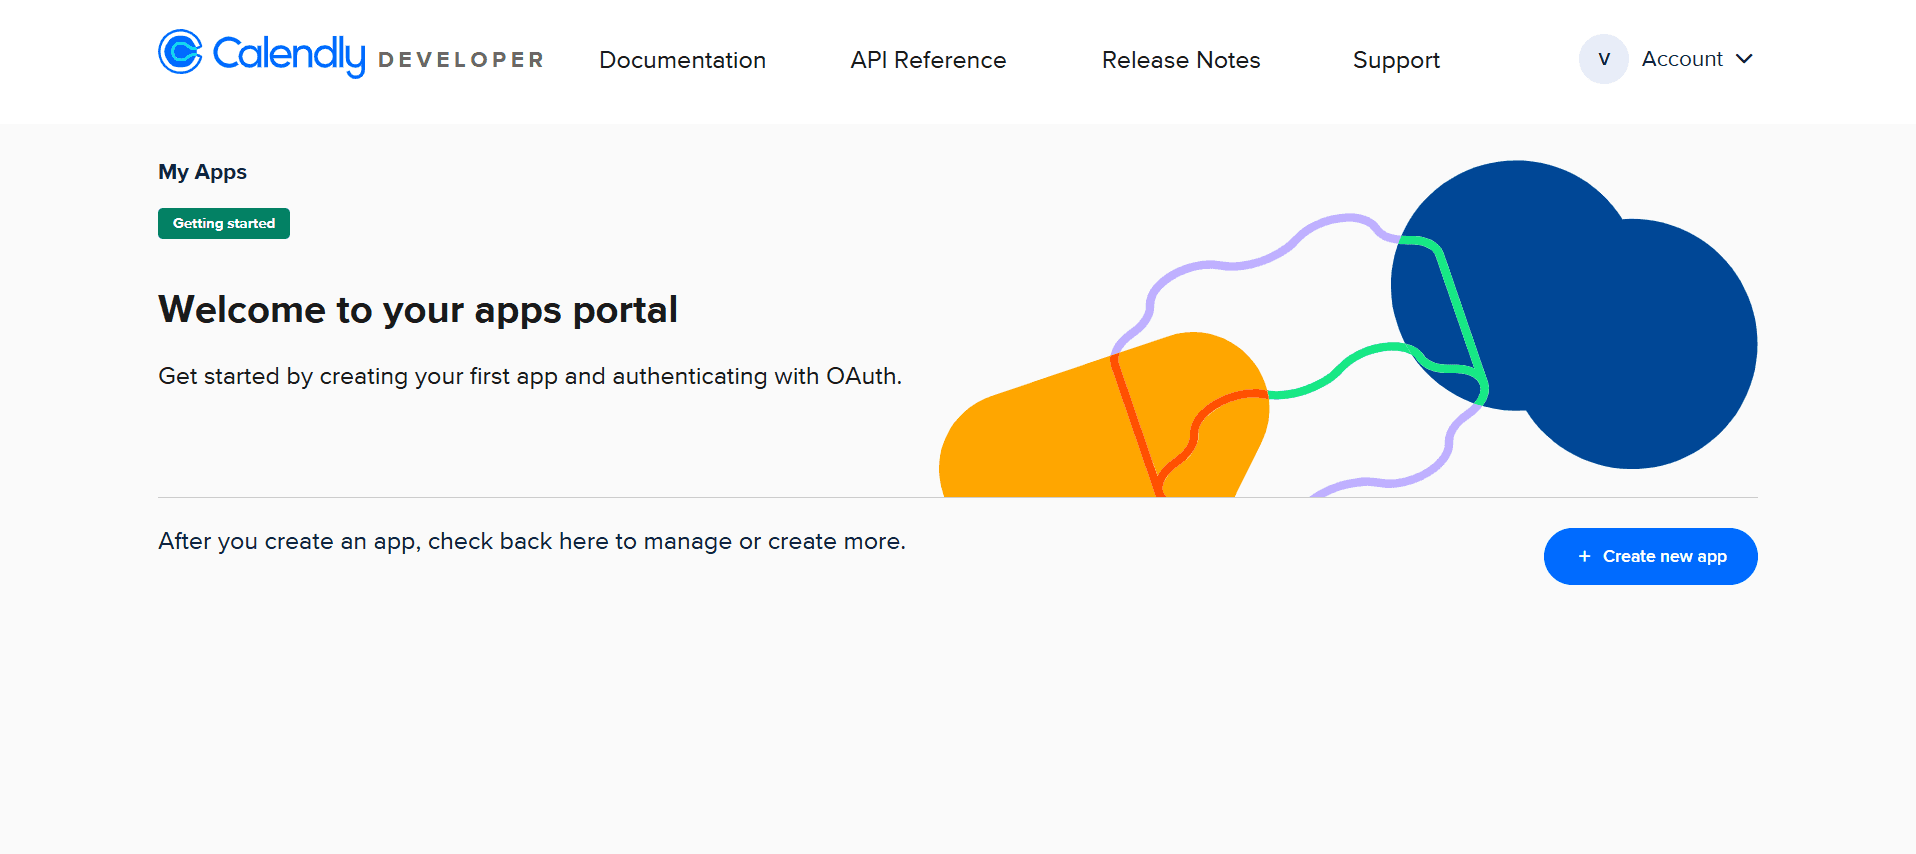
Click Create New App.
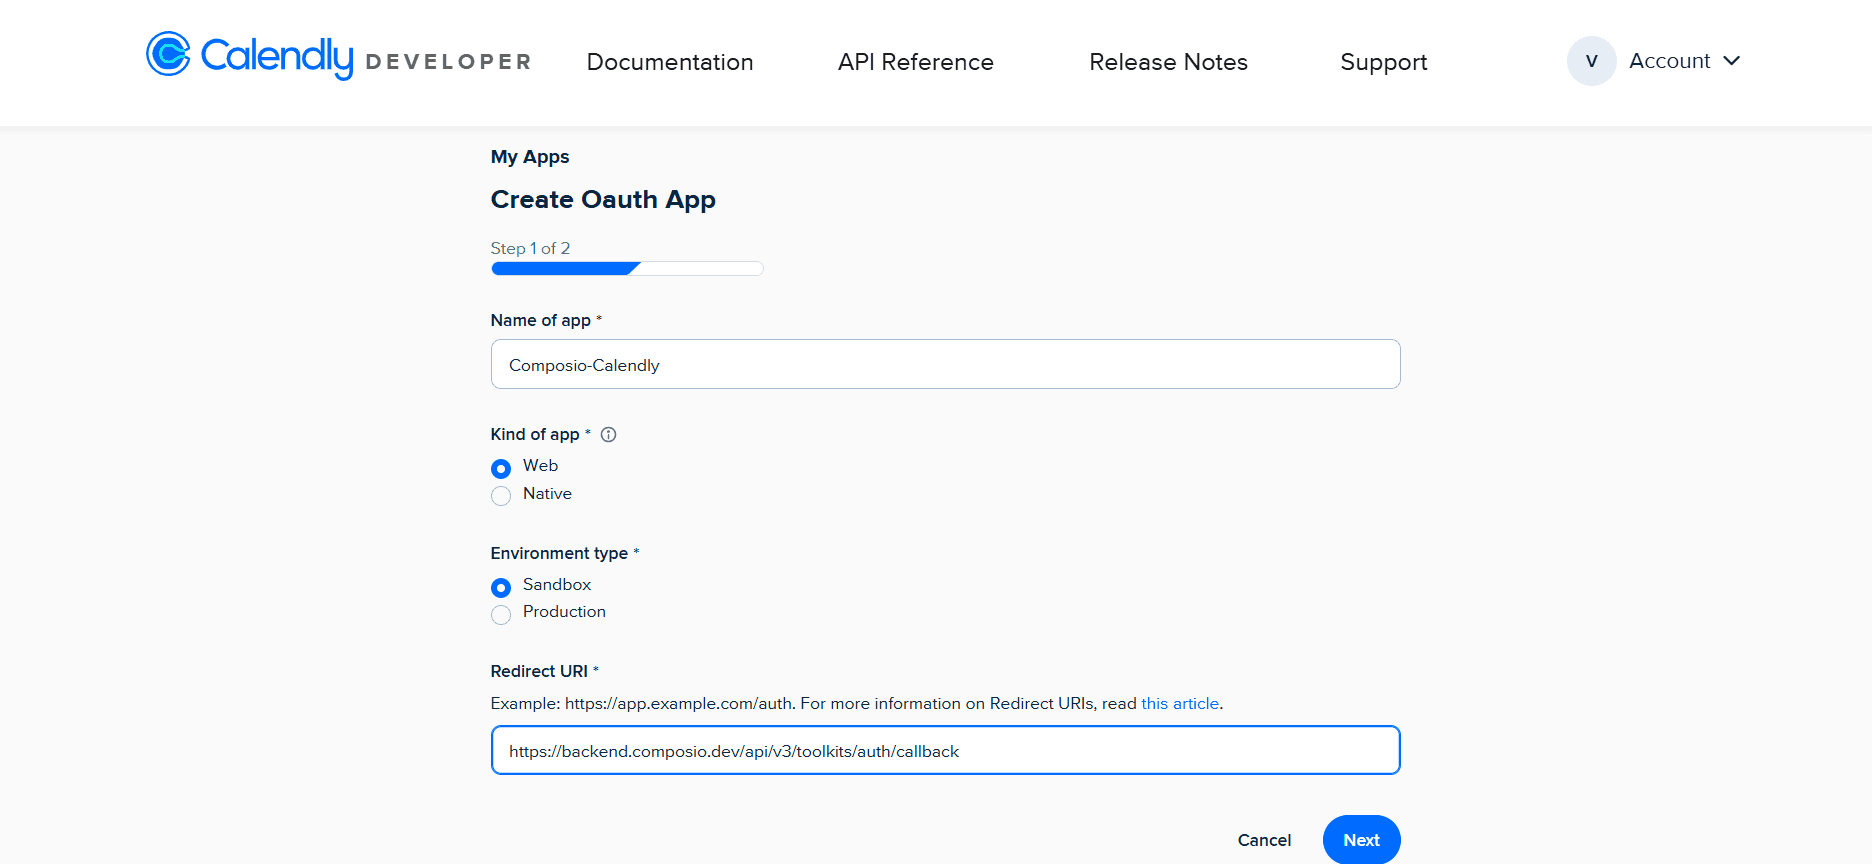
Step 2: Register Your Calendly OAuth App
After clicking Create New App, you’ll be asked to fill in the following fields:
App Details
Name of app
Composio-CalendlyKind of app
Select:
WebEnvironment type
Choose based on your use case:
SandboxUse Sandbox for testing and development.
Switch to **Production** only when going live.Redirect URI
Enter the following redirect URL:
https://backend.composio.dev/api/v3/toolkits/auth/callbackImportant requirements:
Must use
httpsNo trailing slash
Must exactly match the value used in Composio
Once created, Calendly will generate:
Client ID
Client Secret
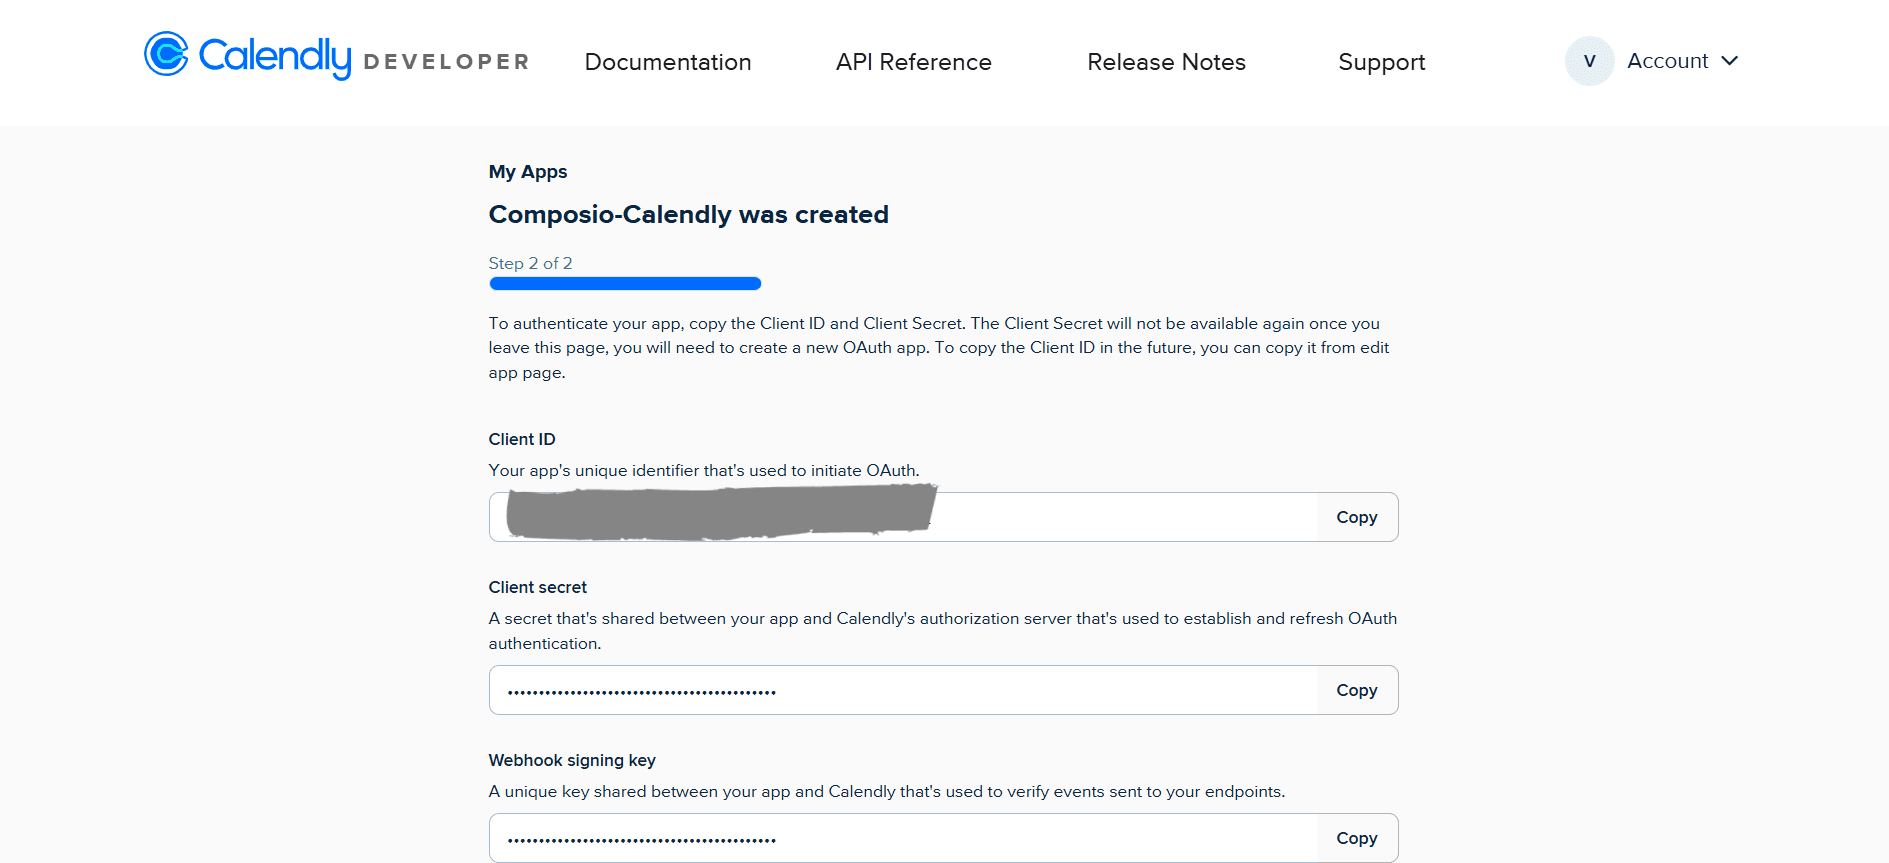
Copy both values and store them securely, you’ll need them shortly.
Step 3: Configure Redirect URI
Ensure the following redirect URI is present in your Calendly app configuration:
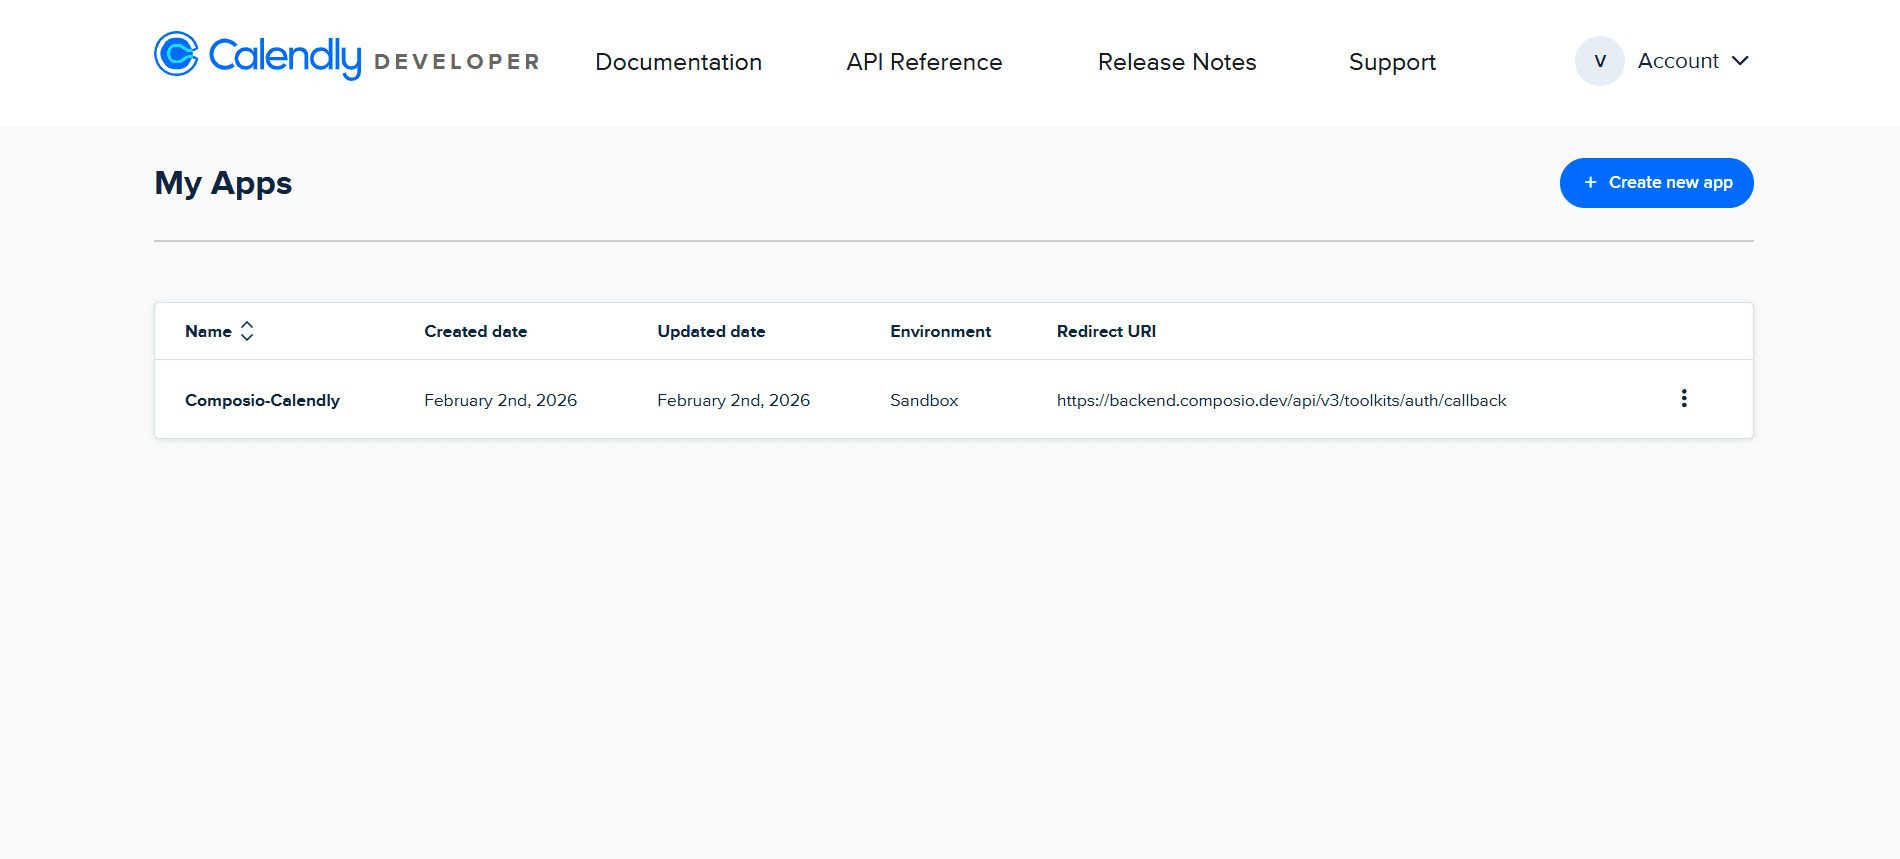
https://backend.composio.dev/api/v3/toolkits/auth/callbackOAuth Scopes in Calendly
Calendly uses OAuth2 with explicit scopes to control API access.
Scopes define what resources your integration can access during the OAuth authorization flow.
Common Calendly OAuth Scopes
Calendly supports the following scopes:
default→ Access to the authenticated user’s Calendly datausers:read→ Read user profile informationevents:read→ Read scheduled eventsevent_types:read→ Read event typeswebhook_subscriptions:write→ Create and manage webhooks
The actual scopes you should request depend on your integration’s requirements.
Creating the Auth Config in Composio
With your OAuth credentials ready, navigate to the Composio dashboard:
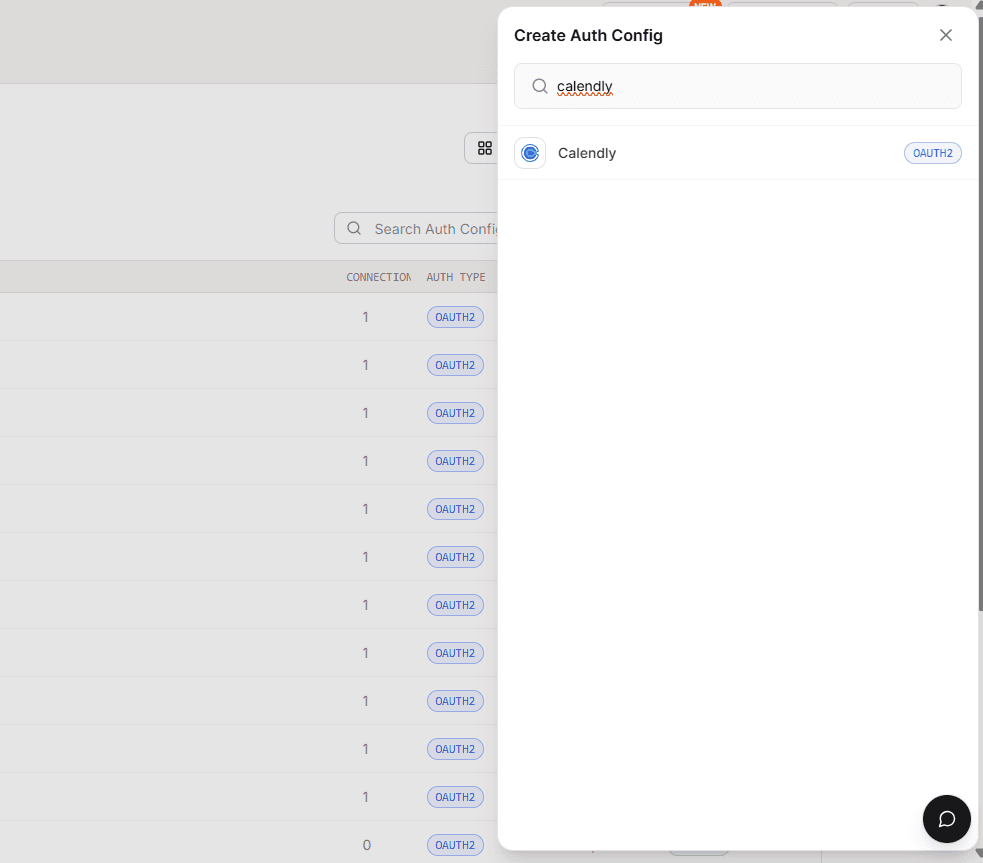
https://platform.composio.dev/Step 1: Create Auth Config
Click Create Auth Config

Select Calendly from the list of available toolkits
Step 2: Configure Authentication Type
Ensure authentication is set to OAuth2
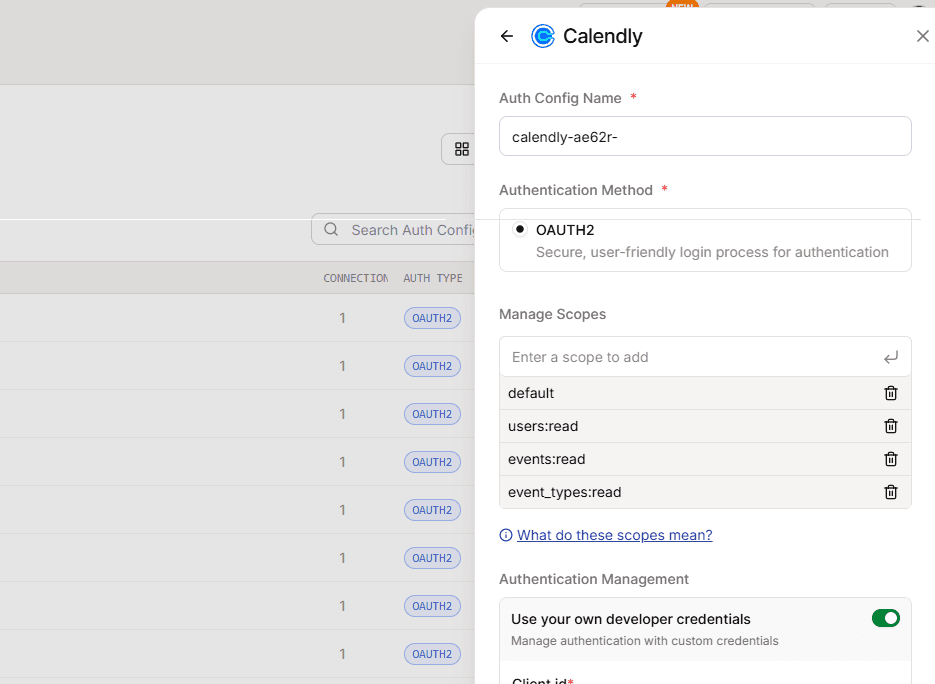
Enable Use your own developer authentication

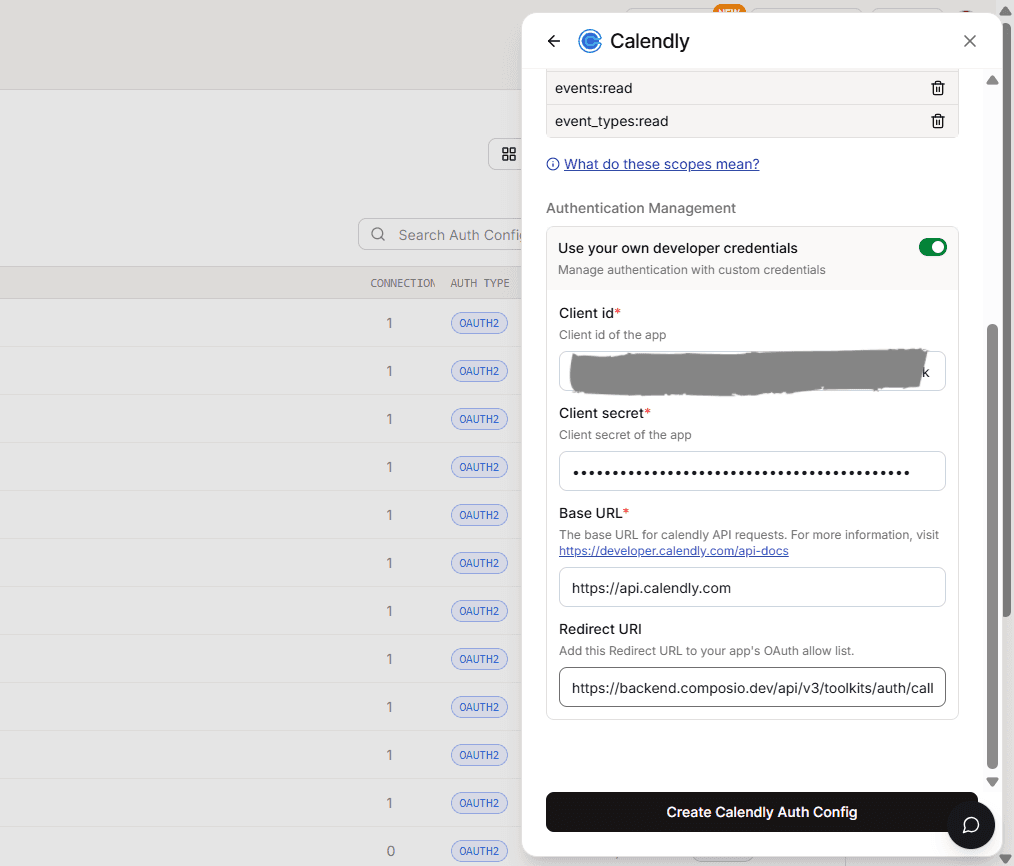
Step 3: Fill in Credentials
Open the Manage Auth Config tab
Paste:
Client ID
Client Secret
Click Create Calendly Auth Config
Scopes Supported by Composio
Below are the Calendly scopes supported by Composio. Add only the scopes required for your integration:
default
users:read
events:read
event_types:read
webhook_subscriptions:write
Base URL for Calendly
All Calendly API requests go through:
https://api.calendly.com/Final Step
Once everything is set up:
Copy the Auth Config ID (starts with
ac_)
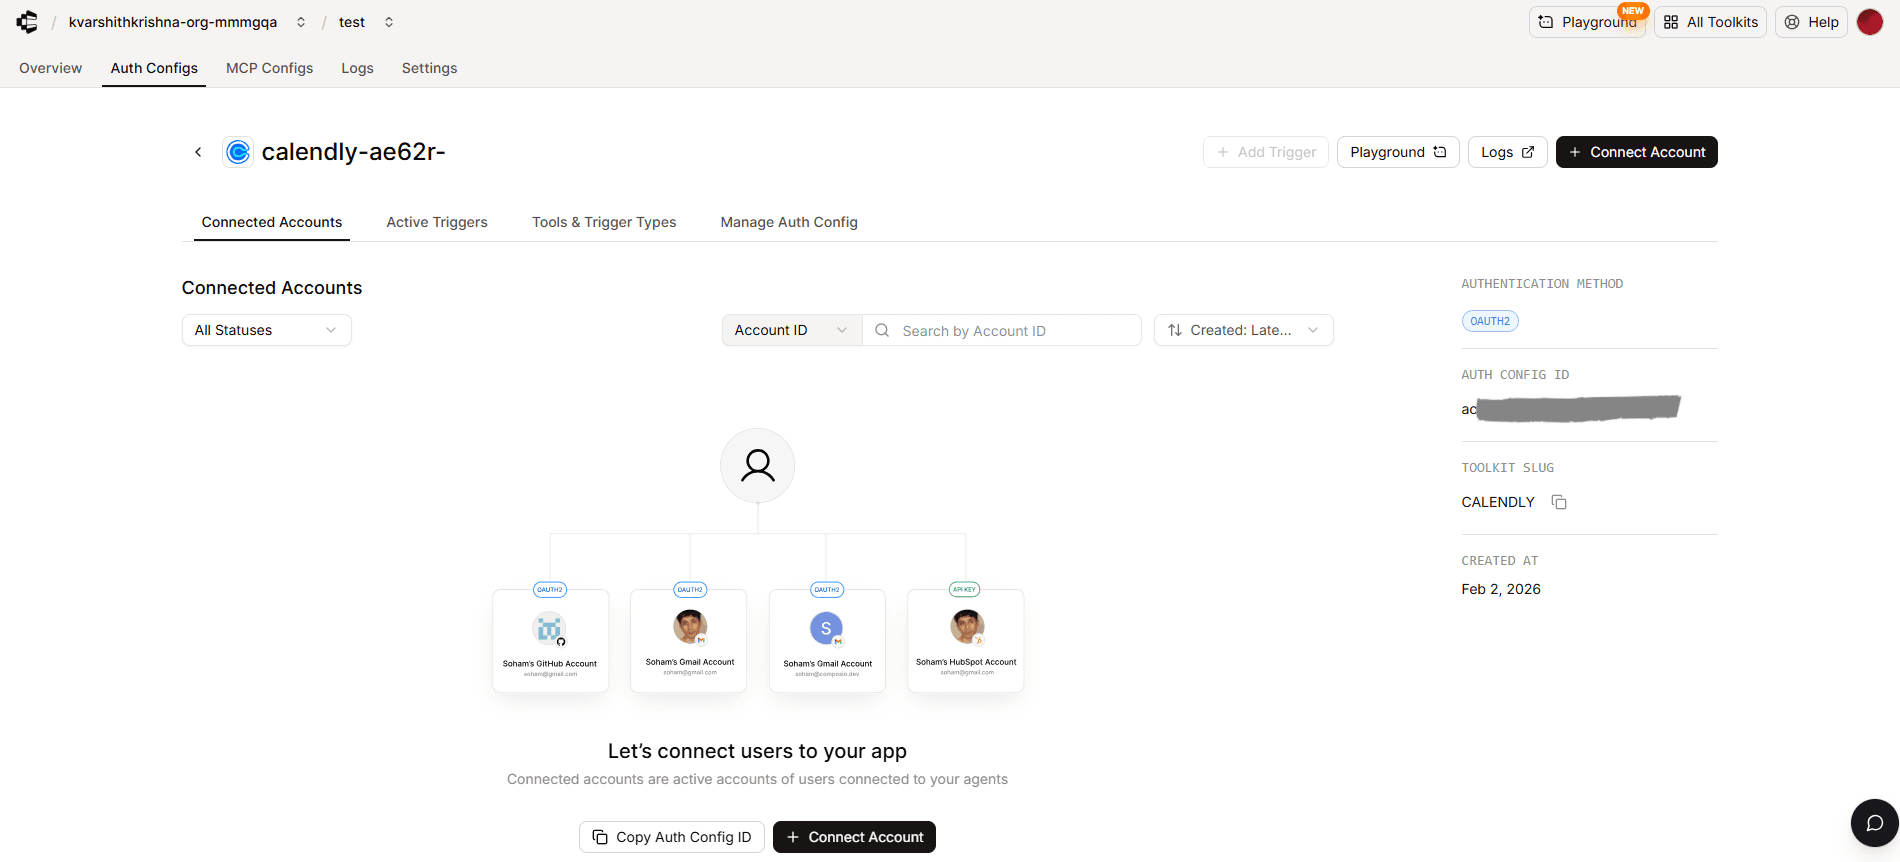
Store it securely using your secret manager
Use it in your application code to authenticate Calendly via Composio